
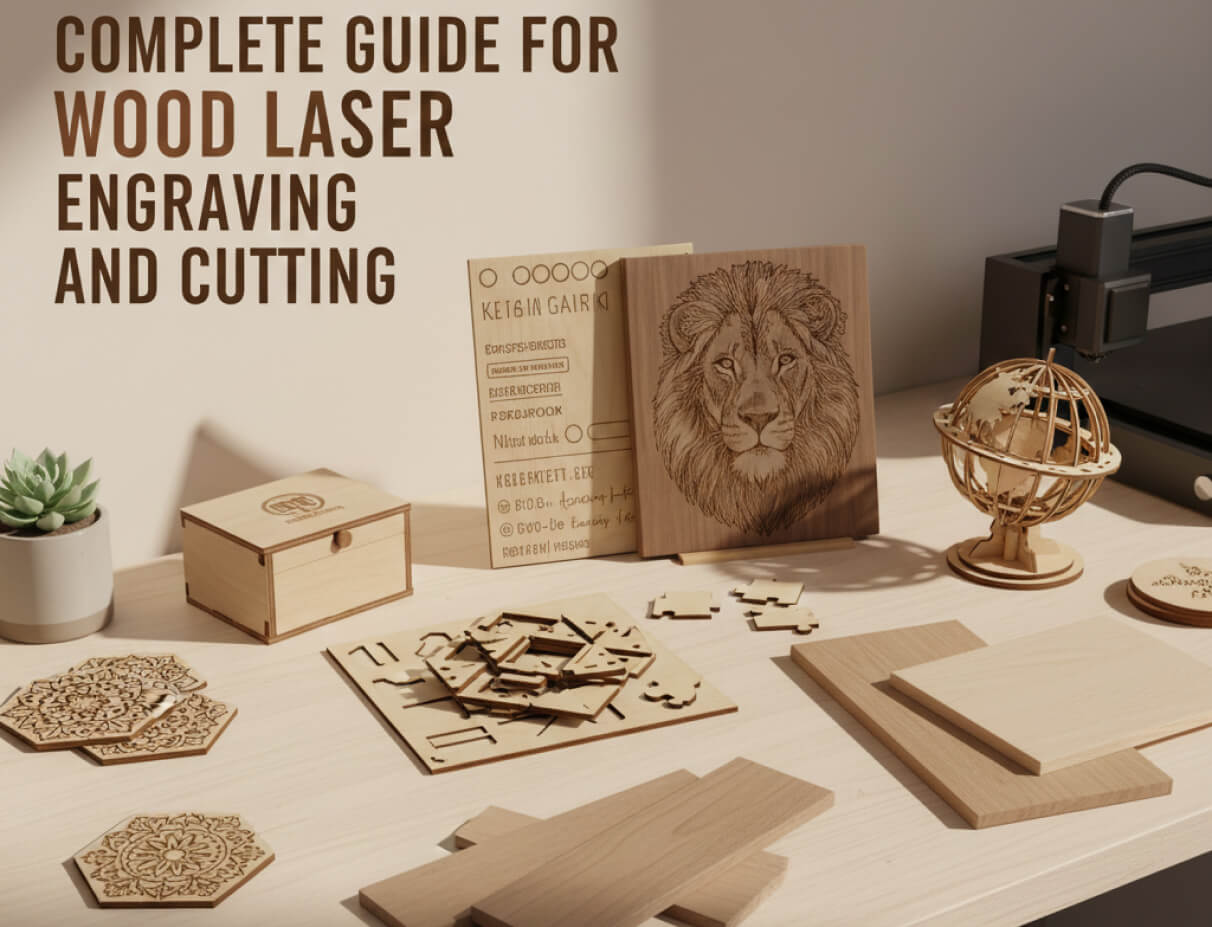
Wood has fascinated makers for centuries, but laser technology has changed what we can do with this classic material. Imagine turning a simple piece of birch plywood into a detailed jewelry box with designs so fine they match hand-carved heirlooms — all in a short amount of time. Picture engraving a realistic portrait on walnut that shows every subtle shade and texture. That is the power of laser cutting and engraving wood: the precision of focused light opens up options that traditional saws and chisels cannot achieve, from paper-thin wooden lace to multi-layered dimensional art. Whether you are an experienced craftsperson or just starting out, wood laser work is an exciting journey of experimentation.
Key Takeaways
- Cutting drives the beam through the wood to release a shape; engraving only marks the surface — most projects combine both.
- Birch and maple plywood, cherry, walnut, basswood and bamboo are the most reliable woods; avoid pressure-treated or painted wood, which release toxic fumes.
- Diode lasers suit thinner stock and sharp engraving contrast; CO2 lasers cut thicker wood faster.
- Cleaner results come from multiple lower-power passes, air assist, masking tape, and cutting along the grain.
- Match the wood to your laser, dial settings on scrap first, then finish the piece by sanding and sealing.
How Laser Cutting and Engraving Wood Works
While both processes use focused laser beams, they work in very different ways. Laser cutting goes all the way through your material: the beam slices completely through the wood to create shapes, parts, or intricate cutouts. Think of it as a very precise saw that never dulls — you are separating pieces from your base material, and you can cut curves and corners with the same accuracy as straight lines, with no tool wear to worry about.
Engraving, on the other hand, only removes the surface layer. The laser burns away just enough material to create contrast and depth while the wood stays intact. It is more like controlled burning that creates images, text, or textures — go shallow for a subtle effect or deeper for dramatic shadowing. A laser can even reproduce photo-quality images with consistent depth; see our guide to laser engraving a photo on wood for that technique in detail.
Power settings make the difference: cutting uses higher wattage and slower speeds to penetrate completely, while engraving uses lower power with faster passes to control depth. Most projects actually combine both — engraving details onto pieces you have laser cut.
Which Types of Wood Can a Laser Machine Handle?
The good news is that most woods work well with lasers, but some perform better than others. Your results depend on the wood’s density, resin content, and grain structure. These are the reliable performers:
- Birch and maple plywood: clean cuts, minimal charring, consistent results across the sheet — see our guide to laser cutting plywood.
- Cherry and walnut: beautiful contrast when engraved, with rich color variation.
- Basswood: soft and forgiving, perfect for beginners dialing in their settings.
- Bamboo: technically a grass, but it engraves beautifully with high contrast.
Approach pine carefully (sap pockets can flare), oak (open grain needs more cleanup), and MDF (glue binders create more smoke). Never cut pressure-treated or painted wood — the chemicals release toxic fumes when burned. For the full safe-versus-unsafe picture, see our guide to safe materials to laser cut, and for choosing timber, the best wood for laser cutting. Here is a quick comparison:
| Wood | Cutting | Engraving | Best for |
|---|---|---|---|
| Birch / maple plywood | Clean, low char | Good contrast | Boxes, layered pieces, all-round use |
| Basswood | Easy, forgiving | Soft, even | Beginners and practice cuts |
| Cherry / walnut | Clean on thinner stock | Rich, high contrast | Premium engraved gifts and art |
| Bamboo | Cuts thin sheets | Crisp, high contrast | Coasters, boards, kitchenware |
| Pine / oak | Workable, watch flare-ups | Uneven grain | Rustic pieces once dialed in |
| Pressure-treated / painted | Never — releases toxic fumes when burned | ||
How Thick of Wood Can a Laser Cutter Cut?
The maximum thickness depends on the type of laser and its power. A diode laser (such as the xTool S1) cuts thinner stock cleanly, while a more powerful CO2 laser (such as the xTool P2) can push through noticeably thicker wood in a single pass. Always work from your own machine’s published cutting spec rather than a fixed number.
You can cut thicker material with multiple passes, but the quality of the cut matters more than the maximum thickness. Pushing a machine to its limit often means rough edges and more charring, so most makers find their sweet spot about 20–30% below the rated maximum, where cuts are clean and need little finishing. In fact, several lower-power passes often beat one aggressive cut.
Wood Laser Cutting and Engraving Projects
The list of project ideas expands fast once you think about what lasers can do — from quick weekend builds to complex multi-day creations. Popular project types that excel:
- Personalized gifts: custom cutting boards, engraved photo frames, monogrammed jewelry boxes, and laser cut ornaments.
- Home décor: geometric wall art, layered mandalas, and decorative signs with intricate typography.
- Functional items: coasters, phone stands, desk organizers, and custom puzzles.
- Jewelry and accessories: wooden earrings, pendants, and bracelets with detailed patterns.
- Business products: wedding invitations, branded packaging, and promotional pieces.
- Architectural models: scale buildings, terrain pieces, and prototype parts.
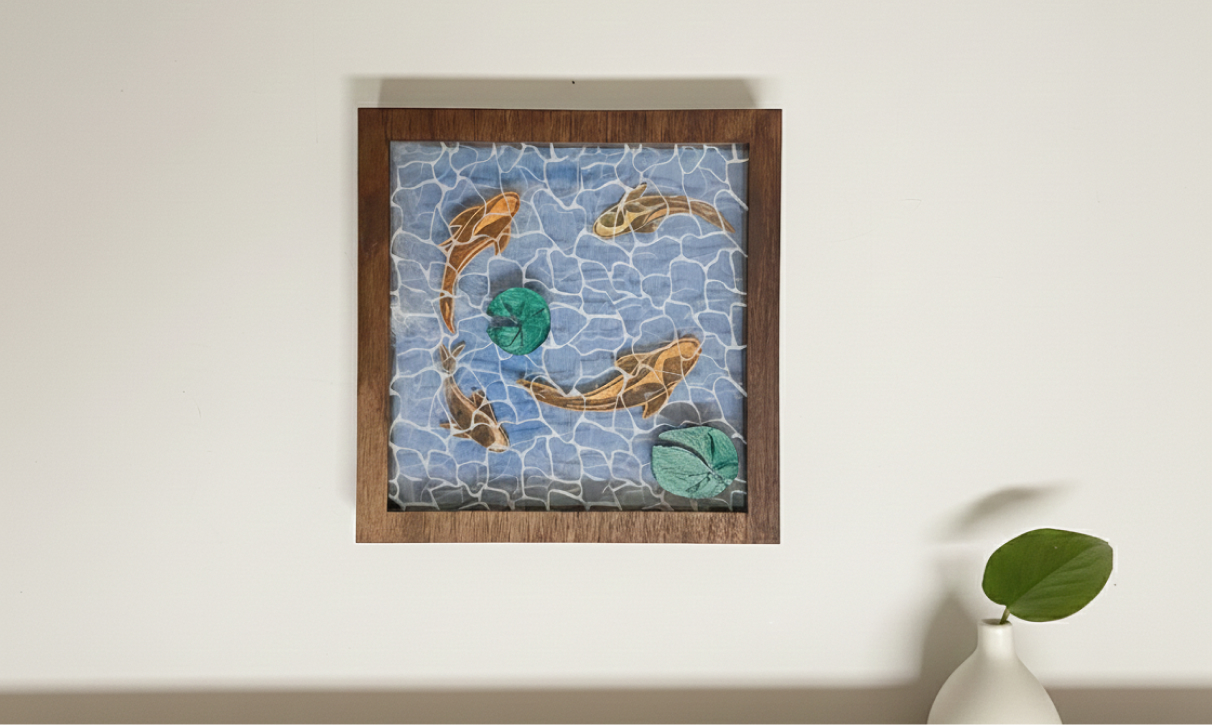
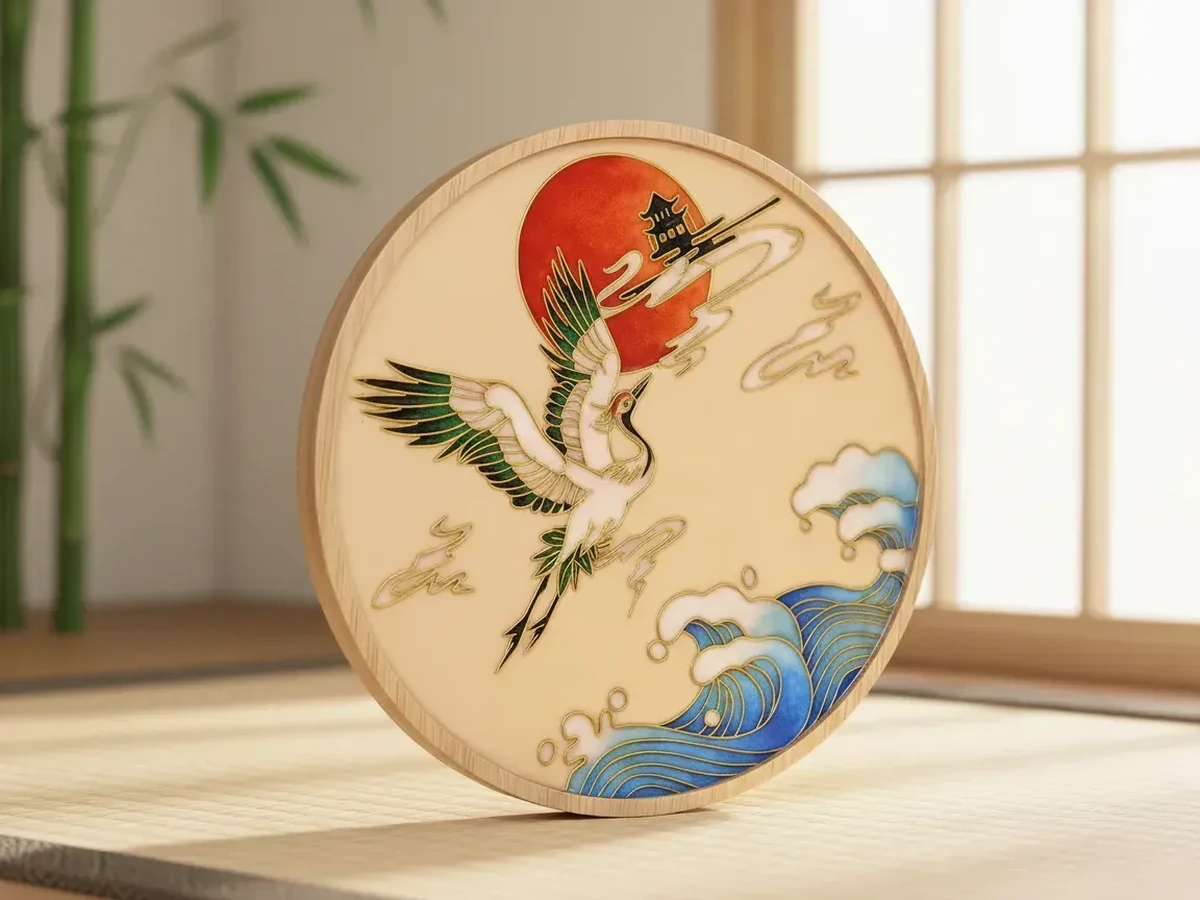
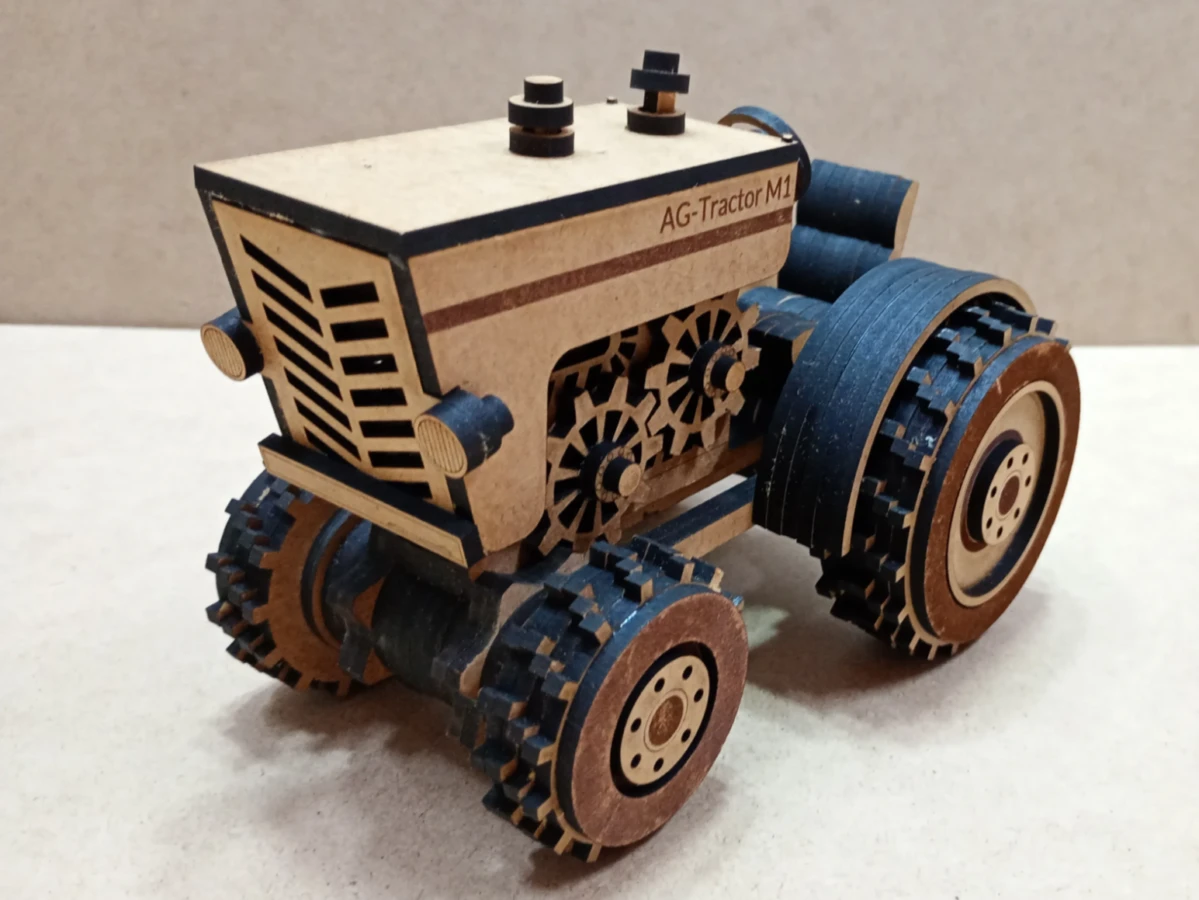
The best part is combining methods in one project — cutting a box shape, engraving a landscape on the lid, then adding cut-through details on the sides. Community makers have built everything from a layered koi pond and a cloisonné crane coaster to a seahorse pendant, a wooden tractor model, and detailed jewelry and gear boxes. Browse more in the Atomm spotlight collection.
What’s the Best Type of Laser for Wood?
You have two main contenders: diode lasers and CO2 lasers. Both work great on wood, but they excel in different areas.
Diode lasers are compact, affordable, and surprisingly capable. They work best on thinner materials — around 1/4" plywood or thinner — and the blue light is absorbed well by darker woods for sharp engraving contrast. Most are light enough to move around a workshop easily.
CO2 lasers bring more raw power. They slice through thicker stock faster and work with more materials beyond wood, and their infrared beam cuts light and dark woods alike, giving sharper cut edges and more engraving range.
Most woodworkers starting out get great value from a good diode system; CO2 becomes the smart choice once you regularly cut thicker material or do production work. Whatever you choose, a tested material settings library saves a lot of trial and error.
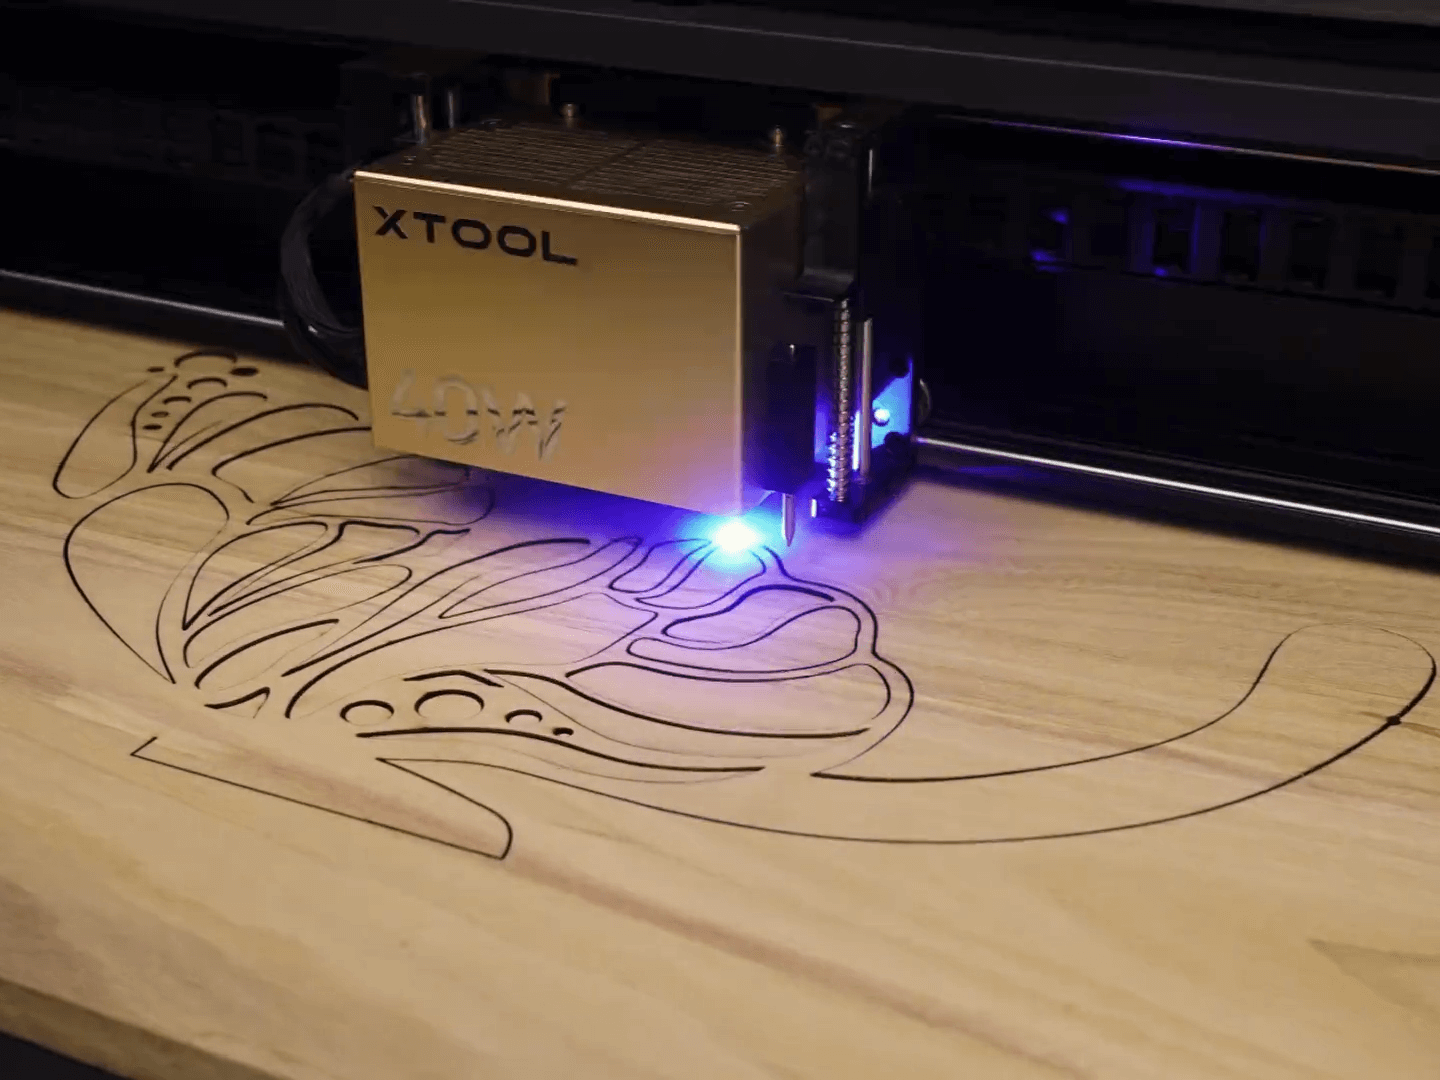
How to Laser Cut or Engrave Wood, Step by Step
Starting out is much simpler when you build on the community’s shared knowledge. Here is how experienced makers work:
Step 1: Find Your Design on Atomm
Browse thousands of ready-made wood projects, from simple beginner cuts to intricate multi-layer designs. Many files come with tested settings and open right in your software with all parameters set. Even when making something from scratch, check the material-settings database first to see what has worked for others.
Step 2: Import and Adjust in xTool Studio
Open xTool Studio and load your design file. Files from Atomm come colour-coded by task — blue for scoring, green for engraving, purple for cutting — so you can use them as-is or tweak them. For your own work, import an SVG or image and xTool Studio helps you assign tasks to each layer.
Step 3: Prepare Your Material
Place your wood on the work bed and use the built-in camera to position the design. Measure the thickness with calipers — this measurement drives everything else — enter it into xTool Studio, and the autofocus adjusts the height automatically.
Step 4: Check Your Settings
With an Atomm file the settings are ready to go. For custom work, pick your wood from the material library and xTool Studio fills in tested settings, so you build on shared knowledge instead of guessing.
Step 5: Frame and Test
Run the framing preview to see exactly where the laser will work, which catches positioning issues early. On expensive wood, always run a quick test on scrap using the same settings.
Step 6: Run Your Project
Press start and watch the first minute — you should see clean cutting or engraving with steady smoke removal. The live progress panel keeps you informed, and most projects finish faster than you expect.
Wood Laser Engraving & Cutting Tips
Clean, professional results come down to understanding how your laser interacts with wood. A few methods that make a big difference:
- Use air assist well: good airflow stops flames and clears smoke before it stains the wood. Keep the nozzle close to the material.
- Mask the surface: apply blue painter’s tape before engraving to reduce char and keep edges sharp, then peel it off for a cleaner look.
- Account for kerf: the beam removes about 0.2–0.4 mm as it cuts, so size parts slightly larger for snug fits.
- Mind the grain: cutting along the grain gives cleaner edges than across it — plan your layout accordingly.
- Control burn marks: lower power with several passes usually beats one high-power cut. You lose a little speed but gain much cleaner edges.
Tip: Stop hunting for one "perfect" setting and start recording what works for your specific wood and machine. A short settings log for each material you use is the single biggest time-saver in laser woodworking.
Common Mistakes to Avoid
Most early frustrations come from a handful of avoidable errors. Watch for these:
- Cutting unknown or unsafe wood: pressure-treated, painted, or mystery boards can release toxic fumes — confirm the material first.
- Skipping the test cut: settings that work on one board may char or fail to cut through on another; test on scrap every time.
- Ignoring focus and thickness: an out-of-focus beam or a wrong thickness value leads to incomplete cuts and fuzzy engraving.
- Running without air assist or ventilation: this causes flare-ups, heavy char, and lingering smoke smell.
- Forcing thick stock in one pass: it blackens edges — step down the power and add passes instead.
Finishing Your Wood Pieces
A few minutes of finishing takes a piece from "cut" to "polished." After the job:
- Clean the edges: wipe cut edges with a little isopropyl alcohol to lift soot, or sand lightly to brighten charred lines.
- Sand the face: a quick pass with fine grit removes surface residue and smooths any raised grain from engraving.
- Seal it: a wipe-on oil, wax, or clear finish deepens the grain, protects the piece, and locks in the engraving contrast.
- Mind the masking: if you taped before engraving, remove it before finishing so oil does not seep under the edges.
Wood Laser Cutting & Engraving FAQs
Can a fiber laser engrave and cut wood?
Fiber lasers are built to mark and cut metals. You can use one on wood, but it is not the best tool: fiber runs at high power and wood does not absorb its wavelength well, which often gives uneven, burnt-looking edges. For clean woodwork, a diode or CO2 laser is the better choice.
What is the best laser for woodworking?
It depends on your work. A diode laser is a great, affordable start for hobbyists cutting thinner stock and doing sharp engraving. A CO2 laser suits small businesses and pro work, cutting thicker wood faster with a larger bed. Start with a diode system and move to CO2 as your projects grow.
Where can I get free laser cutting and engraving files?
Atomm offers a large library of free laser files, including designs with tested settings, how-to guides, and inspiration shared by the community. Sign up, download and tweak a design, then open it in xTool Studio and run it — no drawing from scratch required.
Do I need to seal laser-cut wood?
Not always, but it helps. Sealing with oil, wax, or a clear finish protects the wood, deepens the grain, and makes engraved contrast pop. For functional items like cutting boards or coasters, use a food-safe finish.
Final Thoughts
Wood and lasers make an amazing team, and they keep revealing new ways to create as you dig deeper. What begins as cutting a simple box grows into layered art, inlays, and even small-batch production. It is easier to learn than you might expect — tested files and material libraries take the guesswork out of settings, and the community has already solved most of the problems you are about to meet.
Your first few projects teach you more than any guide about how wood behaves under the beam. Grab some scrap, dial in your settings, and start making.
Ready to start on wood?
Design a wood-ready project in minutes, then send it straight to your laser with settings that fit your material.
