
![[Laser cut and engrave] Where the Journey Begins: A keepsake box](https://storage-public.atomm.com/xtool/community/attachment/xtool-community/bb873f12-e338-4dd1-97f6-17f05e0894af.jpg?x-oss-process=image/resize,w_1200,h_900,limit_0/interlace,1/format,webp/auto-orient,1)
![[Laser cut and engrave] Where the Journey Begins: A keepsake box](data:image/png;base64,iVBORw0KGgoAAAANSUhEUgAAAAoAAAAKCAYAAACNMs+9AAAAAXNSR0IArs4c6QAAABdJREFUKFNjZCASMBKpjmFUId6QIjp4AAppAAuXjCs4AAAAAElFTkSuQmCC)
![[Laser cut and engrave] Where the Journey Begins: A keepsake box](https://storage-public.atomm.com/xtool/community/attachment/xtool-community/bb873f12-e338-4dd1-97f6-17f05e0894af.jpg?x-oss-process=image/resize,w_200,h_150,limit_0/interlace,1/format,webp/auto-orient,1)
![[Laser cut and engrave] Where the Journey Begins: A keepsake box](https://storage-public.atomm.com/xtool/community/attachment/xtool-community/398e5ab9-f1a1-4b41-b4cd-bb1a3e4c1a61.jpg?x-oss-process=image/resize,w_200,h_150,limit_0/interlace,1/format,webp/auto-orient,1)
Where the Journey Begins: A keepsake box
 Back to School 2026 Contest
 Instruction


Information
      This project reimagines the iconic, timeless symbol of childhood—the crayon box—into a functional, modular keepsake designed to preserve a student's most cherished school work. This 11.75x8.75 box was created specifically to celebrate the magical first year of school, this interactive box offers a beautiful, tactile solution to the question every parent faces: how to elegantly store and protect a child's early masterpieces, report cards, and sentimental schoolwork.
While this specific model showcases a vibrant "Kindergarten" theme for a student named Greyson, the foundational design is entirely customizable. You can easily adapt the file for any grade level—from Pre-K through 12th Grade—or modify it with custom text for personalized name engraving.
Instruction
Step1: Customize the box
You can customize the name and the school year, once that is updated you are ready to cut, score and engrave. This was for a kindergarten student so I used the 123, ABC and artwork geared to a younger child, you can use icons of your choice based on teh age of student.
Step2: Score, Engrave and Cut

Red lines are the cut lines, blue is score and the black is engrave.
Step3: Sand, paint and stain


Sand the cuts before finishing, this will give you a cleaner, smoother finish.
Step4: Assemble and glue box

Start with the back side piece to the bottom then go to the right side, then the front side and as you finish the box with the left side you will need to add the lid to the top. Before you add the lid sand the back side where the hinges are so it will open more freely once attached. If you don't sand it will rub the back side panel when opening.
Step5: Add the finishes


I used wood glue with a touch of super glue to add the pieces on the top and sides. If you keep the cut out around the ABC, 123 and childs name you can use that as a guide to center you letters.
Step6: Share on social media
https://www.reddit.com/r/Laserengraving/comments/1vay8c1/school_keepsake_box_made_with_the_s1/
https://www.pinterest.com/pin/56083957856392233/?share=true
https://www.facebook.com/sandi.williams.35
https://www.facebook.com/hashtag/2026backtoschoolcontest
https://www.instagram.com/p/DbUlZAOljzmc2FHWM0rYmGDmxF5_8xfsoZejjI0/
https://x.com/thdsandi/status/2081947023654228425
Remixes



You may also like

Best Teacher Ever Exploding Gift Box


3D School Gift Boxes Bundle. Back To School Box Laser Cut Files. Teacher Appreciation Gift. Treat Holder. School Supplies Organizer SVG


Pencil box


Personalized Teacher Appreciation Keepsake Box with Graduation Theme


My First Year of School Keepsake Album Personalized with Fawn Pattern


School Tissue Box


Keepsake box


Teeth box / Zahn Box


Personalized Wedding Keepsake Box with Names and Date

Hardcover Mandala Sketchbook Layered Wood Design


Laser Cut Wooden Tooth Fairy Box with Engraved Fairy Design


3D Personalized teacher token jars bundle. Reward jar laser cut. Teacher gift. Wooden classroom token jar. Behavior class reward box svg
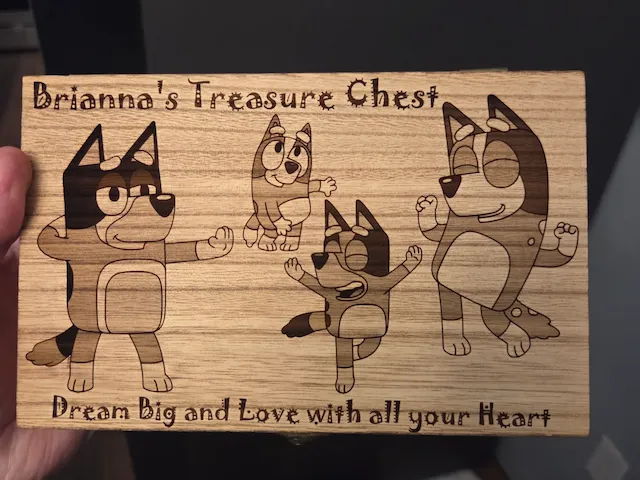
Personalized Bluey Treasure Chest Keepsake Box


Blue and Pink Wooden Baby Carriage Keepsake Boxes


Surprise cracker with foil, "Bonne Rentrée" in the shape of a pencil – Fillable paper gift box


Wooden wedding money box with wooden keepsake card


Wooden USB flash drive with personalized christening keepsake box


Personalized Wooden Keepsake Birthday Box - Book Style Design
