


Description
Features
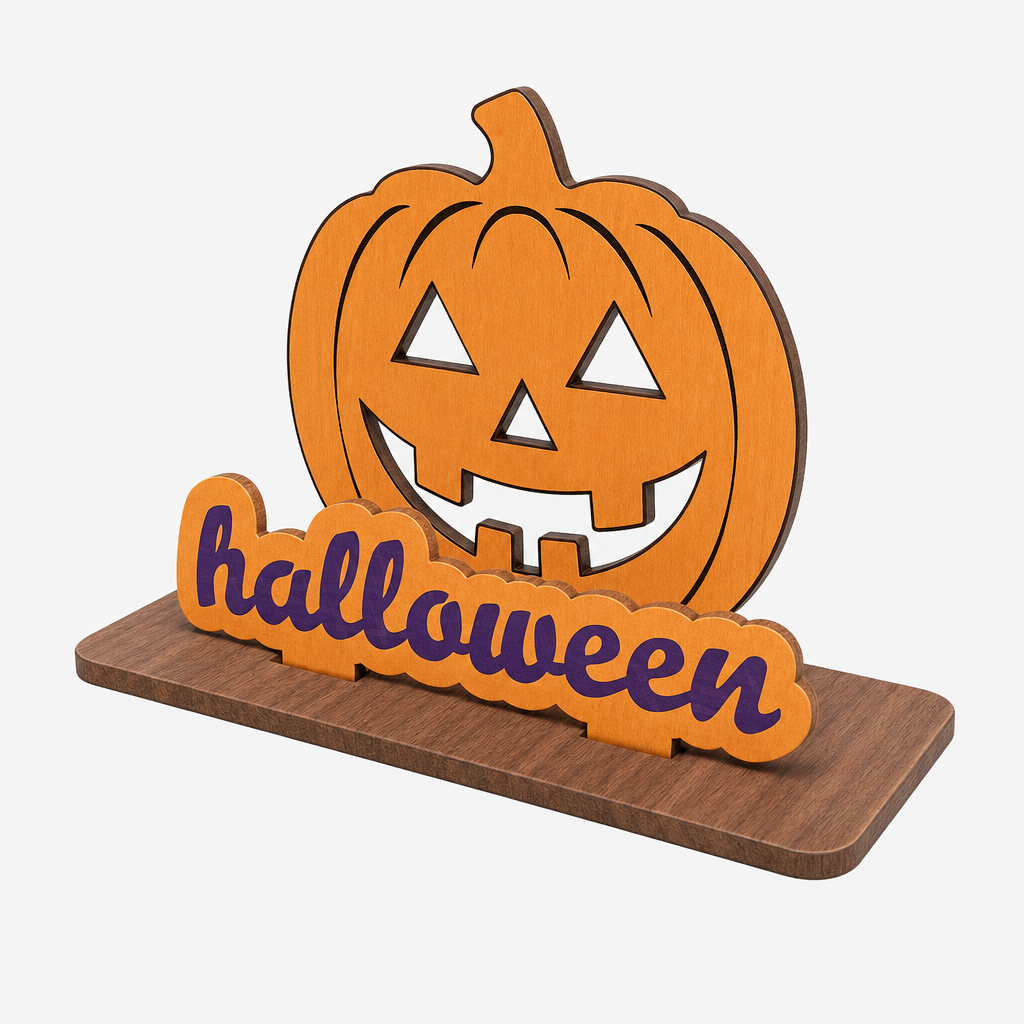
- 12 built-in Halloween shapes — pumpkins, ghosts, bats, black cats and more, with all the eyes, mouths, ribs and vent cutouts faithfully preserved for the laser.
- Custom text sign, sticker-style — type any word or short phrase, pick a font, and the outline auto-hugs the letters like a vinyl decal. Words with wide gaps auto-close into a single readable shape.
- Auto-generated stand mechanism — tabs are placed on both signs and matching slots are cut into the base for you. Two-row layout keeps the element sign in front and the text sign behind, at a natural depth.
- Faithful laser-ready SVG — red for cut, black for engrave, kerf compensation baked in, data-processing-type metadata so xTool Studio (and other compatible software) auto-assigns Cut / Engrave layers on import.
- Live 3D preview in a painterly Halloween night stands, casts light, and reads at a glance before you commit to a cut.
- Tunable parameters:
- Element — shape (12 options), width
- Text — content, font (built-in Halloween-flavored set + your local fonts), font size, sticker-outline padding
- Base — margin, row gap between the two slot rows, corner radius
- Global — material thickness (1–10 mm), tab height (how far the pins peek under the base)
- Unit switch — mm ↔ inch, applied everywhere consistently
使用步骤
- Cut — download the SVG and drop it into xTool Studio or your laser software. The file already contains three pieces (element sign + text sign + base) with the correct kerf compensation and layer roles, so you're one click away from starting the job. Cut and lift the parts off the bed.
- Watercolor paint — the pieces come raw and thirsty. A loose wash of watercolor or gouache brings the pumpkin's face to life, tints the text sign, and warms the base. Painting before assembly means you can reach every corner — leave the engraved lines showing through the wash for that hand-crafted, layered look.
- Slot together — once the paint is dry, push each sign's tabs into the matching slots on the base. No glue, no screws, no clamps. If your material runs a hair thick, a light sand on the tab tips gets you a snug fit.
Applicable Materials
- Wood / plywood (basswood, birch, cherry, walnut) — the flagship choice: strong grain, takes watercolor and gouache beautifully.
- Acrylic (opaque, frosted, or tinted orange/purple for a Halloween pop) — clean modern look; engrave the text for a frosted-glass effect.
- Cardboard / thick paper board — quickest turn for parties and classroom crafts.
- MDF — soaks up paint evenly, best pick if you color.
- Any laser-safe sheet, 1–10 mm — set the exacor and the tabs/slots fit on the first cut.
Avoid PVC, vinyl and other chlorine-containing materials — they release toxic fumes when lasered.
Comments