




Description
A wind chime is mostly air and patience. Windfall gives you the other part — pick a top, pick the shapes that fall from it, tune it in 3D, and export laser files with every part already nested on your sheet.
New this release: holographic paper in the material preview, and six charms you cut flat and fold into a solid.
✨ Highlights
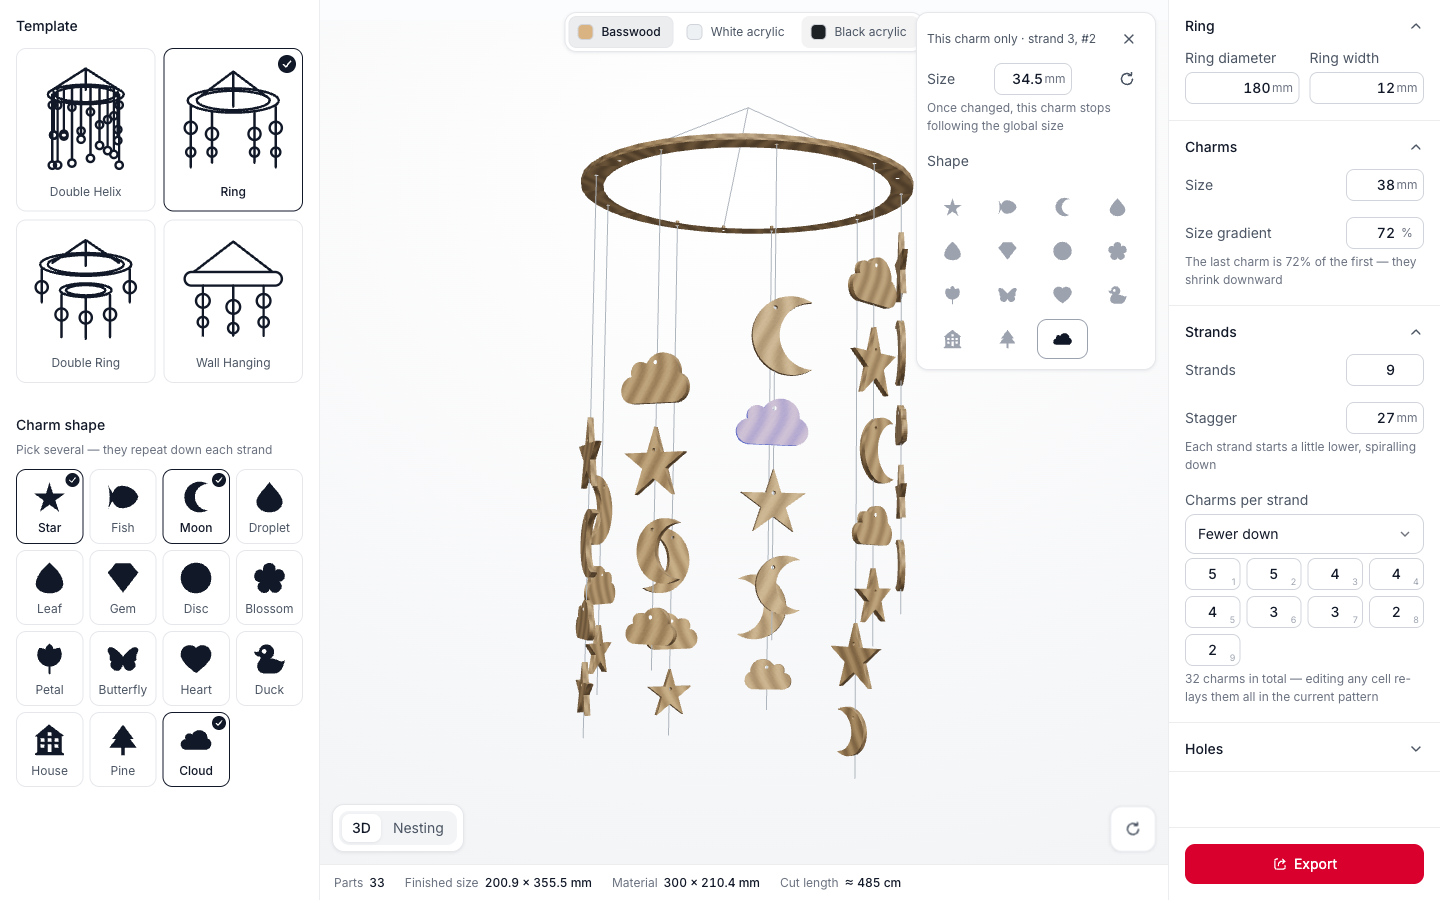
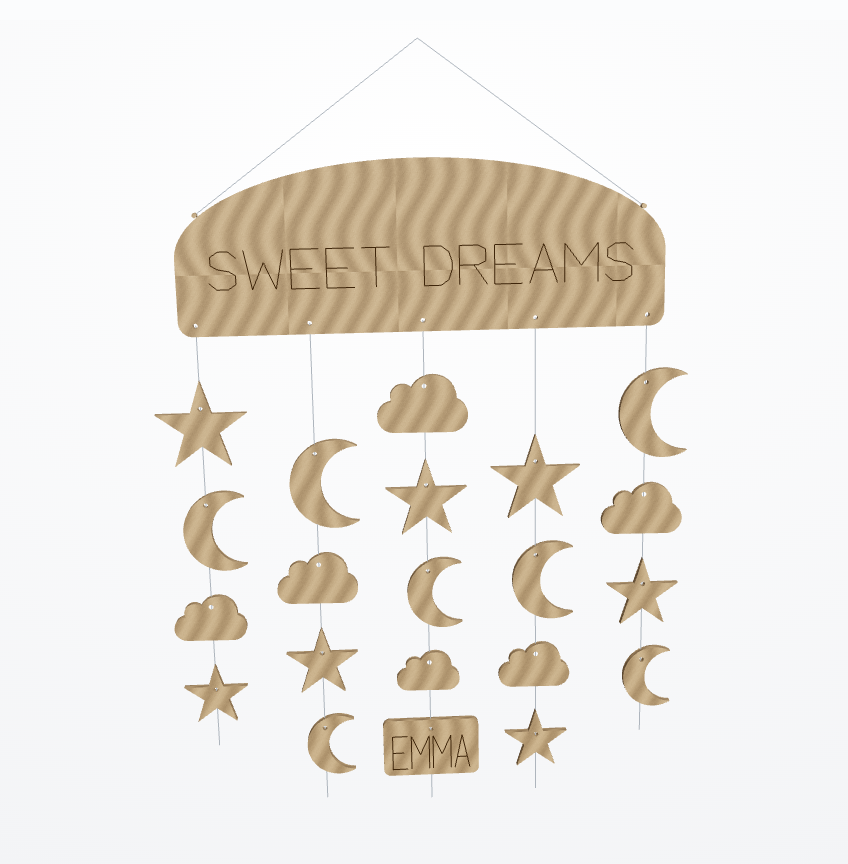
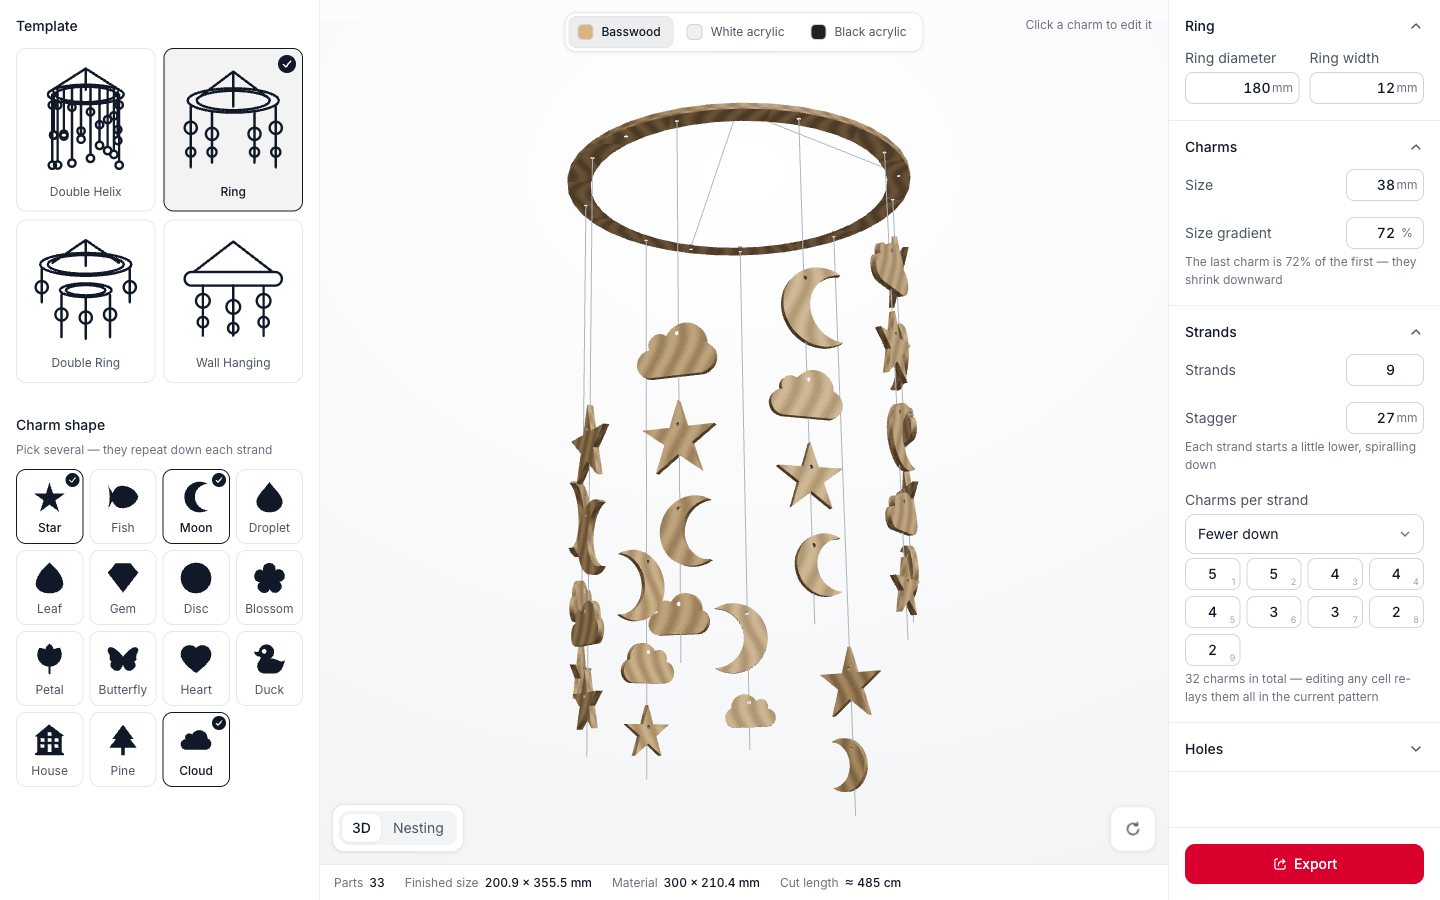
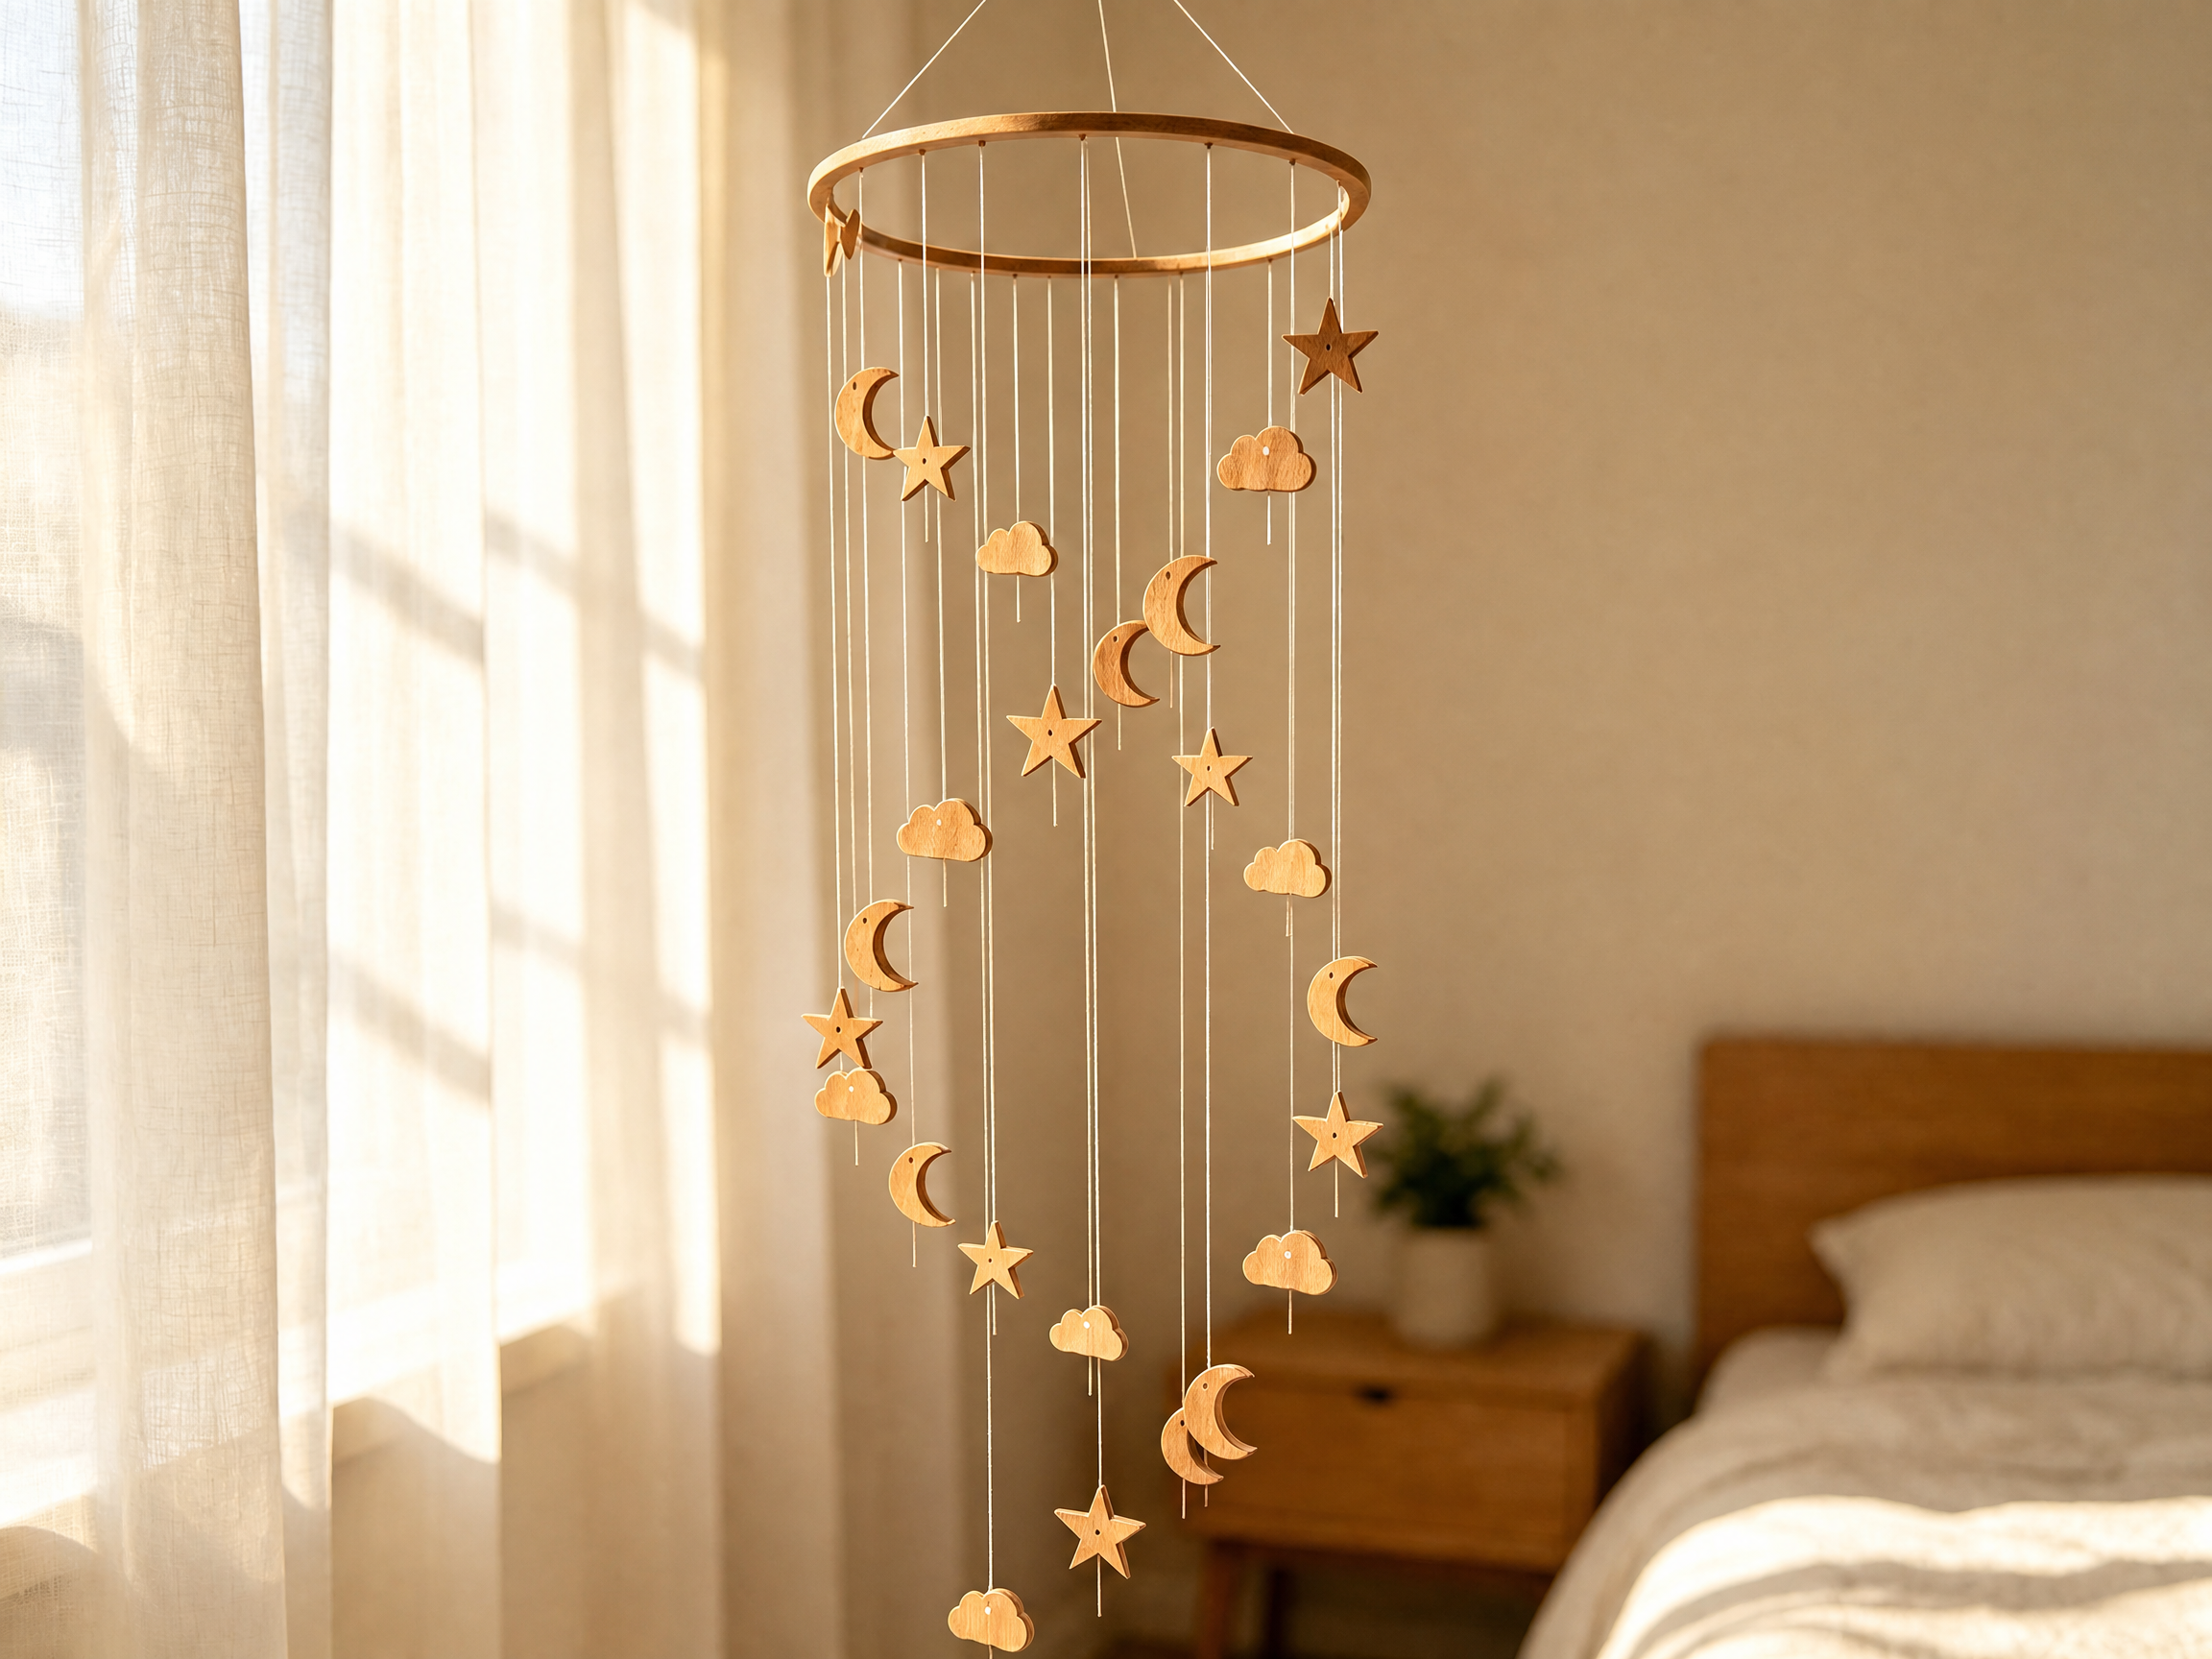
- Four tops — Ring; Double Ring (a smaller circle nested in the outer one); Double Helix (every charm on its own cord, the two helices half a turn apart); Wall Hanging (bar, cloud or arch, with an optional engraved tag below).
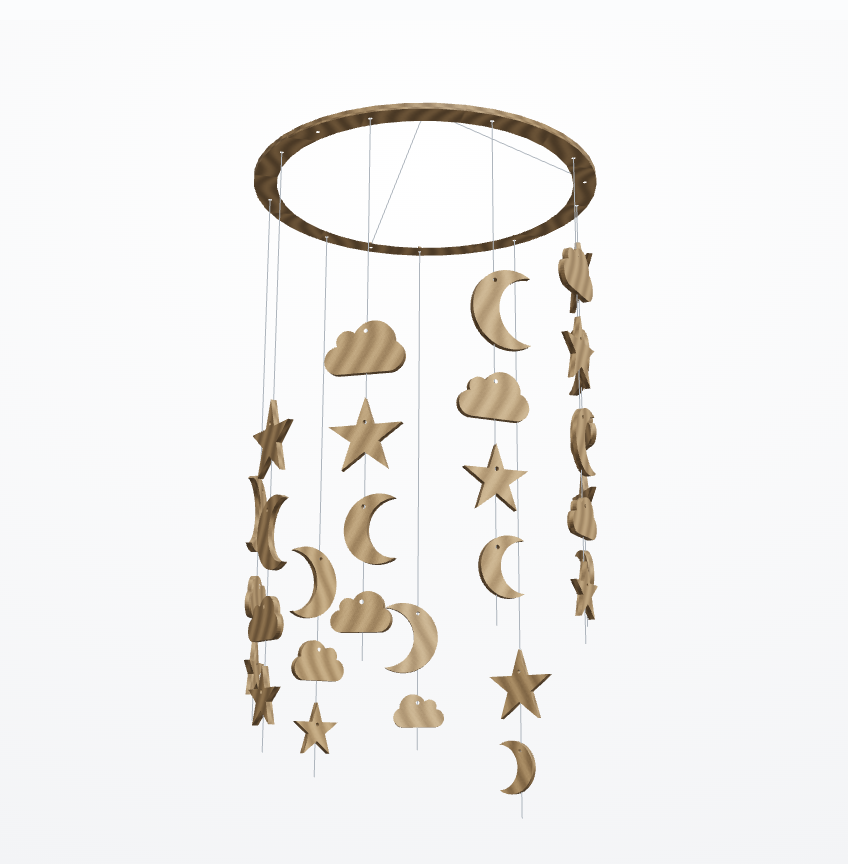
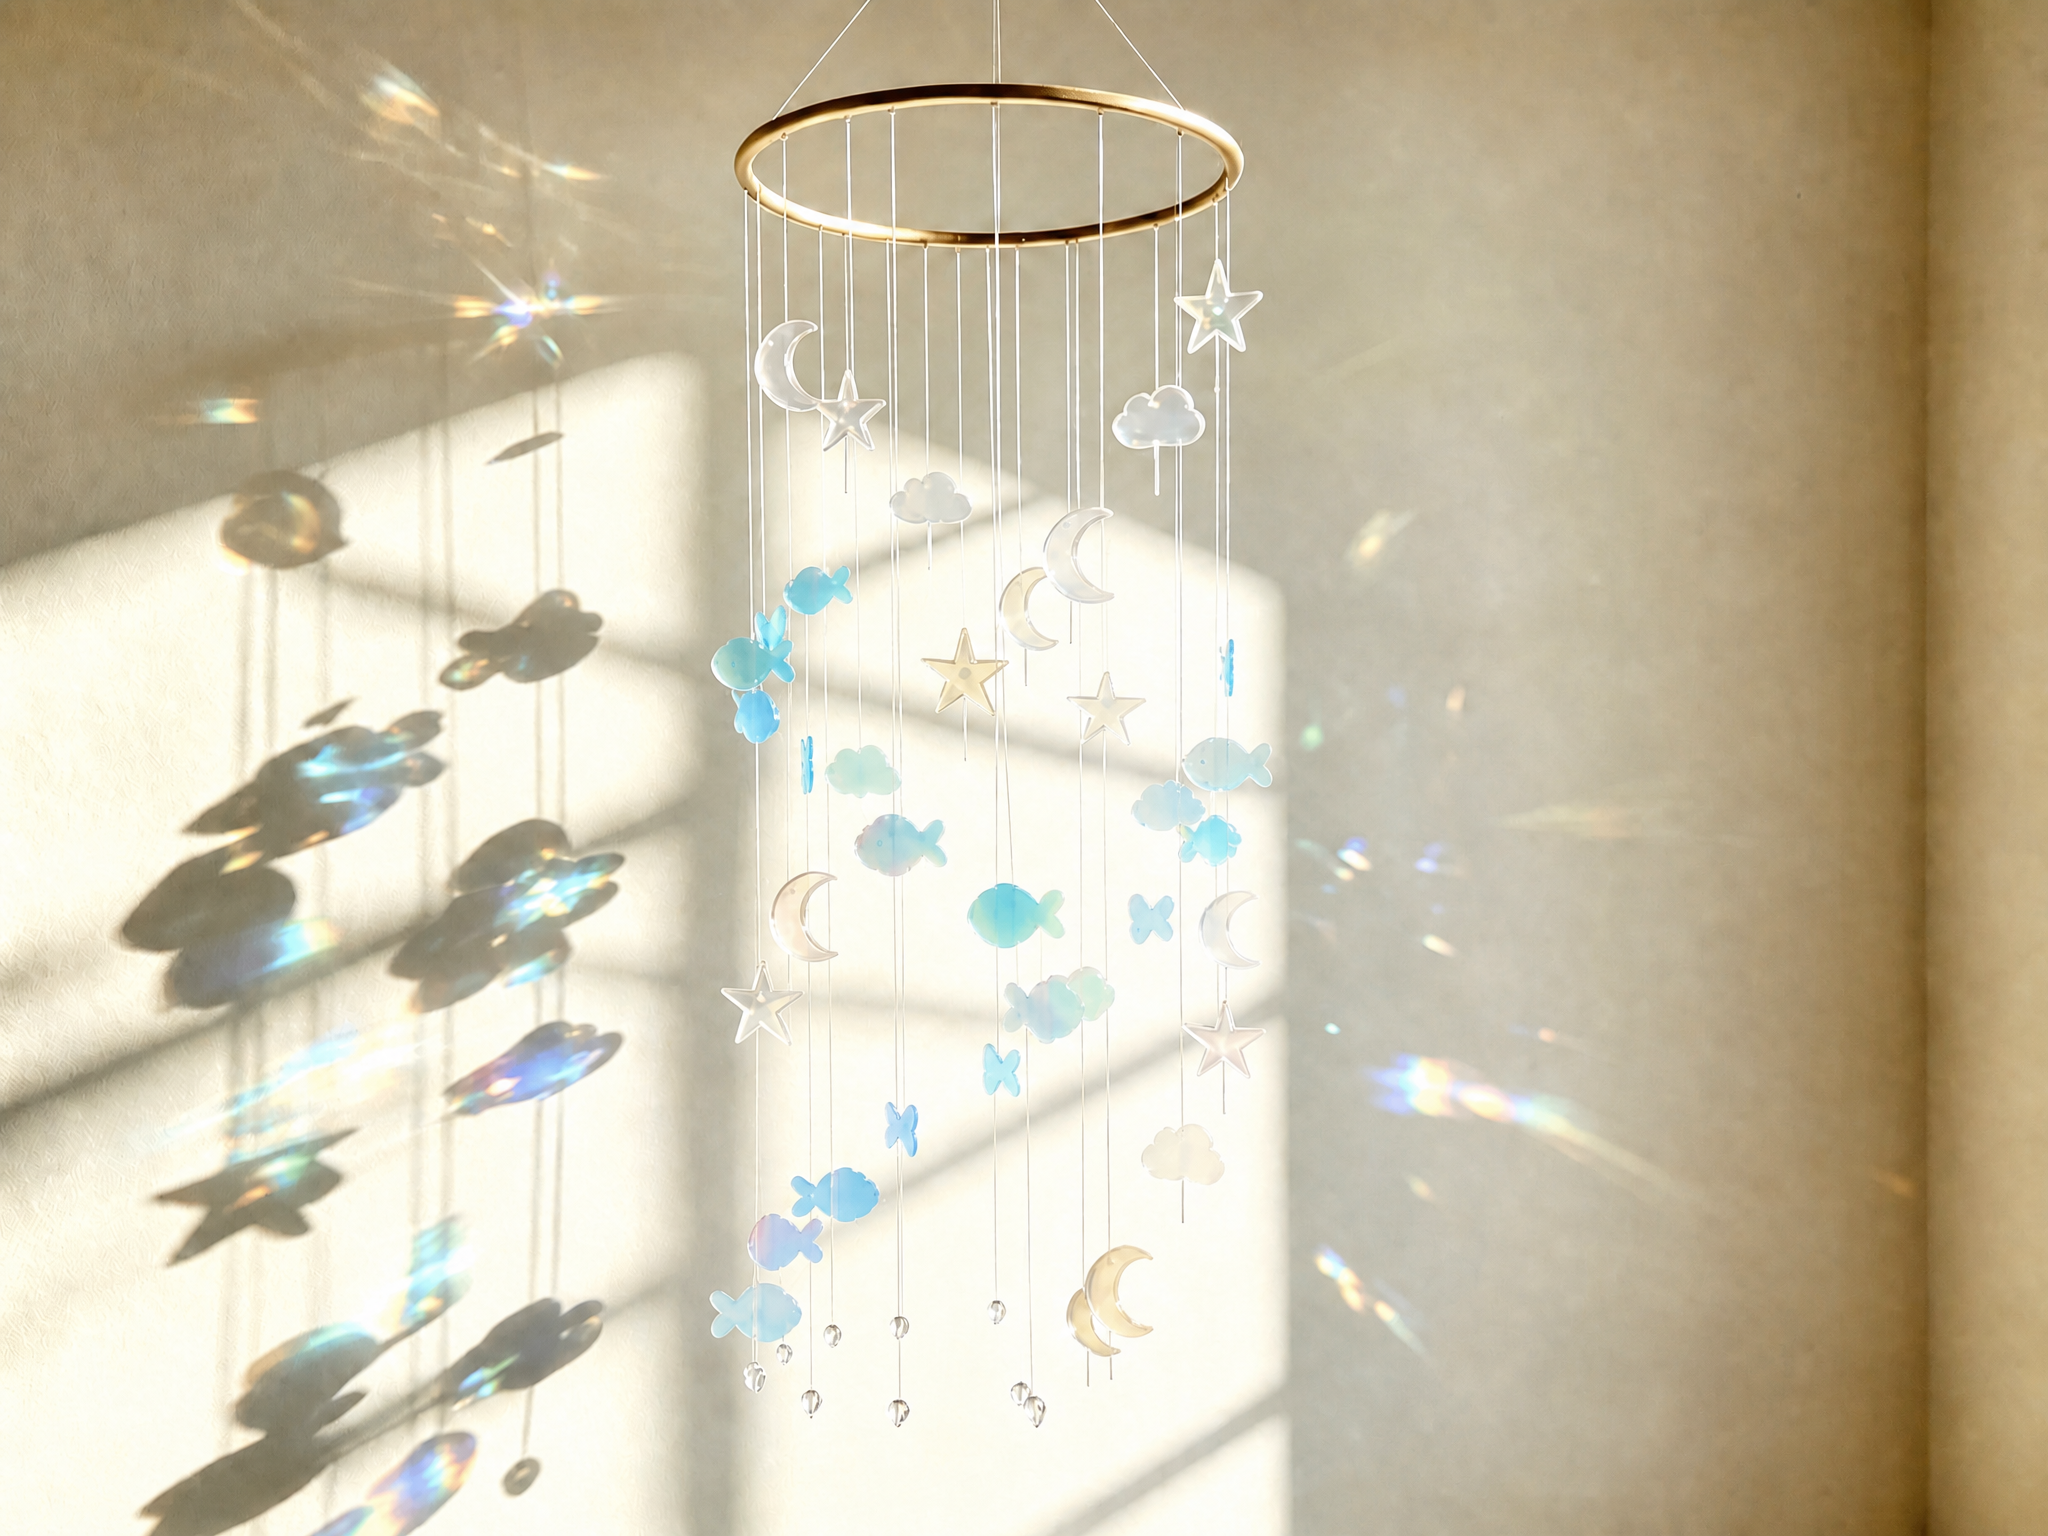
- Fifteen flat shapes — stars, moons, droplets, leaves, gems, a fish, a duck, a butterfly, a little house, a pine tree, a cloud. Pick several and they alternate down the strands, so it reads as a set.
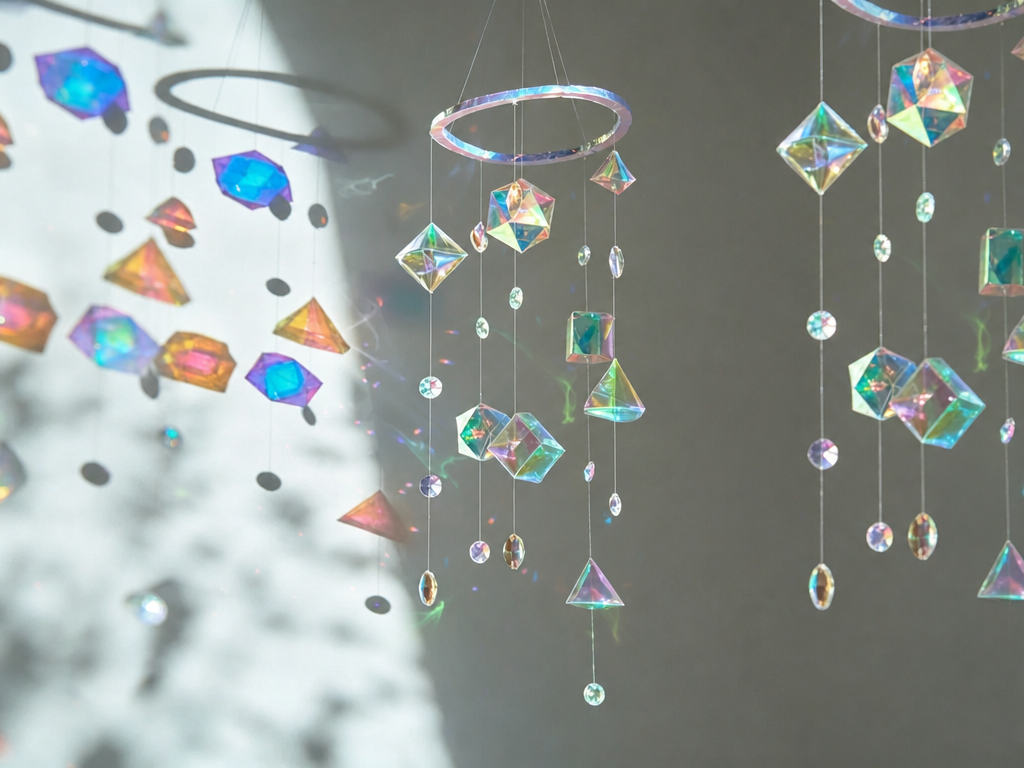
- Six folded solids — new. Tetrahedron, cube, octahedron, pentagonal prism, icosahedron, gem. Cut flat, crease, fold, glue — a charm with volume. Each net comes with its glue tabs, its creases already on the engrave layer, and two marked holes so the cord runs straight through the solid: thread it before you close the last face. The folding guide in the photos shows all six.
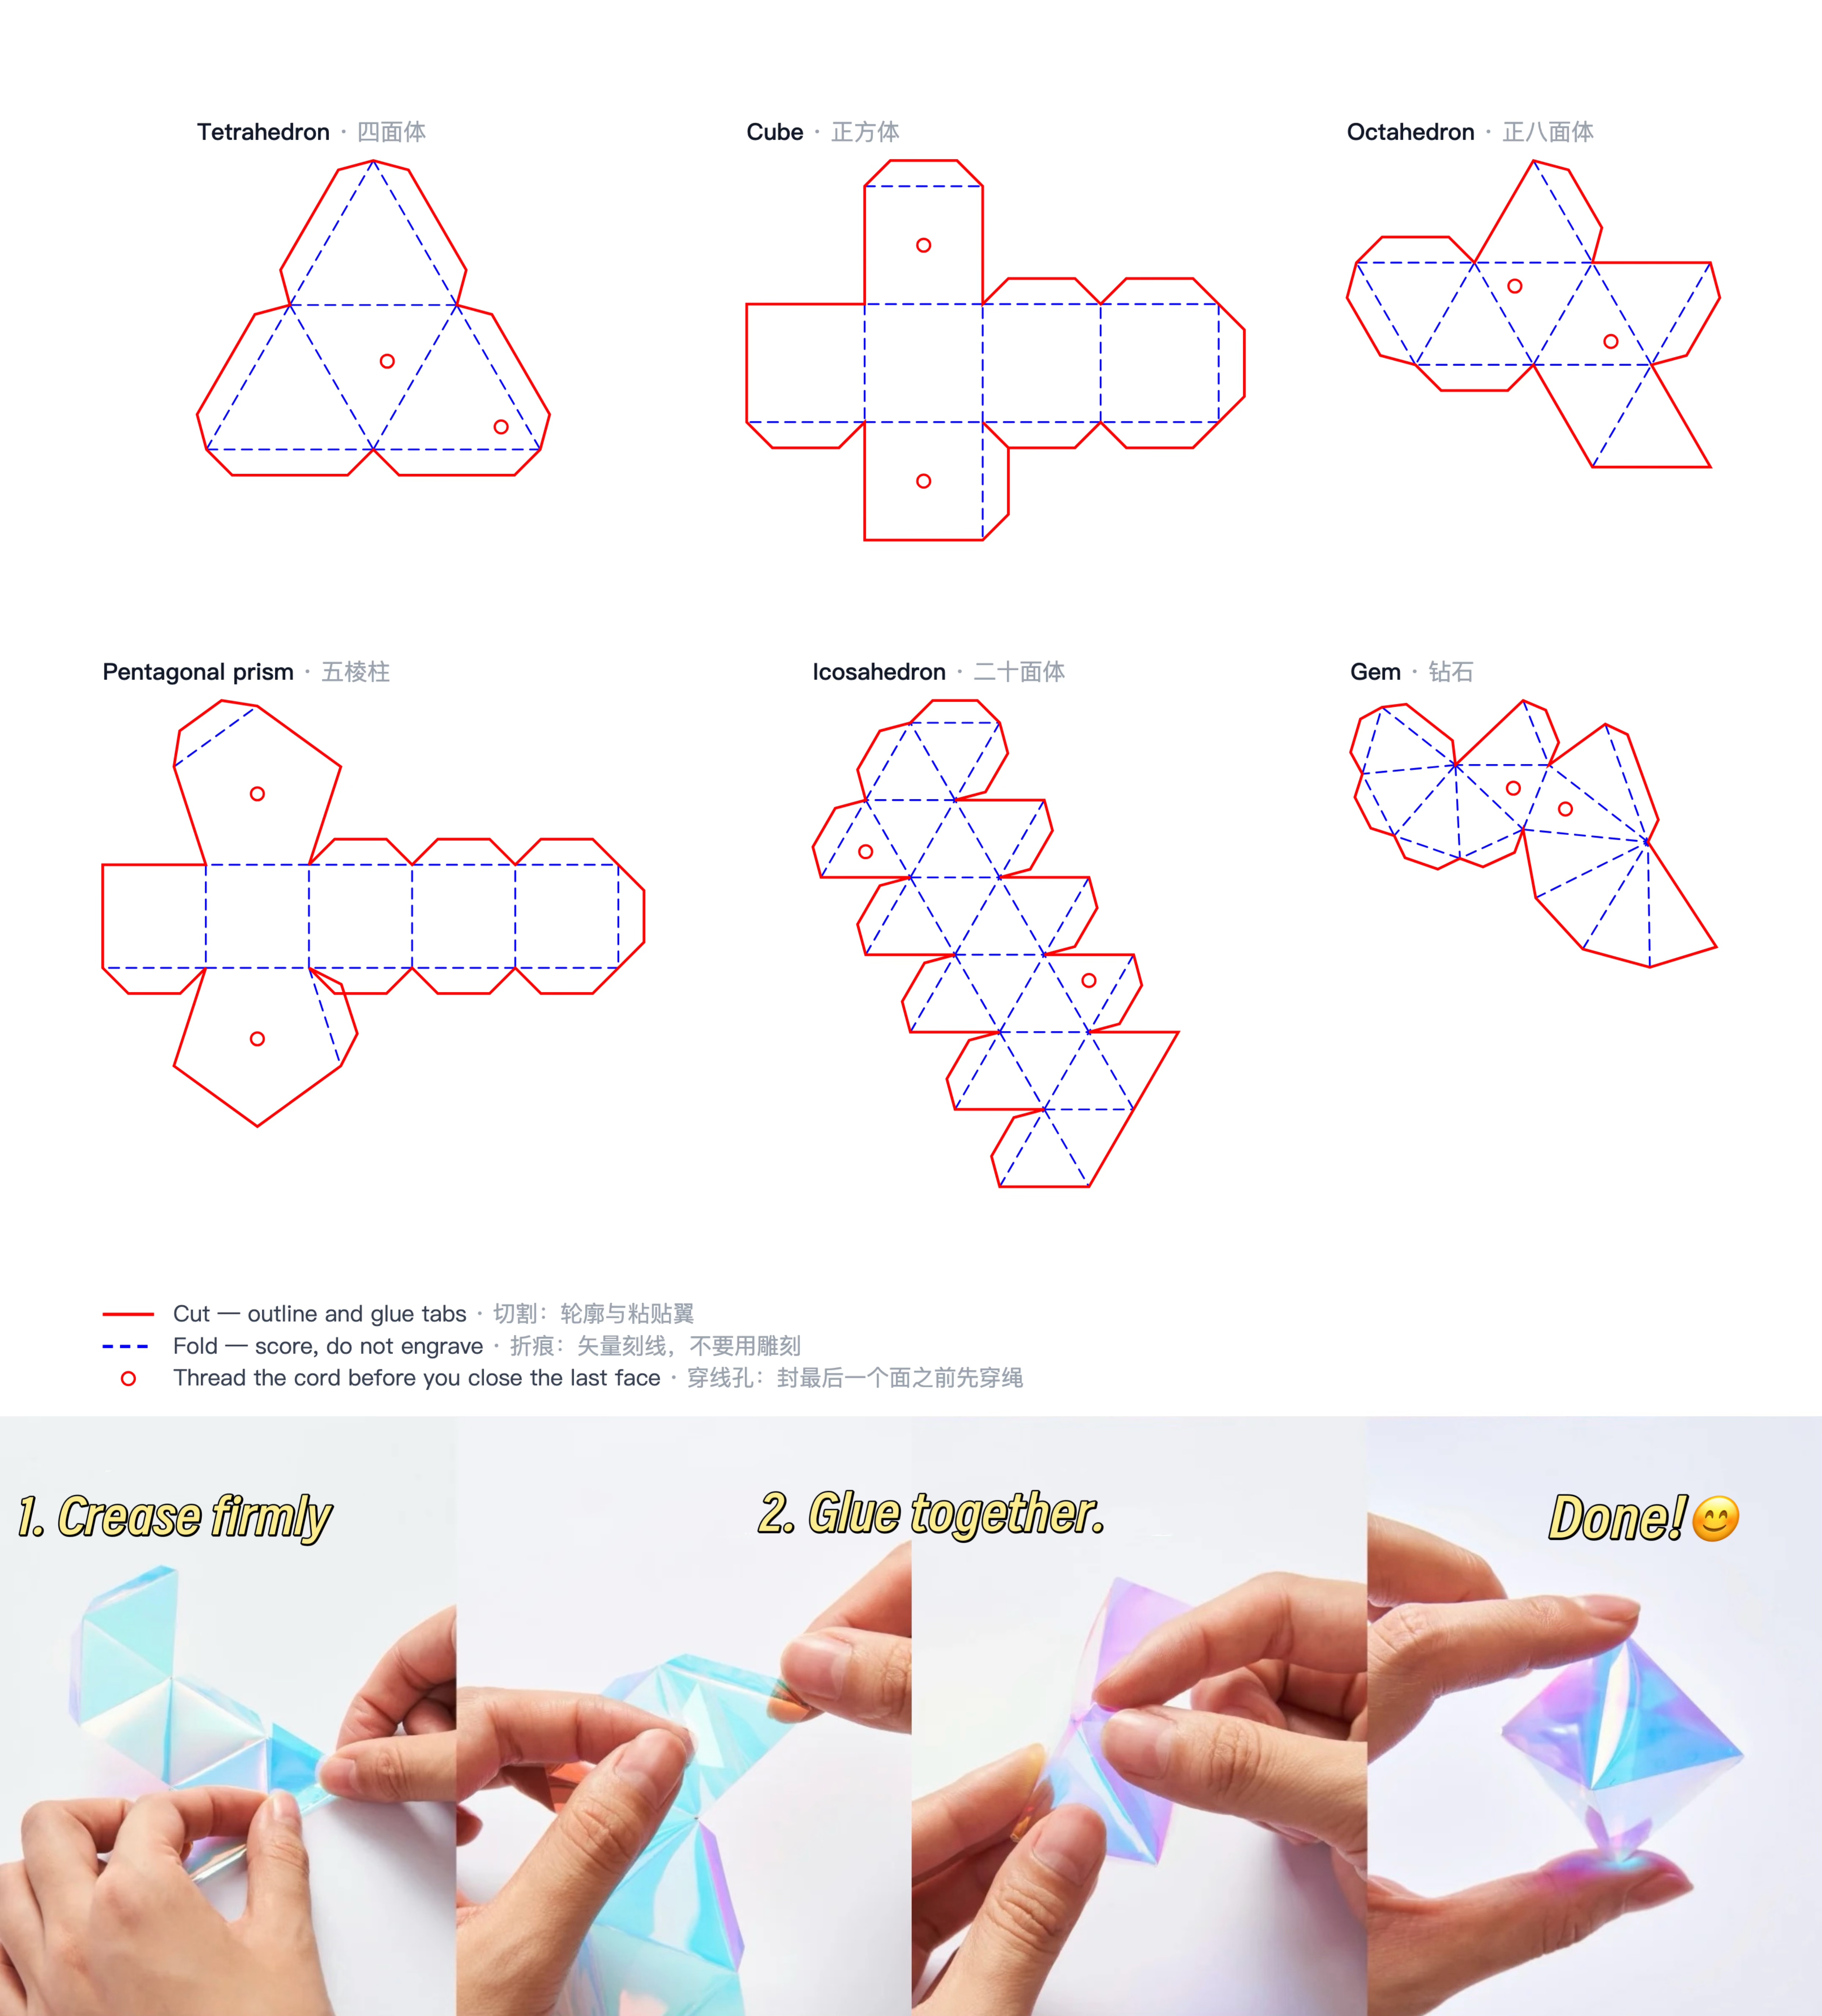
- One size field, one meaning. 10–90 mm, and it measures the same thing for every charm — a 26 mm cube, a 26 mm star and a 26 mm gem are all 26 mm across. Mix flat and folded on the same strand and the set still looks like a set.
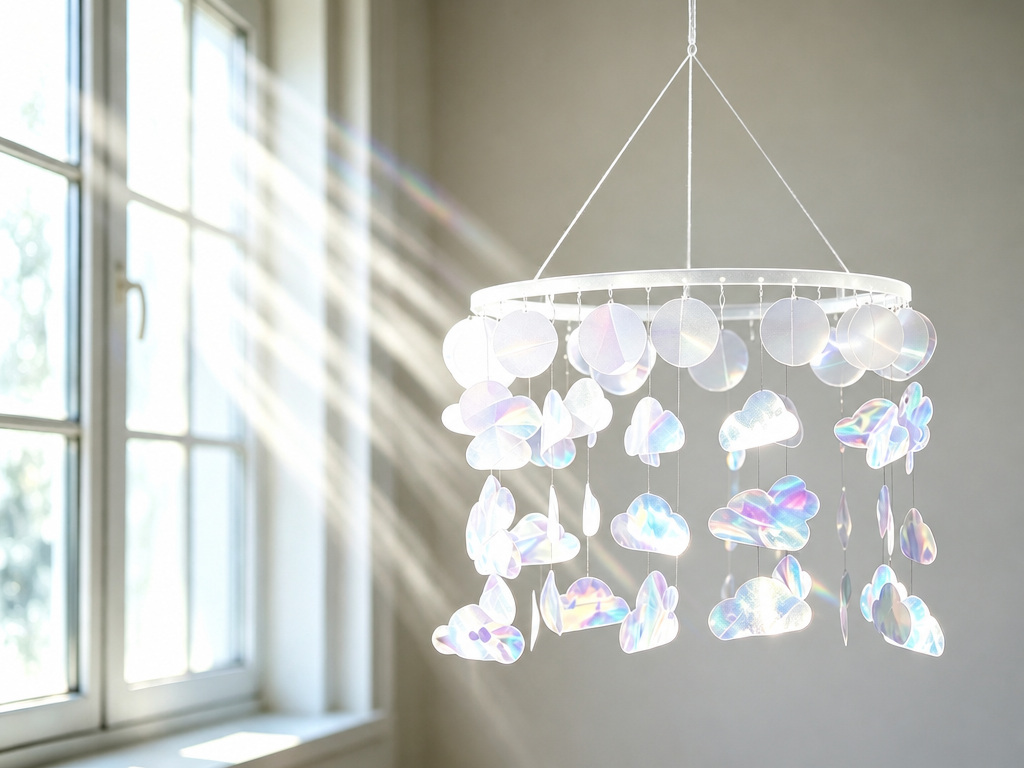
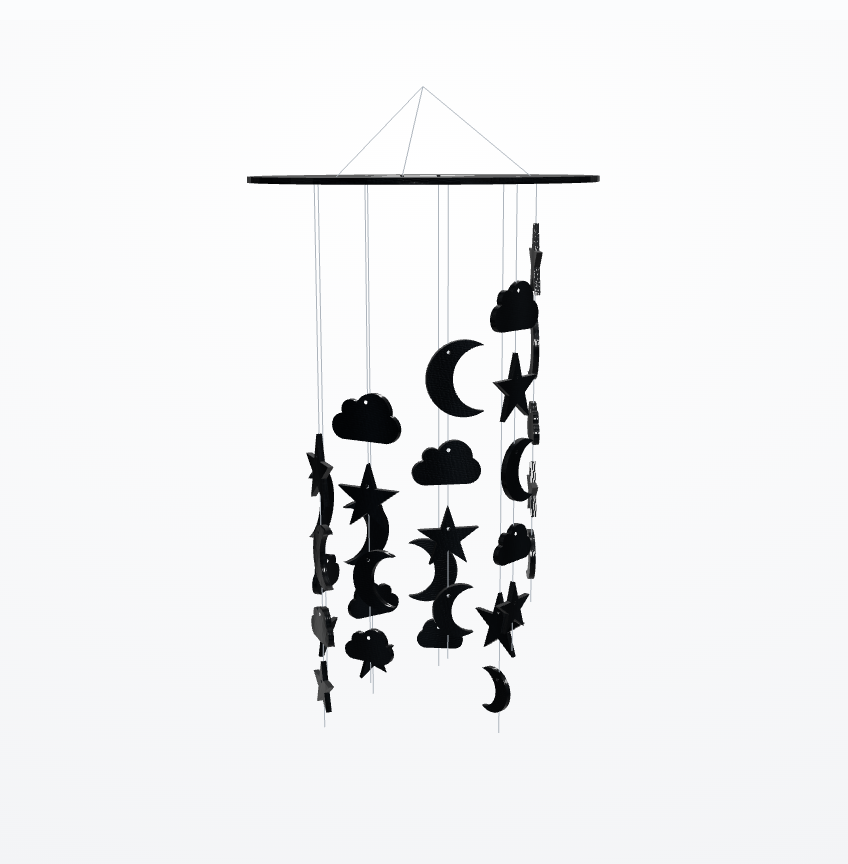
- Materials you can see before you cut — basswood, white acrylic, black acrylic, holographic paper. Each is rendered for what it is: wood grain, the soft edge of acrylic, and for holographic paper a real metallised film whose colour sweeps across the facets as the piece turns, not a rainbow texture pasted on top. Folded solids are holographic paper only — 0.3 mm cardstock is what folds; 3 mm acrylic does not.
- Strands that fall your way — even, tapered, reversed, or exactly as you type them, with an optional size gradient down each strand. Cord spacing follows the charm size, so the proportions hold at any scale.
- One charm at a time — click a charm to give it its own size or shape, flat or folded; from then on it ignores the global fields, so the piece you placed by hand stays put.
- Engraving with no font size to set — text on the wall top piece or the bottom tag centres itself and fills the material actually there. Eighteen fonts. If a name won't fit, the panel says so instead of engraving off the edge.
- Holes solved for you — each one lands where the charm hangs straight and the wall around it stays thick, folded solids included. When a shape can't do both, you're told how far off it will hang and what to change.
🛠 How to use it
- Pick a top and the shapes, and set the charm size.
- Set the strands — how many, how many charms on each, how they fall.
- Engrave a name or add a tag if you want one, and click any charm you'd like sized or shaped differently.
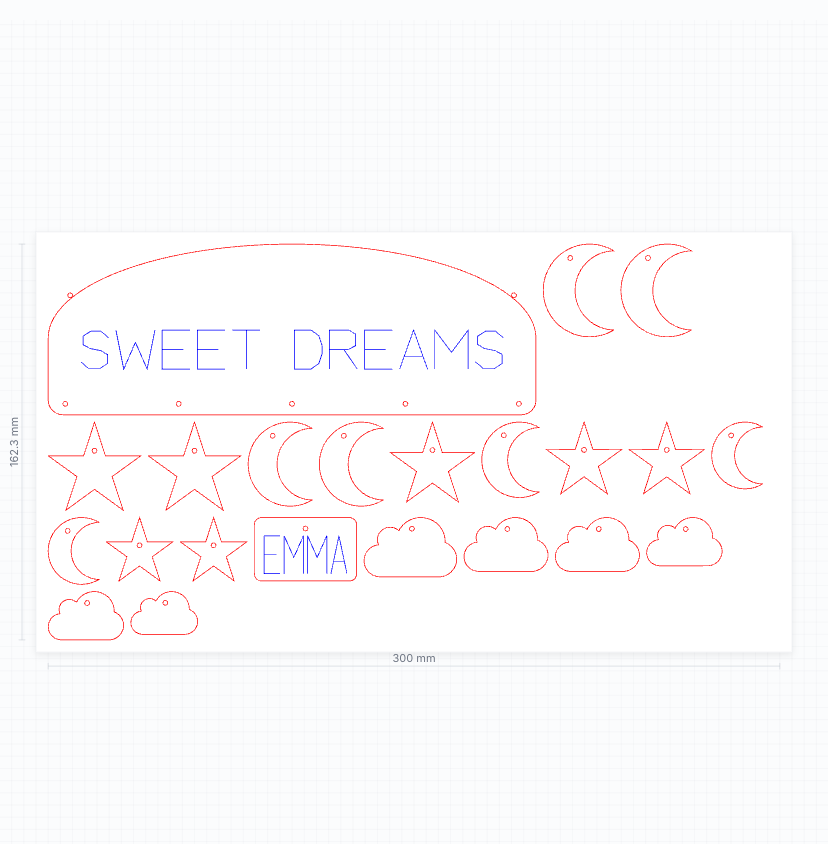
- Set the sheet width to the material you own, then check the nesting view and the summary under the canvas: parts, finished size, cut length, and any warning worth fixing before you cut.
- Export. Life size in millimetres — red
#FF0000= cut, blue#0000FF= engrave, separate layers, 0.1 mm cut width. One SVG for a single material; choose holographic paper and you get two files, one per material, each named for the stock it needs. Check your machine reads the colours as the right operation.
6.Folded charms: run the blue creases in vector Score mode, not engrave. Then crease firmly, fold, thread the cord through the two holes, glue the tabs and close the last face.
7.Hang it — three cords gathered above a ring, or one screw behind a wall piece. (There's a no-hole mode too: the charms glue to the back of the cord.)
🧰 Materials
- Frame — 3 mm plywood, basswood or acrylic. Anything from 2 to 4 mm works; thickness only affects the preview, never the file.
- Charms — the same board, or 0.25–0.35 mm holographic cardstock for the folded ones. Paper- or PET-based only: never put PVC-based film in a laser.
- Two materials means two sheets. Choose holographic paper and the frame stays acrylic — paper won't hold a ring carrying a dozen charms. The nesting view then shows a sheet per material and the export follows, so nothing gets cut from the wrong stock.
- One 300 mm sheet holds a single-material chime, using about 95% of the board. Folded solids ask for more paper — a 26 mm cube unfolds to 78 × 59 mm — so watch the charm sheet grow as you add them. Set the sheet width (100–900 mm) before exporting.
- Cotton cord or fishing line, thinner than your hole width (2 mm by default). Cord and hardware are yours to supply.
- On dark acrylic the engraving comes out frosted white; on white acrylic it barely shows. On holographic paper the laser burns through the metallised layer, so keep the blue layer to creases.
Comments