


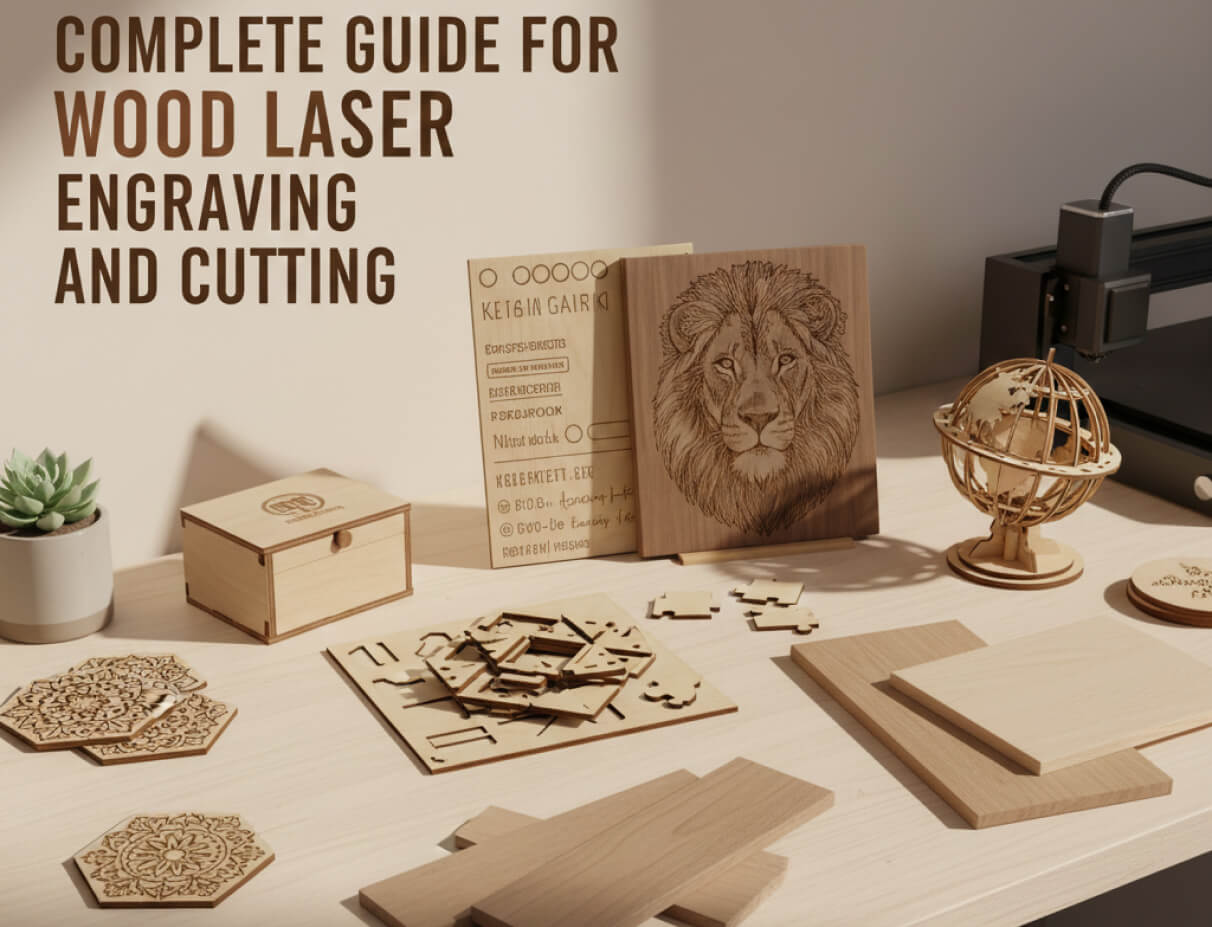
Wood has fascinated makers for centuries, but laser technology has changed what we can do with this classic material. Imagine turning a simple piece of birch plywood into a detailed jewelry box with designs so fine they match hand-carved heirlooms, all in a short amount of time. Picture engraving a realistic portrait on walnut that shows every subtle shade and texture. That's the power of laser cutting and engraving wood. What once took years of woodworking skill is now available to anyone with curiosity and creativity. The precision of focused laser light opens up options that traditional saws and chisels can't achieve, from paper-thin wooden lace patterns to multi-layered dimensional art. Whether you're an experienced craftsperson or just starting in the maker community, wood laser work provides an exciting journey of experimentation and creation.
How Laser Cutting and Engraving Wood Works?
While both processes use focused laser beams, they operate in very different ways. Laser cutting goes all the way through your material. The beam slices completely through the wood to create shapes, parts, or intricate cutouts. Think of it as a very precise saw that never dulls. You are separating pieces from your base material. Unlike traditional saws or routers, you can cut curves and corners with the same accuracy as straight lines. There is no tool wear to worry about; your hundredth cut is as clean as your first.
Engraving, on the other hand, only removes the surface layer. The laser burns away just enough material to create contrast and depth, but your wood remains intact. It's more like controlled burning that creates images, text, or textures. You can go shallow for a subtle effect or deeper for dramatic shadowing. Where hand carving or rotary tools would take hours and serious skill to achieve fine detail, a laser can reproduce photo-quality images with consistent depth across the entire piece.
The power settings make a big difference here. Cutting requires higher wattage and slower speeds to penetrate completely, while engraving uses lower power with faster passes to control how deep you go. Most projects actually combine both techniques—engraving details onto pieces you've laser cut.
Which Types of Wood Can a Laser Machine Deal With
The good news is that most woods work well with lasers, but some perform better than others. Your results depend on the wood's density, resin content, and grain structure.
Best performers for laser work:
- Birch and maple plywood: Clean cuts, minimal charring, consistent results across the sheet.
- Cherry and walnut: Beautiful contrast when engraved, rich color variations.
- Basswood: Soft and forgiving, perfect for beginners learning their settings.
- Bamboo: Technically a grass, but it engraves beautifully with high contrast.
Woods to approach carefully include pine, as sap pockets can cause flare-ups, oak, which has open grain that needs more cleanup, and MDF, where the glue binders create more smoke. Avoid pressure-treated or painted woods altogether, as the chemicals release toxic fumes when burned.
Even "difficult" woods can work once you get your settings right. Start with recommended materials while you learn, then experiment once you understand how your machine works.
How Thick of Wood Can a Laser Cutter Cut?
The maximum thickness a laser cutter can handle depends on the type of laser and its power. For instance, our 40W diode laser (xTool S1) can cut up to 15mm of wood in one pass, while our 55W CO2 laser (xTool P2) can cut up to 18mm of wood.
You can cut thicker materials with multiple passes, but the quality of the cut is more important than the maximum thickness. Pushing a machine to its limit often results in rough edges and more charring. Most makers find their “sweet spot” is about 20 to 30% below the maximum thickness, where cuts are clean and need little finishing.
In fact, using multiple passes at lower power often gives better results than forcing a single aggressive cut. It’s all about balancing efficiency with precision to achieve the best finish on your projects.
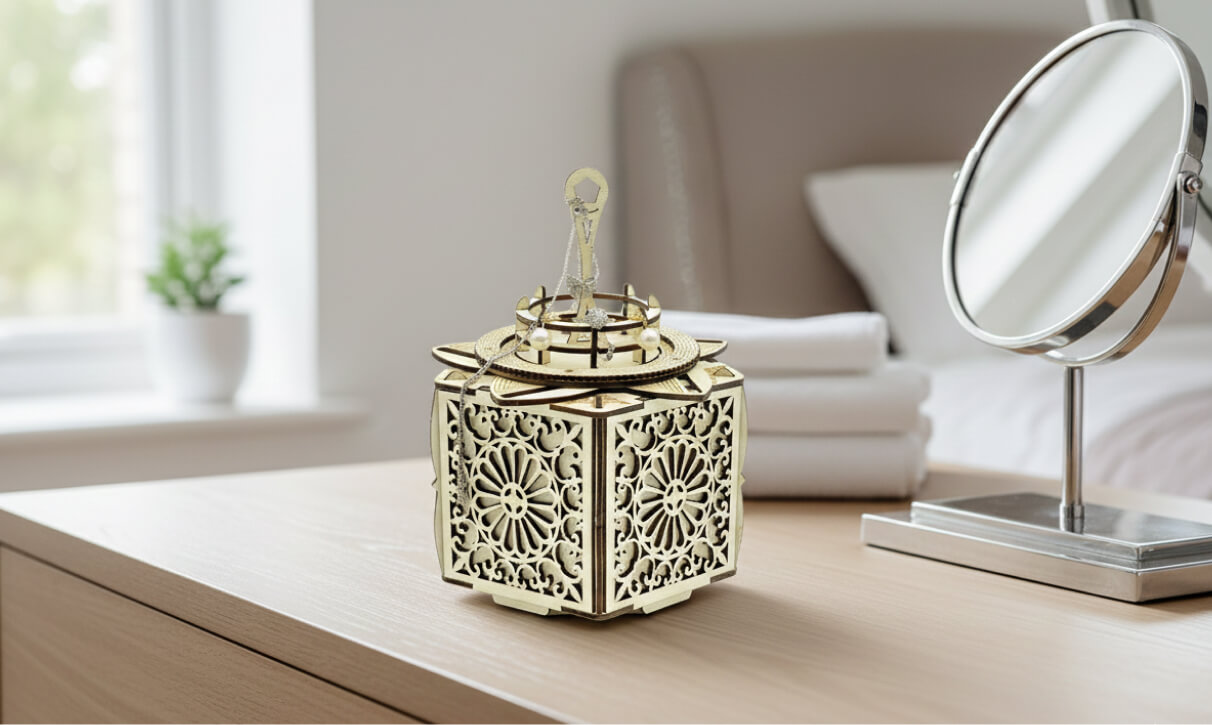
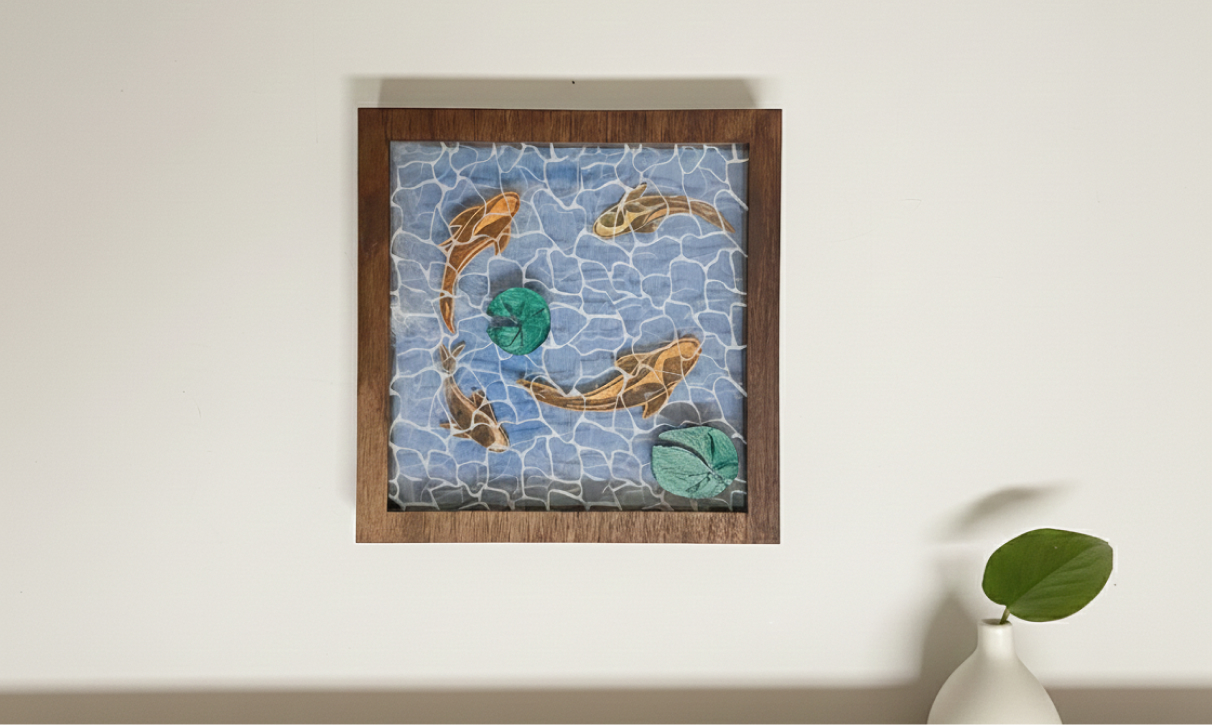
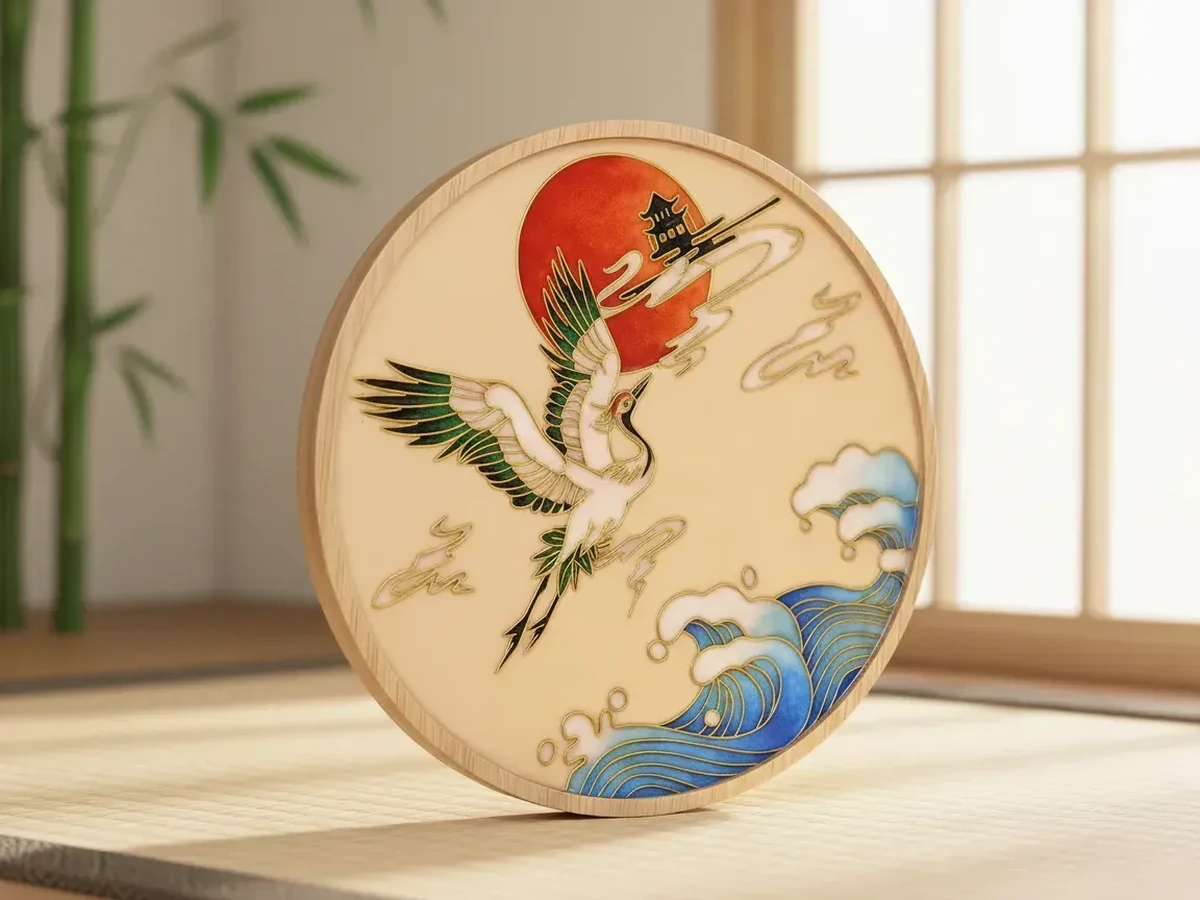
Wood Laser Cutting and Engraving Projects
The number of project ideas expands when you think about what lasers can do. You'll find makers working on quick weekend builds and complex multi-day creations.
Popular project types that excel:
- Personalized gifts: Custom cutting boards, engraved photo frames monogrammed jewelry boxes
- Home décor: Geometric wall art layered mandalas decorative signs with intricate typography
- Functional items: Coasters, phone stands, desk organizers, custom puzzles
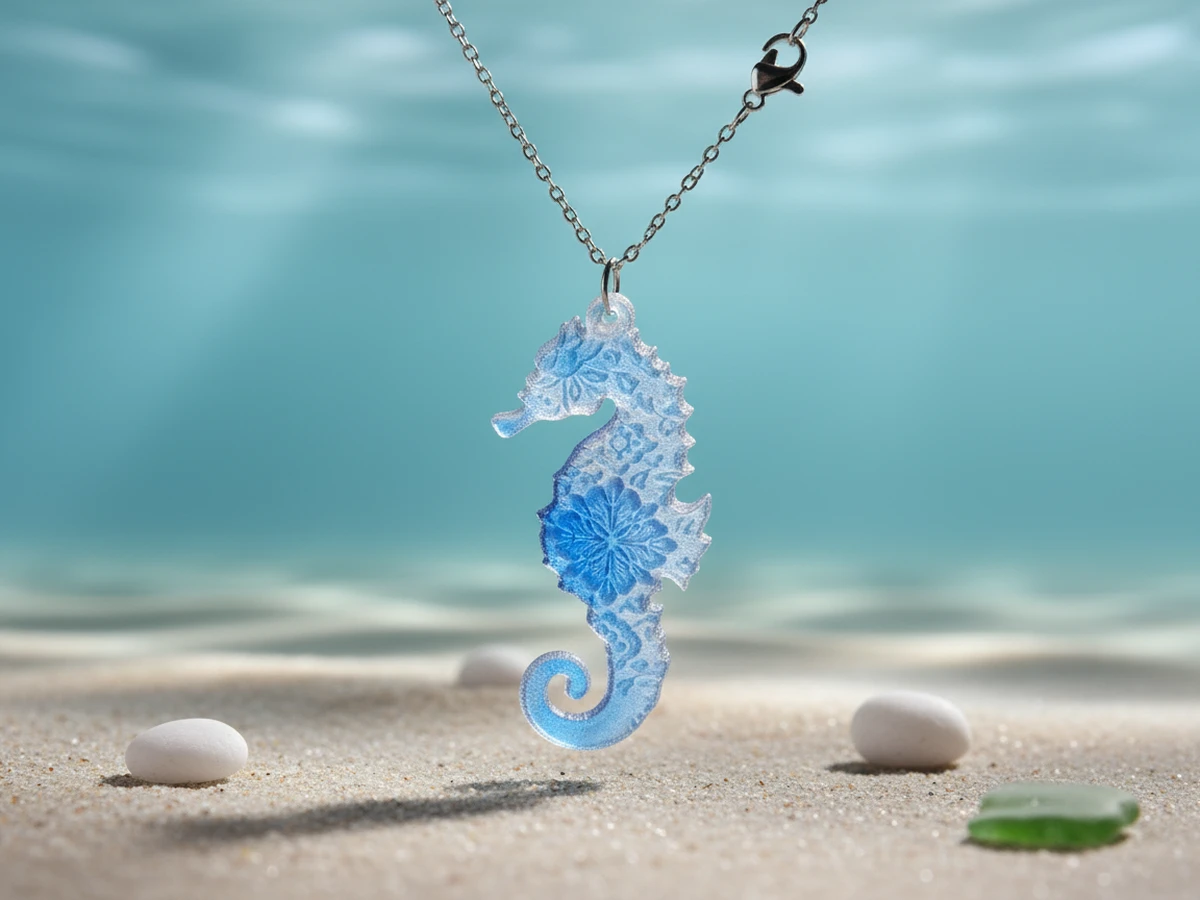
- Jewelry and accessories: Wooden earrings, pendants, bracelets with detailed patterns
- Business products: Wedding invitations branded packaging promotional materials
- Architectural models: Scale buildings, terrain pieces, prototype parts
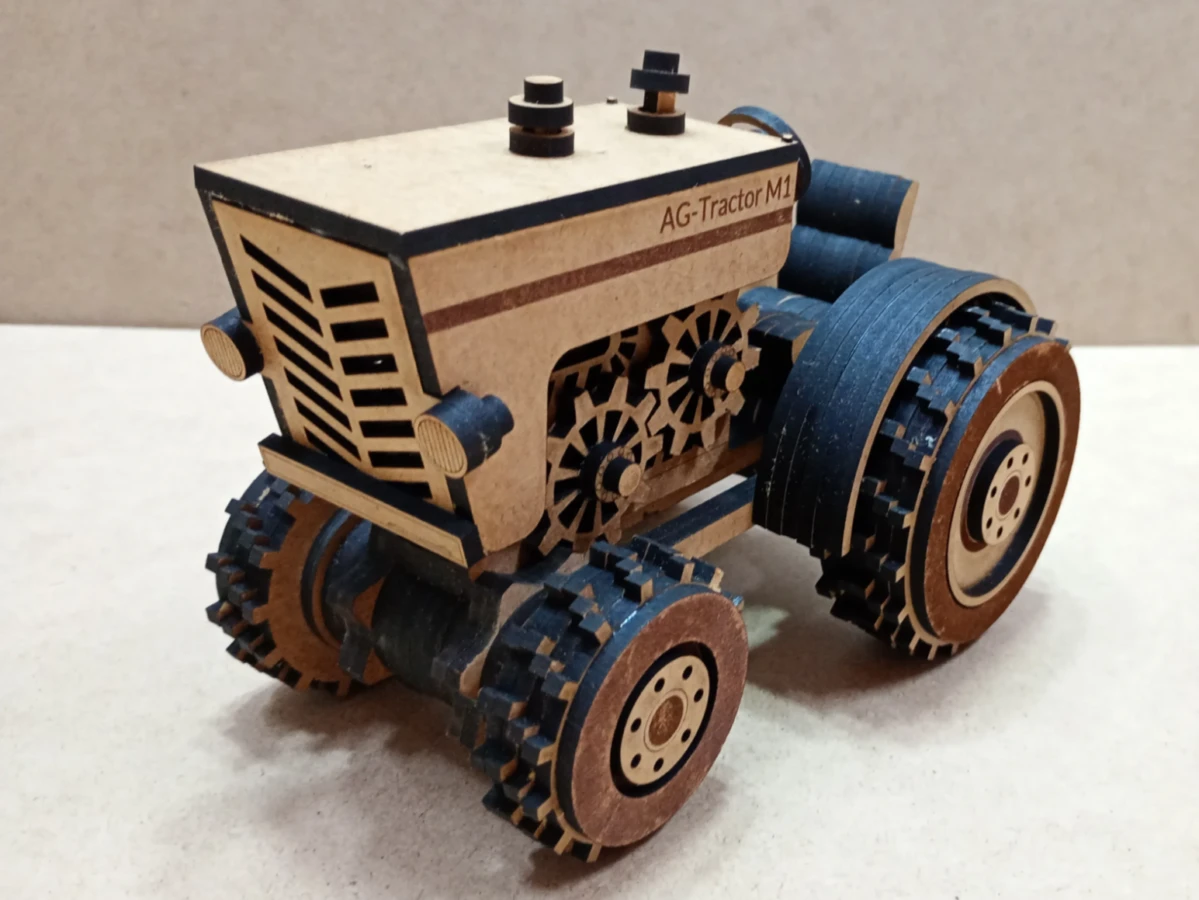
The neat thing is how you can combine different methods in one project. You might be cutting out the basic box shape then carving a detailed landscape picture on the top then making cut-through designs on the sides to let air in. Every project shows you something new about how materials work, which settings go well together, and what happens when you try to stretch your creativity a bit more. Find more spotlight projects on Atomm.
What's the Best Type of Laser Engraver for Wood?
You've got two main contenders: diode lasers and CO2 lasers. Both work great on wood, but they excel in different areas.
Diode lasers are small, cheap, and pack a punch. They work best if you're cutting thin materials—like 1/4" plywood or thinner. The blue light they make gets soaked up well by darker woods, which leads to sharp engraving contrast. You can set them up , and most are light enough to move around your workshop easily.
CO2 lasers pack more raw power. They slice through thicker stock quicker and work with more materials beyond wood. Their infrared beam cuts light and dark woods well. You'll get sharper edges on cuts and more options to engrave .
Most woodworkers starting out will find great value in a good diode system. As your projects get bigger and you often cut thicker materials or do production work, that's when CO2 becomes a smart choice.
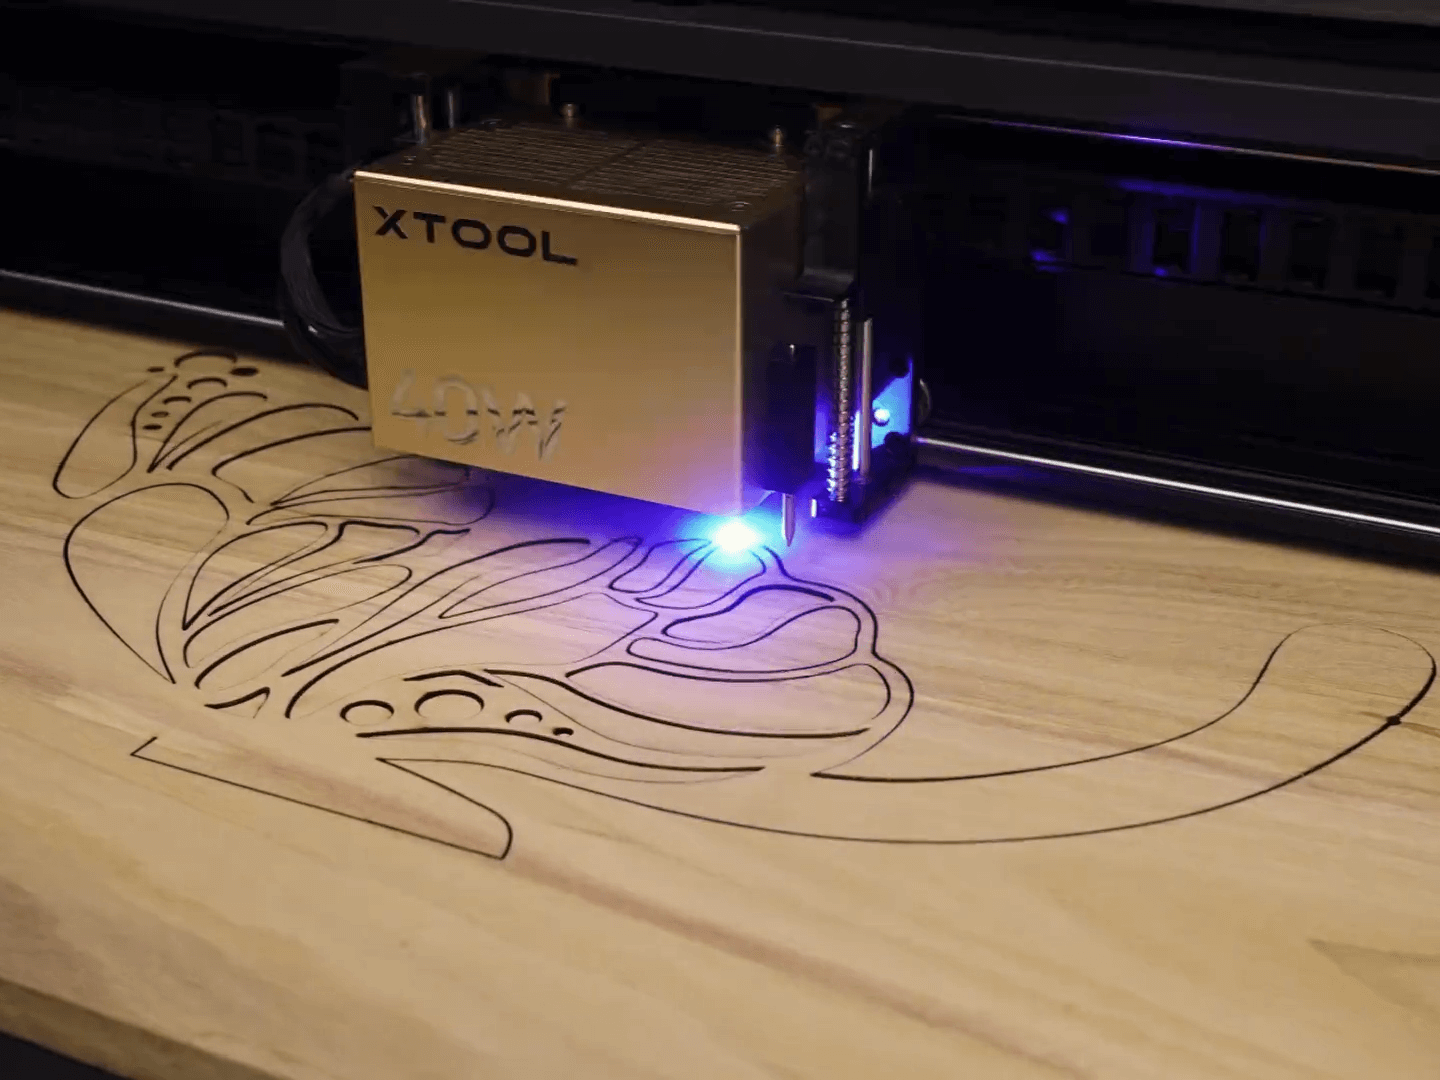
How to Laser Cut or Engrave Wood with xTool Lasers?
Starting out becomes much simpler when you use the shared knowledge of the community. Here's how experienced xTool users work:
Step 1: Discover Your Design on Atomm
Visit www.atomm.com and look through thousands of prepared wood projects. The site offers everything from simple cuts for beginners to intricate multi-layer designs. Get files that come with tested settings - many are XCS files that open right in your software with all parameters already set up. Even if you're making something from the ground up, check Atomm's database of material settings first to see what has worked for others.
Step 2: Bring In and Modify in XCS
Open xTool Studio and load your design file. If you got it from Atomm, the layers have color codes already: blue means scoring, green means engraving, and purple means cutting. You can change the design or use it as it is. For designs you make yourself, bring in your SVG or image files and XCS will help you assign tasks to them.
Step 3: Get Your Material Ready
Put your wood on the work bed and use the built-in camera to see where to place it. Use calipers to measure how thick your wood is. This measurement is key for everything else. Type it into XCS, and the autofocus will adjust the height on its own.
Step 4: Check Your Settings
If you used an Atomm file, the settings are ready to go. For custom work, pick your wood type from the material library and XCS fills in tested settings. The community has already tried these combinations so you're building on shared knowledge instead of guessing.
Step 5: Frame and Test
Run the framing preview to see where the laser will cut. This spots positioning issues before you start. On expensive wood, do a quick test cut on scrap using the same settings.
Step 6: Start Your Project
Press start and watch the first minute. You should see clean cutting or engraving with steady smoke removal. The processing panel shows live progress, and most projects end faster than you'd expect.
What gives this workflow its strength is that you're always building on existing solutions. Atomm has already tackled most common issues and made their findings available.
Wood Laser Engraving or Cutting Tips
Clean professional results depend on how well you understand your laser's interaction with wood. The community has discovered some tricks through experimentation that can help you achieve better outcomes. Key methods that have a big impact:
- Get the most out of your air assist: Good airflow stops flames and clears smoke before it marks your wood. Move the nozzle near your material to make it work best.
- Secure your masking: Put blue painter's tape on your wood before you engrave to cut down on char marks and keep edges sharp. Take it off after cutting for a cleaner look.
- Think about kerf width: The laser takes away material as it cuts (0.2-0.4mm). Make your parts a bit bigger or adjust them for snug fits.
- Line up your grain direction: Cutting along the grain gives you cleaner edges than cutting across it. Set up your layout with this in mind when you need to be precise.
- Keep your burn marks in check: Turning down the power and making several passes often works better than a single high-power cut. You'll give up some speed, but you'll get much cleaner edges.
The real game-changer comes when you quit hunting for "flawless" configurations and begin recording what works with your particular materials and equipment setup.
Wood Laser Cutting & Engraving FAQs
Can a fiber laser engrave and cut wood?
Fiber lasers are made to cut and engrave metals. You can use them on wood, but they're not the best option. Here's why: fiber lasers work at high power and wood doesn't absorb their wavelength . This often causes uneven results, with edges that look burnt or not smooth. If you want clean exact woodwork other laser types such as diode or CO₂, are better choices.
What is the best laser cutter for woodworking?
Picking the right laser cutter for woodworking depends on what you need. The xTool S1 works well for newcomers. It has a 40W diode laser inside, a Class 1 design for safety, and can do things like batch engraving and work on curved surfaces. Its workspace is bigger than an A3 sheet. The xTool P2 however, fits small businesses better. It has a stronger 55W CO₂ laser, a bigger bed, and built-in air assist to cut cleaner without burning. To sum up, the S1 is great for hobby starters, while the P2 has the strength and size for pro woodworking jobs.
Where can I get free laser cutting and engraving files?
Atomm offers a big library of free laser files showing our commitment to open-source creativity. After signing up, you can download, tweak, and use designs our community has shared. Our platform has thousands of contributions, including how-to guides personal stories, and sources of inspiration. It's a place where makers work together to find new ideas and make their projects better. You can use most of these designs right away for laser cutting. Just bring them into xTool Studio, set up your preferences, and you're ready to make top-notch, laser-cut pieces without any hassle.
Final Thoughts
Wood and lasers make an amazing team - they keep showing new ways to create things as you dig deeper. What begins as interest in cutting a basic box grows into multi-layered art complex inlays, or even small batch production that can become side gigs.
It's not as hard to learn as you might guess. The Atomm community shares tested files, material libraries take out the guesswork from settings, and forums are full of makers who've already fixed the problems you're about to face so you're never alone in figuring things out. Your first few projects teach you more than any guide could about how wood acts under the laser how to understand burn patterns, and when to go with the flow versus when to make changes.
The real magic starts when you quit following tutorials and begin asking "what if?" That's the point where laser work changes from obeying instructions to true creative expression. So get some scrap wood, start up your machine, and find out where trying new things leads you.