Report
![[Laser cut and engrave] Snowman Ornament](https://image-res.atomm.com/resource/xtool/community/attachment/xtool-community/6e207940-20a9-47eb-9f2a-6eee08e941af?x-oss-process=image/resize,m_fill,w_1280,h_960,limit_0/interlace,1/format,webp/auto-orient,1)
![[Laser cut and engrave] Snowman Ornament](data:image/png;base64,iVBORw0KGgoAAAANSUhEUgAAAAoAAAAKCAYAAACNMs+9AAAAAXNSR0IArs4c6QAAABdJREFUKFNjZCASMBKpjmFUId6QIjp4AAppAAuXjCs4AAAAAElFTkSuQmCC)
![[Laser cut and engrave] Snowman Ornament](https://image-res.atomm.com/resource/xtool/community/attachment/xtool-community/6e207940-20a9-47eb-9f2a-6eee08e941af?x-oss-process=image/resize,m_fill,w_160,h_120,limit_0/interlace,1/format,webp/auto-orient,1)
![[Laser cut and engrave] Snowman Ornament](https://image-res.atomm.com/resource/xtool/community/attachment/xtool-community/33dd7535-9f6f-43c7-b24b-089235231b2d/6181AB3B-E545-4525-BADA-AE861980BD76_4_5005_c.jpeg?x-oss-process=image/resize,m_fill,w_160,h_120,limit_0/interlace,1/format,webp/auto-orient,1)
![[Laser cut and engrave] Snowman Ornament](https://image-res.atomm.com/resource/xtool/community/attachment/xtool-community/86726dfd-6662-42ee-b1ff-fd86ef8387f9/A04C0DE7-5778-460A-A18D-6350F955B219_4_5005_c.jpeg?x-oss-process=image/resize,m_fill,w_160,h_120,limit_0/interlace,1/format,webp/auto-orient,1)
Snowman Ornament
 Instruction
snowmanornament
.xcs
Application scenario
Laser processing (30min)
Machine & module

xTool M1 Ultra
20WCompatible xTool Machine
P3
F2
F2 Ultra UV
F2 Ultra(Single)
F2 Ultra
F1 Ultra
F1
F1 Lite
S1
P2S
P2
M1
D1 Pro 2.0
D1 Pro
D1
Laserbox
M2
Material used

1/8"(3mm) Basswood Plywood

55
1317
Information
Decorate your tree this these personalized snowman ornaments
Instruction
1
Step1: Design

Preview

Preview

Preview
- Photo 1
- Start off with two circles
- Photo 2
- Next, add a smaller circle on top of that slightly over lapping the other two circles.
- Add a smaller skinner rectangle on top of that circle
- Add another bigger rectangle overlapping the thing rectangle. This is should look like a hat on top of a snowmans body
- Photo 3
- Select the two hat pieces ONLY; and "unite them together
- This is make a solid hat.
- Copy and paste a copy off to the side
- Photo 4
- Now select the hat, the smaller circle and the later one and unite them all together
- To Personalize
- Create your text in cursive
- stretch it out so that the sends of your text slightly overlap the bottom circles ends
- once you have it how you like it select both objects and unite them together.
- Create your text in cursive
2
Step2: Laser

Preview
- Place your material in your machine
- select your material settings
- auto measure you material
3
Step3: Paint & Assembly

Preview

Preview

Preview
- Paint your project pieces.
- Glue your eyes and carrot notes
- draw your mouth on with paint pens
- Glue your extra tap on top of the other hat
Comments
Remixes
License



You may also like
snowman gift ornament
snowman set ornament
snowman for kid ornament
snowman for adult ornament
snowman for tree ornament

Red Truck Ornament

63
131

Santa and Snowman Ornament with Personalized Name

82
340

Christmas Ornament
8
24

Personalised Christmas bauble with name Mia and snowflakes

4
5

Christmas Ornament
27
68

$2.49
$2.49
$8.30
Credits249
Laser Cut Snowman Alphabet Ornaments Personalized Wooden Christmas Decor

4

$1.90
$1.90
$3.80
Credits190
Christmas Door Hanger Laser Cut Snowman Decoration. Welcome Door Sign. Christmas Laser Cut.

4
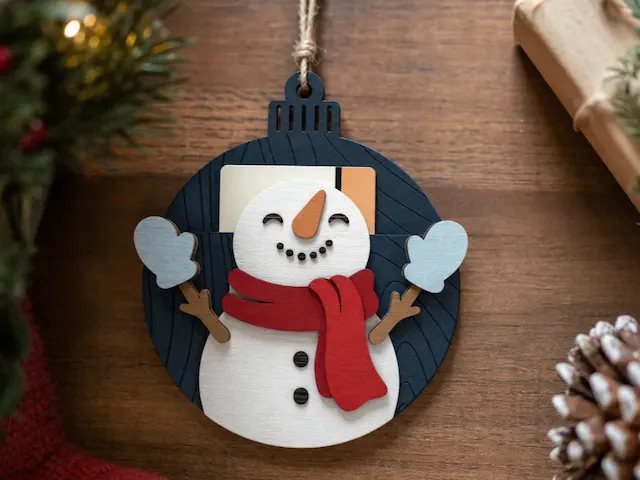
Snowman Christmas Ornament Gift Card Holder

6
32

Merry Christmas Tree Ornament
29
87

Reindeer Ornament
47
125

Initial Ornament/Keychain/Car Charm
23
72

Laser Cut Merry Christmas Family Snowman and Reindeer Ornament 2025

5
22

Letter For Santa Ornament
65
231

Snowman Door Hanger

218
841

$2.79
$2.79
$9.30
Credits279
Laser Cut Wooden Snowman Christmas Tree Ornament Decoration

1

$0.75
$0.75
Credits75
2 Layer Wooden Snowman Christmas Ornament

4

Reindeer Ornament
10
21

Snowflake Ornament
52
124