
Sketching is drawing quickly and loosely to work something out, rather than to produce a finished picture. The looseness is deliberate: a sketch is a tool for thinking, not an object for framing. Architects sketch before they draft, designers sketch before they render, and illustrators sketch before they commit a line.
This guide covers what sketching is and how it differs from drawing, the types and what each one trains, the materials you actually need, the techniques worth learning first, and the two conversions makers ask about most — photo to sketch, and sketch to cut file.
Turn a photo into a sketchConvert any picture into a hand-drawn ballpoint pen look, free and online.Try the converterKey Takeaways
- Sketching is fast, exploratory drawing — the goal is to capture or figure something out, not to finish it.
- A drawing is the finished work; a sketch is usually the thinking that came before it. The difference is intent, not quality.
- The core skills are blocking large shapes first, measuring by comparison, and keeping lines light enough to draw over.
- Sketches convert to cut and engrave files unusually well, because they are already line work rather than tone.
What Is Sketching?
Sketching is rapid, informal drawing done to explore an idea, record something quickly, or plan a larger piece. Speed is part of the definition — a sketch is meant to be provisional.
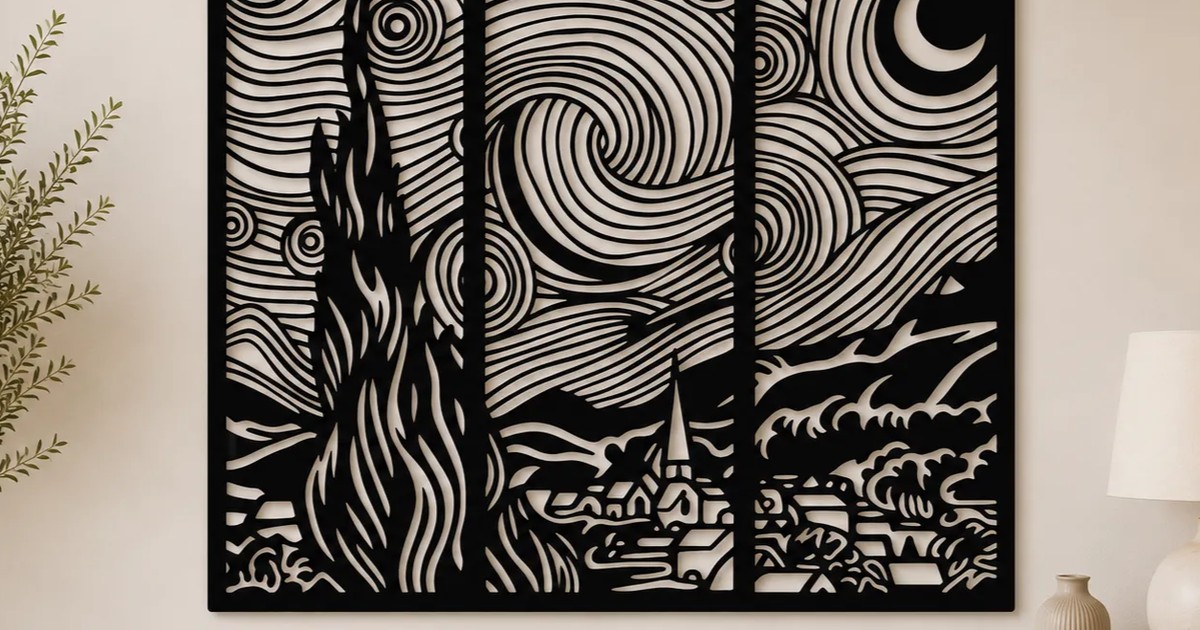
Being provisional is what gives a sketch its freedom. Overlapping lines, visible construction marks, and unresolved areas are normal, and experienced artists often leave them in deliberately because they show how the drawing was built.
That freedom carries the real value. Committing to a single line forces a decision immediately; sketching several lets you see which one is right before you commit to any of them.

It is also why sketching sits at the front of almost every design process. A rough thumbnail costs a minute, so ten of them cost ten minutes — far cheaper than discovering the composition was wrong after four hours of rendering.
Sketching vs. Drawing: What Is the Difference?
The two words overlap enough that people use them interchangeably, but they describe different jobs. The distinction is intent rather than skill or medium.
| Sketching | Drawing | |
|---|---|---|
| Purpose | Explore, plan, or capture quickly | Produce a finished piece |
| Time | Seconds to minutes | Hours or longer |
| Finish | Loose lines, visible construction | Resolved lines, considered shading |
| Mistakes | Left in — part of the process | Corrected or erased |
| Audience | Usually just the person drawing | Someone else |
| Typical tools | Pencil, pen, anything to hand | Chosen deliberately for the result |
A sketch can be beautiful and a drawing can be crude. What separates them is whether the piece was made to think with or to be looked at.
The practical consequence: judging a sketch by how finished it looks is the wrong test. A sketch that captured a pose in eight seconds did its job, even if nobody else can read it.
Types of Sketching
The word covers several distinct practices, each training a different skill. Most people benefit from rotating through them rather than picking one.

- Gesture sketching — seconds per pose, capturing movement and weight rather than detail. Trains speed and looseness.
- Contour sketching — following the edges of a subject with one continuous line, often without looking at the page. Trains observation.
- Thumbnail sketching — small, fast compositions used to test layouts before committing. Trains compositional judgement.
- Technical sketching — rough but proportional, used to communicate how something is built or assembled.
- Urban or life sketching — drawing from direct observation on location, under real time pressure.
Gesture and contour are the two most worth practising early, because they pull in opposite directions. Gesture stops you fussing over detail; contour stops you inventing shapes instead of looking at them.
Try this rotation
Ten one-minute gesture sketches, then one slow five-minute contour of the same subject. The contrast between them exposes what your eye is skipping over faster than either exercise does alone.
Why Sketching Matters
Sketching is not only preparation for art. It survives in professional practice because it is the cheapest way to externalise an idea and look at it.
It makes decisions visible. Ideas held in your head feel more coherent than they are. On paper, the proportion that was quietly wrong becomes obvious in seconds.
It is fast enough to be honest. When a sketch costs a minute, discarding it costs nothing. When a render costs four hours, you start defending it — and defending a weak idea is expensive.
It communicates without polish. A rough sketch shown to a client invites feedback, because it visibly is not finished. A polished mockup at the same stage reads as a decision already made.
For makers specifically, it is also the fastest way to get from an idea to a cuttable file — a sketch is already line work, which is exactly what a cutter or engraver wants.
What You Need to Start Sketching
Less than most beginners expect. Equipment matters far less than time spent observing, and an expensive sketchbook tends to make people precious about filling it.

Pencils. One HB and one 2B covers nearly everything. HB for light construction lines, 2B for darkening the lines you decide to keep.
Paper. Any sketchbook with reasonably smooth paper. A5 is a good starting size — large enough to draw from the elbow, small enough to carry.
A fineliner or ballpoint. Working in ink removes the option to erase, which is uncomfortable at first and then extremely useful. It forces you to commit and to accept the line you drew.
An eraser, used sparingly. A kneaded eraser lifts graphite without scrubbing the paper. Reaching for it constantly is usually a sign of starting with detail instead of blocking in shapes.
Techniques Worth Learning First
Four habits account for most of the difference between a sketch that reads and one that does not. They are all about sequence rather than skill.

Block in the big shapes. Start with the largest forms as simple ovals and boxes. Beginning with an eyelash means the head is already the wrong size before you notice.
Draw lightly at first. Faint lines can be drawn over; heavy ones commit you to a decision you have not tested yet. Darken only once the shape is settled.
Measure by comparison. Hold the pencil at arm's length to compare proportions — how many head-heights tall the figure is, how far the shoulder sits from the chin.
Keep the wrist loose. Draw from the shoulder for long lines. Wrist-only movement produces short, cramped strokes that make everything look tight and hesitant.
The most common beginner mistake
Starting with the eye. It is the most interesting part of a face and the most tempting place to begin, but it fixes the scale of everything else before the head has a size. Block the skull first, always.
How to Turn a Photo Into a Sketch
The reverse job comes up constantly: you have a photograph and want it to look drawn. Which converter to use depends on the kind of mark you want, not on the subject.

Ballpoint pen, for tone. The photo to sketch converter builds shading out of dense hatching, the way an actual biro sketch does. Best for portraits, pets, and anything whose form depends on soft shading.
Fine line, for contours. A fine-line conversion reduces the picture to thin, even outlines with no shading at all. This is the cleanest starting point if the result is going to be engraved or plotted.
Abstract line, for simplification. An abstract-line conversion strips further, keeping only the few lines that carry the subject. Useful for decals, single-line wall pieces, and marks that need to read at a glance.

All three keep detail as marks rather than as grey. That matters for making: a grey gradient has to be dithered into dots before a machine can reproduce it, while a hatched line is already something the machine can trace directly.
Pick the source photo carefully
Conversion amplifies whatever the photo already had. Strong side lighting and a clear separation between subject and background give clean lines; a flat, evenly lit photo converts into mush, whichever tool you use.
Good Sketch and Line Art Designs
Five community pieces that show what sketch-style line work becomes once it is cut. Each is a downloadable design.
1. Abstract Woman Line Art Triptych

Three framed panels, each a single female figure drawn in one unbroken contour. It is contour sketching turned into an object: no shading, no interior detail, and the likeness carried entirely by where the line turns.
Get this design →2. Abstract Face Line Art SVG

An abstract face where a few strokes stand in for eyes, nose, and a hand. The design leans on how little the eye needs: remove any one line and it stops reading, which is a good test of whether a sketch has been simplified far enough.
Get this design →3. One-Line Coffee Art – Woman with Cup

A woman holding a cup, drawn as one continuous line from start to finish. One-line work has a practical advantage for cutting: because the path never lifts, the finished piece is a single connected object with nothing to mount separately.
Get this design →4. Floral Wall Art SVG

Lilies drawn in outline and framed by a plain rectangle. Botanical subjects suit line work because petal edges are already contours — the sketch is mostly a matter of deciding which overlaps to keep and which to drop.
Get this design →5. Wine Cheers Line Art SVG

Two hands raising glasses, reduced to outline. The negative space between the glasses does as much work as the lines themselves, which is the thing sketching teaches fastest: what you leave out defines what remains.
Get this design →How to Turn a Sketch Into Cut Art
Going the other way — a real sketch on paper to a file a laser can follow — takes four steps. A sketch is good source material precisely because it is line work already.
Step 1: Photograph or scan the sketch flat
Even lighting, no shadow falling across the page. A phone photo taken at an angle introduces a brightness gradient that the conversion reads as part of the drawing.
Step 2: Reduce it to flat black and white
Raise the contrast until the paper tone and the pale pencil greys drop out, leaving only the lines you actually committed to. Anything still grey will be read as part of the drawing.
Step 3: Clean up the construction lines
The faint guides that helped you draw will convert too. Erase them on the original before scanning, or remove the fragments afterwards, or they end up cut into the material.
Step 4: Convert to a cut path
Trace the cleaned artwork to a vector so a machine has a path to follow — see our walkthrough on converting an image to SVG.

For finished line-based designs to start from instead, see our collection of line art design ideas.
Conclusion
Sketching is drawing with the finish removed on purpose. Once you stop judging a sketch by how complete it looks, the practice becomes what it is meant to be: a fast, cheap way to find out whether an idea works.
Start with an HB pencil and any sketchbook. Block the big shapes before any detail, keep the early lines light, and rotate between gesture and contour exercises so speed and accuracy improve together.
And if you make things, sketching pays off twice. The line work you produce is already most of the way to a cut or engrave file — and when you have a photo instead of a drawing, a converter gets you the same kind of line work in seconds.
A finished sketch reduces to a silhouette more readily than a photo does, because it is already line work rather than tone.
Frequently Asked Questions about Sketching
What is sketching?
Fast, loose drawing done to explore an idea or capture something quickly, rather than to produce a finished piece. The rough quality is intentional, not a sign of inexperience.
What is the difference between sketching and drawing?
Intent. A sketch is made to think with and stays deliberately unfinished; a drawing is made to be looked at and is resolved. The same person, tools, and subject can produce either.
What do I need to start sketching?
A pencil and paper. An HB or 2B pencil and any sketchbook is enough — equipment matters far less than time spent observing and drawing regularly.
How do I get proportions right?
Block in the largest shapes before any detail, and measure by comparison — how many head-heights tall the figure is, where the elbow falls relative to the waist.
How do I make a photo look like a sketch?
Use a converter matched to the mark you want: ballpoint for hatched shading, fine line for clean even contours, abstract line for a stripped-back version. All three work from an ordinary photo.
Can I turn a sketch into a laser-cut design?
Yes, and sketches convert well because they are already line work. Scan it flat, flatten it to black and white, remove the construction lines, then trace it to a vector.
Turn a photo into a sketch
Convert any picture into a hand-drawn look in seconds, free.
