![[Laser cut and engrave,Screen printing] [Cutting Guide] 1mm Titanium Cutting settings for F2 Ultra MOPA laser](https://image-res.atomm.com/resource/xtool/community/attachment/xtool-community/0fd94699-f2f9-4d39-96fb-949d121954f5.jpg?x-oss-process=image/resize,w_1200,h_900,limit_0/interlace,1/format,webp/auto-orient,1)
![[Laser cut and engrave,Screen printing] [Cutting Guide] 1mm Titanium Cutting settings for F2 Ultra MOPA laser](data:image/png;base64,iVBORw0KGgoAAAANSUhEUgAAAAoAAAAKCAYAAACNMs+9AAAAAXNSR0IArs4c6QAAABdJREFUKFNjZCASMBKpjmFUId6QIjp4AAppAAuXjCs4AAAAAElFTkSuQmCC)
![[Laser cut and engrave,Screen printing] [Cutting Guide] 1mm Titanium Cutting settings for F2 Ultra MOPA laser](https://image-res.atomm.com/resource/xtool/community/attachment/xtool-community/0fd94699-f2f9-4d39-96fb-949d121954f5.jpg?x-oss-process=image/resize,w_200,h_150,limit_0/interlace,1/format,webp/auto-orient,1)
![[Laser cut and engrave,Screen printing] [Cutting Guide] 1mm Titanium Cutting settings for F2 Ultra MOPA laser](https://image-res.atomm.com/resource/xtool/community/attachment/xtool-community/faba4584-d418-439c-a550-1142353c5be1.jpg?x-oss-process=image/resize,w_200,h_150,limit_0/interlace,1/format,webp/auto-orient,1)
![[Laser cut and engrave,Screen printing] [Cutting Guide] 1mm Titanium Cutting settings for F2 Ultra MOPA laser](https://image-res.atomm.com/resource/xtool/community/attachment/xtool-community/e64d84ca-2939-4f91-8127-cd003d8abfc6.jpg?x-oss-process=image/resize,w_200,h_150,limit_0/interlace,1/format,webp/auto-orient,1)
[Cutting Guide] 1mm Titanium Cutting settings for F2 Ultra MOPA laser
 Instruction


Information
Just some settings to cut out 2mm titanium sheets
Instruction
Step1
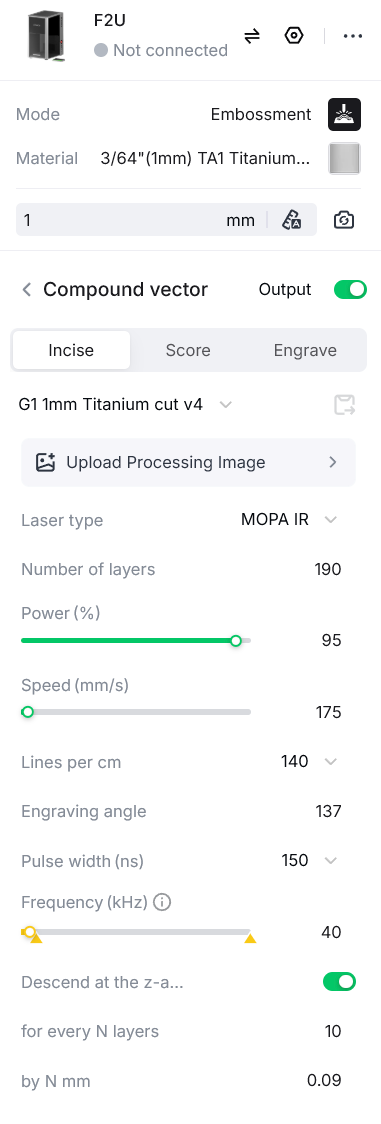
These are the settings I used for good cuts, the rectangles in the photos took around 18mins each.
Use an offset of at least 0.25mm around your design and combine the vectors using “Combine>Exclude” settings, you may have to play around with different “Combine” settings depending on your vector.
However if you can make the vector to have a 0.25mm thickness in your original design, that would be way easier.
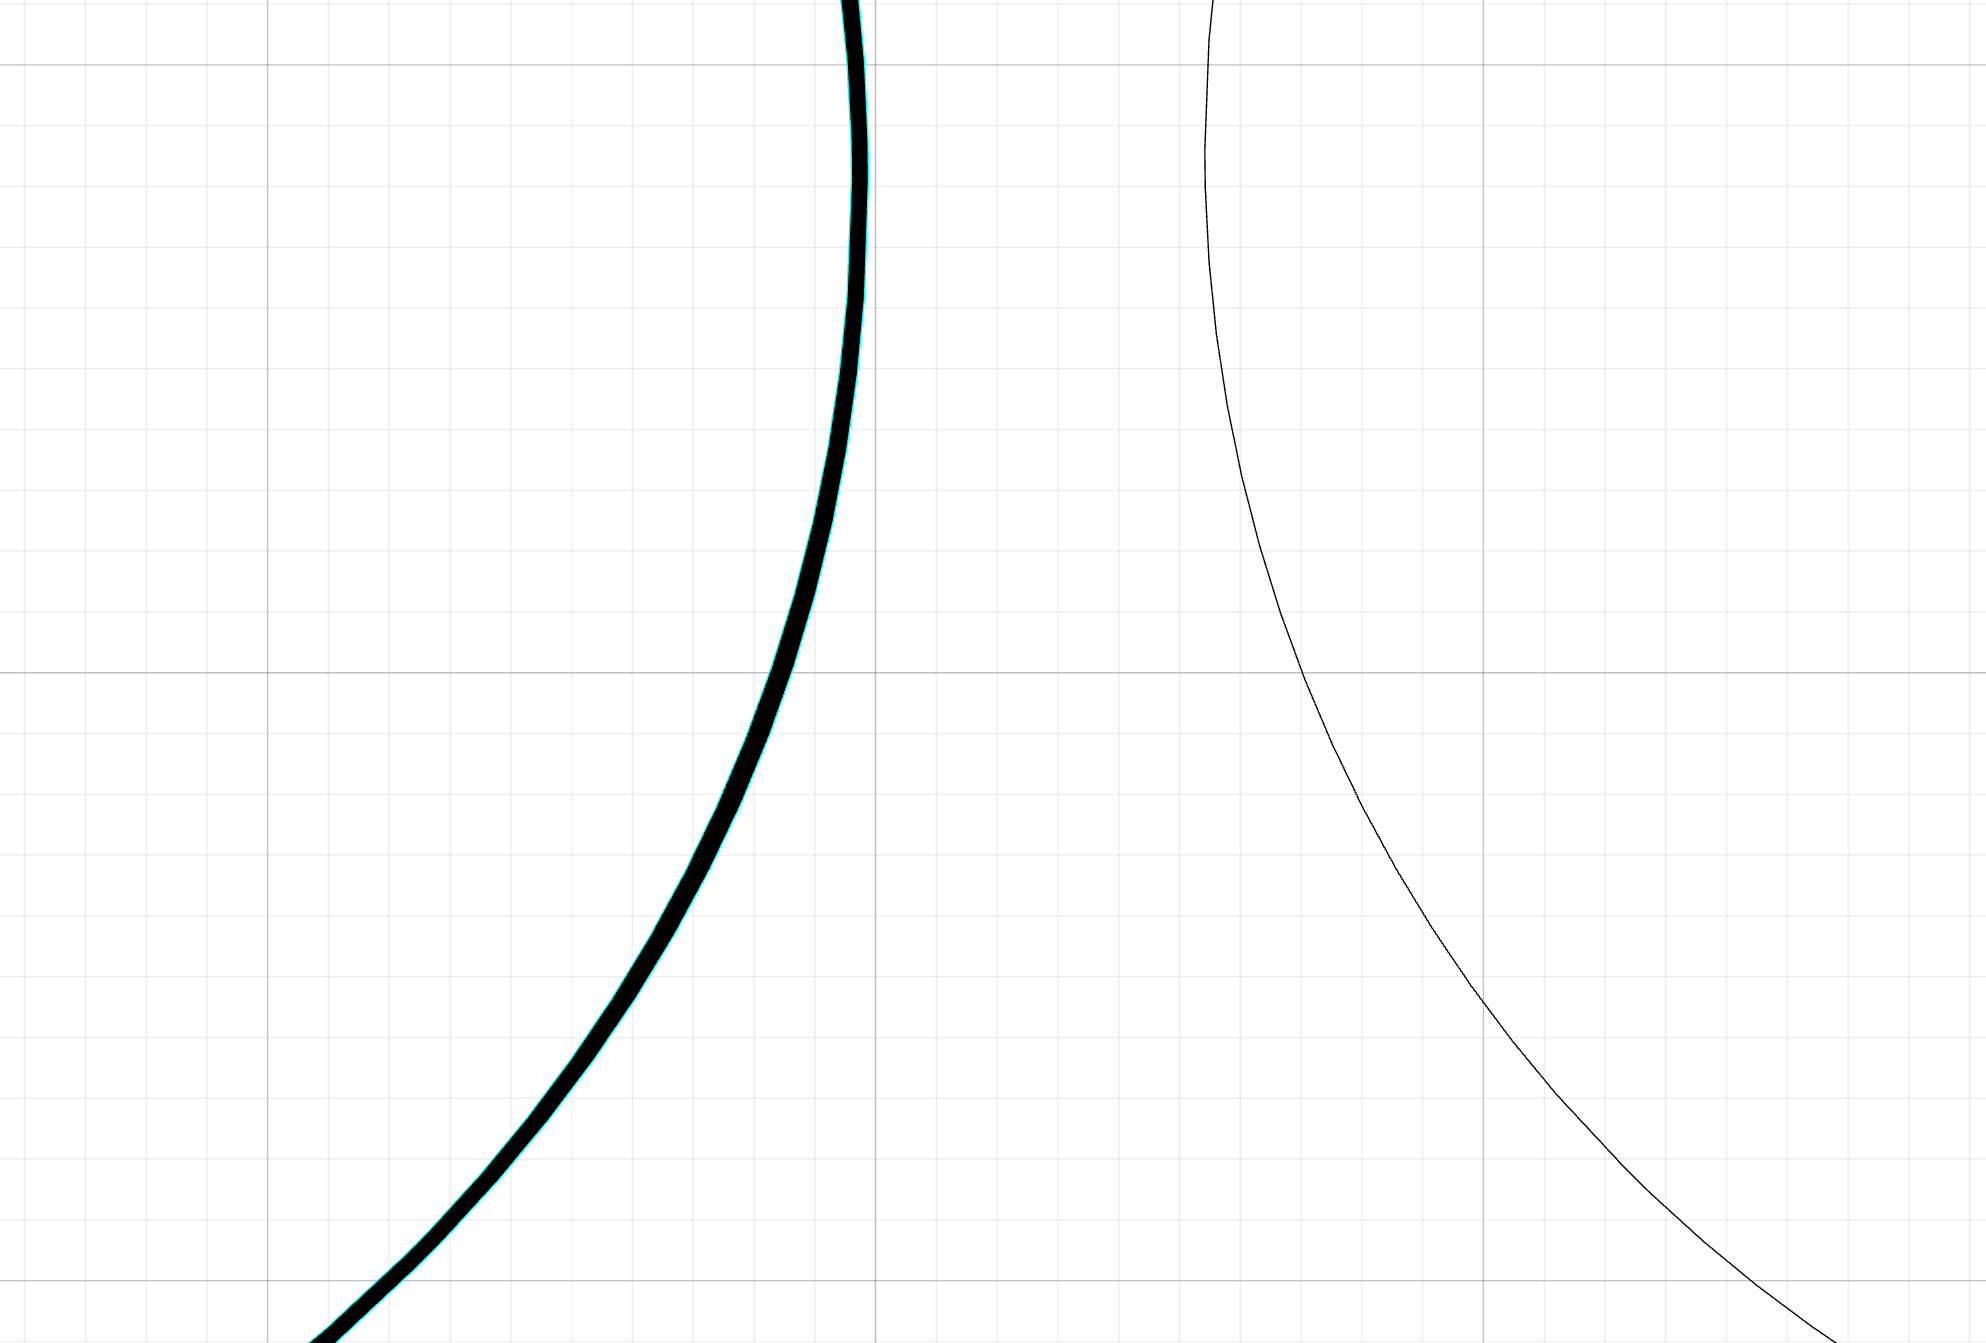
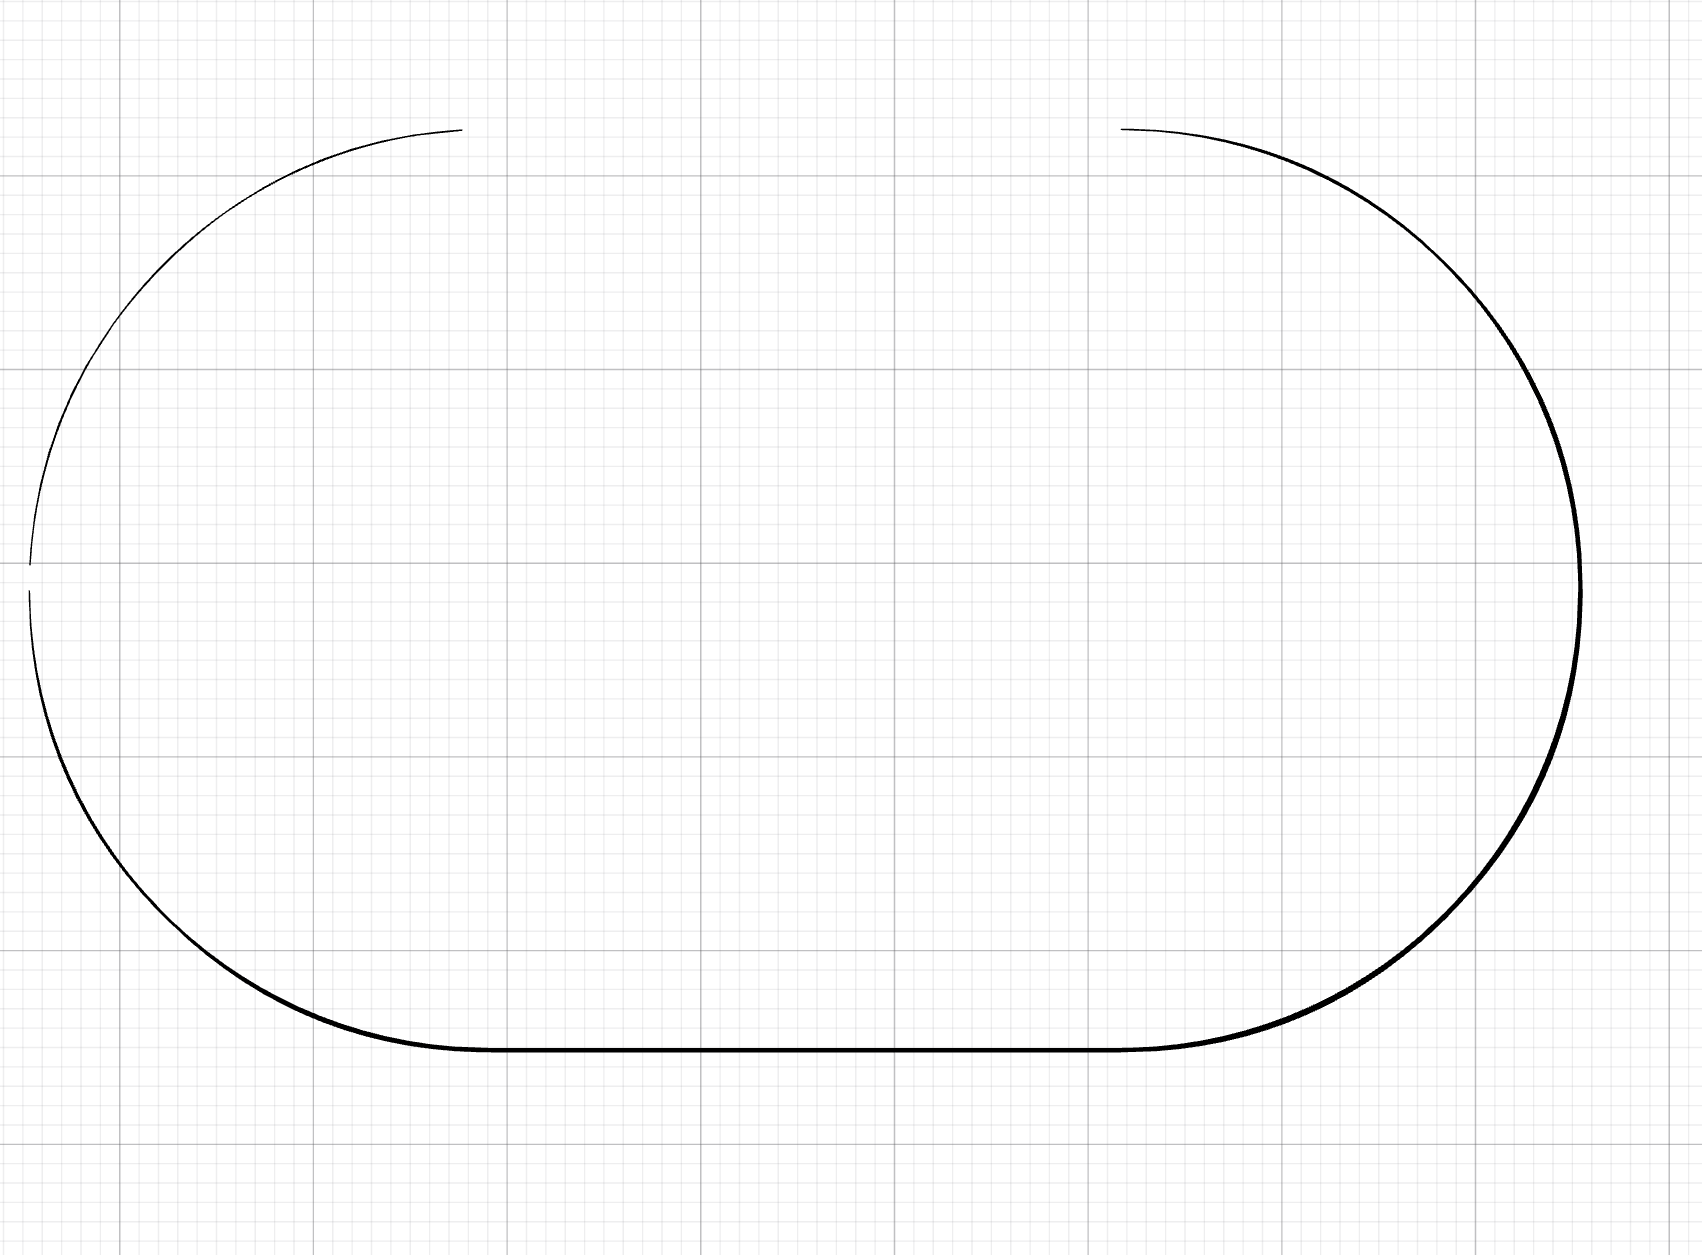
The image below shows what I am talking about, the vector on the right is original, very thin single point vector. The one on the left has a 0.4mm offset.
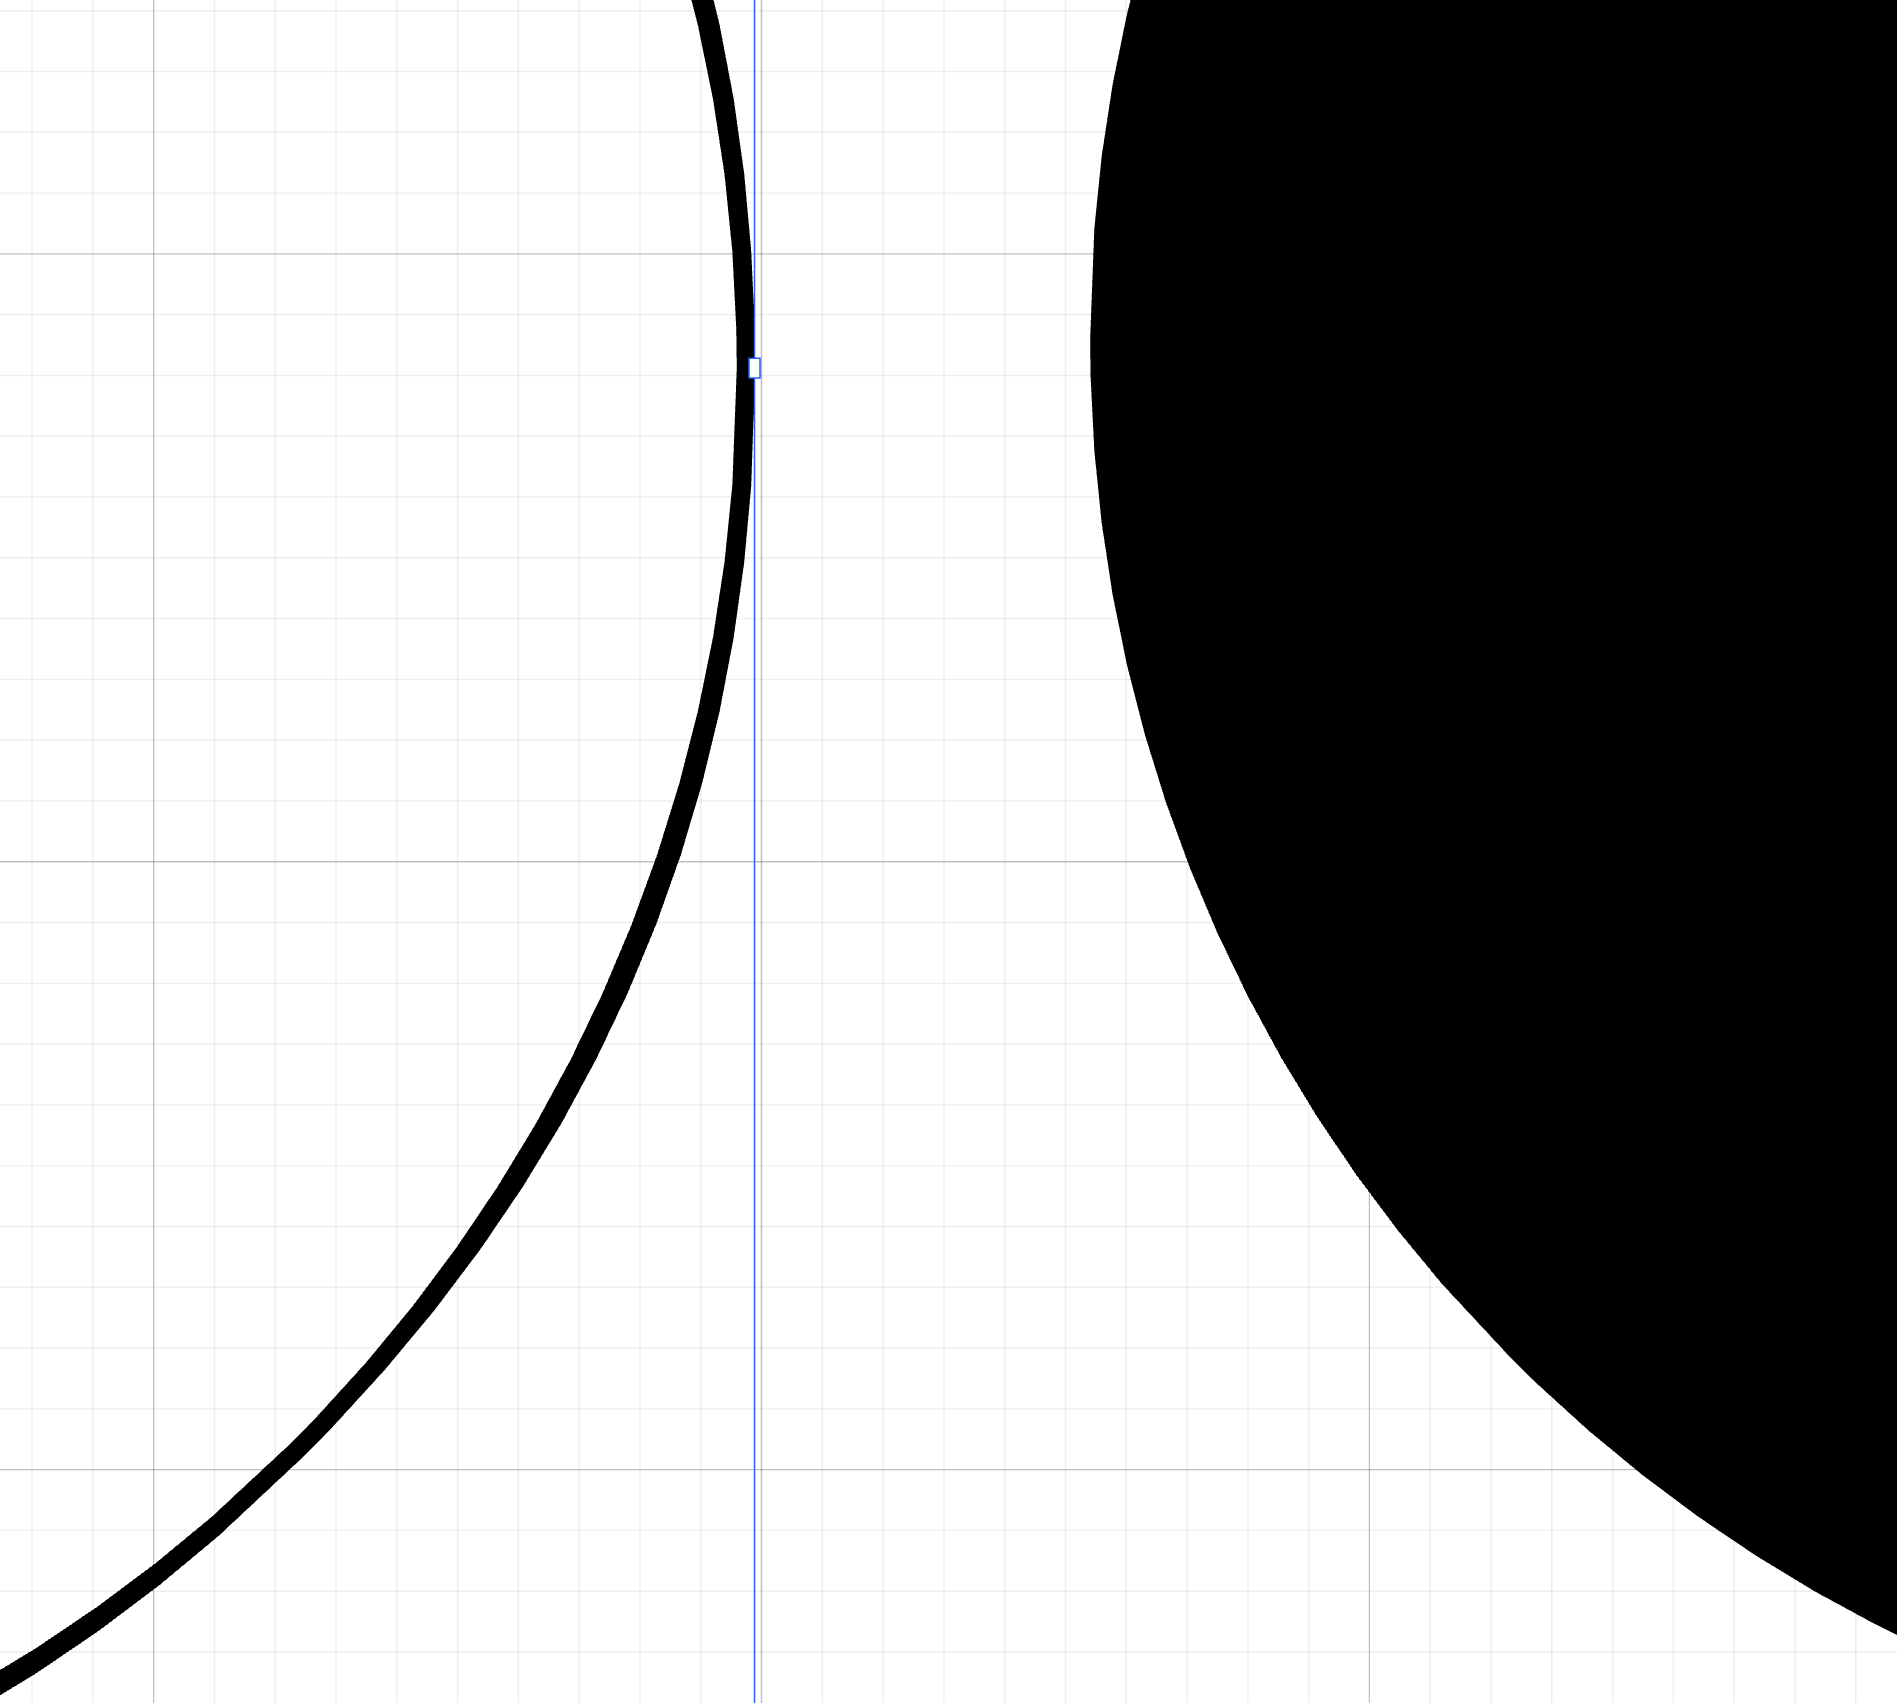
If you try to incise this right side vector it will look like the image below: As you can see if will try to disintegrate material from the whole area.
So create an offset (Min 0.25mm) - larger offset will increase cut times but the cuts will separate easily. Below I show an example with 0.04mm offset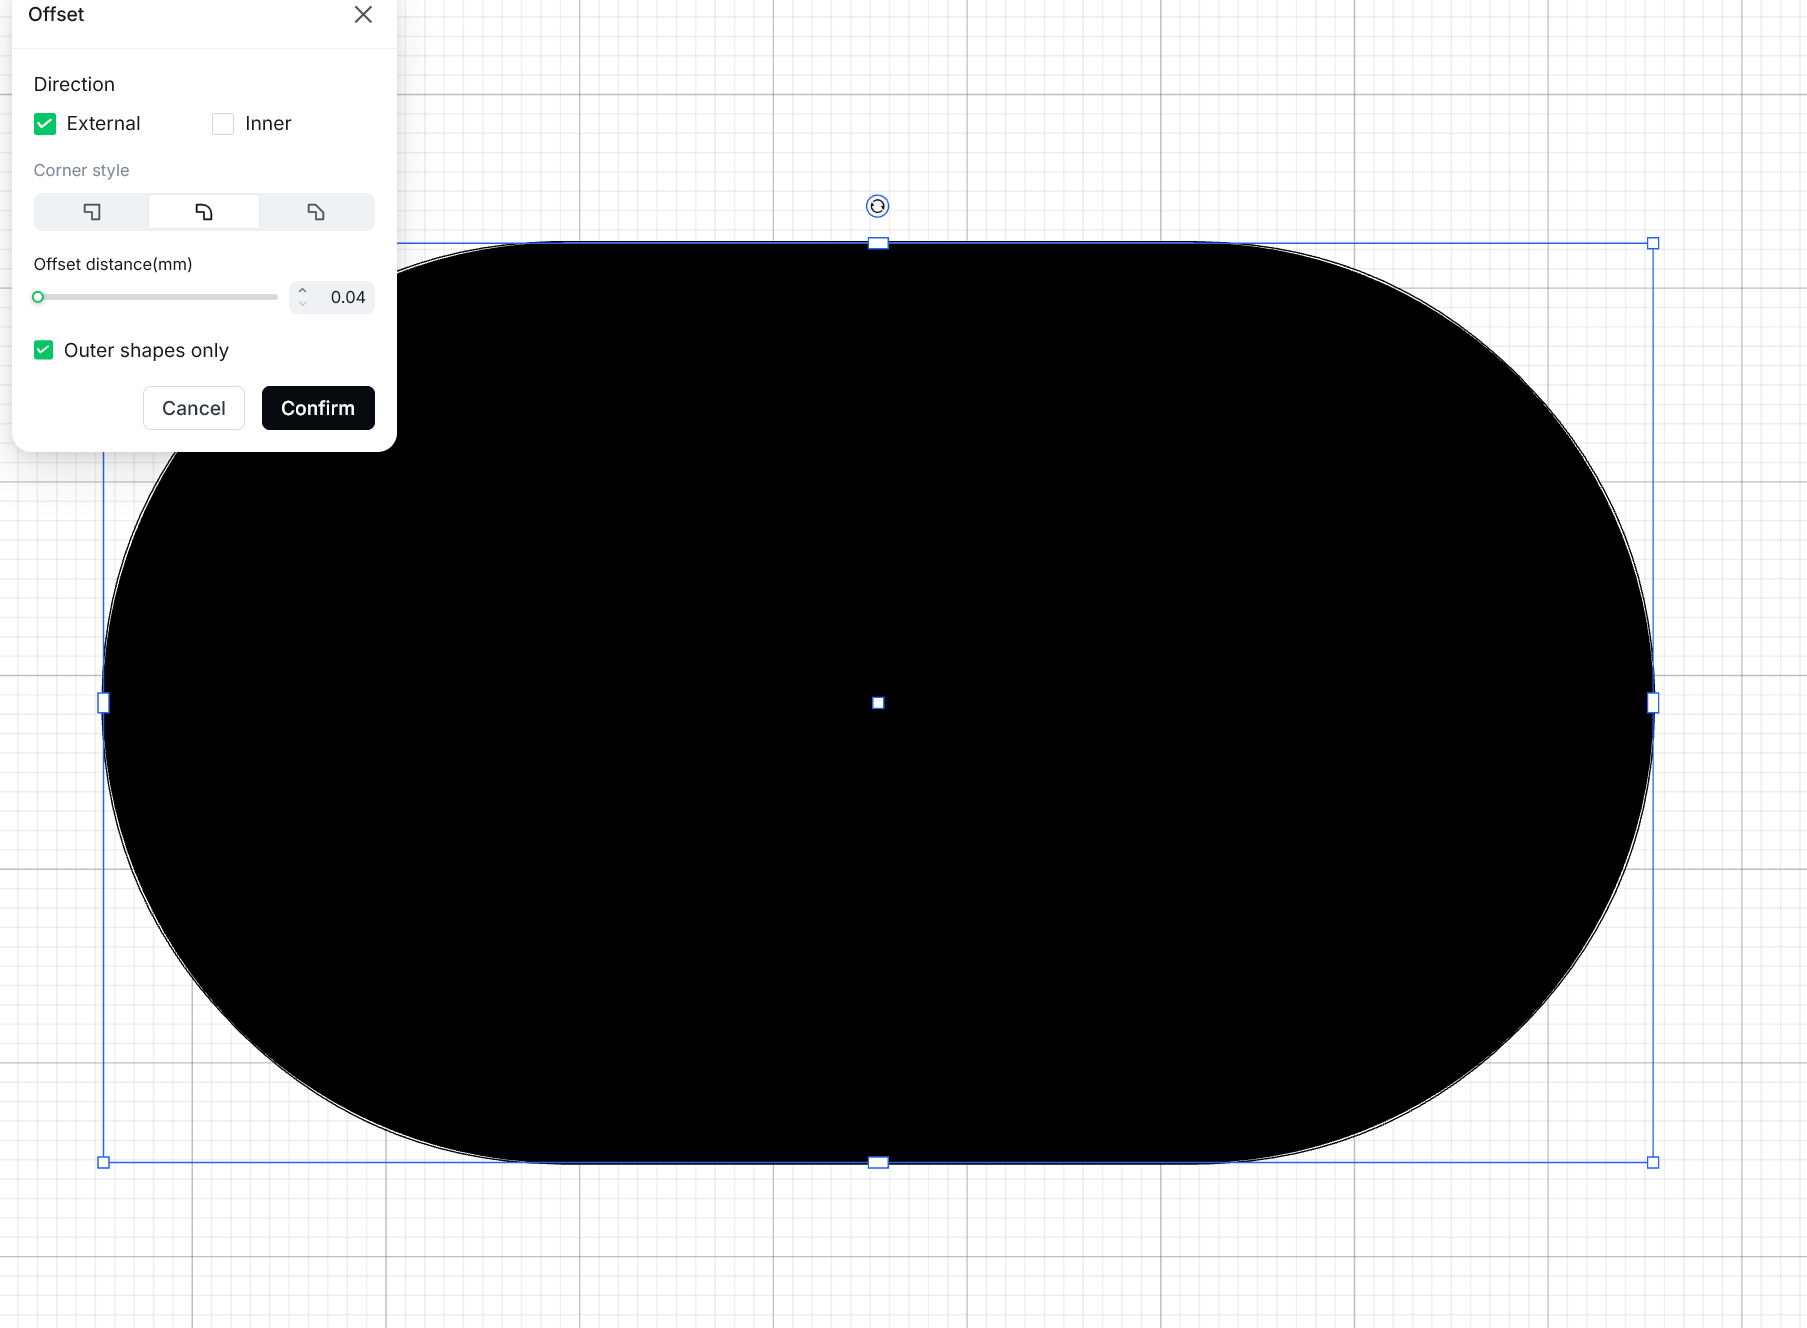
The right vector now has an offset of 0.04mm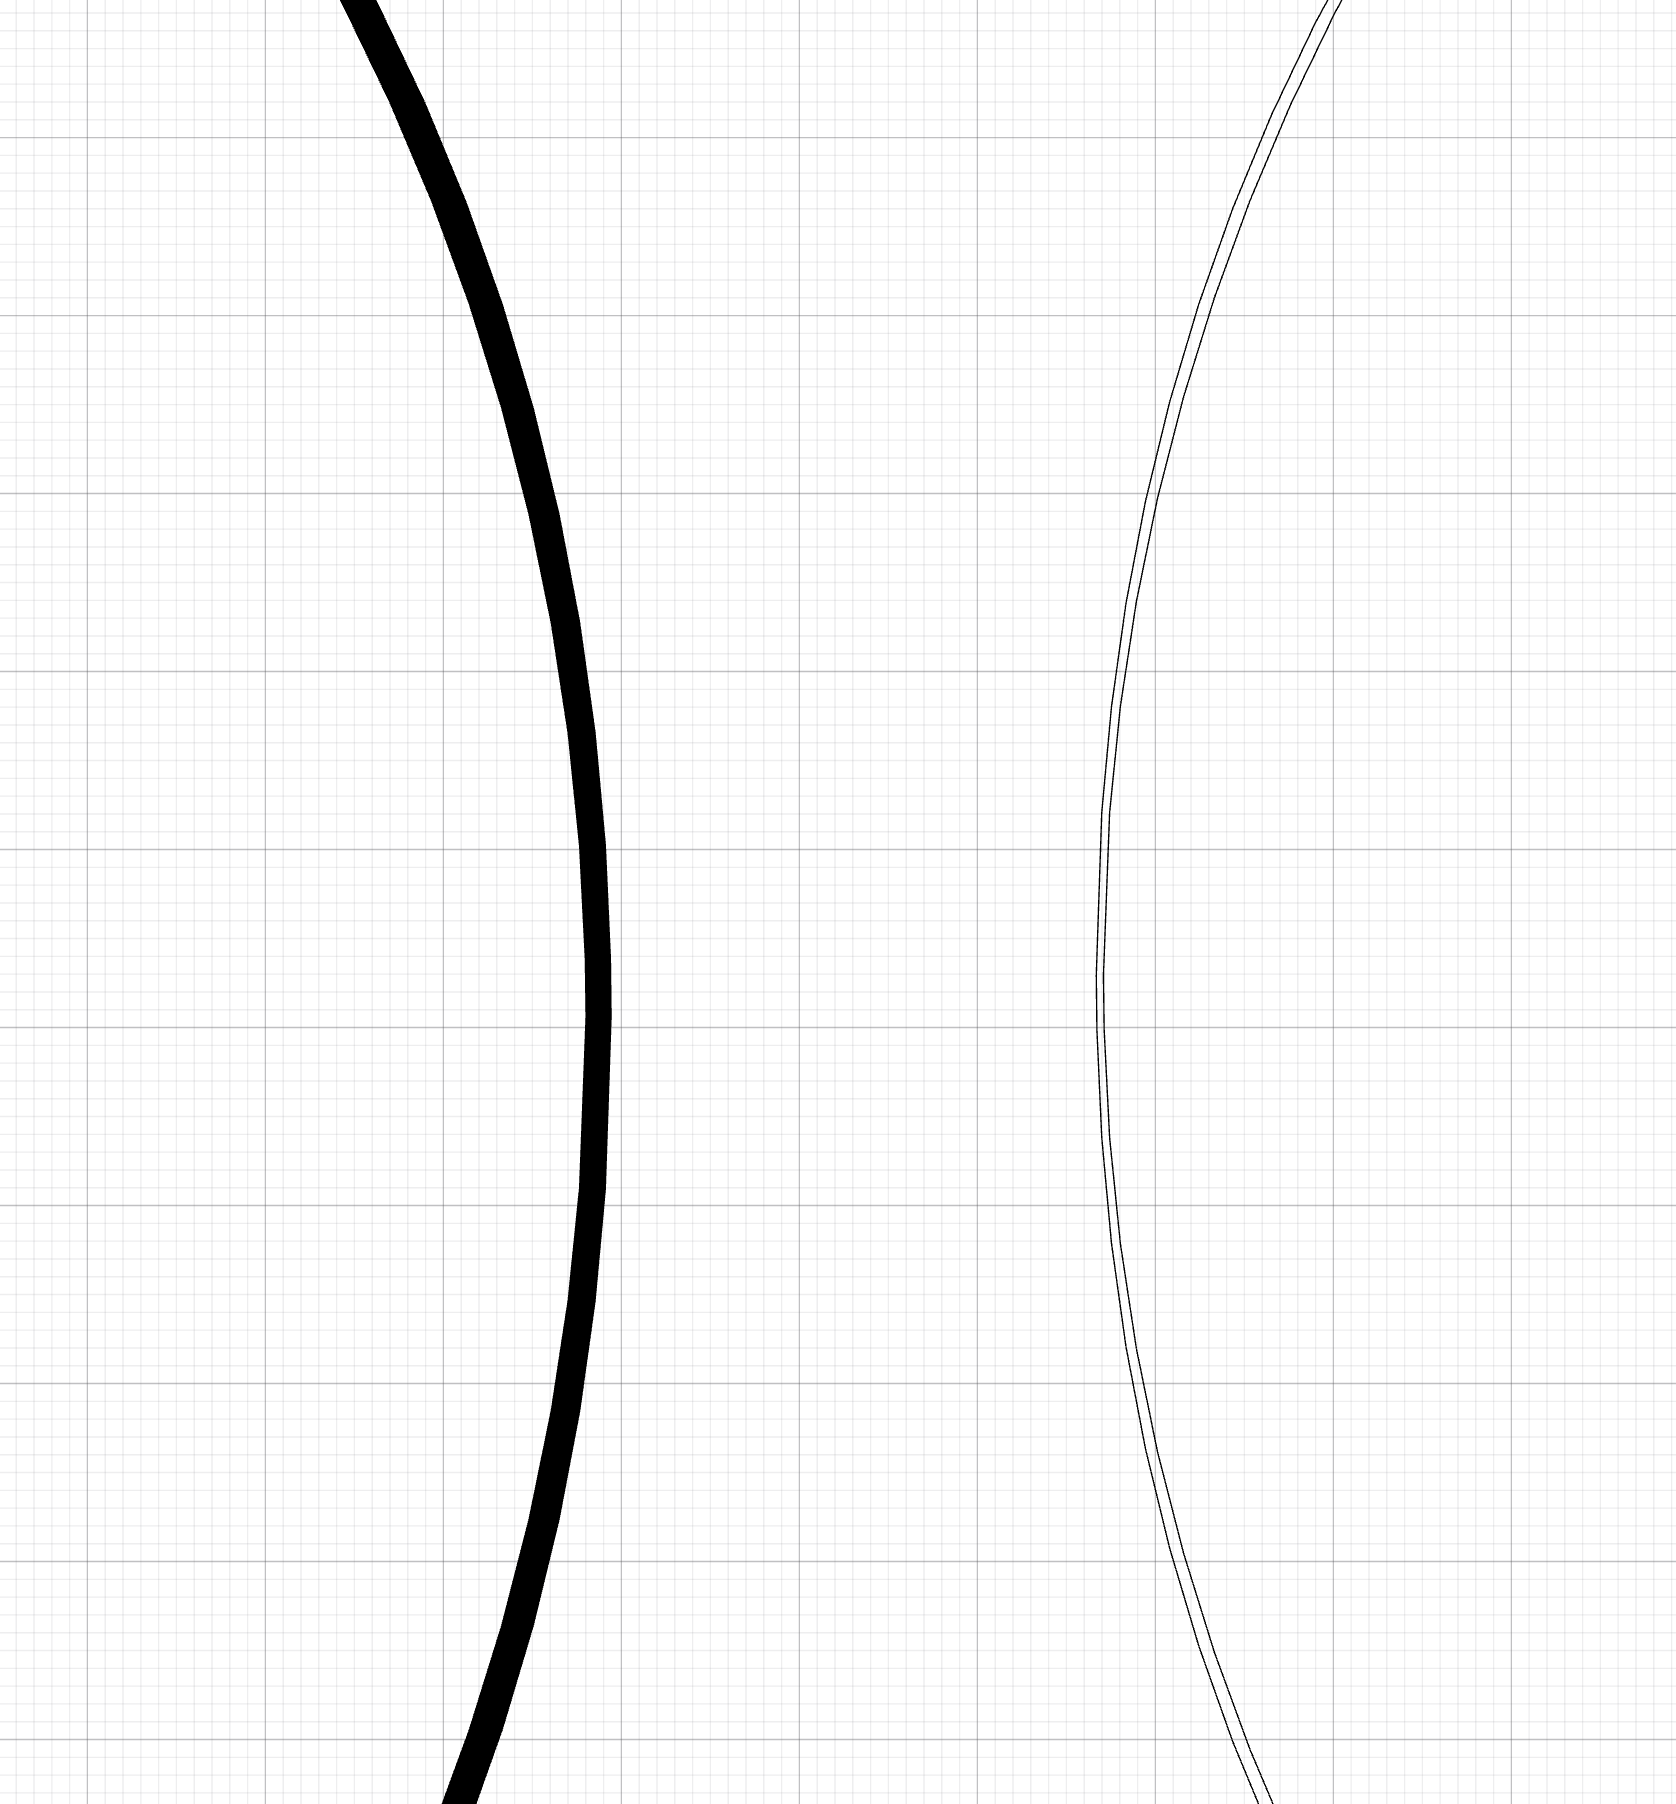
Now select them both and combine them, depending on the design, sometimes the result may have breaks, so adjust the offset value or try it in original software because xtool studio is not great at making accurate offset paths.
Remixes



You may also like

Bumble Bee Embossed and Cut from 2mm Brass coin


Roaring Lion Head Metal Pendant Necklace Charm


Parrot engraved pendant with matching microfiber pouch


Baseball Mom Engraved Pendant Design for F1 or F1 Ultra


Laser Engraved Metal Pendant with Diamond Design


Metal Pendant with Chinese Characters for Love Life and Happiness

Heart 3 Colors Aluminum Medallion F2 IR


Rosy Starling Bird Color Engraving with xTool F2 Portable on Polished 304 Stainless Steel for Pendants & Keychains


Laser Cut Unicorn Pendant Necklace on Silver Chain


Mandala Harmony – Laser Engraved Aluminum Pendant using IR Laser


dog tag skull


Stainless Steel colored pendant


Laser Engraved Metal Peacock Pendant with Colorful Inlay

Colorful fish design on a metal pendant


Rectangular metal pendant with butterfly motif

keltische crosse


Wooden pendant with half a face on it in brass 0.3 mm


Wolf head knotwork 0n Pendant