
Report
![[Laser cut and engrave] Happy Birthday Henry Personalized Cake Topper](https://storage-public.atomm.com/xtool/community/attachment/xtool-community/9d332c9c-948e-4c3d-870f-745fe3ec8479.jpeg?x-oss-process=image/resize,w_1200,h_900,limit_0/interlace,1/format,webp/auto-orient,1)
![[Laser cut and engrave] Happy Birthday Henry Personalized Cake Topper](data:image/png;base64,iVBORw0KGgoAAAANSUhEUgAAAAoAAAAKCAYAAACNMs+9AAAAAXNSR0IArs4c6QAAABdJREFUKFNjZCASMBKpjmFUId6QIjp4AAppAAuXjCs4AAAAAElFTkSuQmCC)
![[Laser cut and engrave] Happy Birthday Henry Personalized Cake Topper](https://storage-public.atomm.com/xtool/community/attachment/xtool-community/9d332c9c-948e-4c3d-870f-745fe3ec8479.jpeg?x-oss-process=image/resize,w_200,h_150,limit_0/interlace,1/format,webp/auto-orient,1)
![[Laser cut and engrave] Happy Birthday Henry Personalized Cake Topper](https://storage-public.atomm.com/xtool/community/attachment/xtool-community/eba0e7b1-515b-4e7f-b975-4ac8aef6dcb3.jpeg?x-oss-process=image/resize,w_200,h_150,limit_0/interlace,1/format,webp/auto-orient,1)
Happy Birthday Cake Topper
 Instruction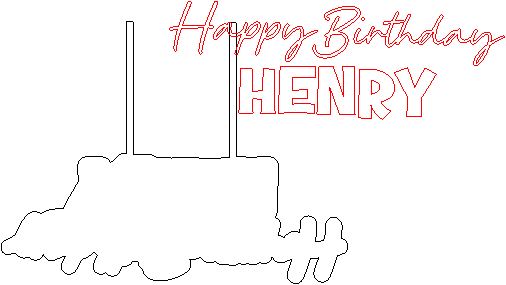
Henry Cake topper
.xcs
Application scenario
Laser processing (30min)
Machine & module

xTool P2
55WCompatible xTool Machine
F2 Ultra UV
5WP3
80WP2S
55WMaterial used

1/8"(3mm) Black Acrylic

1/8"(3mm) White Acrylic

23
415
Information
Black and White stylish but fun cake topper
Instruction
1
Step1: Design your layout

Preview
First you need to find the font you like, lay it out how you would like it to appear on the topper. Then you need to create an offset behind the words.
2
Step2: Create the offset

Preview
Once you have done that, create two rectangles the same length and join them to the offset, where you you would like the legs to go. Then you need to weld the offset and the rectangles together. The rectangles become the legs that go into the cake.
3
Step3: cut material
Once your topper is ready to go visually, you can cut the background offset with black (or your desired colour) and then the words in white (or your desired colour) and glue or double sided tape them onto the black background and bingo! You have your beautiful new cake topper!
Comments
Remixes



You may also like
Motorcycle Happy Birthday Cake Topper

1
4

'/%3e%3cdefs%3e%3clinearGradient%20id='paint0_linear_1433_15752'%20x1='12.5'%20y1='5'%20x2='12.5'%20y2='19.2596'%20gradientUnits='userSpaceOnUse'%3e%3cstop%20stop-color='%232F7FFF'/%3e%3cstop%20offset='1'%20stop-color='%232661F1'/%3e%3c/linearGradient%3e%3c/defs%3e%3c/svg%3e)
 Template
Happy Birthday Cake Topper

8


Happy Birthday script cake topper

5
49
The Little Prince Cake Topper
1
1

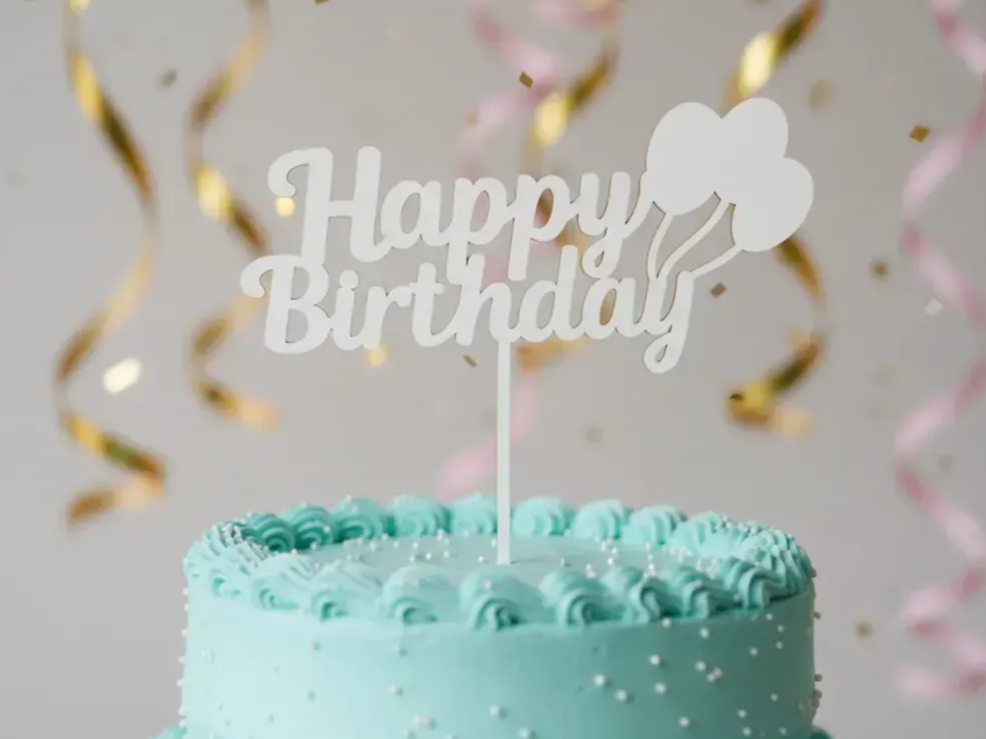
Birthday cake topper with balloons and 'Happy Birthday' text

5
29
Wooden happy birthday toppers 3 pcs

6
32
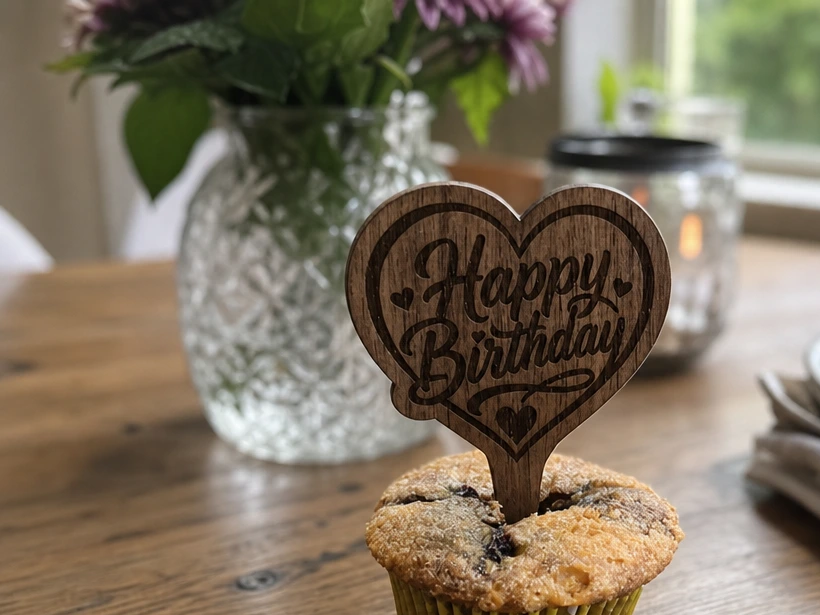
Happy Birthday Heart Shaped Cupcake Topper

1
1

Birthday Topper cake

37
250
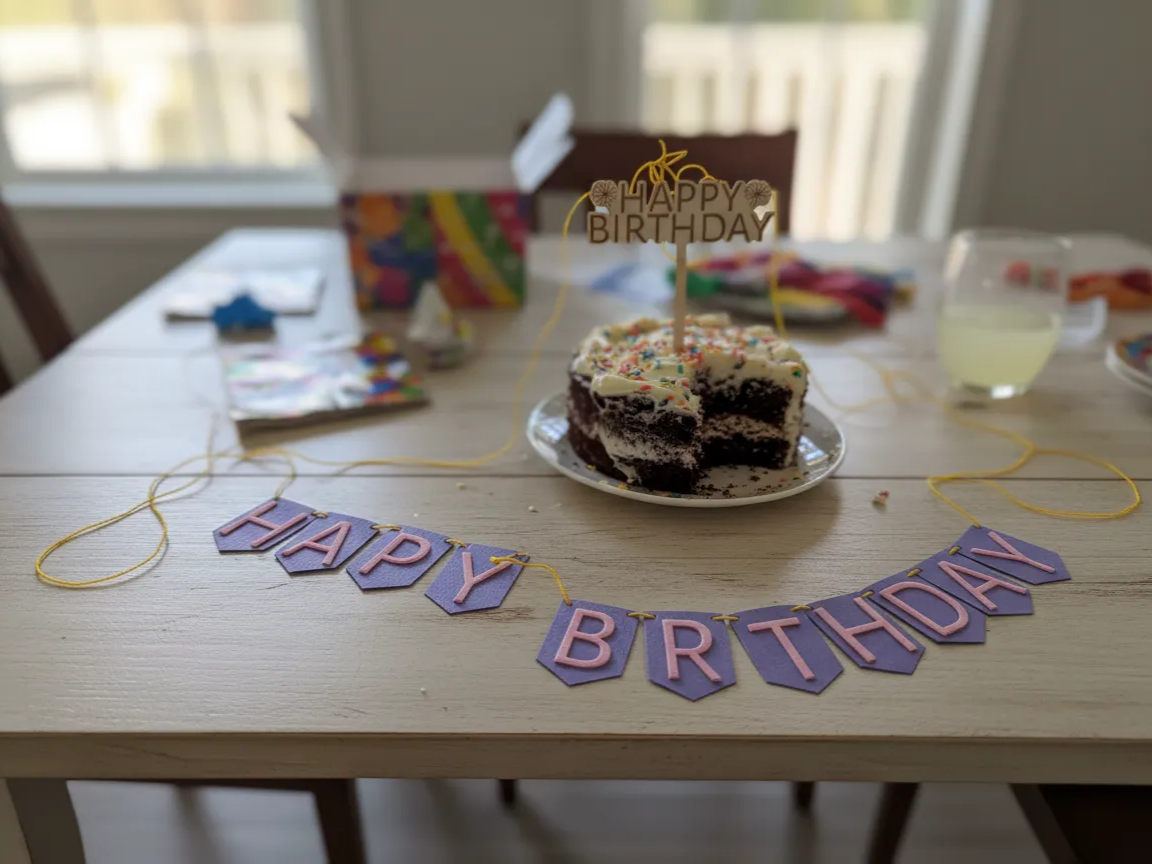
Happy Birthday Cake Topper and Party Banner Set- MINI sized

3
1

$9.90
$9.90
Credits990
Happy Birthday Cake Topper

69
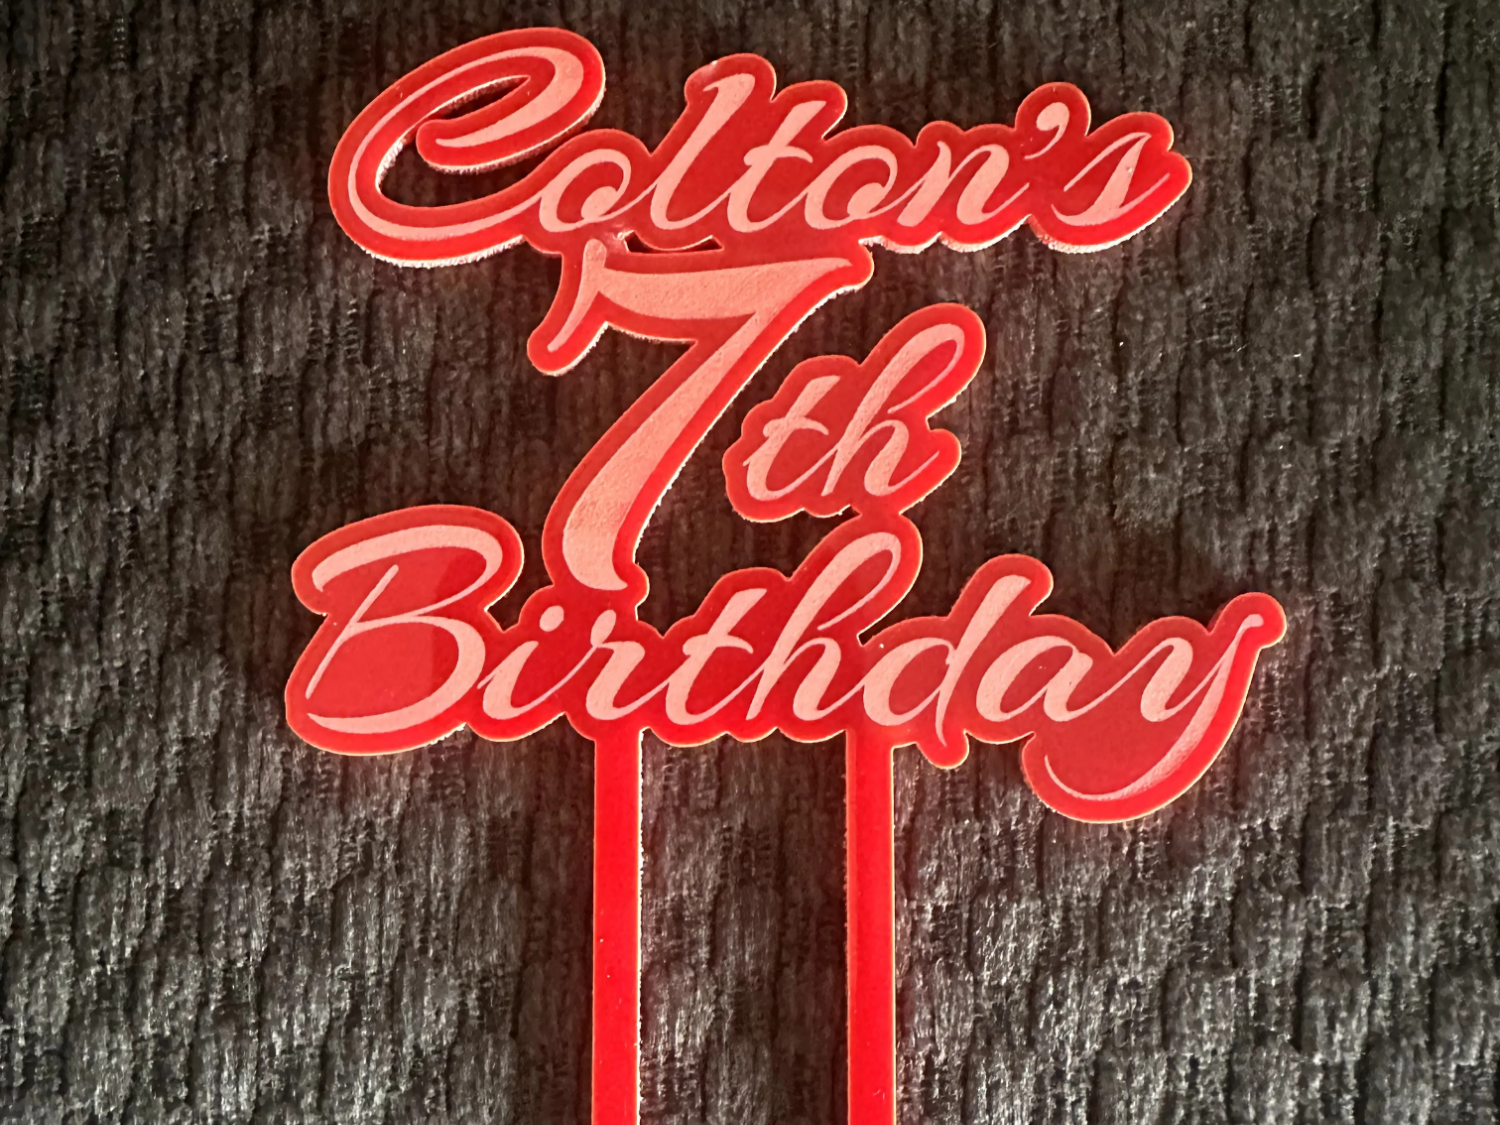
Birthday Cake Topper
0
5

Happy Birthday Tractor Cake Topper
2
31

Feliz Aniversário wooden cake topper

0
0

Happy Birthday to You Gift Box Cake Topper
1
21

Happy 80th Birthday Gold Acrylic Cake Topper

3
16

Laser Cut Wooden Happy Birthday Cake Topper Decoration

23
162

Laser Cut Happy Birthday Cake Topper with Colorful Flowers

4
8
 Template
Cake Topper Birthday girl
0