
Report
![[Laser cut and engrave] National Park Map Sign](https://image-res.atomm.com/resource/xtool/community/attachment/xtool-community/e87b209f-99c8-4761-9e5d-b93a33dd7e82?x-oss-process=image/resize,w_1200,h_900,limit_0/interlace,1/format,webp/auto-orient,1)
![[Laser cut and engrave] National Park Map Sign](data:image/png;base64,iVBORw0KGgoAAAANSUhEUgAAAAoAAAAKCAYAAACNMs+9AAAAAXNSR0IArs4c6QAAABdJREFUKFNjZCASMBKpjmFUId6QIjp4AAppAAuXjCs4AAAAAElFTkSuQmCC)
![[Laser cut and engrave] National Park Map Sign](https://image-res.atomm.com/resource/xtool/community/attachment/xtool-community/e87b209f-99c8-4761-9e5d-b93a33dd7e82?x-oss-process=image/resize,w_200,h_150,limit_0/interlace,1/format,webp/auto-orient,1)
![[Laser cut and engrave] National Park Map Sign](https://image-res.atomm.com/resource/xtool/community/attachment/xtool-community/3bd97179-675c-45f5-89f0-708ddb8204c5?x-oss-process=image/resize,w_200,h_150,limit_0/interlace,1/format,webp/auto-orient,1)
![[Laser cut and engrave] National Park Map Sign](https://image-res.atomm.com/resource/xtool/community/attachment/xtool-community/870798ad-f4ec-478e-9b43-5b01a5f6c944.jpg?x-oss-process=image/resize,w_200,h_150,limit_0/interlace,1/format,webp/auto-orient,1)
![[Laser cut and engrave] National Park Map Sign](https://image-res.atomm.com/resource/xtool/community/attachment/xtool-community/a2c08bd0-6e5c-42c3-a8aa-fd98137c66de?x-oss-process=image/resize,w_200,h_150,limit_0/interlace,1/format,webp/auto-orient,1)
![[Laser cut and engrave] National Park Map Sign](https://image-res.atomm.com/resource/xtool/community/attachment/xtool-community/6605306d-3b06-4f0f-aac3-a4d1f9264542?x-oss-process=image/resize,w_200,h_150,limit_0/interlace,1/format,webp/auto-orient,1)
National Park Map Sign
 Instruction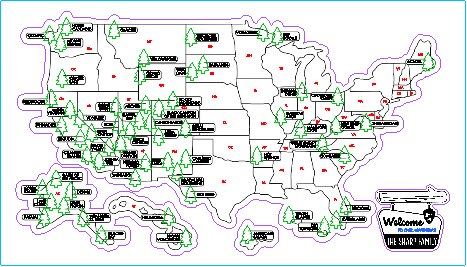
NationalParkSign
.xcs
Application scenario
Laser processing (90min)
Machine & module

xTool S1
40WCompatible xTool Machine
New
M2
10W, 20WF2 Ultra UV
5WF2
15WP3
80WF2 Ultra
40WF1 Ultra
20WM1
5W, 10WD1
5W, 10W, 20WD1 Pro
5W, 10W, 20W, 40WP2
55WF1
10WS1
10W, 20WM1 Ultra
10W, 20WP2S
55WAccessories

xTool S1 Honeycomb Panel
Material used

1/8"(3mm) Basswood Plywood

104
1318
Information
A fun and trending piece of decor for all the travelers and outdoor lovers out there! This piece is a cool way to show off all the parks you have traveled to so far!
Instruction
1
Step1: Place Wood into Machine and Size

Preview
Place wood in machine and secure with magnet clips on honeycomb base. Size your file to fit on desired wood. Use the framing tool to make sure area being used is correct.
2
Step2: Press Start
Start the machine. Ensure all settings are correct before starting.
3
Step3: Remove from Machine

Preview
Wait for fans to turn off before removing wood from machine. The pieces should come apart easily and when removed should look like the picture located above.
4
Step4: Paint Pieces

Preview
Paint the trees the desired color. Painting is not necessary but looks amazing when completed. The painting of the map and background is also optional.
5
Step5: Glue Pieces Together and Done!
Glue all the pieces of the map to a piece of wood and let dry. Fill in the places you have been with the trees and now you are left with a fun and beautiful way to show off your travels!
Comments
Remixes




You may also like
GIF
'/%3e%3cdefs%3e%3clinearGradient%20id='paint0_linear_1433_15675'%20x1='12'%20y1='3.25'%20x2='16.6891'%20y2='20.75'%20gradientUnits='userSpaceOnUse'%3e%3cstop%20stop-color='%23FF5D80'/%3e%3cstop%20offset='1'%20stop-color='%23FF0035'/%3e%3c/linearGradient%3e%3c/defs%3e%3c/svg%3e)
Birthday Surprise Flip Gift Box | Rotating ring boxes

17
44

"Stainless Steel Ultimate Color Palette for XTOOL F2" - June 2026 Version 1.8

82
364
GIF
Dog Fidget Keychains

67
478
Arabesques Fan

32
117
Spider candle holder for candle

29
119
Wooden keychain with car brand logos
45
209
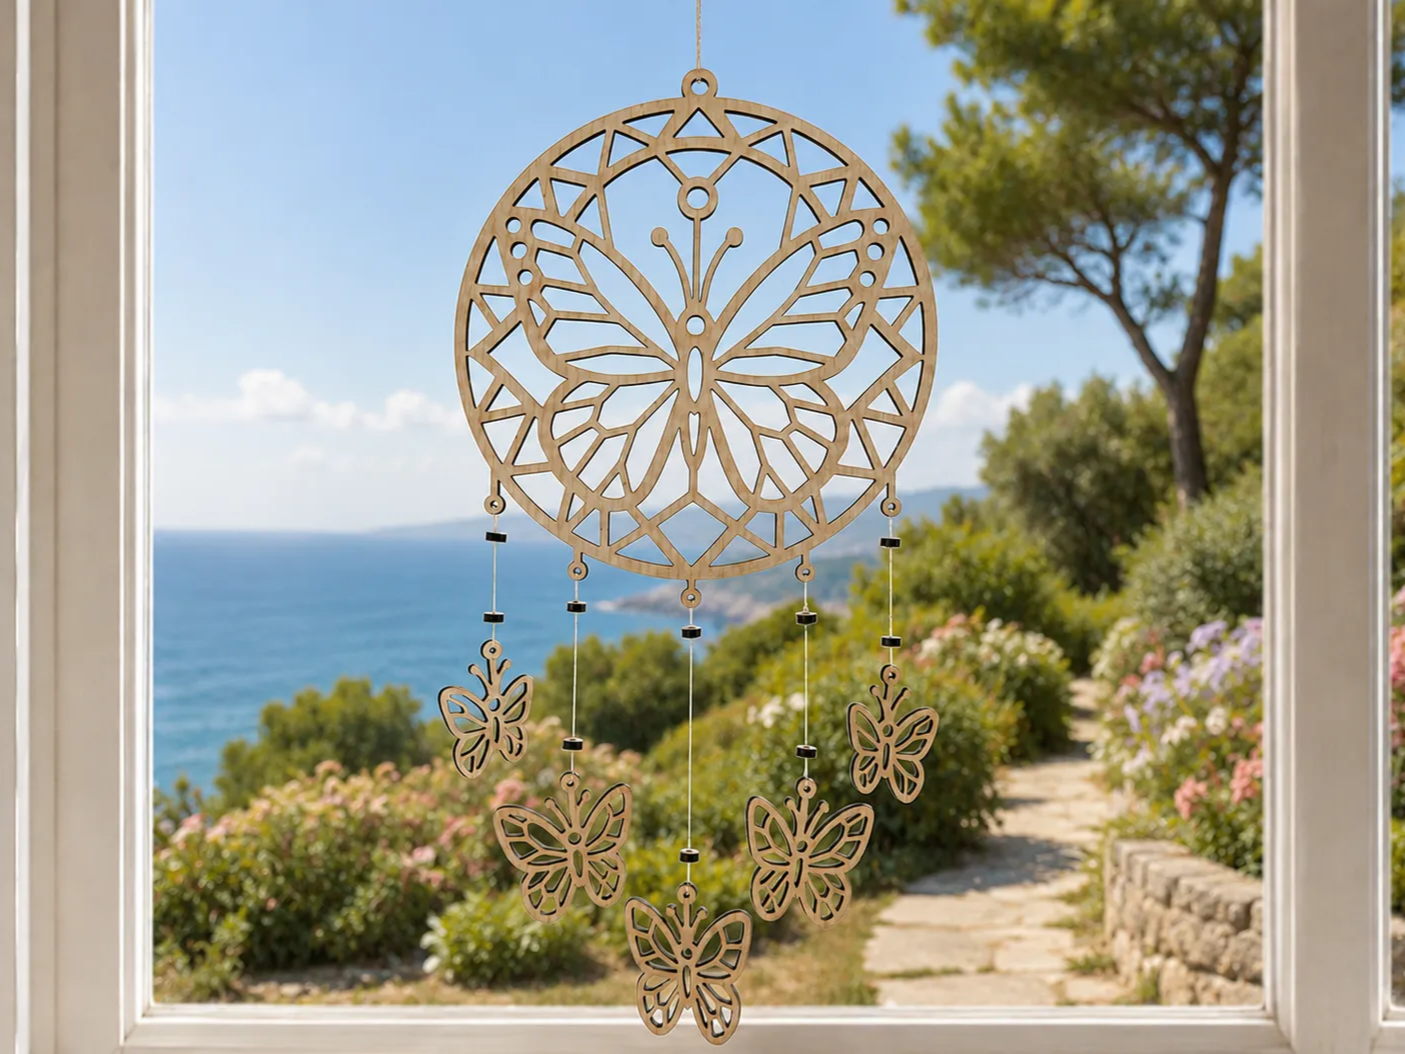
Wooden wall dreamcatcher with butterfly pattern

46
264
'/%3e%3cdefs%3e%3clinearGradient%20id='paint0_linear_1433_15726'%20x1='12'%20y1='5.25'%20x2='12'%20y2='18.75'%20gradientUnits='userSpaceOnUse'%3e%3cstop%20stop-color='%23FFC654'/%3e%3cstop%20offset='1'%20stop-color='%23FF8D12'/%3e%3c/linearGradient%3e%3c/defs%3e%3c/svg%3e)
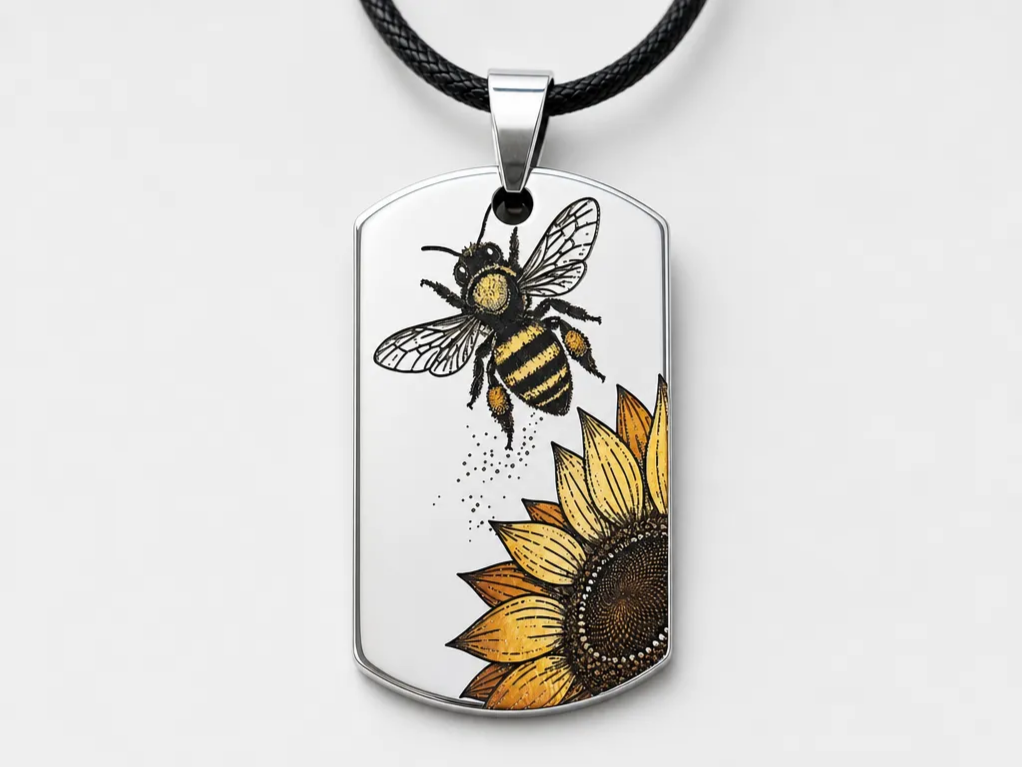
Bee and Sunflower Stainless Steel Dog Tag Pedant Color Engraving Necklace

81
324
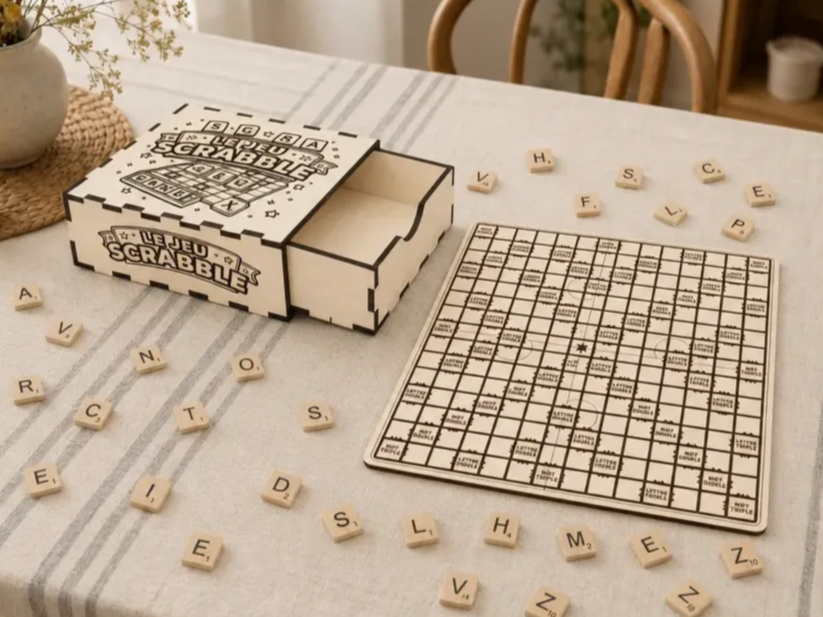
Wooden Scrabble board game with tray and storage box
34
124
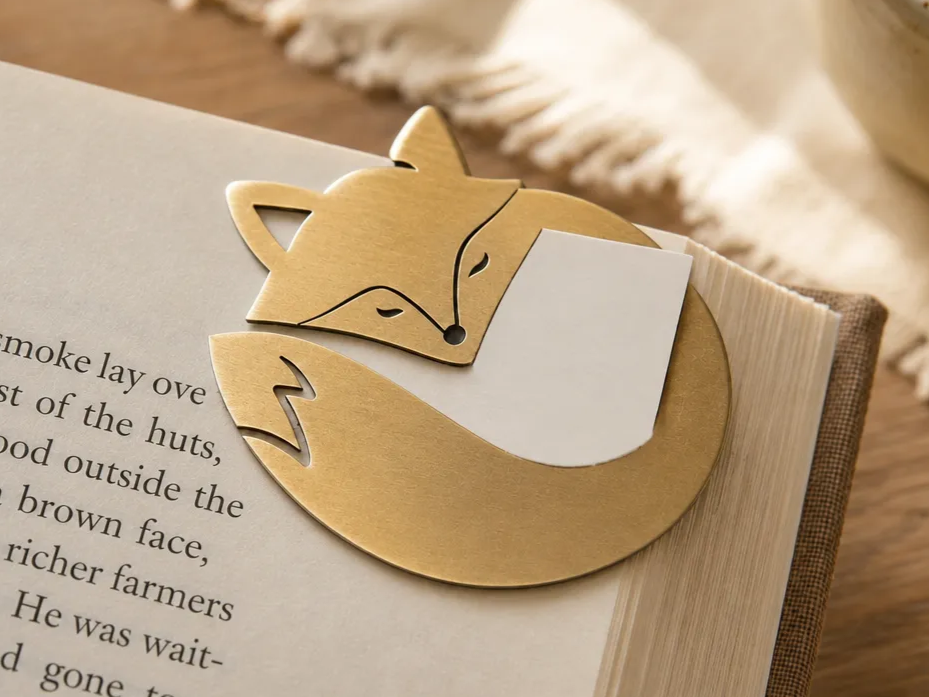
Sleeping Fox Wooden Page Marker Bookmark Laser Cut. Reading Accessories. Page Holder. Cute Design

28
177
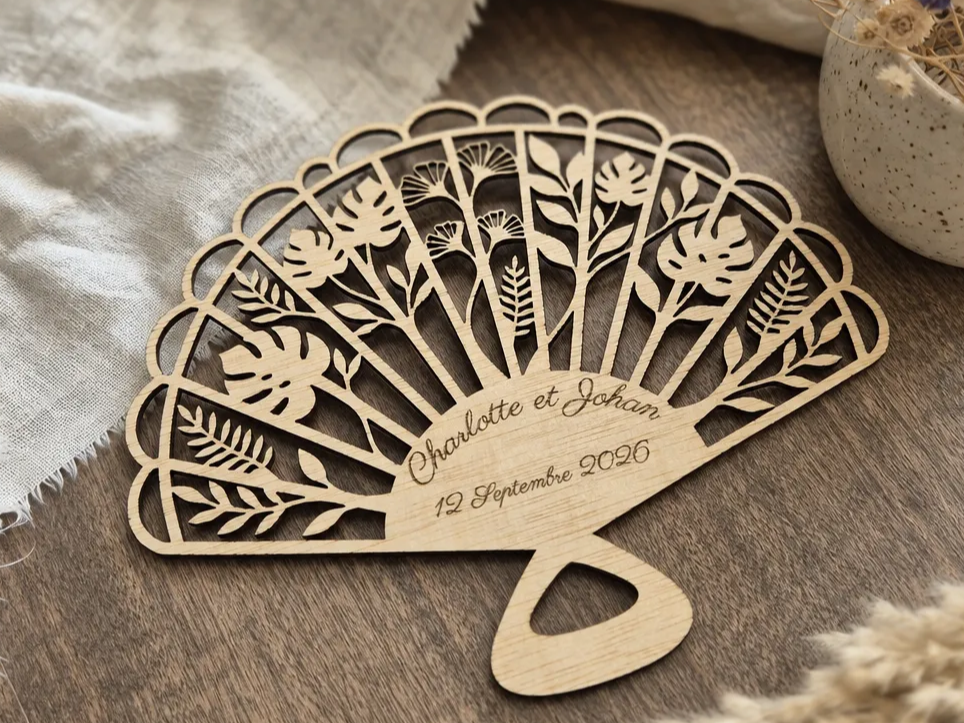
Personalised wooden fan with plant motif for wedding

18
74

Bad to the Bone

228
1209
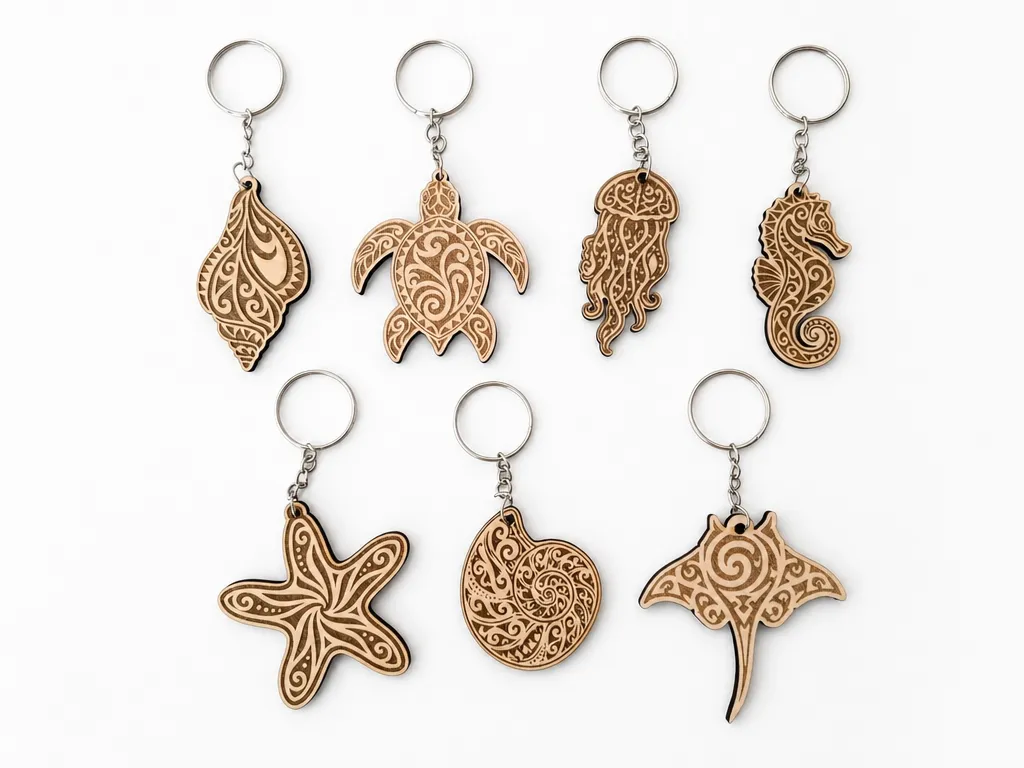
Ocean Mandala Keychain Bundle | 7 Laser Cut SVG Files | Sea Turtle, Jellyfish, Seahorse, Shell, Starfish, Nautilus & Stingray

35
165
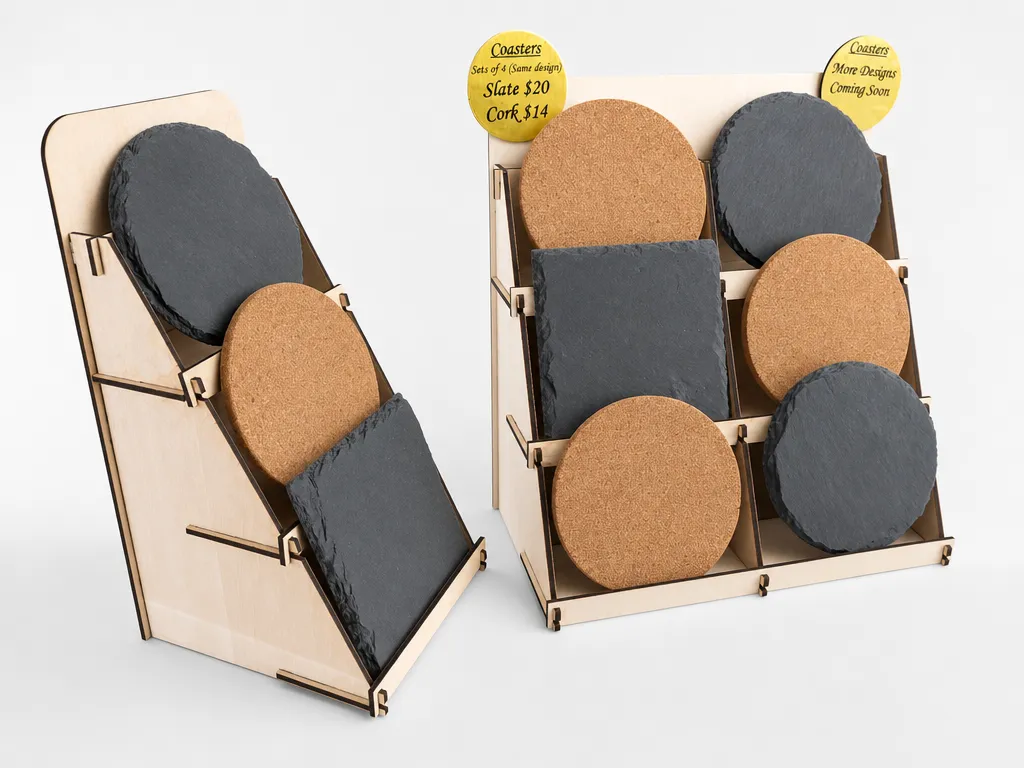
Drink Coaster Display Stand

26
139
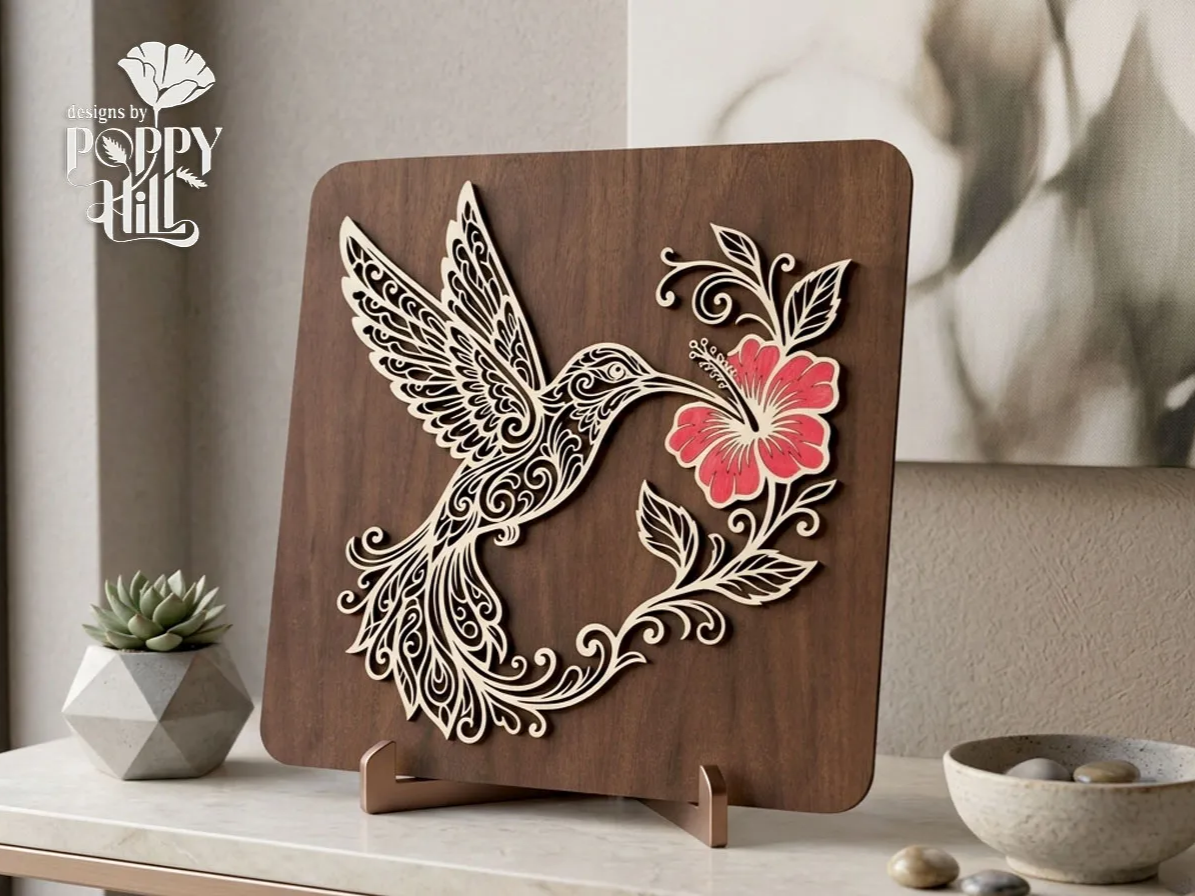
Hummingbird and Hibiscus Flower Layered Wooden Art

134
625
Jungle Wall Plaque

16
106

3mm wooden handbag

42
245

Wooden dreamcatcher with eagle motif and hanging feathers
23
150