
Report
![[Laser cut and engrave] Schoolcone mermaid](https://image-res.atomm.com/resource/xtool/community/attachment/xtool-community/7a4b7f21-6067-470e-a966-f7b035c3ffec?x-oss-process=image/resize,w_1200,h_900,limit_0/interlace,1/format,webp/auto-orient,1)
![[Laser cut and engrave] Schoolcone mermaid](data:image/png;base64,iVBORw0KGgoAAAANSUhEUgAAAAoAAAAKCAYAAACNMs+9AAAAAXNSR0IArs4c6QAAABdJREFUKFNjZCASMBKpjmFUId6QIjp4AAppAAuXjCs4AAAAAElFTkSuQmCC)
![[Laser cut and engrave] Schoolcone mermaid](https://image-res.atomm.com/resource/xtool/community/attachment/xtool-community/7a4b7f21-6067-470e-a966-f7b035c3ffec?x-oss-process=image/resize,w_200,h_150,limit_0/interlace,1/format,webp/auto-orient,1)
![[Laser cut and engrave] Schoolcone mermaid](https://image-res.atomm.com/resource/xtool/community/attachment/xtool-community/621d37c2-bc6a-4315-9bfd-d6554c89a104/20240724_111800.jpg?x-oss-process=image/resize,w_200,h_150,limit_0/interlace,1/format,webp/auto-orient,1)
![[Laser cut and engrave] Schoolcone mermaid](https://image-res.atomm.com/resource/xtool/community/attachment/xtool-community/9d65c2b4-61e0-4b78-b8dd-1aa7a87566ad/20240724_112137.jpg?x-oss-process=image/resize,w_200,h_150,limit_0/interlace,1/format,webp/auto-orient,1)
![[Laser cut and engrave] Schoolcone mermaid](https://image-res.atomm.com/resource/xtool/community/attachment/xtool-community/d0110baf-8620-4d57-bf78-543c03152abf/20240724_112008.jpg?x-oss-process=image/resize,w_200,h_150,limit_0/interlace,1/format,webp/auto-orient,1)
![[Laser cut and engrave] Schoolcone mermaid](https://image-res.atomm.com/resource/xtool/community/attachment/xtool-community/4427644b-8f8e-4a67-8c1a-0bee4a979e5e/20240724_112327.jpg?x-oss-process=image/resize,w_200,h_150,limit_0/interlace,1/format,webp/auto-orient,1)
![[Laser cut and engrave] Schoolcone mermaid](https://image-res.atomm.com/resource/xtool/community/attachment/xtool-community/2136d55d-7dca-447e-ab17-a8c9ab48b7f7/20240724_111800.jpg?x-oss-process=image/resize,w_200,h_150,limit_0/interlace,1/format,webp/auto-orient,1)
![[Laser cut and engrave] Schoolcone mermaid](https://image-res.atomm.com/resource/xtool/community/attachment/xtool-community/925c6bac-78c0-49a8-b55a-d3f03b669fda/20240724_112103.jpg?x-oss-process=image/resize,w_200,h_150,limit_0/interlace,1/format,webp/auto-orient,1)
Schoolcone mermaid
 Instruction
mermaid fin schoolcone
.xcs
Application scenario
Laser (180min)
Machine & module

xTool M1
10WCompatible xTool Machine
M1
5WD1
5W, 10W, 20WD1 Pro
5W, 10W, 20W, 40WP2
55WF1
10WLaserbox
40WS1
10W, 20W, 40WMaterial used

1/64"(0.2mm) Kraft Paper

glitter paper
foam rubber

13
1817
Information
phew - the project took longer than expected :)
Instruction
1
Step1: all together and fold cone

Preview

Preview

Preview
all together
glitter paper for the circles
foam rubber for the fin
a cone as a background
fold the cone together
2
Step2: cutting the circles

Preview

Preview

Preview

Preview
create the circles and select bladecut
i always used 3 passes because the paper is a bit thicker and with 2 passes it was sometimes not completely through
i then had to change to the pink surface because the glitter affected the adhesive properties :(
3
Step3: mermaid fin

Preview

Preview
with the fin it is important that you mirror the second one
I almost forgot and we only had 2 A4 from the foam rubber :)
make sure it is foam rubber that is suitable for laser cutti
4
Step4: assembling fin

Preview

Preview

Preview
glue the fin together but leave the opening open
I fixed them with clips
5
Step5: assembling circles

Preview

Preview
row by row stick the dots on
all overlap
i have always used a rubber band to hold the dots in place until the glue has dried
Comments
Remixes



You may also like

GIF
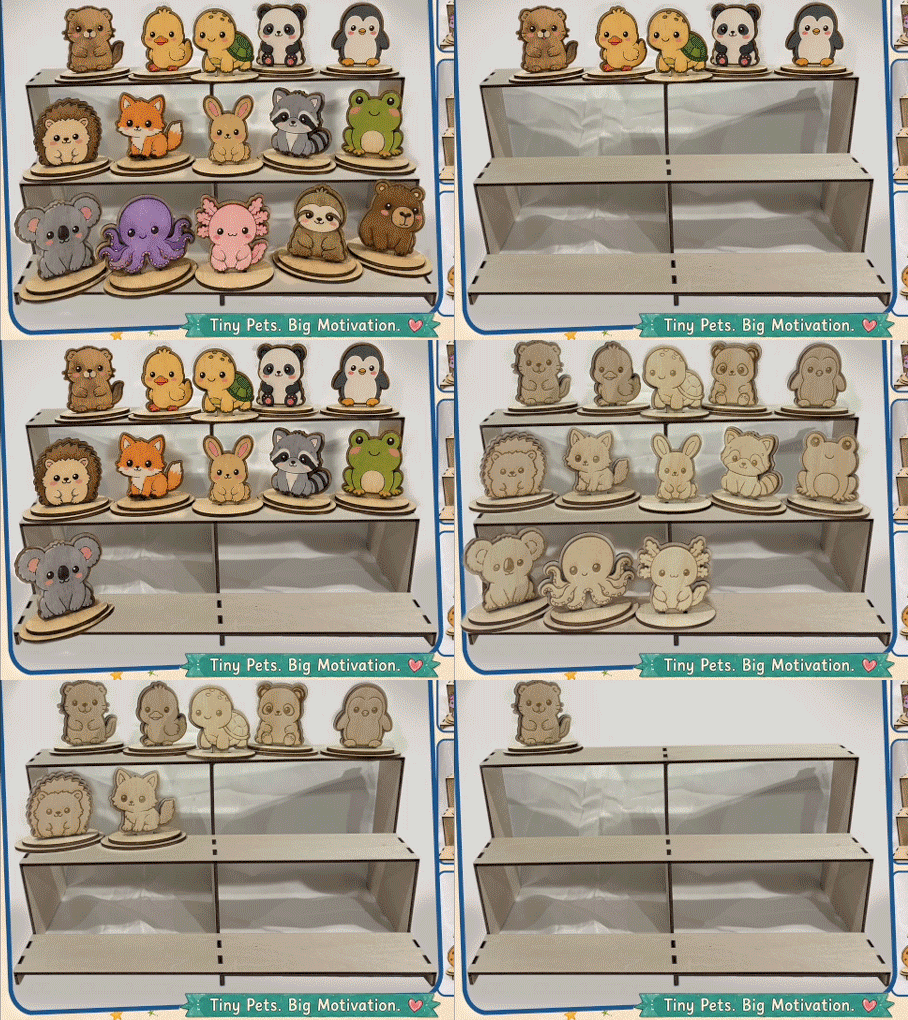
Animal Desk Pets Classroom Reward System Figures and Accessories

30
85

Toy Stego

3
8

Spirograph

220
886

summer vacation themed lacing game

44
117

2 Kinderwürfel - Bitmap versus Vektor Gravur

2
18

Wooden Star Breathing and Mindfulness Tracing Tool for Children

12
15

Children's Party Dinosaur Masks and Party Activity

10
10

Back to school glasses

30
38

Insert trofast ikea large format geometric shapes

4
22

Juego infantil

5
14

Unicorn coloring cardboard for children

2
20

Kaufladen Kinderküche Pfanne mit Ei / Toy shop children's kitchen pan with egg

1
4

Shape sorting box
48
184

$1.20
$1.20
$6.00
Credits120
Wooden Apple Shape Sorter Toy

2

Laser Engraved Toaster for Play Kitchen with Knob and Sound
0
4

Engagement Photo Ops
30
56

Kids Coloring Kits

13
63

Easter Coloring Toys

54
229