
A key holder is a board, a row of hooks and two mounting holes. Almost everything that goes wrong is a measurement — hook spacing, clearance, or where the fixings sit.
Below: the four numbers to settle first, three ways to design the board, and how to get it onto a wall without splitting the plywood.

Key Takeaways
- Size the board from hook count, not the other way round.
- Keys hang 60–80 mm — leave clearance below the hooks or they cover the artwork.
- Keyhole slots hide the fixings; countersunk holes are easier to cut.
What to Do Before You Design a Key Holder
Four measurements and two hardware decisions. Get these down first and the drawing is the easy part.
How many hooks, and how far apart
Count the bunches, not the keys, then add one. Space hooks at least 45 mm apart or bunches tangle and you end up using every other hook.
Clearance below the hooks
A hanging bunch is longer than people expect. Leave 60 mm of clear board below the hook line, or keys cover whatever is engraved there.
Mounting hole spacing
Two holes, set well in from the edges, and as far apart as the board allows. Close to an edge, plywood splits at the hole and the board sags.
Board thickness
6 mm minimum if you are using screw-in hooks, because a screw needs something to bite into. On 3 mm stock the hook pulls straight out.
Decide how the key holder attaches to the wall
The mounting method changes the file, so decide it before you draw the board.

- Countersunk holes are the simplest: two holes through the board, screws visible. Easiest to cut and perfectly adequate.
- Keyhole slots are cut into the back so the board lifts off screws already in the wall. Much nicer to live with, but they need a pocket cut, so a laser alone cannot make them in one pass.
- A french cleat is two bevelled strips. Overkill for keys until the board is wide or heavy, and then clearly right.
- Whichever you choose, hit a stud or use proper wall plugs. A loaded key board takes a real yank every day.
Choosing hooks for a key holder
The hook decides the board thickness, which is why it belongs here rather than at the end.
| Hook type | Fixing | Best for |
|---|---|---|
| Screw-in cup hooks | Screws into 6 mm+ board | The default; cheap and replaceable |
| Through-bolted hooks | Bolt and nut behind | Thin boards and heavy bunches |
| Cut wooden pegs | Glued into cut holes | An all-wood look, no metal |
| Adhesive hooks | Stuck on | Thin acrylic; weakest option |
Screw-in cup hooks are the right default. Drill a pilot hole first — driving a hook straight into plywood splits the face veneer.
Method 1: Generate a Key Holder Design With AI
We ran this in the live product rather than describing it, so the prompt and the result below are actual — including what was wrong with it.
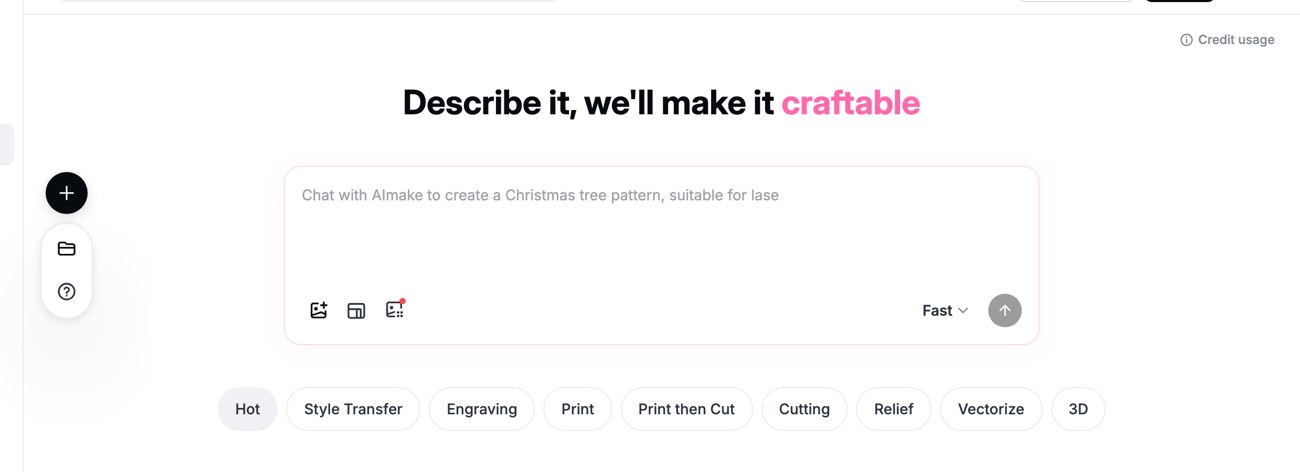
The key holder prompt we submitted
Prompt submitted to Atomm AI
A wall-mounted key holder board to laser cut and engrave from 6 mm plywood, 300 mm wide by 120 mm tall. Landscape rectangle with softly rounded corners, the words HOME KEYS engraved in a clean bold sans-serif across the upper half, a simple engraved house and leaf motif at each end, four evenly spaced positions along the lower edge marked for screw-in hooks, and two countersunk mounting holes near the top corners. Single-colour black line art on white, no gradients, nothing thinner than 2 mm.

The result, and what is wrong with it

It produced a usable board shape with clean lettering, and it respected the overall width. Two things it got wrong are worth naming.
The lettering sits where the keys will hang. That is the single most common key holder mistake and the AI walked straight into it.
The dimension annotation is part of the artwork. Left in the file, a laser will happily engrave the measurement text onto the board.
Hang your own keys on a ruler first
Before committing to a layout, hold a ruler at the intended hook height and hang the actual keyrings from it. Two minutes of that answers the spacing and clearance questions better than any rule of thumb, because your keys are not average.
The prompt lesson
Add this to a dimensioned prompt
The finished artwork must contain no dimension lines, arrows, leader lines or measurement text. Use the sizes as constraints only.
State the clearance as a rule, not a size. Asking for lettering above the hook line is what the first prompt was missing.
Method 2: Download a Key Holder Design and Adapt It
Five wall-mounted key holders from the community, chosen because each one solves the hook spacing and the mounting differently. All are free files — download, cut, and add your own name or hooks.
1. House With Hanging Cat Keychains
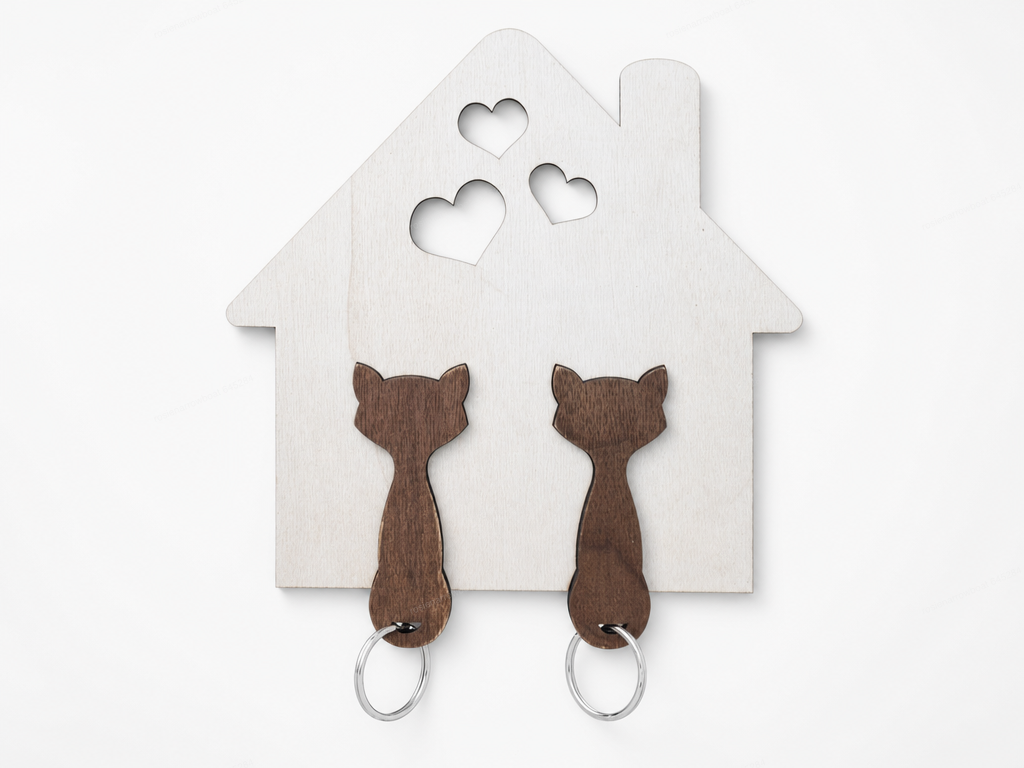
Instead of hooks, the keys hang on cut tags that slot into the board, so the holder and the keychains are one design. It removes the hardware entirely, which is worth considering if you would rather not buy and fit screw hooks at all.
Get this design →2. House and Tree Wall Key Holder
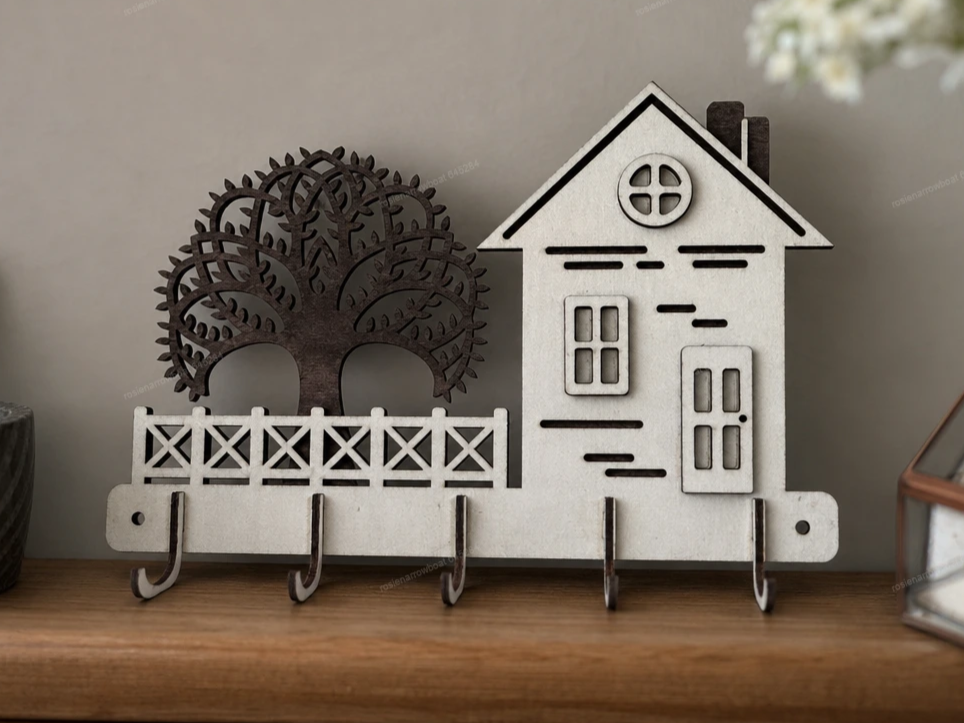
A layered scene with the hooks set along the lower edge, evenly spaced and far enough apart that a bunch of keys on one hook does not foul the next. The depth comes from stacking cut layers rather than from engraving, which is the easier way to get it.
Get this design →3. Monster Key Holder
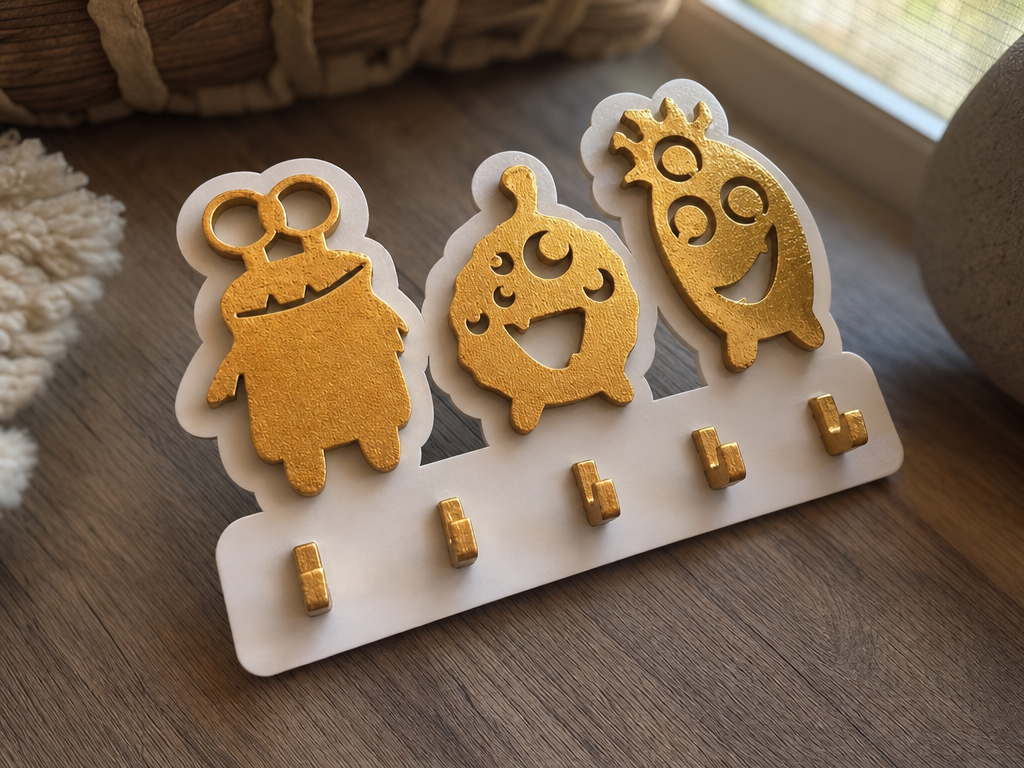
Characters sitting above the hook rail, so the decoration and the functional strip are separate parts of the design. That separation is the useful idea here: change the characters and the same rail works for any theme.
Get this design →4. Dog Face and Bone Key Holder
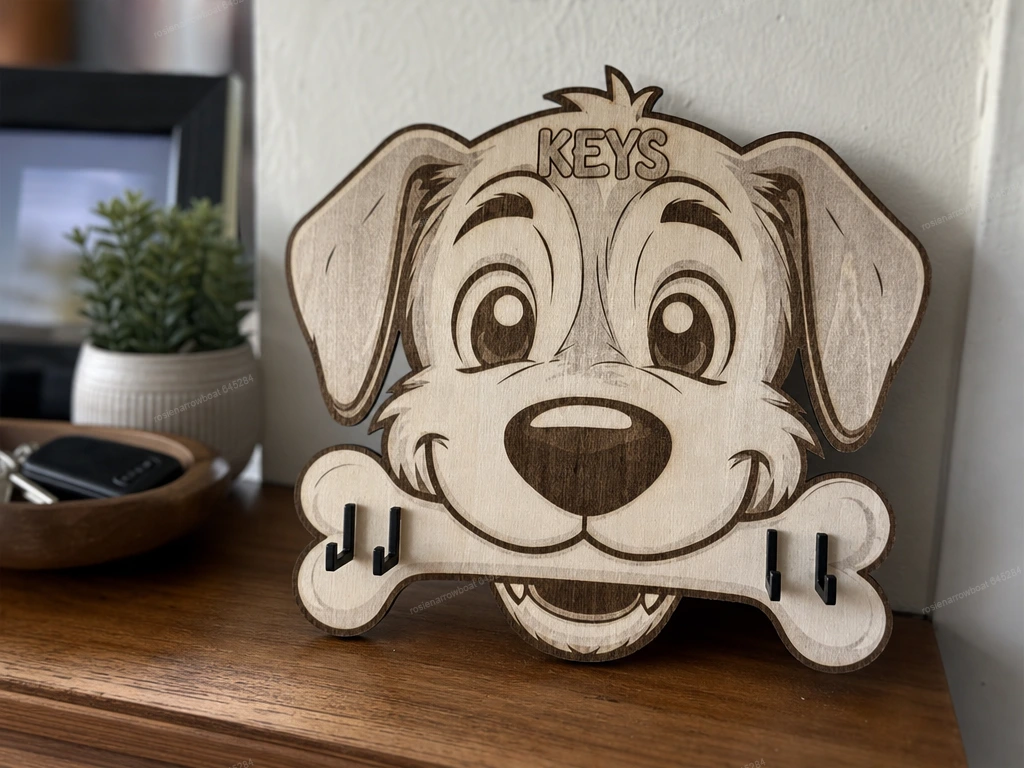
One silhouette doing two jobs: the bone carries the lettering and the ears give the piece its outline. Engraved detail sits inside the cut shape rather than crossing it, which is the rule that keeps a cut-and-engrave design from falling apart.
Get this design →5. Dachshund Key Holder
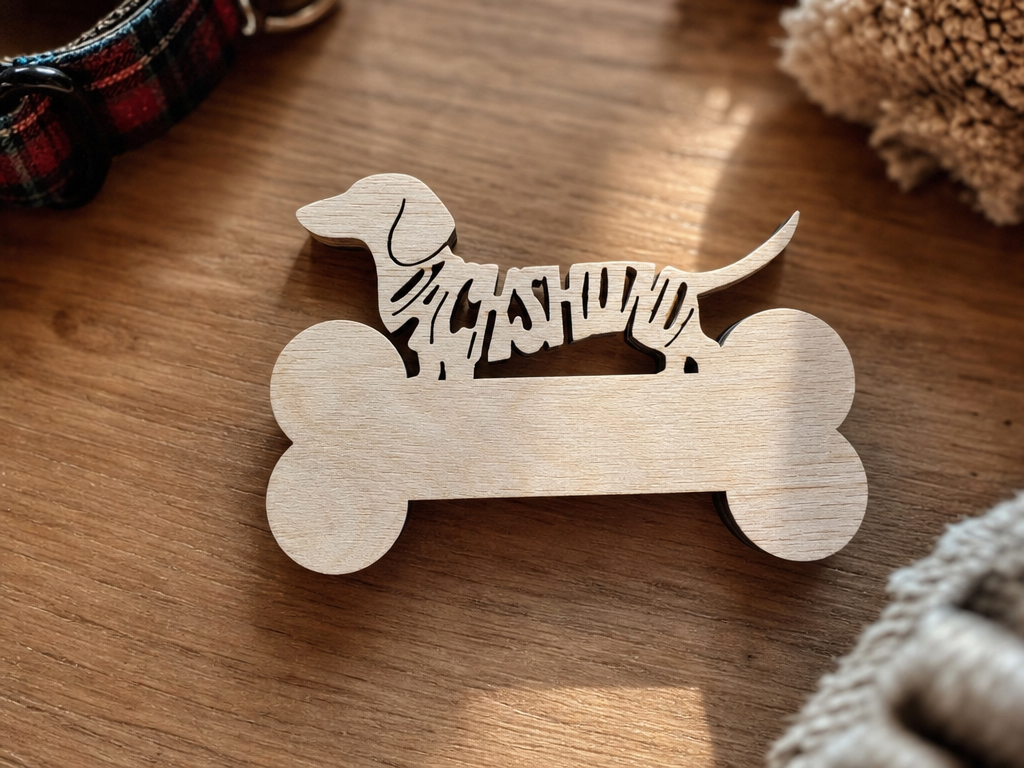
A long, low shape, which suits the narrow strip of wall most key holders end up on. The dog and the board are cut as one piece, so there is nothing to glue and nothing to align.
Get this design →Method 3: Draw a Key Holder Design From Scratch
The right choice when the board has to fit a particular space or match furniture that already exists. Draw in this order and the measurements stay honest.
- Draw the hook line first as a row of marks. It fixes the width and the clearance in one move.
- Add the two mounting holes, then the outline around all of it. Outline last means the fixings are never squeezed to the edge.
- Place the lettering above the hook line, and check it against a 60 mm hanging allowance rather than by eye.
- Keep the narrowest part of the outline over 6 mm. A decorative notch is where a loaded board cracks.
- Separate cut and engrave onto two layers before exporting. New to this? Start with how lasers work and what a vector file is.
How to Make Your Key Holder for Real
Three routes from a board design to something holding keys by the front door.
You can stop here
If you only wanted the key holder design file, the methods above are the whole job. The rest of this article is about turning that file into a board you can screw to a wall.
Method 1: Order the key holder made
- Online cutting services take a vector file and cut plywood or acrylic to size, often with the option of engraving the lettering too.
- A local sign shop or maker space is usually cheaper for a single board and will spot a fixing hole that is too near an edge.
- Say which layer is which and state the stock thickness you designed for. A 6 mm design cut from 3 mm stock will not hold a screw hook.
- Buy the hooks yourself. Services rarely fit hardware, and hook choice is what the board was measured around.
Method 2: Make the key holder by hand
A key holder is one of the few designs in this range that is genuinely easy without a machine, because it is a flat board with straight-ish edges.
- Print the design at real size and use it as a drilling and cutting template.
- Cut the outline with a jigsaw, staying outside the line, then sand back to it.
- Drill the mounting holes and hook pilots through the paper template, so the spacing you measured is the spacing you get.
- Add the lettering with a stencil, transfer or wood burner rather than freehand. Uneven letters are what makes a hand-made board look unfinished.
Method 3: Cut and engrave the key holder yourself
Engrave first, cut second. That order matters more here than on small work because the board is large enough to shift if it is cut free early.
xTool M2 Color Craft
Cuts and engraves the whole board in one pass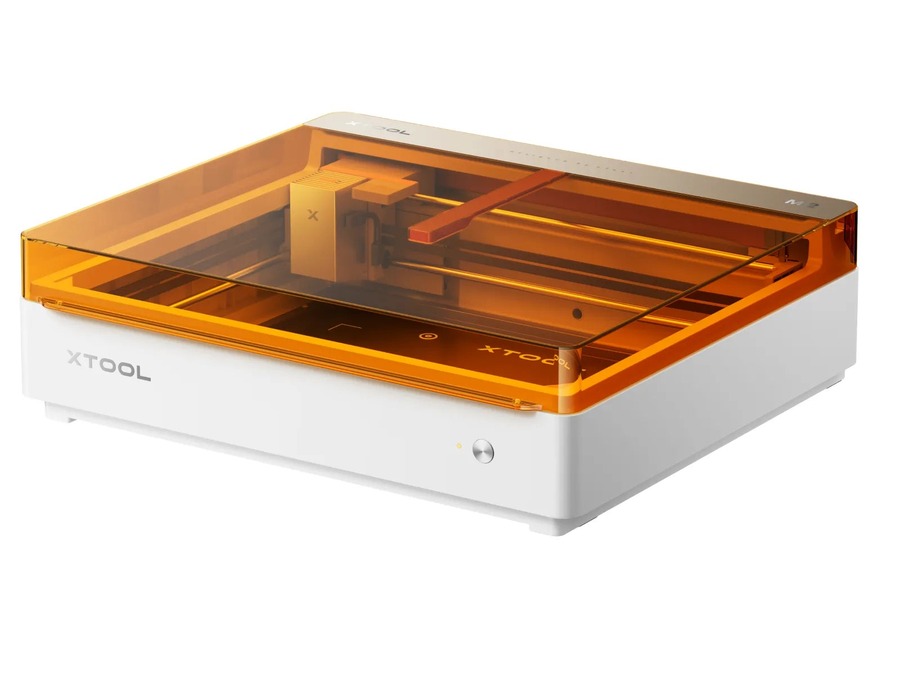
A key holder is a flat board with lettering on it, which is the pairing a laser is best at: engrave the text, then cut the outline and the mounting holes without moving the workpiece. The holes come out round and concentric, which is what stops a board hanging crooked.
Right for the job at any size a key holder is likely to be. The limitation is depth, not width -- anything needing a pocket cut still wants a router.
See the M2 on xToolTips for turning a key holder design into a board on the wall
- Sand the face before finishing. Laser soot around engraved lettering wipes off far more easily before oil or varnish goes on.
- Drill hook pilot holes after finishing. Otherwise finish wicks into the holes and the hooks bind.
- Fit the hooks last, then hang the board. Fitting hooks with the board already on the wall twists the fixings.
- Check the artwork contains only artwork. Dimension notes and guides left in the file get engraved.
- Hang it, load it, then look again. Every spacing mistake is obvious with real keys on it and invisible before.
Always look for elements you did not ask to see
Generated craft artwork routinely arrives with helpful extras: dimension callouts, drop shadows, backgrounds, watermark-like signatures. None of them belong on the cut or engrave layer, and all of them are invisible until you look for them deliberately.
Conclusion
Settle the four measurements before you draw: hook count and spacing, clearance below the hook line, mounting hole positions, and board thickness.
Those numbers are also the checklist for generated artwork. Our own run produced a good-looking board with the lettering in the one place it cannot go.
Frequently Asked Questions about Key Holder Design
How far apart should key holder hooks be?
Around 55 to 70 mm. Closer and bunched keyrings foul each other so you end up using alternate hooks; wider and the board grows without holding more. Four hooks at 65 mm spacing suits a board about 300 mm wide.
How thick should a wooden key holder be?
6 mm plywood is the practical minimum for screw-in hooks, and it still cuts in one pass on most machines. At 3 mm a screw-in hook has nothing to bite into, so use through-bolted hooks instead.
Where should the lettering go?
Above the hook line. Hanging keys drop 60 to 80 mm, so anything below the hooks disappears whenever the board is in use. Leave only 15 to 25 mm of board beneath the hooks.
What is the best way to hang a key holder?
Countersunk holes are simplest and perfectly adequate. Keyhole slots cut into the back look better because no fixings show and the board lifts off, but they need a pocket cut rather than a through cut.
Can AI design a key holder for me?
Yes, with checking. Our run produced the right layout, lettering, hook positions and mounting holes, but it also drew the dimension annotations into the artwork. Those have to be deleted before cutting.
How do I stop the plywood splitting at the screw holes?
Keep mounting holes at least 15 mm in from any edge, and drill pilot holes before driving screw-in hooks. Driving a hook straight into plywood splits the face veneer along the grain.
Design a key holder
Describe the board you want and get artwork ready to cut and engrave.
