


📸 How to Laser Engrave a Photo on Wood – Step-by-Step Guide & Pro Tips

Can you engrave photographs on wood?
Absolutely. Modern laser engraving makes it possible to transfer real-life photos onto wood with amazing clarity. Whether you’re creating a custom gift, a keepsake plaque, or a piece of wall art, laser-engraving photographs is a creative, rewarding process for makers and small businesses alike.
In this tutorial, we’ll walk you through the entire process—how to prepare your image, select the right wood, set your laser properly, and achieve photo-realistic results.
🌲 Best Wood for Photo Engraving
The best wood for photo engraving is light-colored, with minimal grain and low resin content. Good options include basswood, maple, birch plywood, alder, and cherry (with higher contrast settings). Avoid dark, oily, or heavy-grain woods like walnut, pine, or cedar, as they tend to distort fine detail or burn unevenly.
🖼️ Preparing Your Photograph
Here's how to make your photo laser-ready:
- Use a high-resolution image — ideally at 300 DPI or more.
- Convert the photo to grayscale — lasers don’t process color.
- Apply dithering — choose a method like Jarvis or Floyd–Steinberg to simulate gradient using tiny dots.
- Crop and adjust contrast — zoom in on your subject, sharpen facial features, and make the image slightly brighter if needed.
- Use Imag-R or LightBurn — for automatic conversion and image prep. Imag-R (imag-r.com) is free and optimized for laser engraving workflows.
⚙️ Laser Settings (No Table Needed)
While exact numbers vary by machine, here’s a general guide:
- If you’re using a 10W diode laser, set power between 80% and 100%, with a speed range around 1200–1800 mm/min, and DPI between 318 and 500.
- For a CO₂ laser (40W–60W), use 20% to 40% power, speeds between 300 and 500 mm/min, and around 300–400 DPI.
- Always test settings on scrap wood before final engraving.
Watch out for burn marks—reduce power or increase speed slightly if necessary. If your photo looks washed out, consider boosting the image’s midtone contrast during prep.
🪵 Step-by-Step Engraving Process
- Select your wood — choose a clean, flat, light-colored piece.
- Prepare your image — convert, dither, and preview.
- Import into your laser software — scale and center your image.
- Adjust your settings — speed, power, and resolution as needed.
- Run a test pass — this helps fine-tune for best contrast.
- Engrave your final piece — monitor the engraving to avoid overburning.
- Clean up — brush away soot gently or wipe with a damp cloth.
- Optional finish — apply clear coat or wax to seal the engraving and enhance contrast.
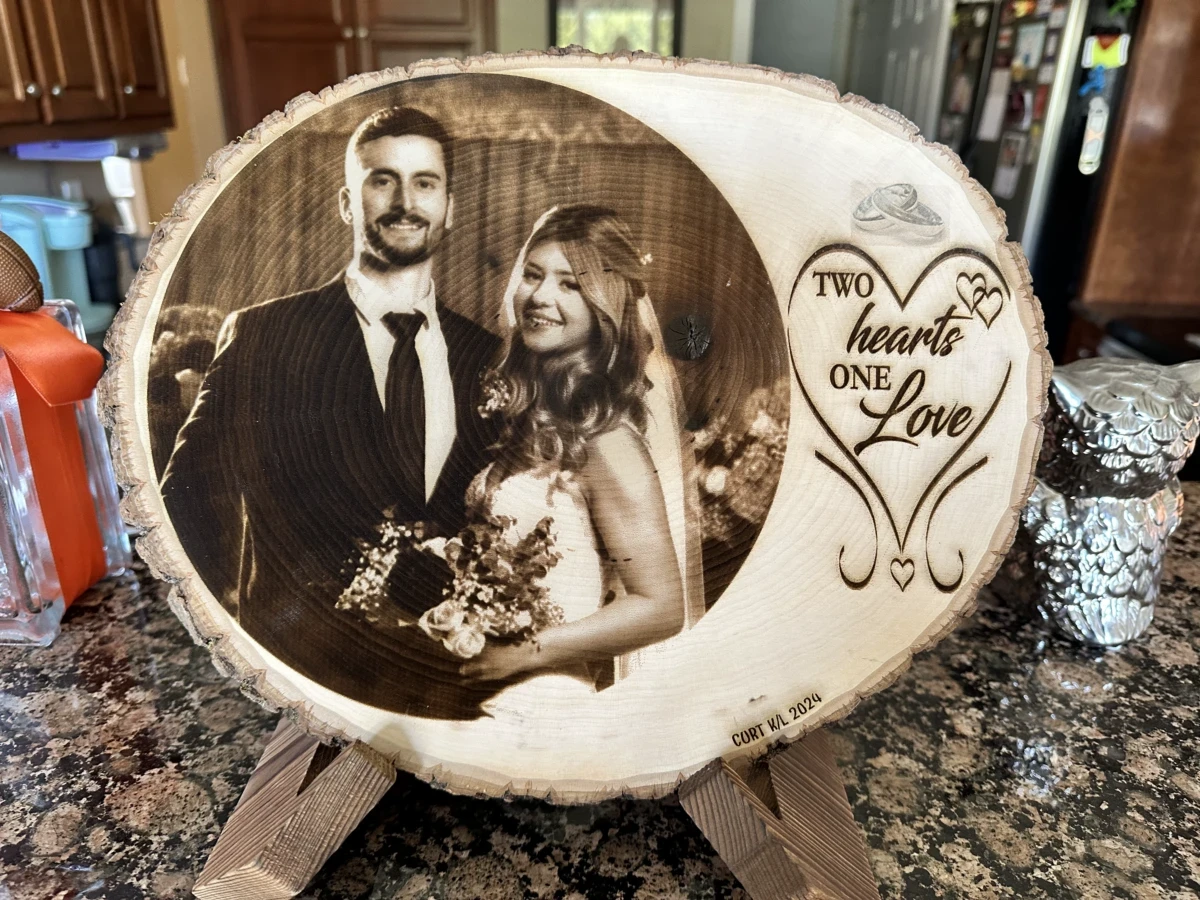
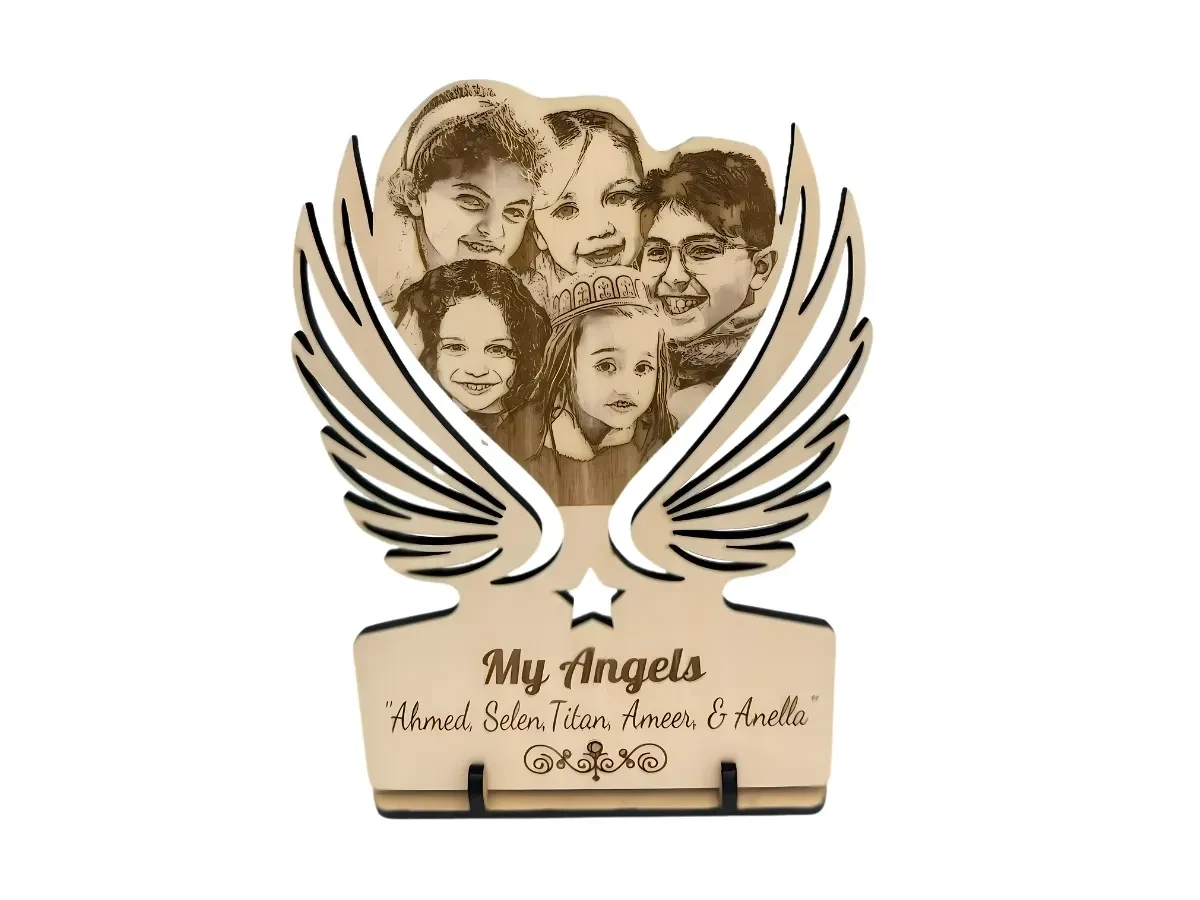
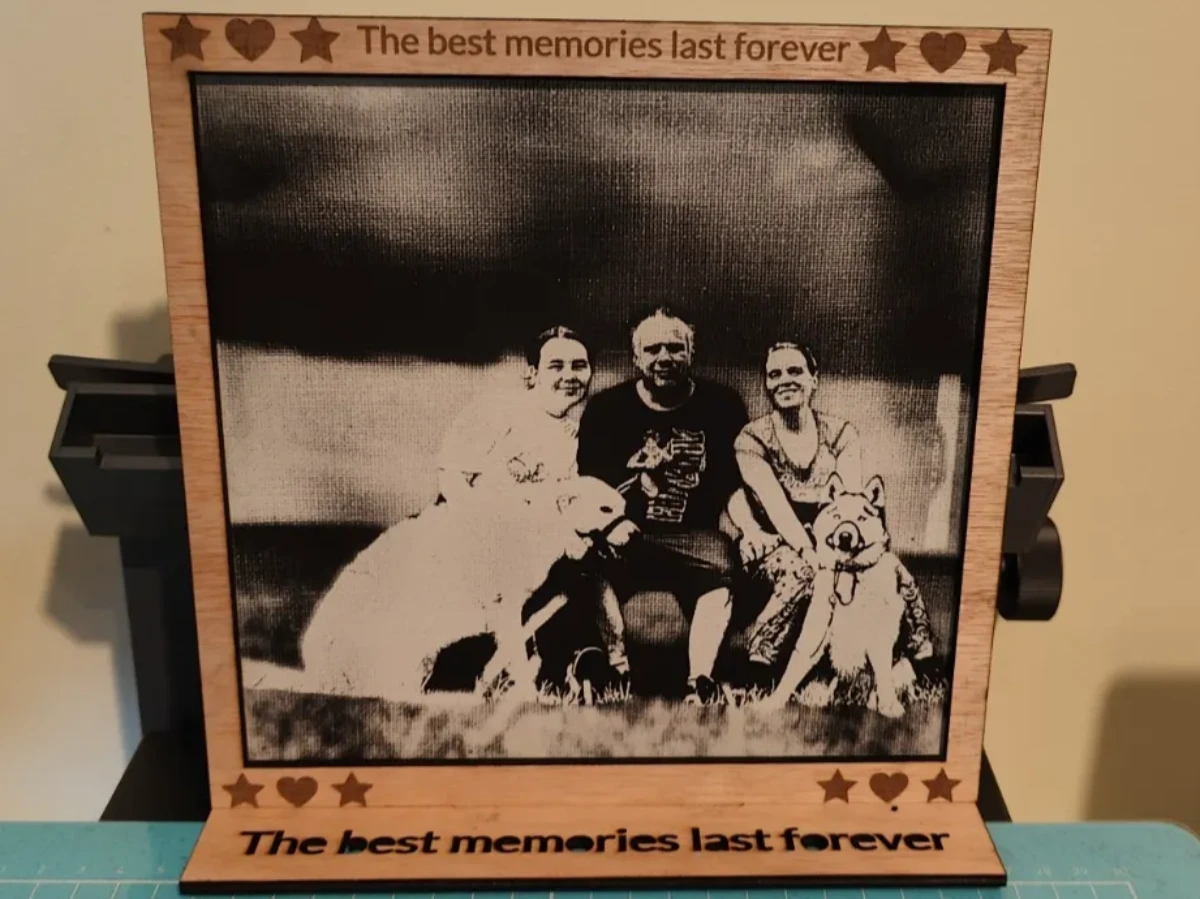
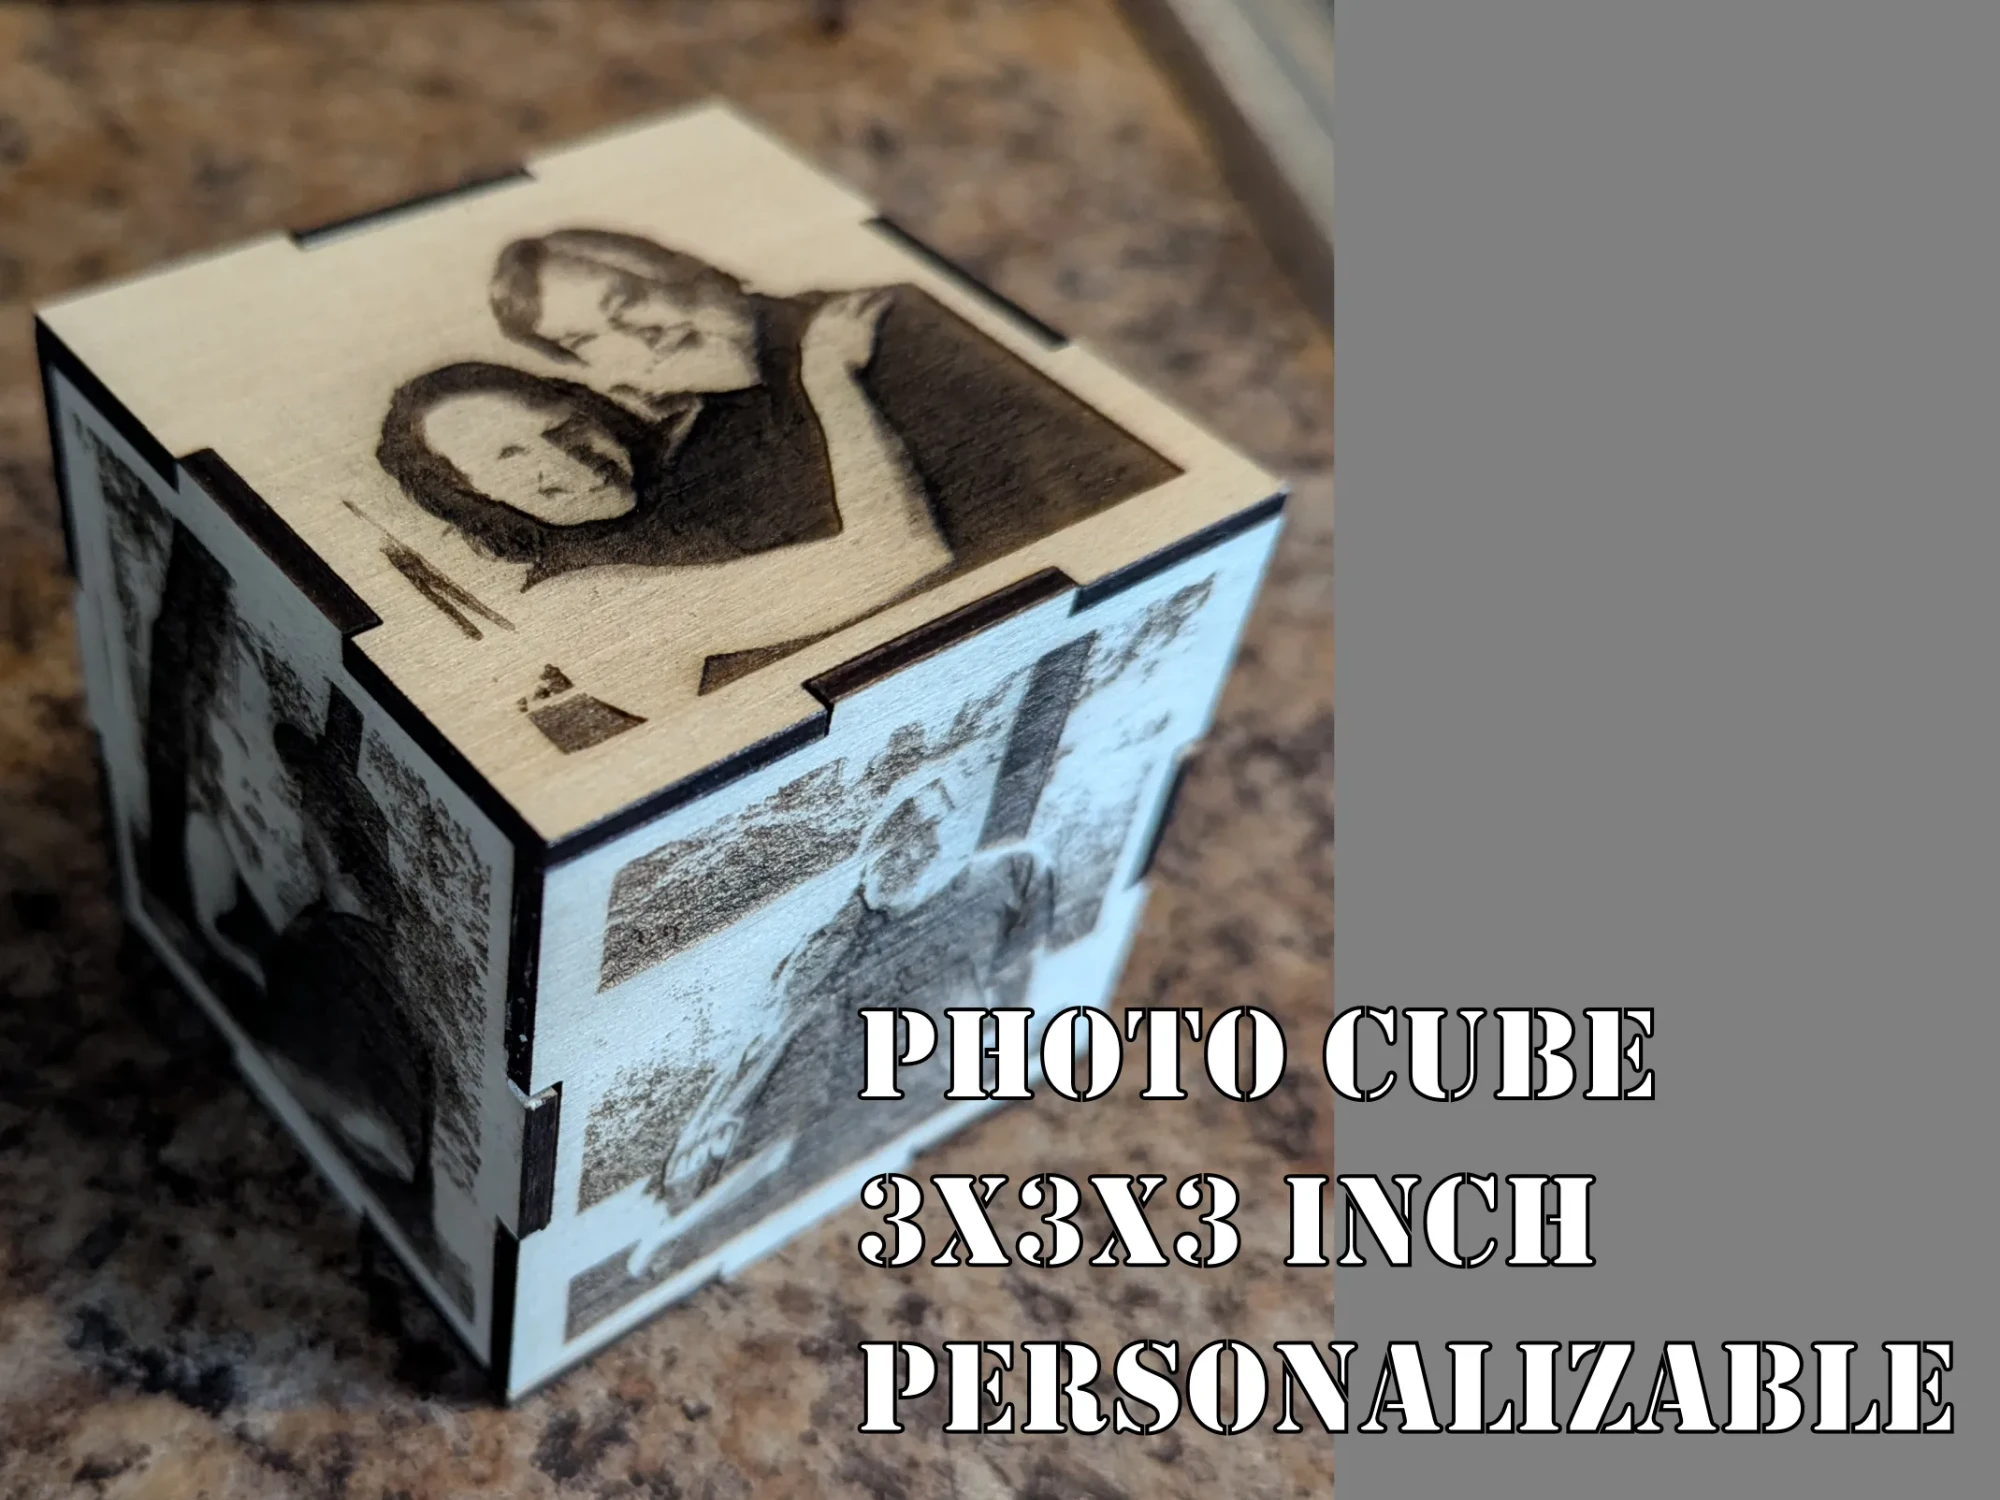
Check some projects here:
🧪 Advanced Techniques
- Baking soda prep — dissolve a small amount of baking soda in water, apply it thinly to the wood, let it dry, and then engrave. It can increase contrast.
- Double pass — for more depth, try a second pass at lower power.
- Masking tape overlay — helps prevent charring on very light woods.
❓ FAQ
Can I engrave photographs on any wood?
Yes, but lighter woods with minimal grain work best.
What resolution should I use?
Between 300 and 500 DPI gives the best balance of detail and burn control.
Why does my image look blurry or burned?
Possibly too much power, low resolution, or a poorly prepped image. Try sharpening your image and testing lower power.
Can I engrave color photos?
Yes, but you'll need to convert them to high-contrast grayscale first.
How long does it take to engrave a photo?
Depending on the size and resolution, it usually takes 15 to 45 minutes.
✅ Final Thoughts
Laser engraving photographs on wood blends art with technology—and gives makers, crafters, and small businesses a powerful way to tell visual stories. Once you’ve mastered the workflow, you’ll be able to create lasting keepsakes, personalized products, and gallery-ready wood art.