


🧪 The Complete Guide to Acrylic Laser Cutting & Engraving – Settings, Creative Ideas & How-to Tutorials

Acrylic is one of the most popular materials in the laser cutting world—and for good reason. Whether you want to create signage, custom gifts, jewelry, or architectural models, acrylic sheets for laser cutting and engraving offer amazing versatility, durability, and professional results.
In this complete guide, you'll learn the difference between laser cutting and engraving acrylic, how to choose the right type of sheet, optimal machine settings, beginner mistakes to avoid, and creative projects to inspire your next build.
🔍 1. Laser Cutting vs Laser Engraving Acrylic – What’s the Difference?
Before diving in, let’s clarify the two core processes:
- Laser Cutting: The laser beam completely cuts through the acrylic sheet, creating shapes, letters, or parts with clean, flame-polished edges.
- Laser Engraving: The laser partially etches the surface, creating text, patterns, or graphics that are visually visible but don't go all the way through.
Most makers combine both—cutting the shape of an object and engraving details on top.
🧱 2. Types of Acrylic Sheets for Laser Use
There are two main kinds of acrylic used in laser processing:
Cast Acrylic
- Produces frosted, white engravings with high contrast
- Slightly more expensive but ideal for logos, photos, and signage
- Great for engraving and surface detailing
Extruded Acrylic
- More uniform in thickness, which helps with consistent cutting
- Doesn't engrave as well—less frosted and lower contrast
- Often cheaper and easier to source
💡 Tip: For clean cuts and sharp engravings, use cast acrylic when possible—especially for artistic or branding purposes.
⚙️ 3. Best Laser Settings for Acrylic
Settings vary depending on your machine, power, and acrylic thickness. Here are general starting points:
For Cutting (CO₂ Lasers – 40W to 100W)
- Power: 85%–100%
- Speed: 8–15 mm/s
- Passes: Usually 1; 2 for thicker sheets (5mm+)
For Engraving (CO₂ Lasers)
- Power: 25%–50%
- Speed: 300–500 mm/s
- DPI/Resolution: 300–500 DPI for clean results
For Diode Lasers
- Require slower speeds and higher power
- Often limited to engraving clear or light-colored acrylic
- Some colored or mirrored acrylics may reflect the diode and not work at all
🔧 Always test on scrap acrylic first before engraving your final piece.
🪚 4. Material Preparation Tips
To get the cleanest results:
- Leave the protective film on the back to prevent scorching
- Remove top film only if engraving details (for better burn)
- Clean the sheet to avoid dust or debris interfering with laser focus
- Use air assist to improve cut quality and reduce smoke residue
- Focus the laser slightly below the surface when cutting to help edge clarity
💡 5. Creative Acrylic Laser Projects to Try
Here are some practical and inspiring ideas you can create using laser cut and engraved acrylic:
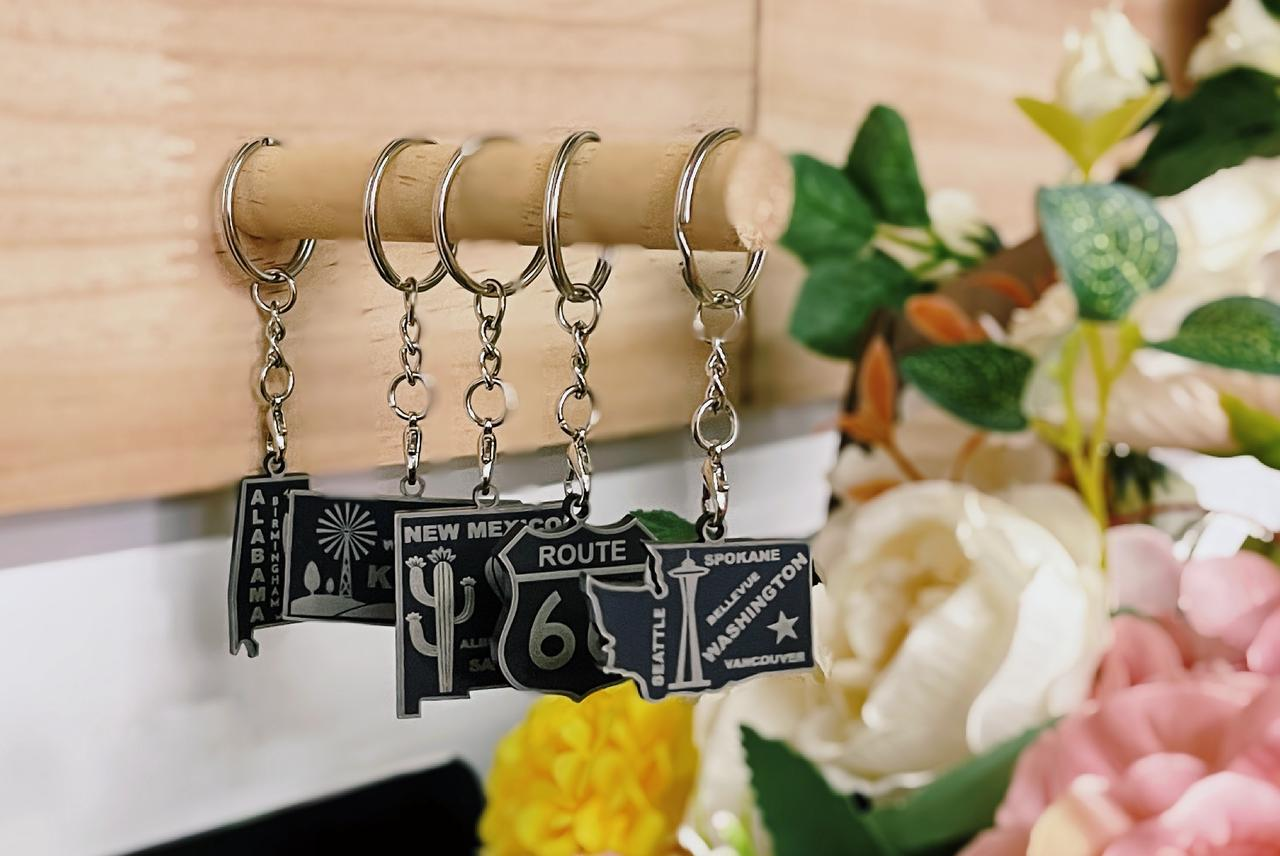
- Custom Keychains – Brandable, giftable, and easy to sell
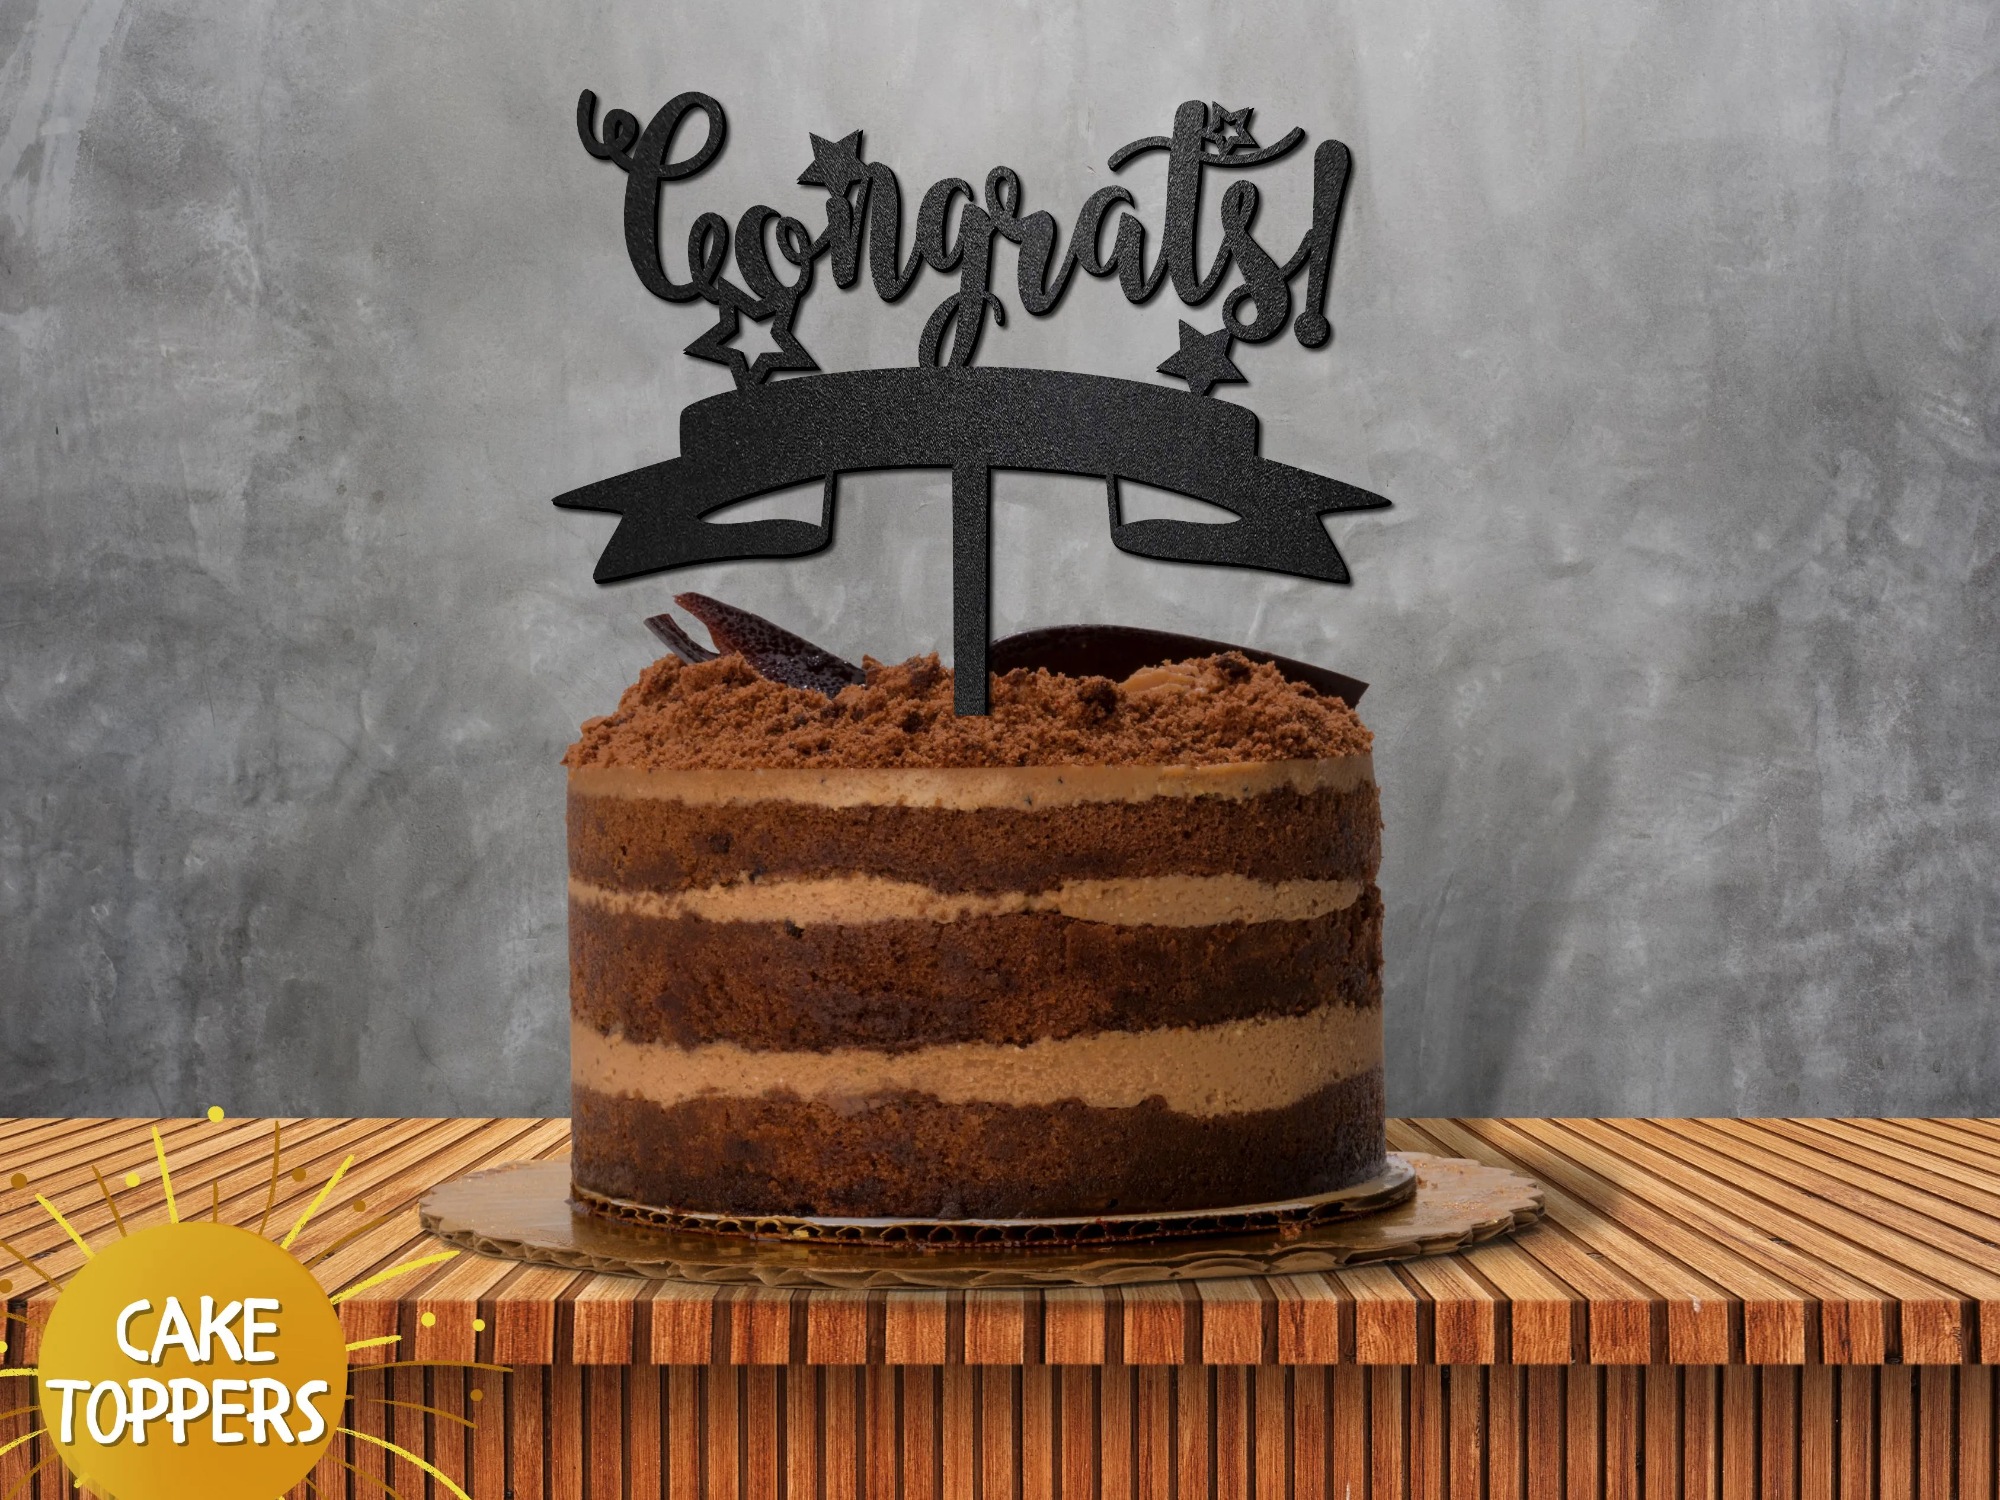
- Cake Toppers – Perfect for birthdays and weddings
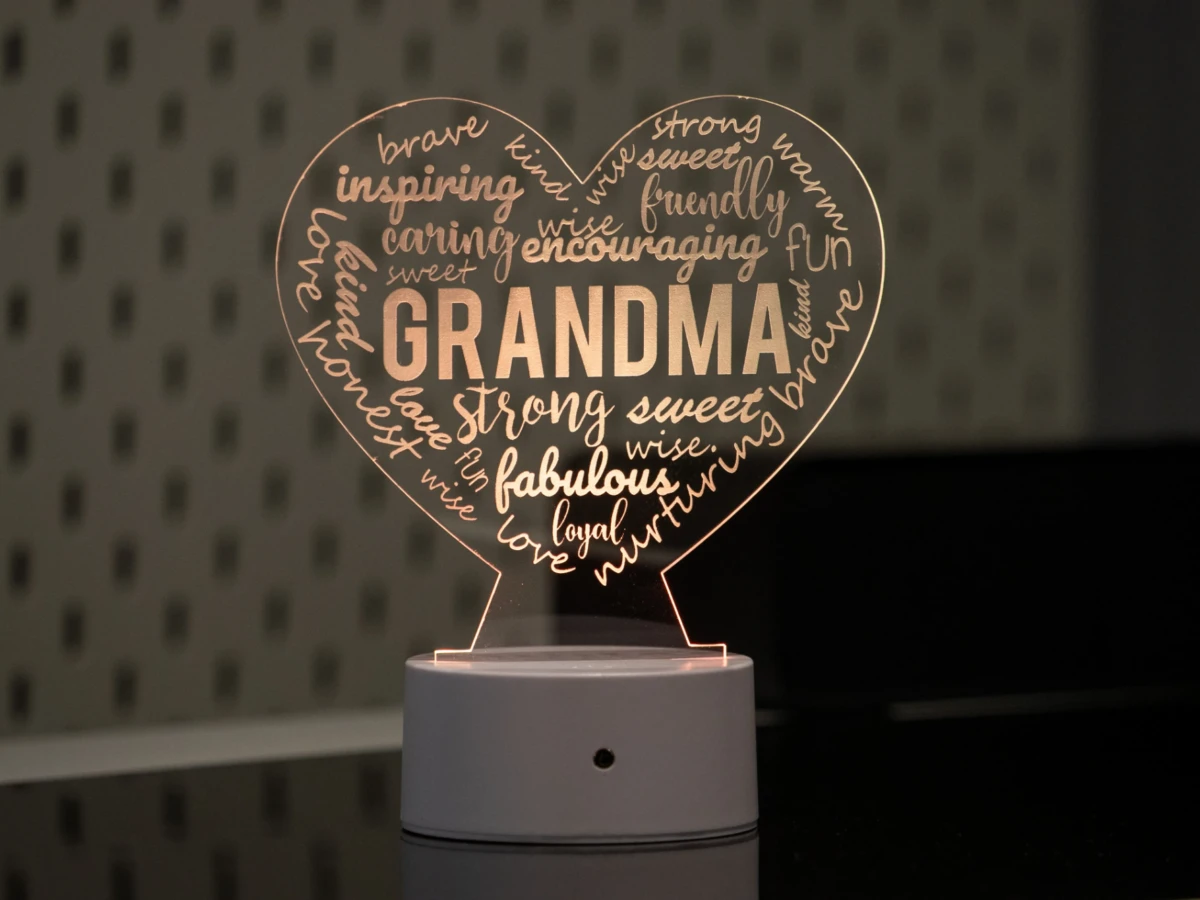
- LED Signs – Engrave the back side for edge-lit signage
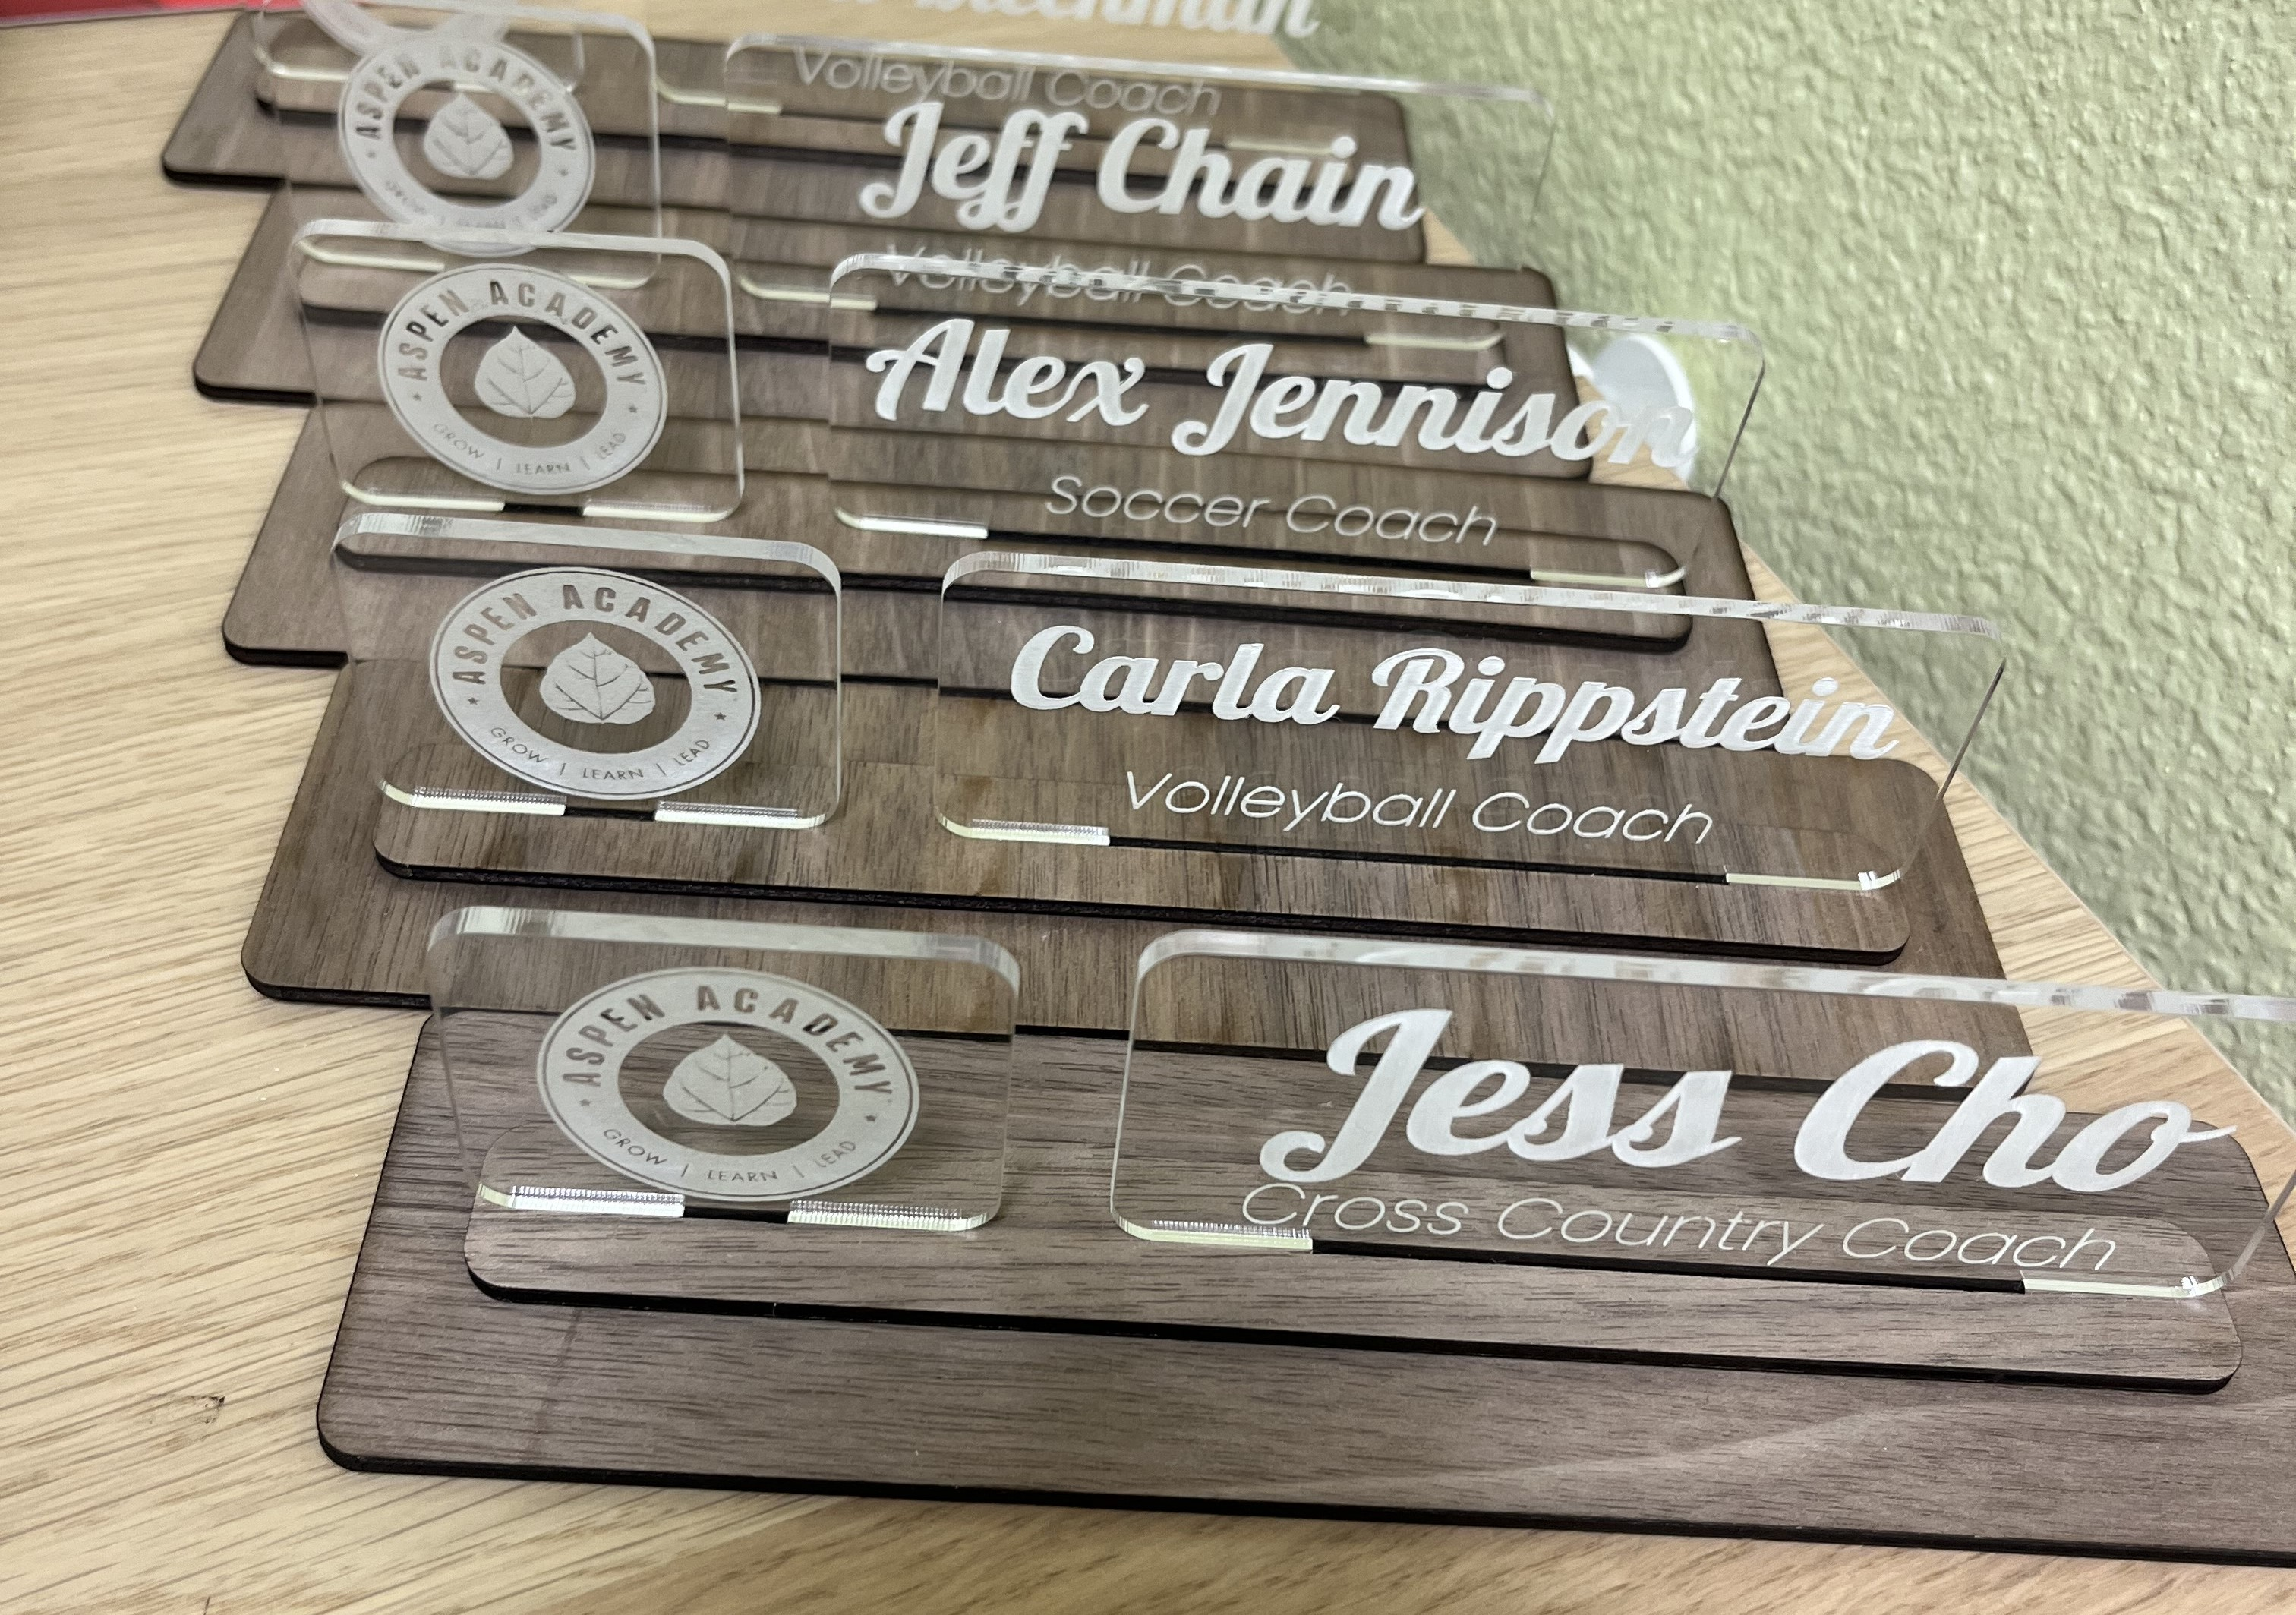
- Desk Nameplates – Combine engraving + cutting for pro branding
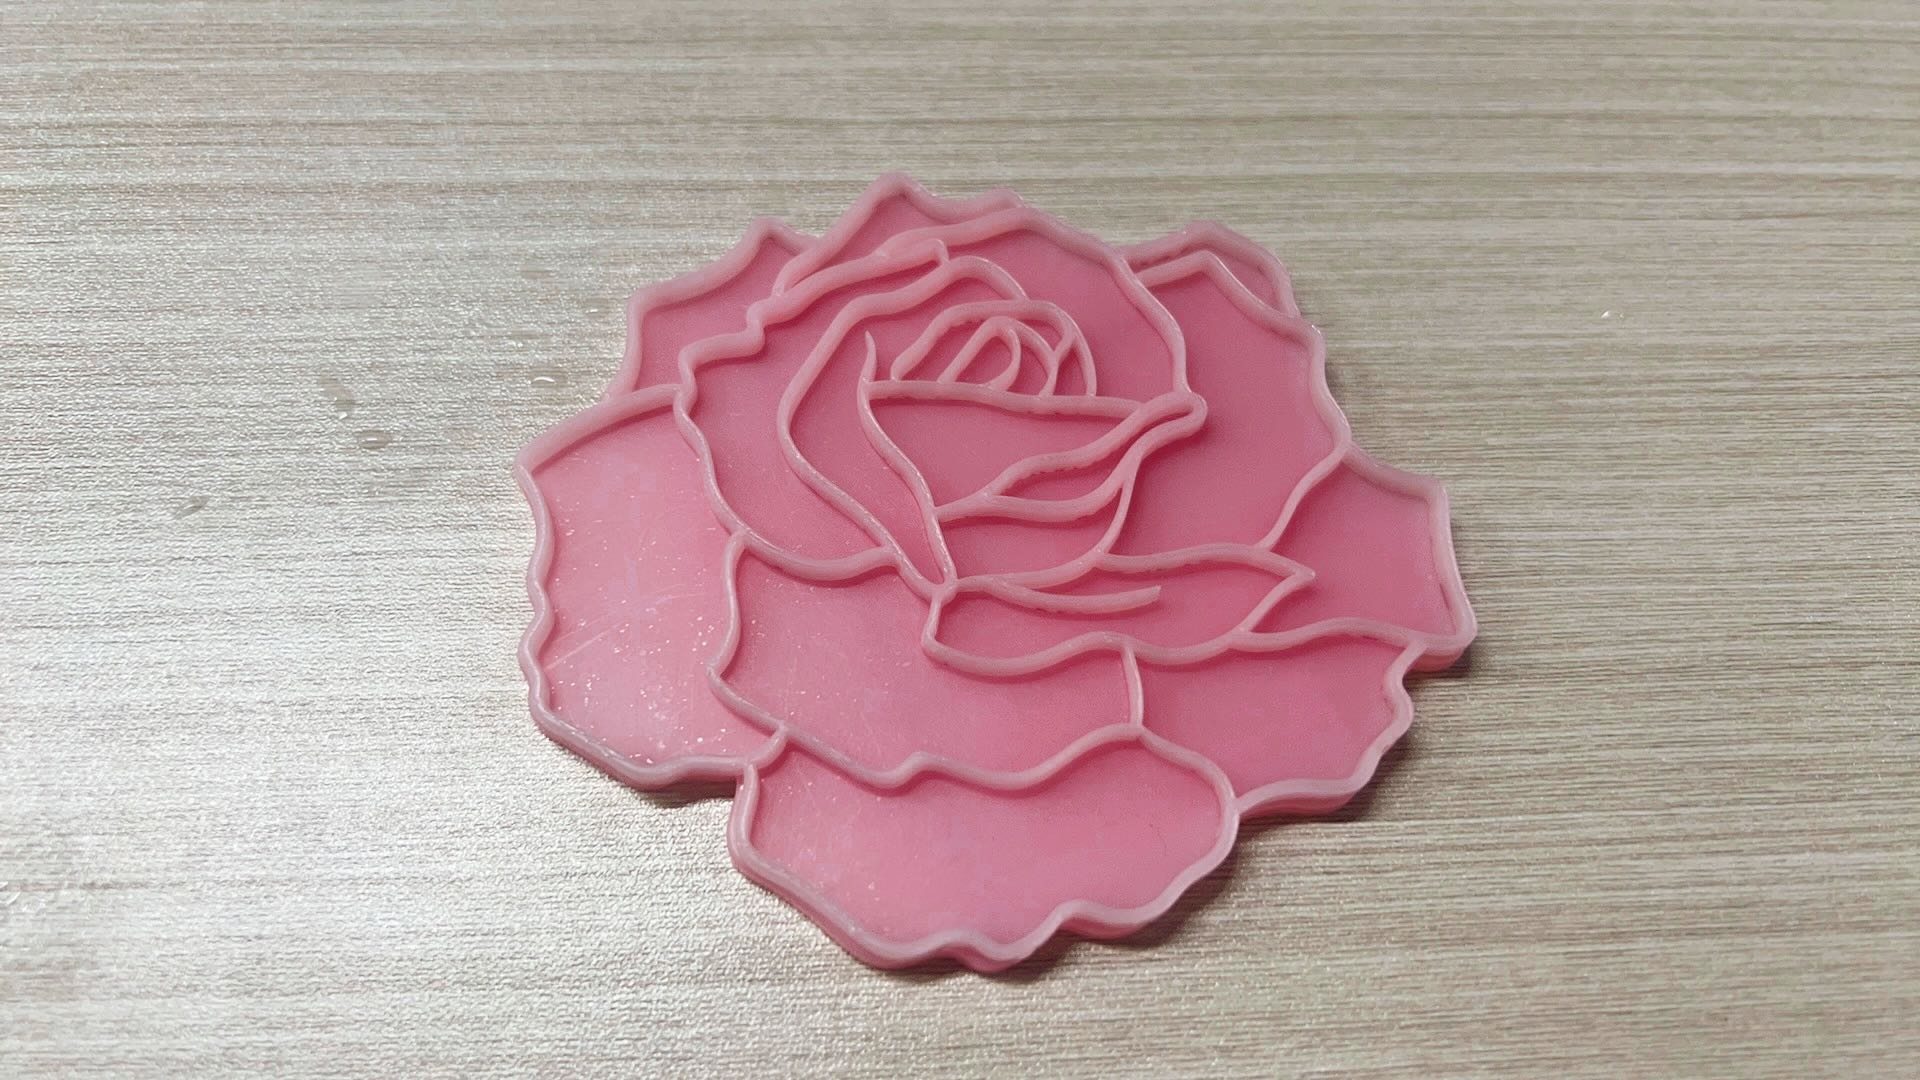
- Coasters – Stack layers or use frosted effects
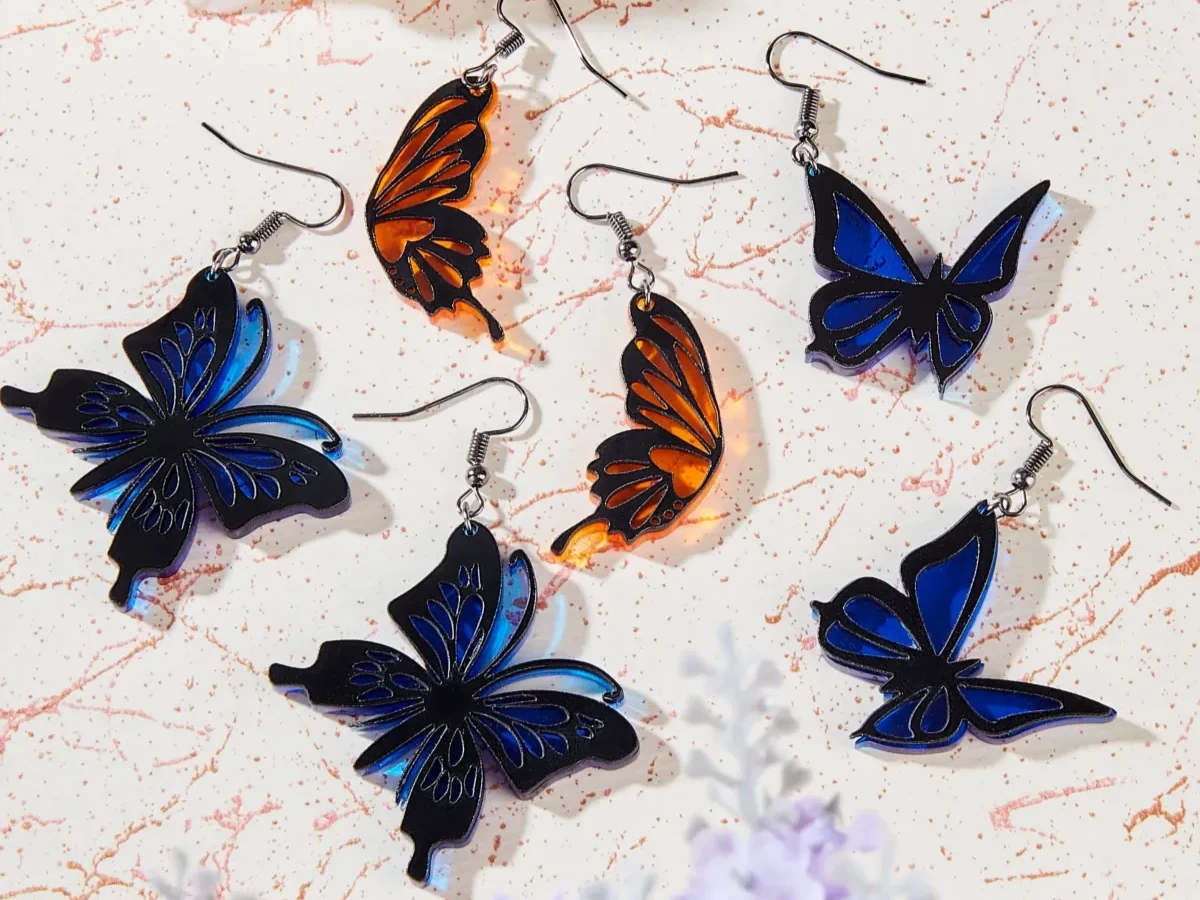
- Earrings and Jewelry – Lightweight and available in color varieties
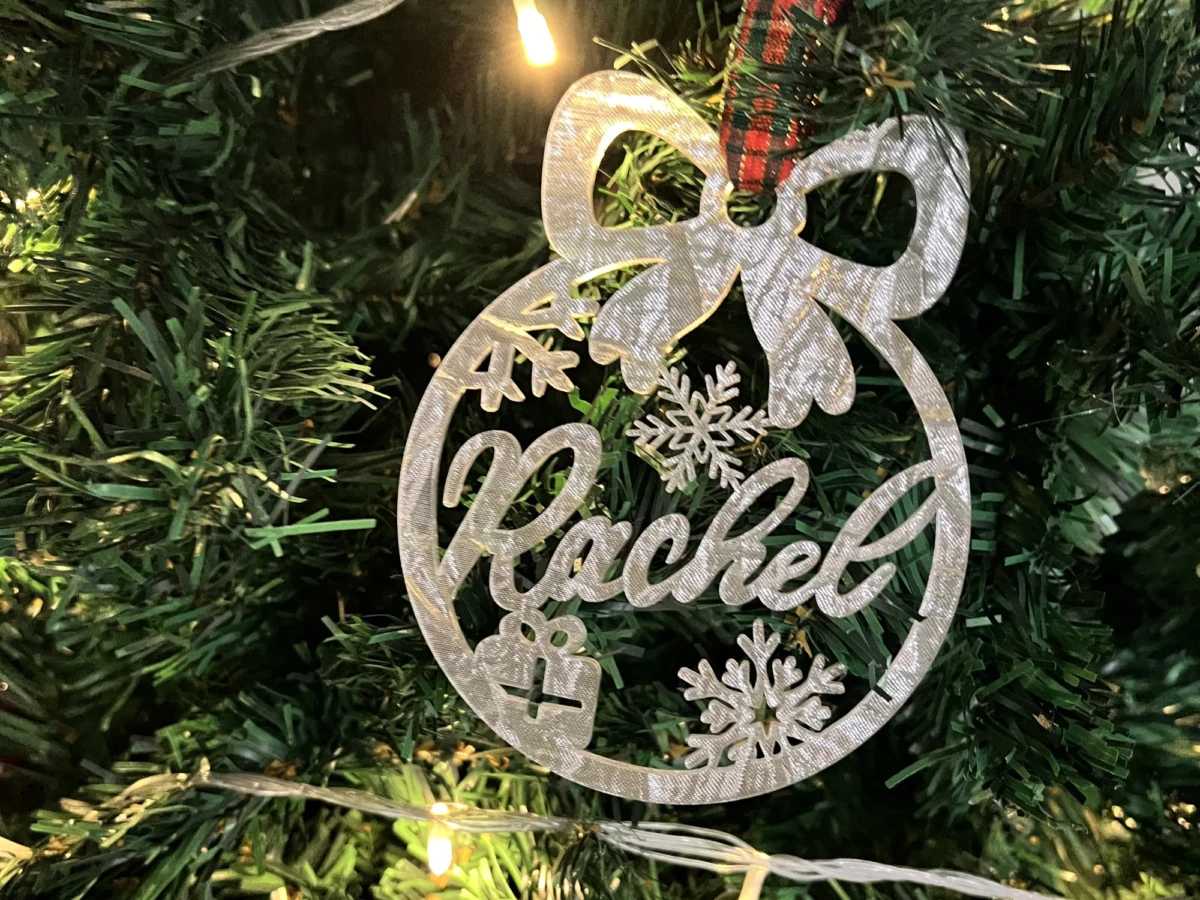
- Ornaments and Holiday Décor – Highly personalized and seasonal
- Game Pieces and Boards – Durable and repeatable
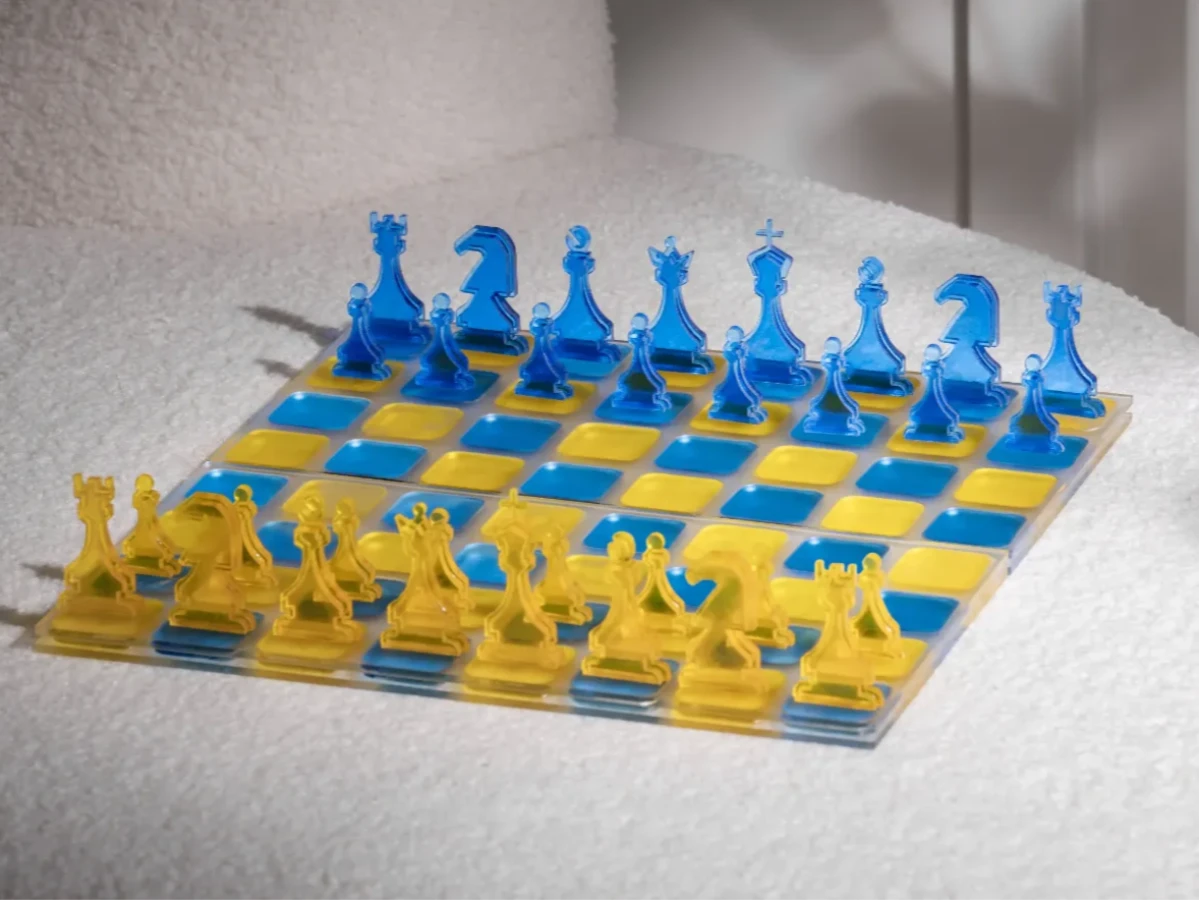
🎨 Bonus: Try multi-color acrylic stacking for bold, layered visuals.
🧠 6. Common Mistakes (And How to Avoid Them)
- Melted or rough edges? → Lower your speed slightly and use air assist
- Smoke marks on top surface? → Leave protective film or mask with painter's tape
- Cloudy engravings? → Reduce DPI or try different cast acrylic
- Fire risk with thin cuts? → Never leave the laser unattended; especially on small inner shapes
- Poor contrast? → Paint-fill engraved areas or backlight your design
🧼 7. Safety & Maintenance for Acrylic Laser Cutting
- Always ventilate your workspace—acrylic fumes can irritate lungs and coat optics
- Clean mirrors/lenses weekly if used regularly
- Wear protective glasses if using diode/open machines
- Avoid cutting PVC or unknown plastics—they release toxic gases
❓ FAQ – Acrylic Laser Cutting & Engraving
Q: Can all acrylic be laser cut and engraved?
No. Stick to cast or extruded acrylic. Avoid polycarbonate, which looks similar but doesn’t cut well and releases dangerous fumes.
Q: Can diode lasers cut acrylic?
Generally no—most only engrave, and they struggle with opaque or colored acrylics.
Q: Should I remove the protective film before cutting?
Only the top side if engraving; leave the bottom covered to protect from flash marks.
Q: Why are my edges not clear or polished?
Use slower speed, higher power, and ensure good airflow for flame-polishing effect.
✅ Final Thoughts
Laser cutting and engraving acrylic is one of the fastest ways to create stunning, professional-grade products from a home studio or small workshop. From earrings and signage to awards and lighting, acrylic sheets offer a perfect balance of beauty, strength, and ease of use.
With the right sheet type, clean settings, and a little creativity, your next acrylic project could be your most impressive yet.