
![[Laser cut and engrave,Screen printing] Laser Cut Wooden Keychain with Rope Pattern Text Yeehaw](https://image-res.atomm.com/resource/xtool/community/attachment/xtool-community/34fb4505-f6a2-45f2-b15b-997cd6ecb453.jpeg?x-oss-process=image/resize,w_1200,h_900,limit_0/interlace,1/format,webp/auto-orient,1)
Custom Laser Cut Gold Name Keychain Accessory, Yeehaw, Gift for a Cowboy Lover, Rope Pattern
 Instruction


Information
      YEEHAW, but make it bold.

This statement keychain transforms a classic western expression into a wearable piece of design. Cut from solid 2 mm brass and shaped entirely in script lettering, the word “Yeehaw” becomes both form and function, turning everyday keys into a conversation starter.

A rope inspired texture is engraved across the surface, giving the piece a subtle nod to western heritage while adding depth and dimension to the polished brass finish. The result feels playful yet elevated, blending humor, culture, and craftsmanship into a small object that carries big personality.

Durable, weighty, and designed to age beautifully over time, the brass develops a natural patina unique to each owner, making every keychain one of a kind.

Whether clipped to keys, a bag, or worn as an accessory, this piece is made for those who like their style a little louder and their attitude unapologetically fun.
Instruction
Step1: How to Make the Brass “Yeehaw” Keychain
Materials
2 mm brass sheet
xTool F2 Ultra (MOPA IR laser head)
Strong magnets or metal hold downs
Masking tape or laser marking tape (optional)
Metal polishing cloth
Keychain clasp + jump ring
Pliers
Step 1: Prepare the Design File
Your file needs two operation layers:
Layer 1 — Engrave (rope texture)
Rope pattern lines inside lettering
Set as engrave / fill
No outlines selected
Layer 2 — Cut (outer shape)
Entire “Yeehaw” silhouette outline
Hanging hole circle
Set as vector cut
👉 Always engrave first, cut last.
Step 2: Prepare the Brass Sheet
Clean brass with alcohol wipe to remove oils.
Place brass flat on honeycomb bed.
Secure with magnets so it cannot shift.
Focus laser using auto focus or manual focus tool.
Brass must sit perfectly flat or cuts will fail.
Step 3: Select Correct Laser Type
In xTool Creative Space:
✅ Laser Type → MOPA IR
(Not blue light. Blue diode will not cut brass.)
Step 4: Engrave the Rope Texture
Starting Engrave Settings (Safe Baseline)
(Adjust after testing)
Power: 75–85%
Speed: 1200–1800 mm/s
Frequency: 25–40 kHz
Passes: 1
Line interval: 0.03–0.05 mm
Goal:
Create visible texture
Avoid deep gouging
Maintain clean brass shine
Run engraving pass first.
Step 5: Cut the Brass Shape
⚠️ Cutting brass is the slowest step.
Starting Cut Settings (2 mm Brass)
Power: 90–100%
Speed: 5–10 mm/s
Frequency: 20–30 kHz
Passes: 8–15 passes (depends on brass hardness)
Air assist ON if available
Important:
The F2 Ultra cuts brass through multiple shallow passes, not one deep cut.
Step 6: Check Cut Progress
After several passes:
Pause machine
Lightly test edge movement
Resume passes if not fully separated
Do NOT force removal. That bends brass.
Step 7: Remove and Finish
Remove piece carefully.
Sand edges lightly with:
600 grit → then 1000 grit sandpaper
Polish using metal polishing cloth.
This removes laser oxidation and restores shine.
Step 8: Attach Hardware
Open jump ring sideways.
Insert through top hole.
Attach clasp.
Close securely.
Remixes



You may also like

Personalized Heart Keychain SVG | Puzzle Couple Keychain | Family Keychain Set | Custom Name Gift


Laser Cut Wooden Keychain with Rose Design and Custom Name


'/%3e%3cdefs%3e%3clinearGradient%20id='paint0_linear_1433_15752'%20x1='12.5'%20y1='5'%20x2='12.5'%20y2='19.2596'%20gradientUnits='userSpaceOnUse'%3e%3cstop%20stop-color='%232F7FFF'/%3e%3cstop%20offset='1'%20stop-color='%232661F1'/%3e%3c/linearGradient%3e%3c/defs%3e%3c/svg%3e)
Personalized Pennant Keychain with Name

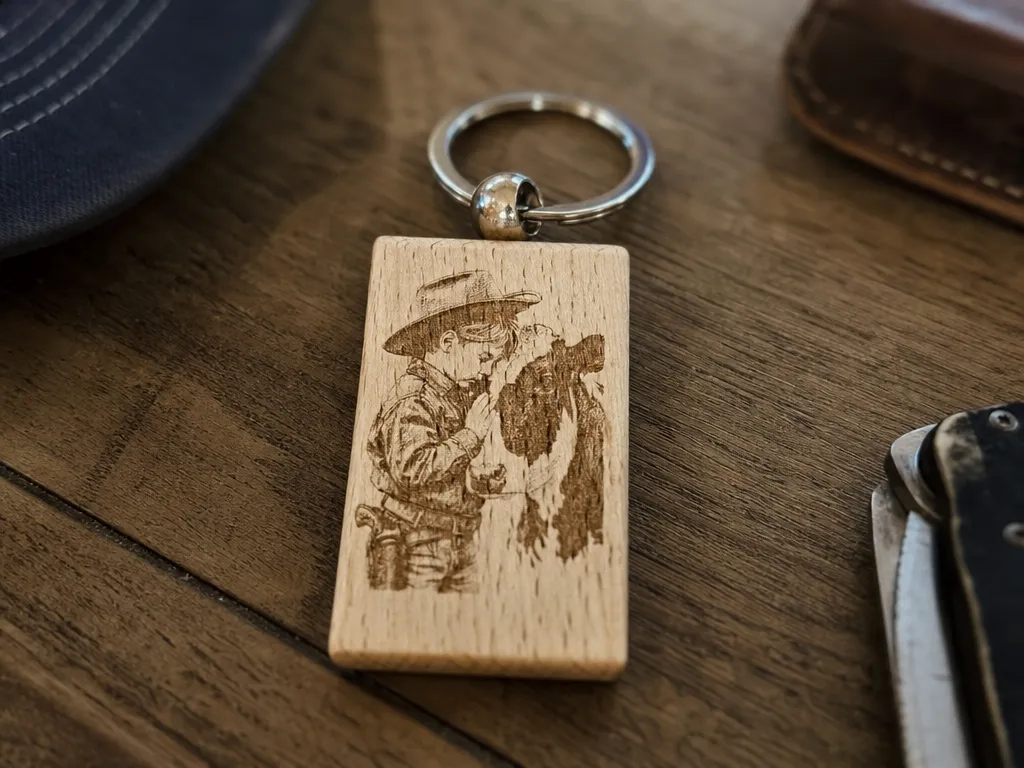
Wooden Keychain Featuring a Cowboy and Horse Illustration


Laser Cut Roblox Keychain, ornament with Custom Name


Laser Cut Wooden Cowboy Boot Keychain with Cutie Engraving


Custom Laser Cut Halloween Keychains with Names and Cute Characters

Custom MAMA Acrylic Keychain


Laser Cut Wooden Keychain with Eye Pattern and Bandages wrapped around each letter forming the name "Noah"


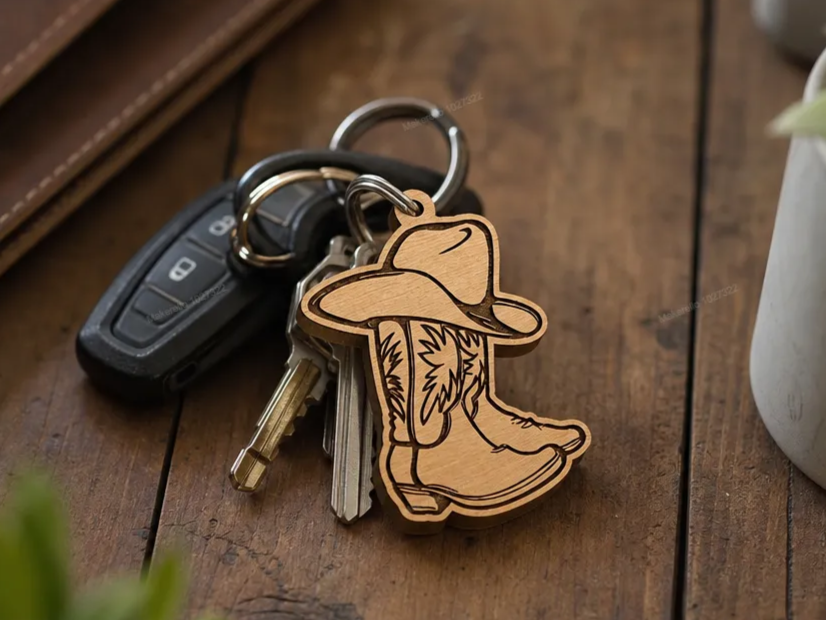
Cowboy Boots Key Chain Key Fob


Laser Cut Wooden Floral Pattern Keychain Accessory


Father's Keychain with Hanging Elements Laser Cut. Family Design. Gift Idea. Free Design


Personalized name keychains

Custom glittery keychain with name


custom laser cut name sign keychain


Laser Engraved Wooden Sunflower Keychains Personalized Papa Maman


Personalized Medical Symbol Doctor Name Keychain leather


T-Shirt Keychain Design
