
Report


Wedding Knife Set
ID 9764
 Instruction
Files

Original files
AuthorM1 · Acacia Wood
1


Add Make Profile
Same design, different machine, material, or any improvement · Earn 100 Credits
Tips for a great Make Profile →
102
2798
Information
Every wedding using metal knifes to cut the cake. Ever thought about a wooden custom set for the special occasion? This would be a nice keepsake set for the couple as a gift.
Instruction
1
Step1: Adding Your Design

Preview
This part is totally up to you. I added the couples last name and their names and established married year underneath.
The fonts I used are in my design are both downloaded from Creative Fabrica
- Ashley Southine for the last name
- Brown Carolina Sans for the first names
2
Step2: Auto Measure

Preview

Preview

Preview
To automeasure I put my material right under the red light and automeasured it.
Once it was done I moved it to the top center of my baseplate so I could get as accurate to the camera as I could.
3
Step3: Framing

Preview
Place the engraving on your material as best as you can where you would like your machine to engrave it.
- Click from on the top right corner
- Watch through your the framing process through the window and see if that's where you want your image to engrave.
- I like to do this a couple times so I can look at every angle and side so I can get it as close to where I'd like it to engrave.
4
Step4: Laser

Preview
Once you got it where you it placed check your engraving settings and that all your design is set to engrave.
Send it to your machine!
5
Step5: Cleaning & Oiling it up

Preview

Preview

Preview
Once the engraving is complete
- I like to clean mine with baby wipe very delicately so that the fibers from the cloth doesnt get into the engraving.
- I then dry any mositure left from the wipe with a paper towel
- I like to finish it off by rubbing some food grade mineral oil into the engraving
- I let it set for a couple of hours before rubbing away any excess the wood did not absorb.
6
Step6: Ta Da!

Preview

Preview
And there it they are! Such a lovely set for the bride and groom!
Comments
Remixes



You may also like
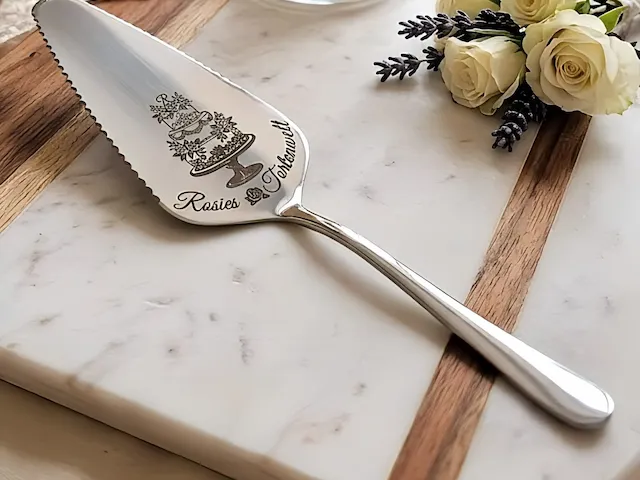
Cake scoop with wedding motif and personal engraving

2
2

Engraved Acadia Cutting Board

1
23

Engraved wedding knife

0
4

Engraved Princess Bride Wedding Cake Server with White Handle

2
5

Personalized Cake Knife and Cake Server Set for Weddings

3
12

Cutting board Extension Slide Settings

3
27

Wedding cutting board

3
140


Pretty wooden spoon

2
6

Cutting board

80
433


Wedding Cake Server with Floral Monogram

5
27

Laser-Engraved IKEA RÖRT Utensil Set (Beech Wood) - Sassy Chef
7
36

Set of Bamboo Kitchen Spatulas with Funny Cooking Quotes

7
36

Laser engraved wedding cake decoration with name and date. Lasercut. Wedding. Bride and groom. Toppers

9
86

Customizable Wooden Serving Board and Coaster Set with Name Monogram

19
60

Wooden kitchen spatula set with floral illustrations
0
3
Cucchiaio in legno con decorazione floreale

1
3

Home Sweet Home Personalized Wooden Serving Board

4
26

Beech Wedding Cutting Board

197
764