


![[Laser cut and engrave] Portapenne da scrivania in legno tagliato al laser con motivo decorativo](https://storage-us.atomm.com/resource/xtool/community/attachment/xtool-community/6656c0ea-2dc6-4bac-9fb8-8ad4fc102845.jpeg?x-oss-process=image/resize,w_1200,h_900,limit_0/interlace,1/format,webp/auto-orient,1)
![[Laser cut and engrave] Portapenne da scrivania in legno tagliato al laser con motivo decorativo](data:image/png;base64,iVBORw0KGgoAAAANSUhEUgAAAAoAAAAKCAYAAACNMs+9AAAAAXNSR0IArs4c6QAAABdJREFUKFNjZCASMBKpjmFUId6QIjp4AAppAAuXjCs4AAAAAElFTkSuQmCC)
![[Laser cut and engrave] Portapenne da scrivania in legno tagliato al laser con motivo decorativo](https://storage-us.atomm.com/resource/xtool/community/attachment/xtool-community/6656c0ea-2dc6-4bac-9fb8-8ad4fc102845.jpeg?x-oss-process=image/resize,w_200,h_150,limit_0/interlace,1/format,webp/auto-orient,1)
![[Laser cut and engrave] Portapenne da scrivania in legno tagliato al laser con motivo decorativo](https://storage-us.atomm.com/resource/xtool/community/attachment/xtool-community/c72ee858-c893-4be2-8de6-6d21b639248d.jpeg?x-oss-process=image/resize,w_200,h_150,limit_0/interlace,1/format,webp/auto-orient,1)
![[Laser cut and engrave] Portapenne da scrivania in legno tagliato al laser con motivo decorativo](https://storage-us.atomm.com/resource/xtool/community/attachment/xtool-community/52ffb88e-9fe9-4780-90c5-74eb2a14afea.jpeg?x-oss-process=image/resize,w_200,h_150,limit_0/interlace,1/format,webp/auto-orient,1)
![[Laser cut and engrave] Portapenne da scrivania in legno tagliato al laser con motivo decorativo](https://storage-us.atomm.com/resource/xtool/community/attachment/xtool-community/85292ed7-1438-4580-9352-30bb6d5b4e7b.jpeg?x-oss-process=image/resize,w_200,h_150,limit_0/interlace,1/format,webp/auto-orient,1)
coasters (or cups) with hanging rod
 Instruction
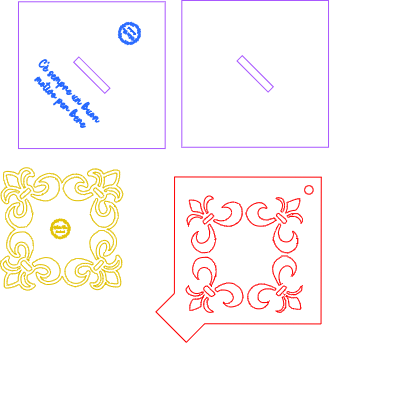


Information
I designed these coasters with rod to be put on display and not to be stored in the cupboard after use
Instruction
Step1: Coaster (or under-cup)


I started from an image taken on the internet (see second photo), which I liked but which I modified because the base that served my purpose was not solid enough, having too many cuts. After modifying it, I cut the coaster with the laser putting an external offset. From this pattern I cut 6. But one can do as many as he wants.
In one part of the base I put my logo, on the other you can customize it with customer data.
Step2: central base

I used the same file as the coaster, removing the offset and putting a square around it. Then since I liked to place it in the shape of a diamond I added another square to the vertex at the bottom and joined them. But before I did that, I had to put the square alone and join it to the other without the internal friezes. After the union between the two squares I also joined the friezes.
I put a 7 mm hole at the top to pass a stick of that size I had at home. But the necessary measurements are a stick with a diameter of 7 mm (or whatever one wants) and a length of 80 mm; otherwise you can make a square hole, let's say 7x7 and cut an 80mm long parallelepiped. The result is the same.
Step3: Support base

The rhombus needed a support base, so I used 2 squares of the same size as the central base, i.e. 10 cm (100mm) with a rectangular hole in the center, the thickness of the central base, i.e. 4x35 mm. I made two to overlap one on top of the other in such a way as to make the base fit better, so that the latter was higher.
I left a base blank without writing, on the top one I imprinted my logo and a phrase "There is always a reason to drink" with the laser.
Step4: All together
I hope you like the video and also the use you have to make of it. Please comment or ask questions.


