![[Laser cut and engrave] Laser Engraved Lewis County Missouri Wooden Map Plaque](https://storage-us.atomm.com/resource/xart/result/158936/c4db2bda-001e-420b-86cc-0c5cfb6fbb8b.png?x-oss-process=image/resize,w_1200,h_900,limit_0/interlace,1/format,webp/auto-orient,1)
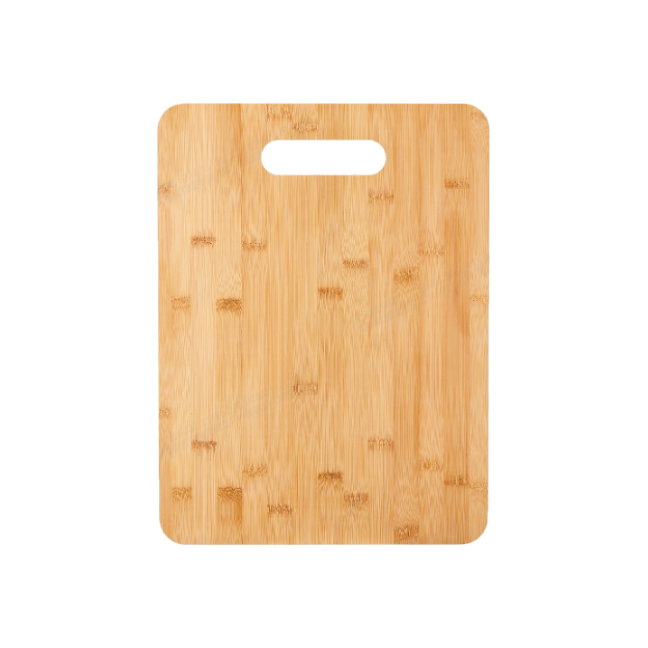
County map cutting board
 Instruction
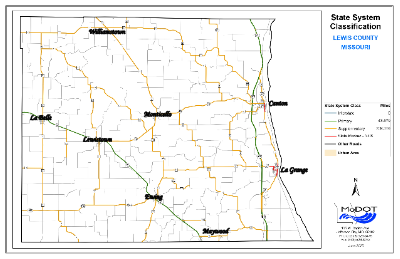

Information
This cutting board features a map of a small county in the Midwestern USA. The project is intended to be adapted to your local needs, whether it be a different county, a province, or other geographical area. Maps look really good on an engraving. Many people are proud of their local geography, but seldom see products related to it. This cutting board was included in a basket that was sold at a silent auction for a fundraiser. Afterward, several people asked where they could get one. I was happy to supply them.
Instruction
Step1: Obtain map

You might get lucky and find a base map that works using a web search, but you might not. Most state governments have free maps available at their Department of Transportation web site. I got mine from the Missouri DOT site. It was not perfect, but it would would serve after some modification. Note that this is the State System Map, not the County Road map, which is far too cluttered. The original was a pdf file, so I had to take a screenshot to display it here as a jpg.
Step2: Modify map

I loaded the map into xTool Studio. The first issue to address was that there were no town names on it. I typed in the text for the city and town names (even though some of these towns are so small, they scarcely qualify as villages) and positioned them at their appropriate places on the map. I used the Monotype Corsiva font and sized them large enough to be readable. I used 100% power/80 mm/s speed for all of the text. I used a slower speed (100%/70 mm/s) for the map itself, as it looked a bit light.
Step3: Final graphic edits

I cropped out the extraneous material around the map, such as the legend and title. I had to reposition the map to get the town names back into the right places, as the map shifted a bit after the crop. Then I grouped the names and map so that they would stay together ever after.
I added the county name (above) and state name (below) in Alegreya SC font, which has a classic look.
I measured the area of the cutting board to be engraved and created a rectangle of that size on the canvas. I set the engraving of the rectangle at 1%/80 mm/s because I don't want it to actually be engraved. The rectangle is just a guide to define the working area for the graphic and to frame it for engraving.
I resized and positioned the text and graphics to fit them in the rectangle and make them aesthetically pleasing.
Step4: Engraving

I used a small bamboo cutting board for this one, with a working area of 124 x 155 mm. If the cutting board is to be decorative, no further work is necessary after engraving. If the cutting board is to be used, it should be sealed, as the engravings will fade with use and washing, as well as provide a harborage for bacteria.