
Report
![[Laser cut and engrave] Leatherette Patch Jig](https://image-res.xtool.com/resource/xtool/community/attachment/xtool-community/1c0cb9a5-9963-4c22-bc65-9e893b70ca8a?x-oss-process=image/resize,w_1200,h_900,limit_0/interlace,1/format,webp/auto-orient,1)
Leatherette Patch Jig
 Instruction
Leatherettejig.3x2xcs
.xcs
Application scenario
Laser processing
Machine & module

xTool S1
20WCompatible xTool Machine
New
M2
10W, 20WF2 Ultra UV
5WF2
15WP3
80WF2 Ultra
40WF1 Ultra
20WM1
5W, 10WD1
5W, 10W, 20WD1 Pro
5W, 10W, 20W, 40WP2
55WF1
10WS1
10W, 40WM1 Ultra
10W, 20WP2S
55WMaterial used

1/4"(6mm) Walnut Plywood

331
3203
Information
Designed a jig for leatherette 3x2 in. patches. Will fit hexagon, oval, and rectangle patches. There is an overlay for all 3 types of patches for laser area.
Instruction
1
Step1

Preview

Preview

Preview
Place your 12x24 in. panel in the S1, make sure the right side is snug against the wall while being carful not to have it on top of the lip, line up corners shown with the black screws. I lined it up with the side of the screw closest to me when S1 was open.
2
Step2
Go to XCS. Frame to make sure its in your area that you want it. Then process.
3
Step3

Preview
Once complete make note where you lined up your corners if you didn't follow the 1st step or had to move the panel for some reason.
4
Step4

Preview
Now you can use the jig! Back on the XCS go to your laser settings and change the output to off. Select all items and lock into place. The shapes are color coded and can be used to get a rough estimate of work area on the patch.
5
Step5

Preview
And finally Enjoy!
Comments
Remixes



You may also like

Multi-purpose jig

100
385

$1.00
$1.00
Credits100
Pencil Jig Laser Cut Design, Pencil Engraver SVG, Pencil Jig Template

21

Rounded Rectangle Key Chain Jig for S1

435
1438

Leather Hat Patch Guide with Zero Center (Hat Patch Ruler)

3
18
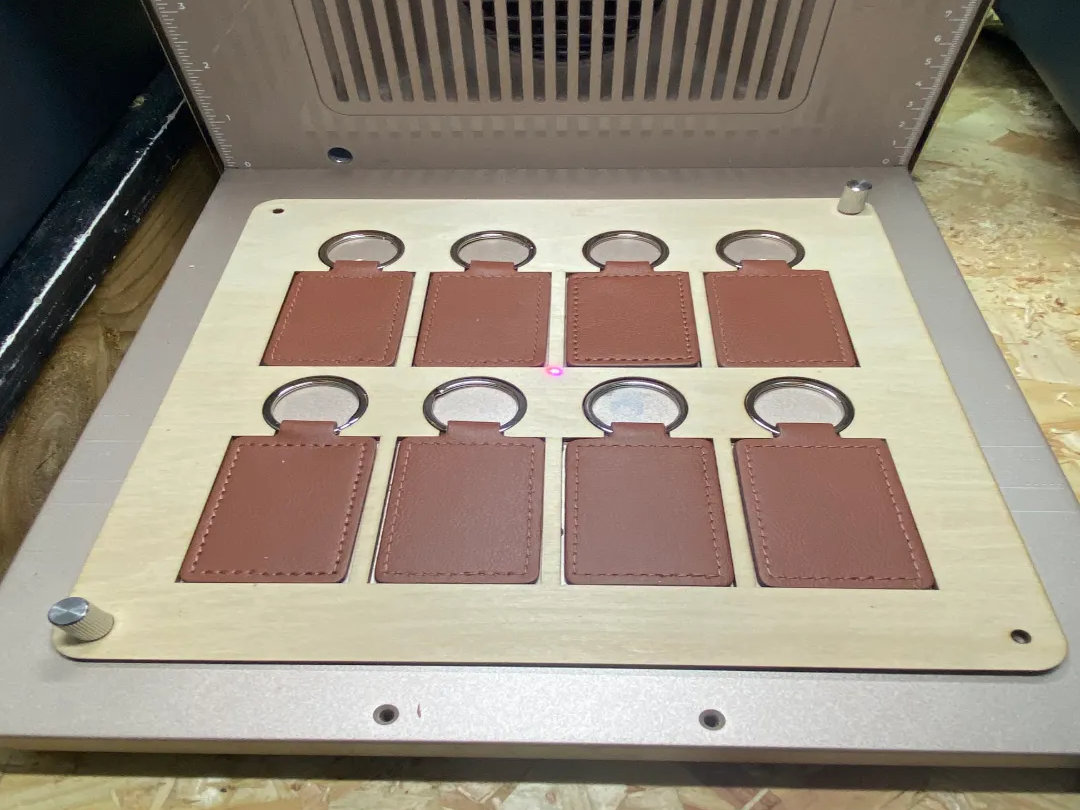
F2 Ultra UV - X8 Leatherette /PU Leather keyring JIG

1
5
2.5 inch round and 2.5 inch square leatherette patch template
.JPG?x-oss-process=image/resize,m_fill,w_240,h_240,limit_0/interlace,1/format,webp/auto-orient,1)
1
11

Switch Plate Engraving Jig/Fixture

190
378

140mm Steel Plate Jig

4
22

Stone Coaster Jig
62
445

2"x4" rectangular leather patch jig

0
7

F1 Business Card Jig With Rectangular Cutout

6
105
$1.99
$1.99
Credits199
Pen Jig Laser Cut Design, Pen Engraver SVG File, Pencil Jig Template
39

Rounded Keychain Jig for F1

20
169

jig for 57 mm baubles

480
1095

Necklace jig with chain on wooden holder

39
133

F1 Ultra Business Card Jig

66
492

Jig for scout leather knot. Pfadfinder Lederknoten

22
50

200mm Steel Plate Jig
4
15