![[Laser cut and engrave] DIY Christmas wooden Christmas candlestick](https://image-res.atomm.com/resource/xtool/community/attachment/xtool-community/2dc8b5a6-e96a-46f2-a3b7-0dea596155fd?x-oss-process=image/resize,m_fill,w_1280,h_960,limit_0/interlace,1/format,webp/auto-orient,1)
![[Laser cut and engrave] DIY Christmas wooden Christmas candlestick](data:image/png;base64,iVBORw0KGgoAAAANSUhEUgAAAAoAAAAKCAYAAACNMs+9AAAAAXNSR0IArs4c6QAAABdJREFUKFNjZCASMBKpjmFUId6QIjp4AAppAAuXjCs4AAAAAElFTkSuQmCC)
![[Laser cut and engrave] DIY Christmas wooden Christmas candlestick](https://image-res.atomm.com/resource/xtool/community/attachment/xtool-community/2dc8b5a6-e96a-46f2-a3b7-0dea596155fd?x-oss-process=image/resize,m_fill,w_160,h_120,limit_0/interlace,1/format,webp/auto-orient,1)
![[Laser cut and engrave] DIY Christmas wooden Christmas candlestick](https://image-res.atomm.com/resource/xtool/community/attachment/xtool-community/5591d74e-d186-4e52-90c9-c48700e4559b.jpg?x-oss-process=image/resize,m_fill,w_160,h_120,limit_0/interlace,1/format,webp/auto-orient,1)
![[Laser cut and engrave] DIY Christmas wooden Christmas candlestick](https://image-res.atomm.com/resource/xtool/community/attachment/xtool-community/9b04e64b-e5cb-4af7-b1e5-afdfc816c947.JPG?x-oss-process=image/resize,m_fill,w_160,h_120,limit_0/interlace,1/format,webp/auto-orient,1)
![[Laser cut and engrave] DIY Christmas wooden Christmas candlestick](https://image-res.atomm.com/resource/xtool/community/attachment/xtool-community/42719076-36ad-4356-8ae4-ecc78377ef38.JPG?x-oss-process=image/resize,m_fill,w_160,h_120,limit_0/interlace,1/format,webp/auto-orient,1)
![[Laser cut and engrave] DIY Christmas wooden Christmas candlestick](https://image-res.atomm.com/resource/xtool/community/attachment/xtool-community/2d1c0e01-6d2b-4e55-a71d-ec760b3f1490.JPG?x-oss-process=image/resize,m_fill,w_160,h_120,limit_0/interlace,1/format,webp/auto-orient,1)
![[Laser cut and engrave] DIY Christmas wooden Christmas candlestick](https://image-res.atomm.com/resource/xtool/community/attachment/xtool-community/762cd95a-a757-4c07-bfcb-67d6d1d6401f.JPG?x-oss-process=image/resize,m_fill,w_160,h_120,limit_0/interlace,1/format,webp/auto-orient,1)
![[Laser cut and engrave] DIY Christmas wooden Christmas candlestick](https://image-res.atomm.com/resource/xtool/community/attachment/xtool-community/2f8939d1-db28-4efb-82d4-709dbb2fb6cb.jpg?x-oss-process=image/resize,m_fill,w_160,h_120,limit_0/interlace,1/format,webp/auto-orient,1)
![[Laser cut and engrave] DIY Christmas wooden Christmas candlestick](https://image-res.atomm.com/resource/xtool/community/attachment/xtool-community/0d08bbd2-12c5-42a9-ba27-76f529f19b3d.JPG?x-oss-process=image/resize,m_fill,w_160,h_120,limit_0/interlace,1/format,webp/auto-orient,1)
![[Laser cut and engrave] DIY Christmas wooden Christmas candlestick](https://image-res.atomm.com/resource/xtool/community/attachment/xtool-community/555218d3-bdb8-42d2-a7ee-f4745046821a.JPG?x-oss-process=image/resize,m_fill,w_160,h_120,limit_0/interlace,1/format,webp/auto-orient,1)
![[Laser cut and engrave] DIY Christmas wooden Christmas candlestick](https://image-res.atomm.com/resource/xtool/community/attachment/xtool-community/8fc9df88-cb69-4330-898e-527fa84e42a1.jpg?x-oss-process=image/resize,m_fill,w_160,h_120,limit_0/interlace,1/format,webp/auto-orient,1)
DIY Christmas wooden Christmas candlestick
 Instruction


Information
      "Illuminate your Christmas with our wooden snowflake candle holders!

❄️✨ Precisely laser-cut with an XTool S1, these candle holders will add a touch of elegance to your Christmas decor.

Each snowflake is unique and delicate, perfect for creating a warm and festive atmosphere.


Don't hesitate to like our other creations to help us win the 2024 Christmas contest!"
Instruction
Step1: Open XCS xTool Creative Space and upload XCS files
Open templates on your computer
- start XCS

2. Go to Files -→ open project
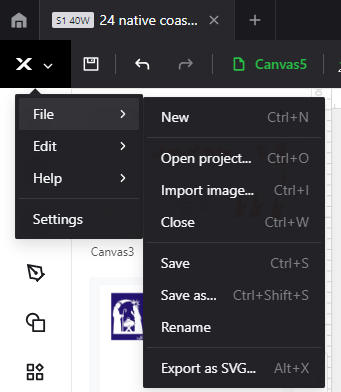
3. select Xmas Candels.xcs in your drive
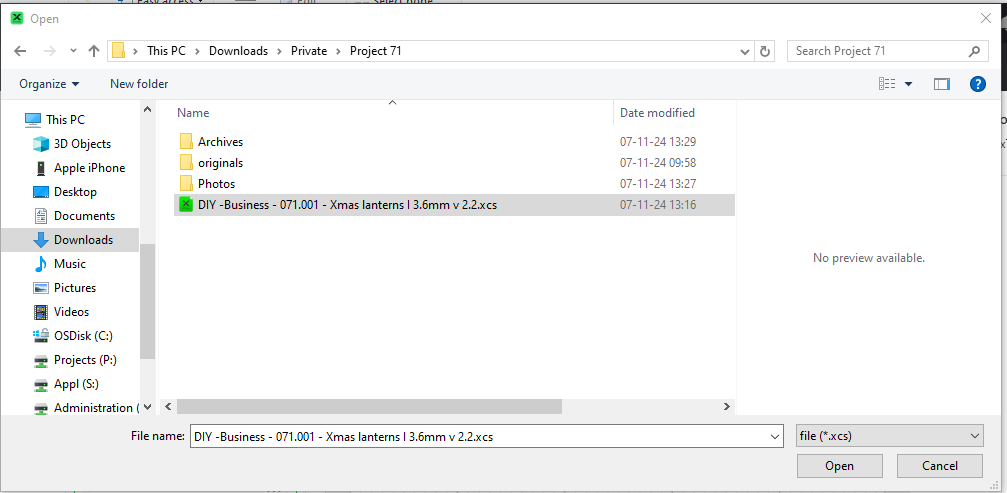
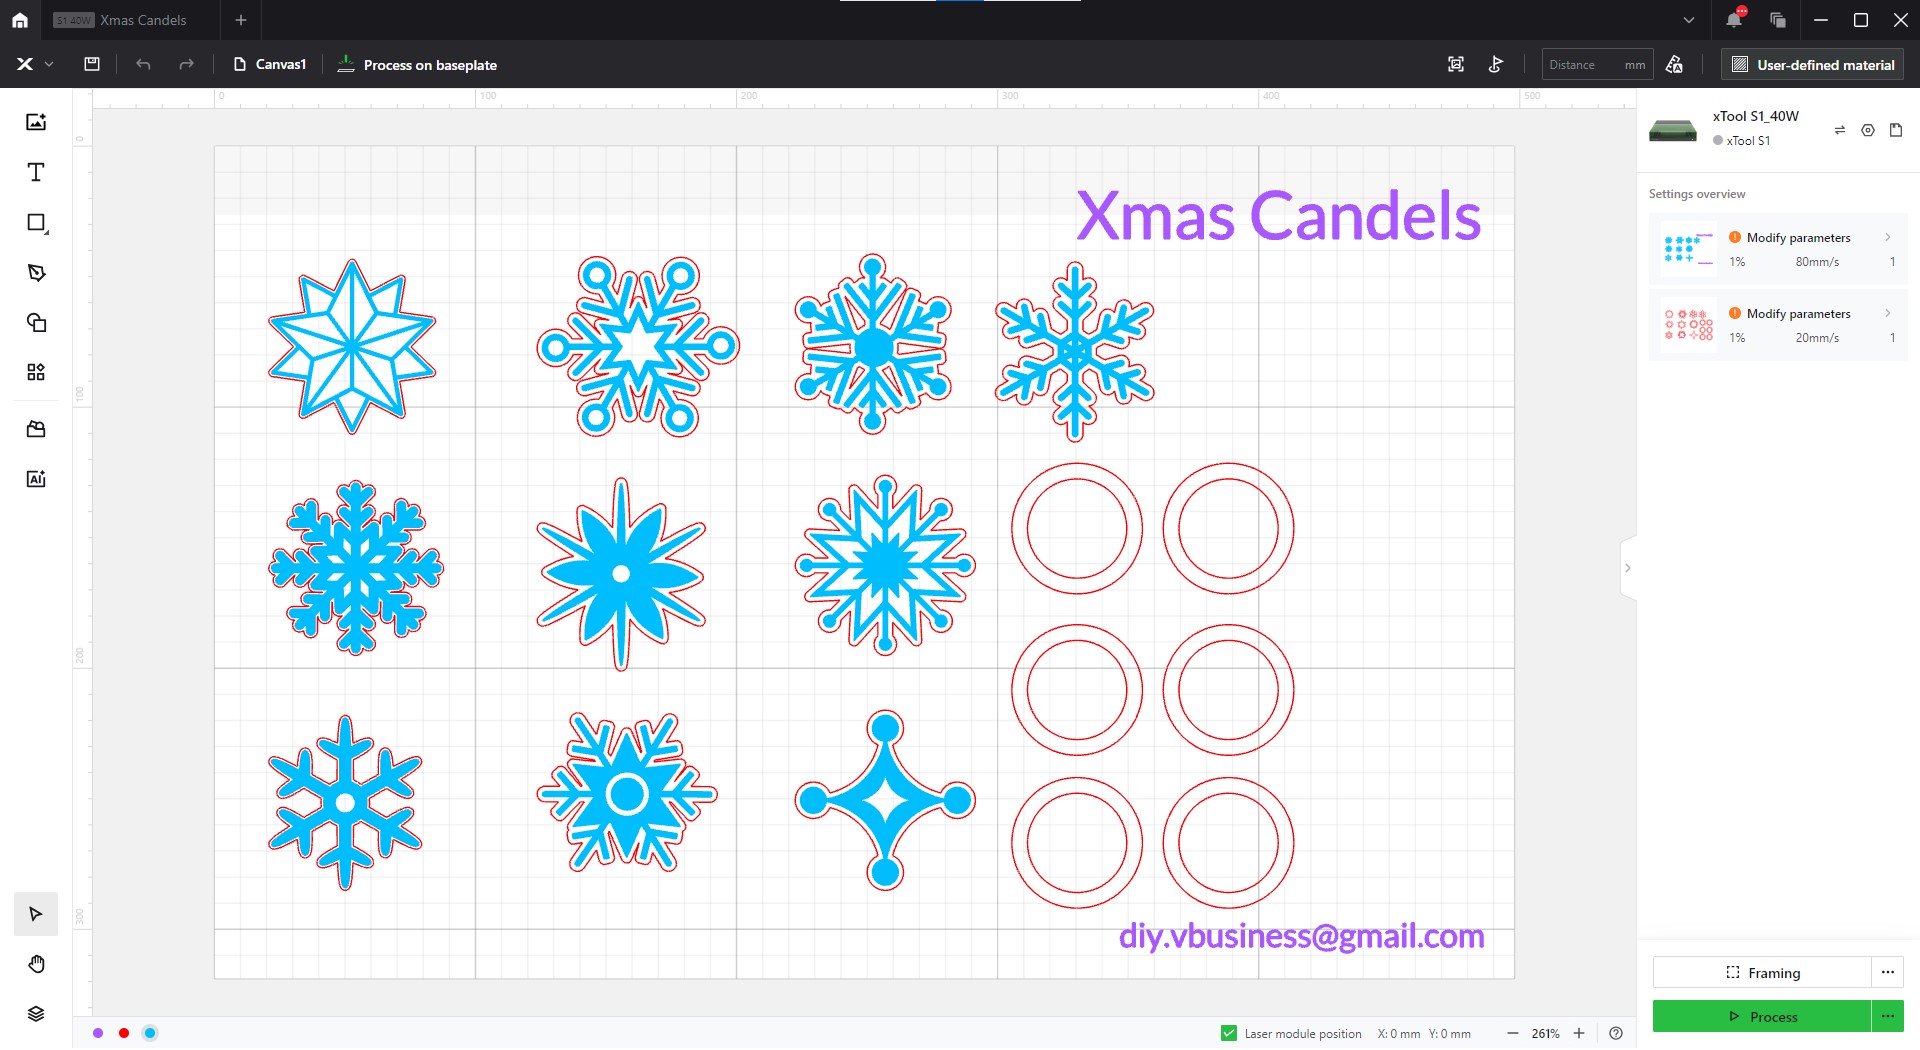
Step2: place your material into the Laser
Place your piece in the center of the cutting board.
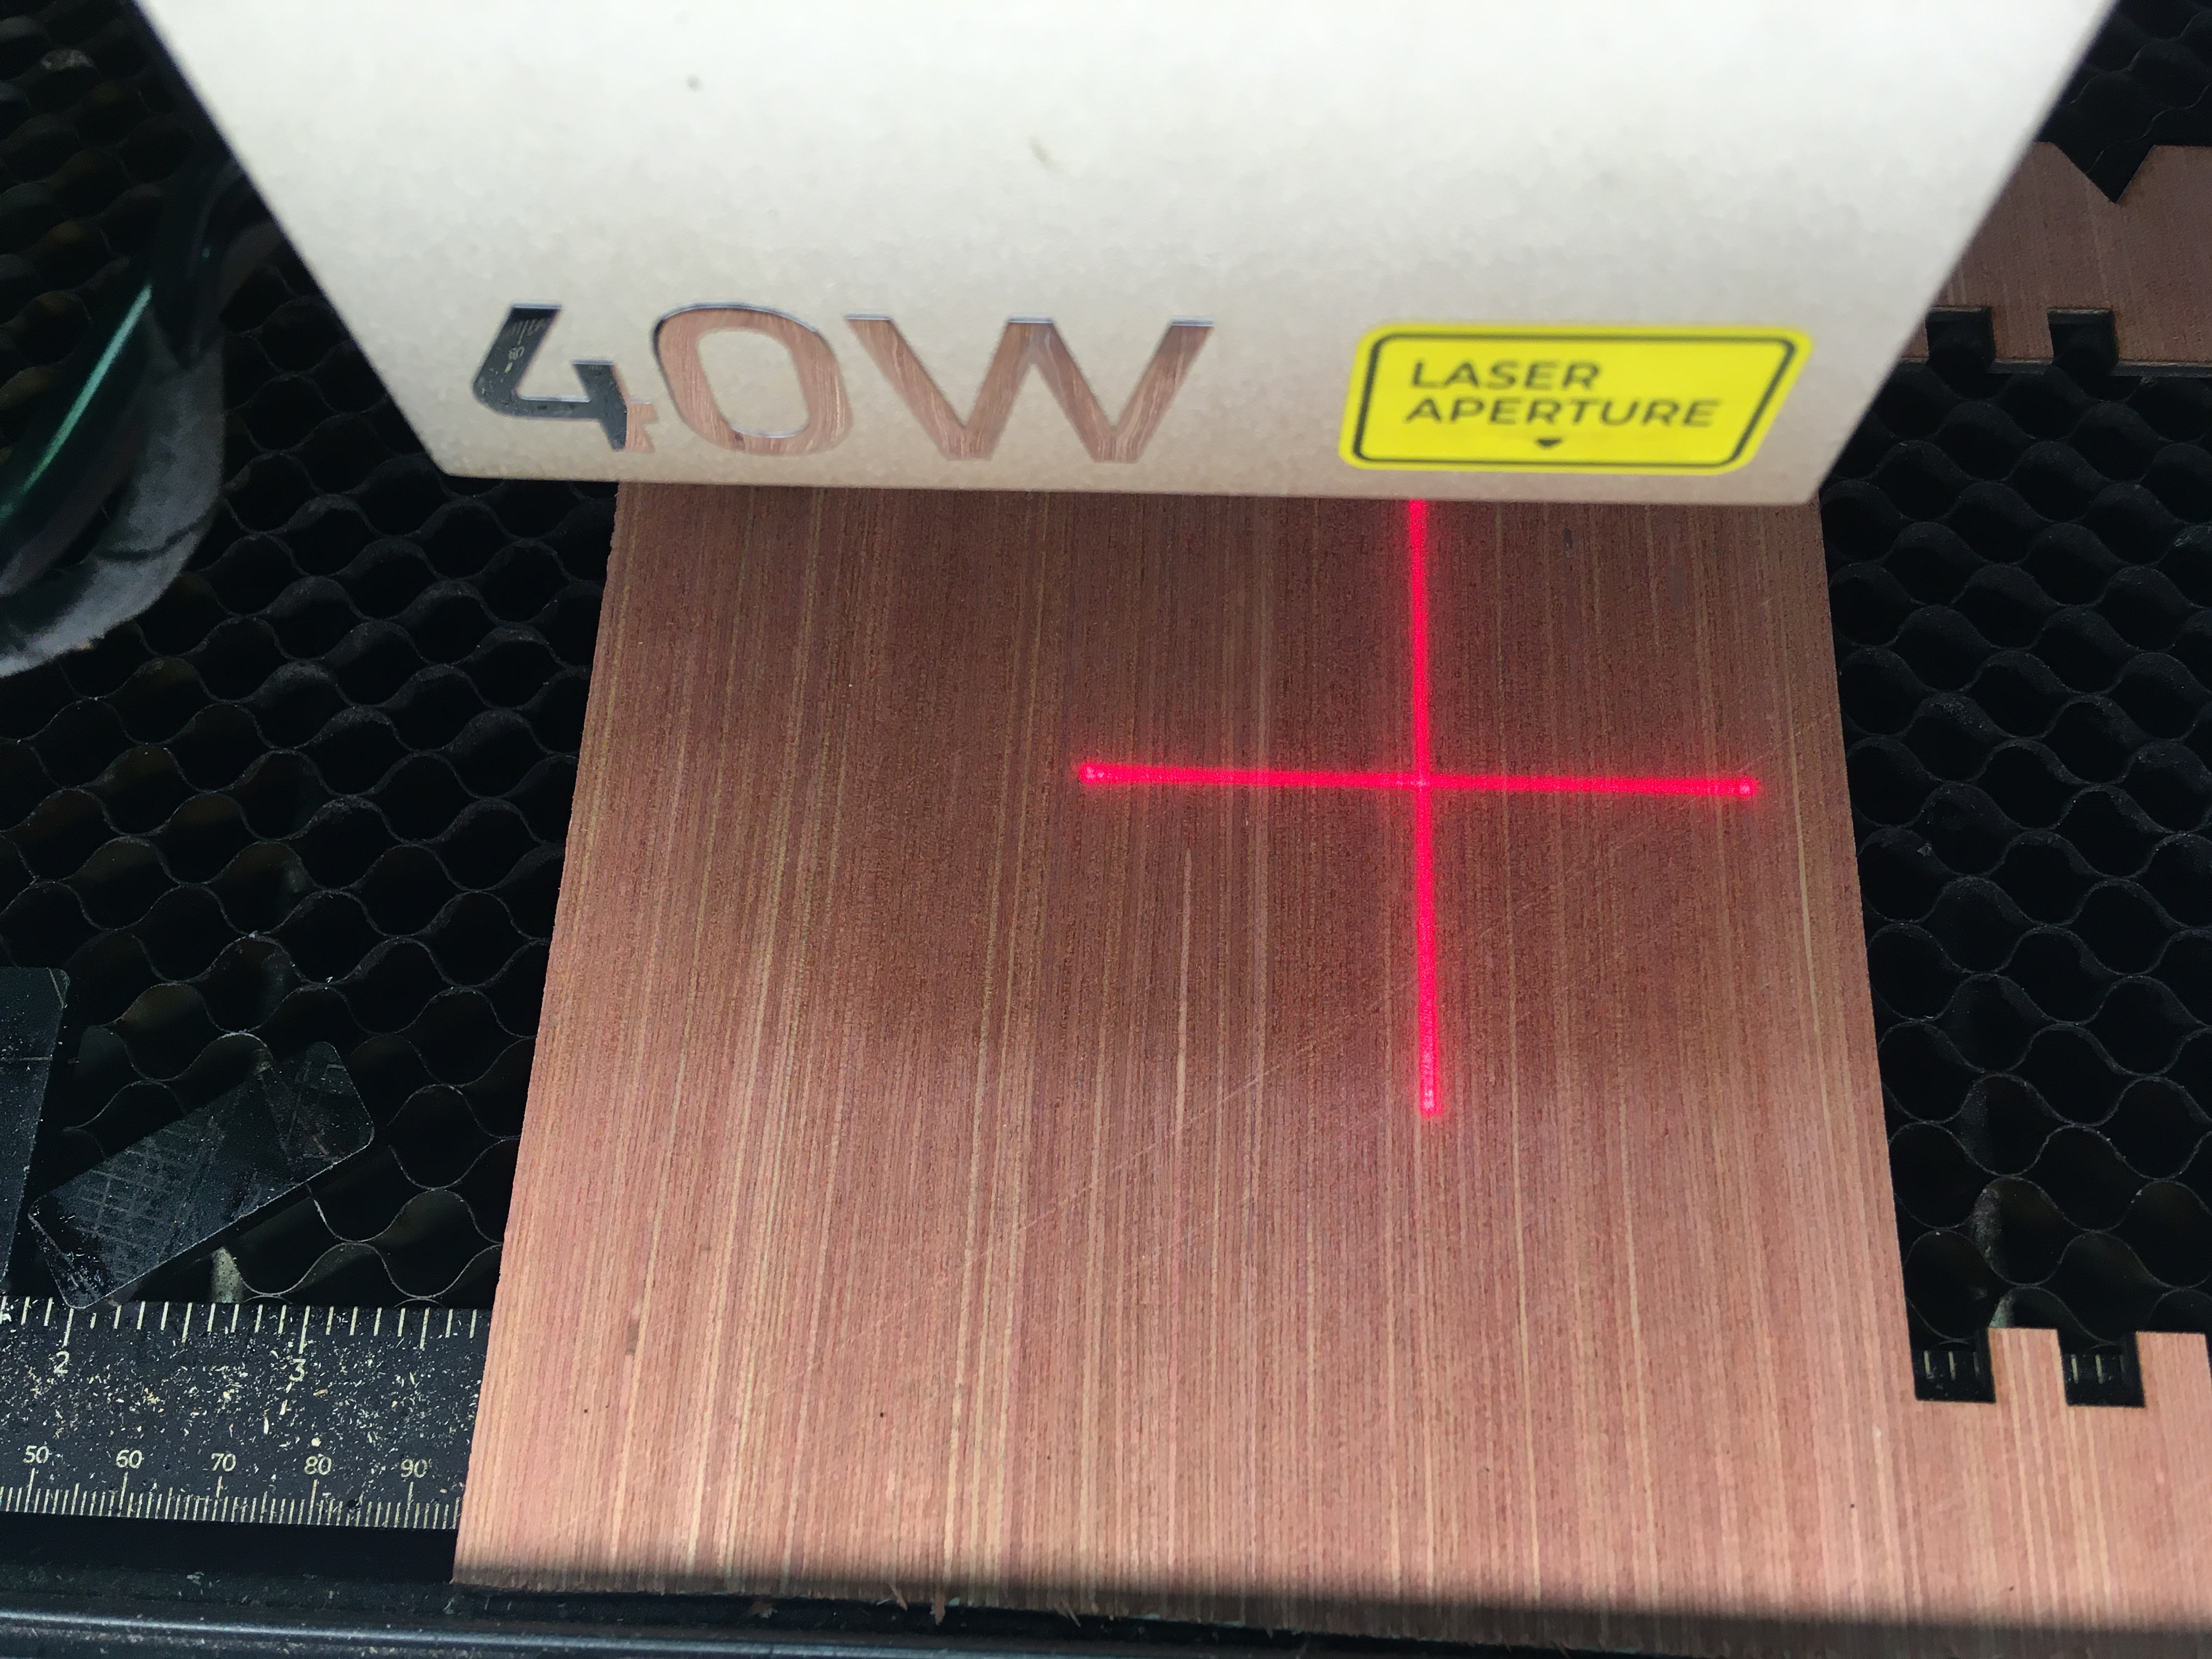
Step3: Set up the focus
Click on the distance button to measure the focus.
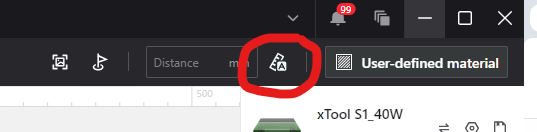
Step4: Select engrave area
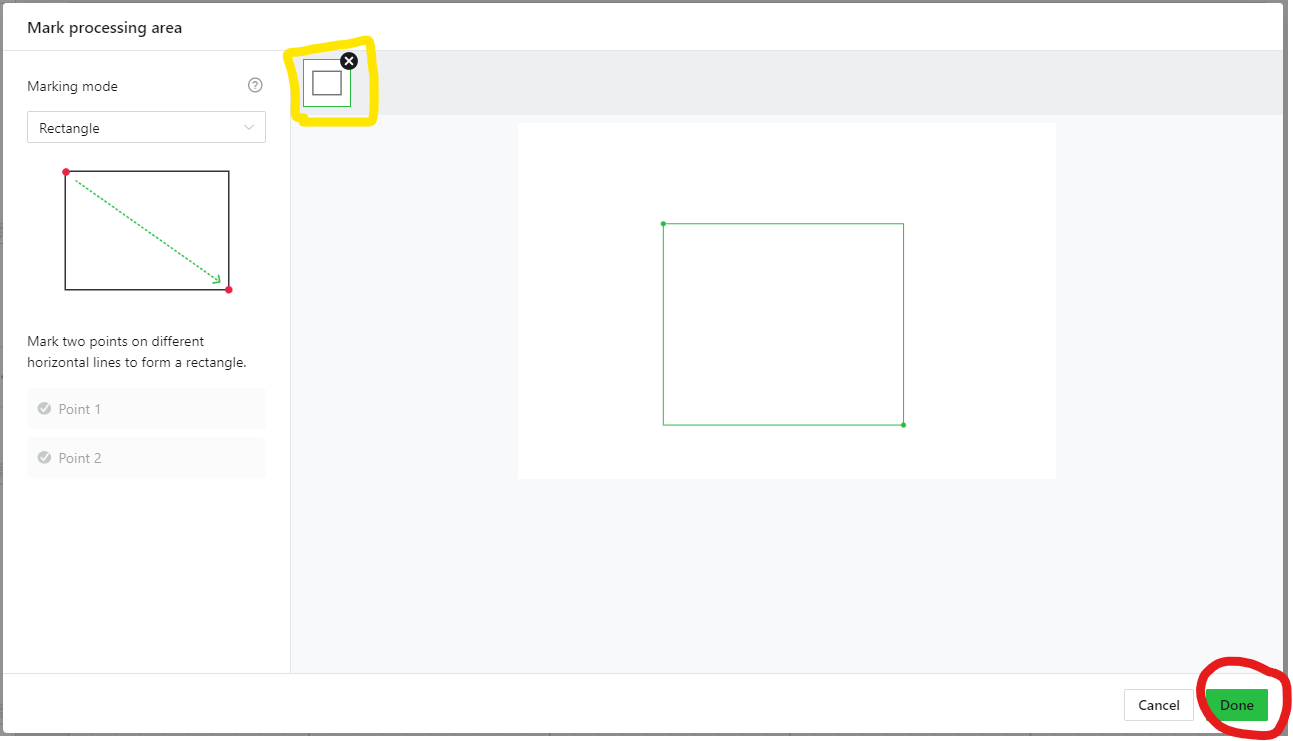
Click on Mark processing area area button

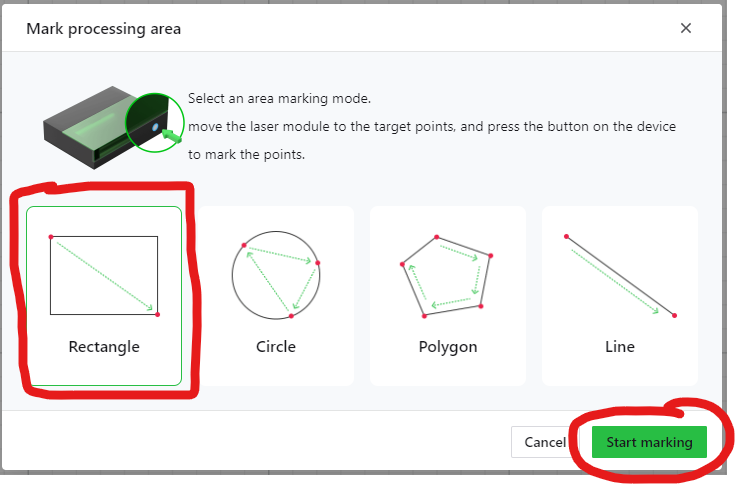
Select the type of cutting surface. If you're using parquet planks, this will certainly be the rectangle. click on “Start making”
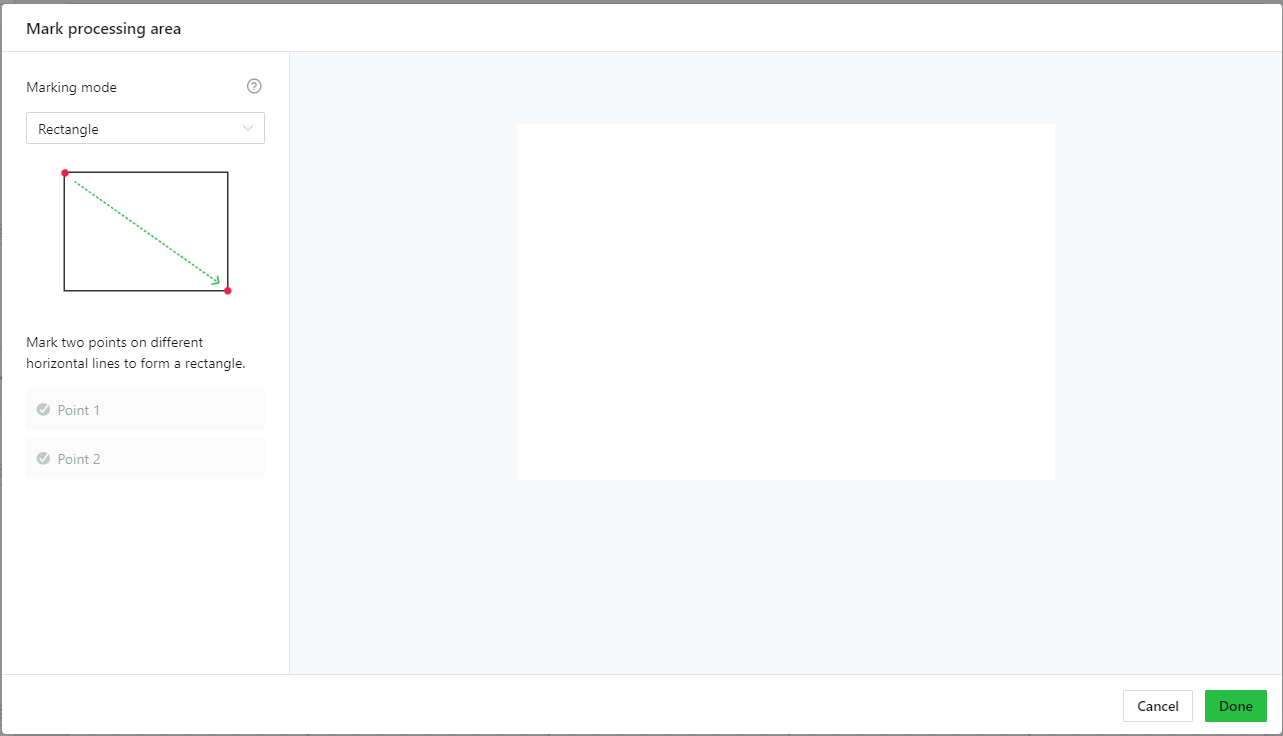
Move the pointer to the first point, then press the laser button. Do the same with the second point.
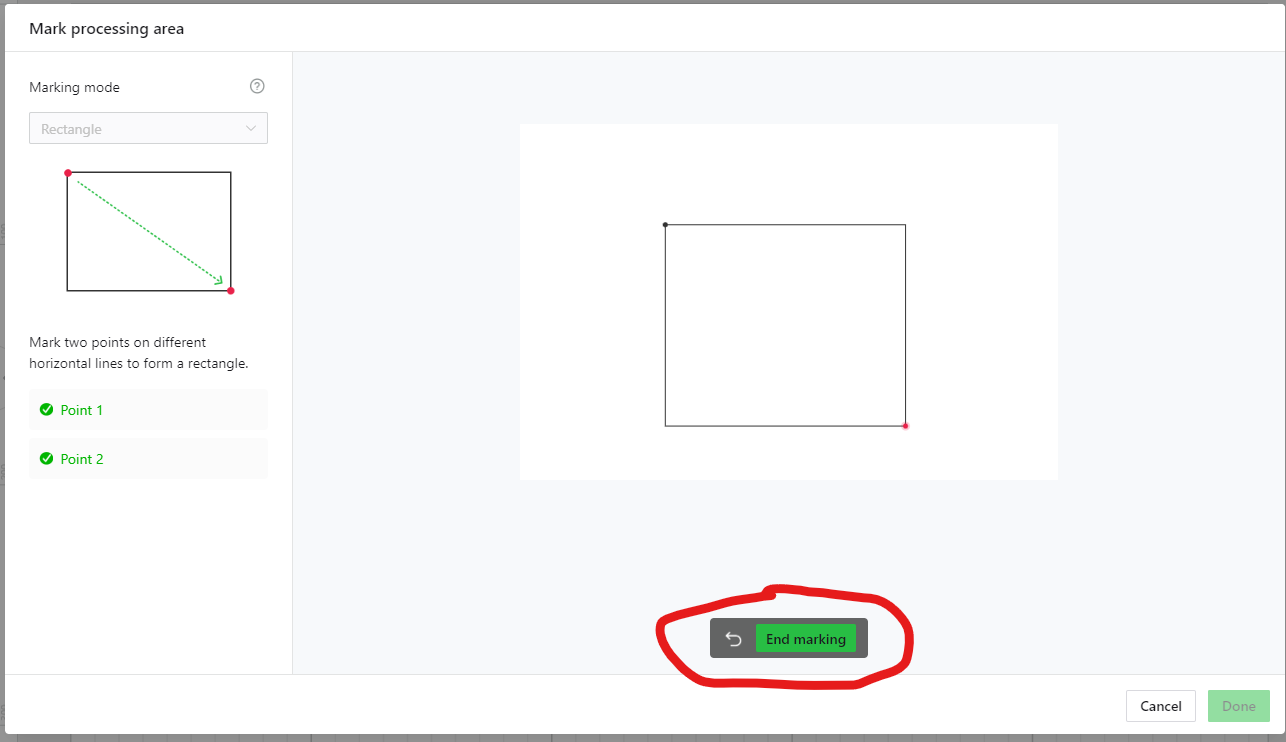
At the end, don't forget to click on the “End making” button. If you don't, you'll have to start again (I often do).
Your zone is shown at the top of the window (yellow frame).
To close the operation, simply click on “Done”.
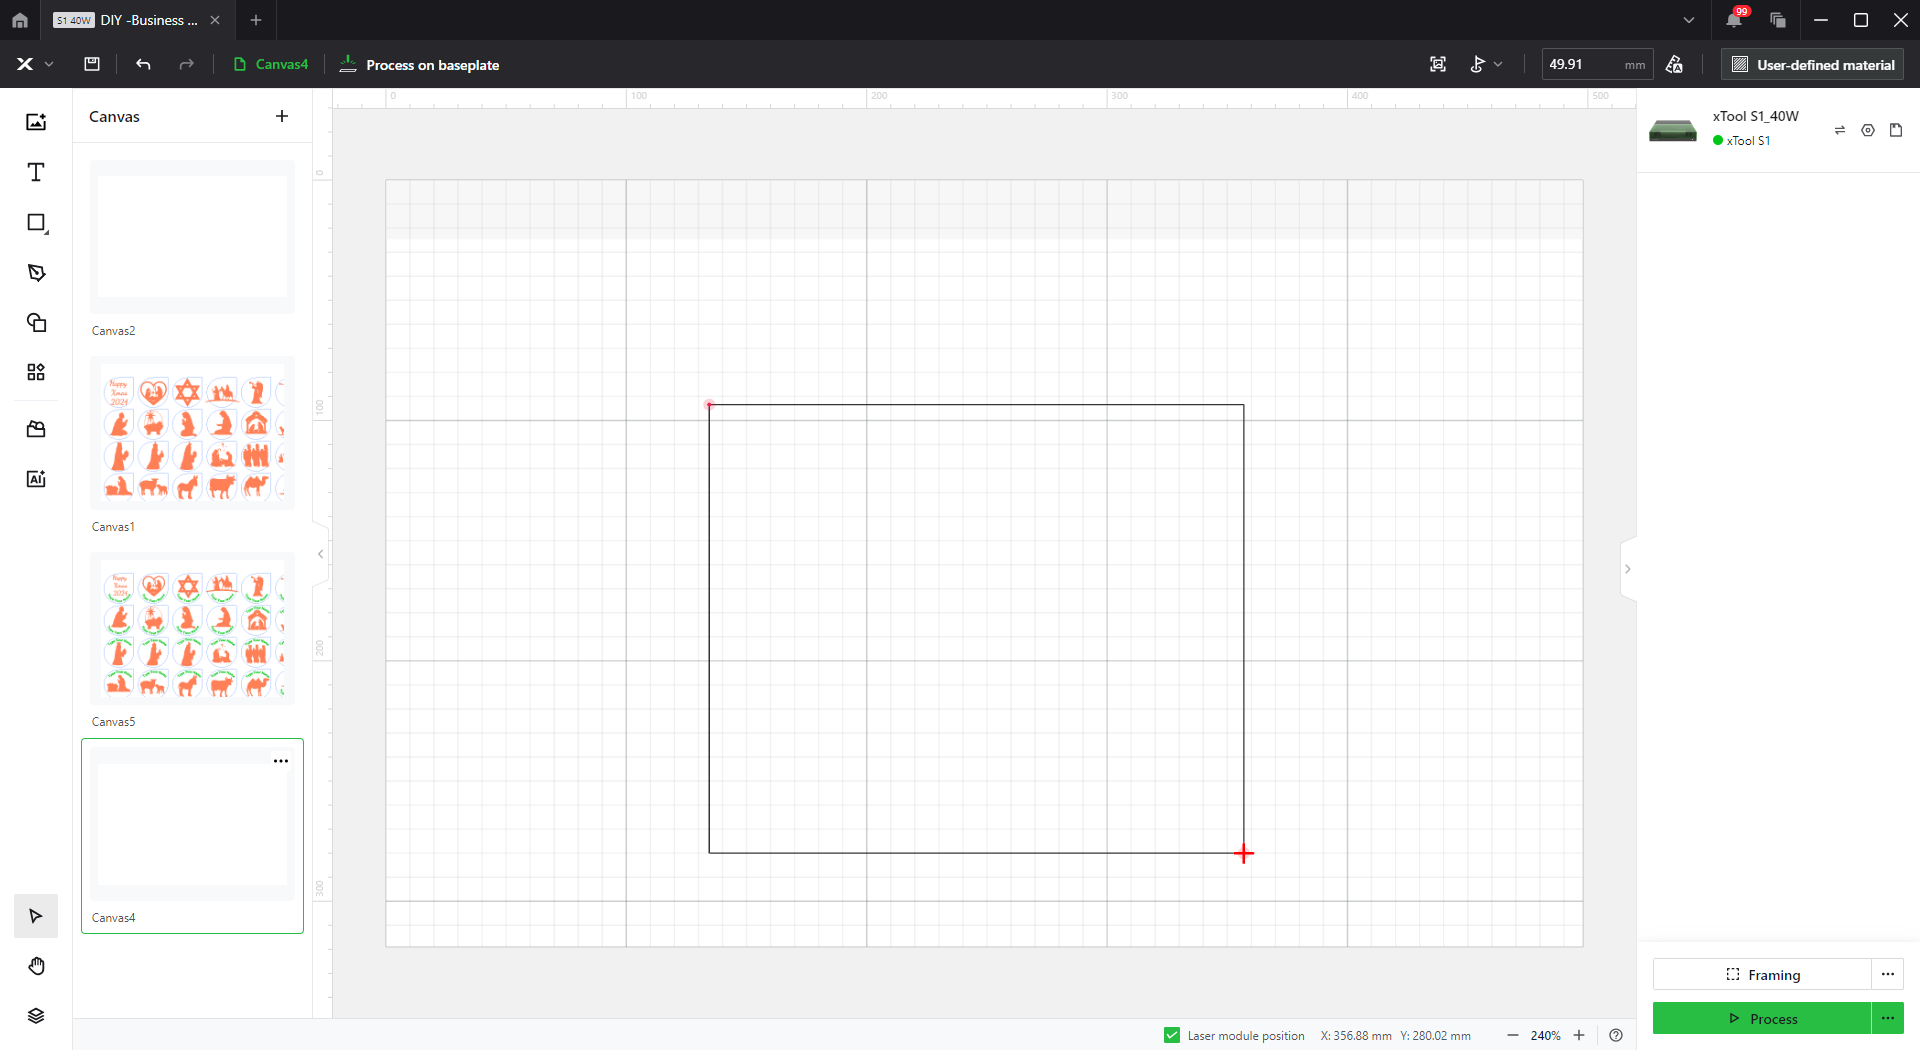
The cutting area appears on your canvas. Now copy your favorite coasters into it.
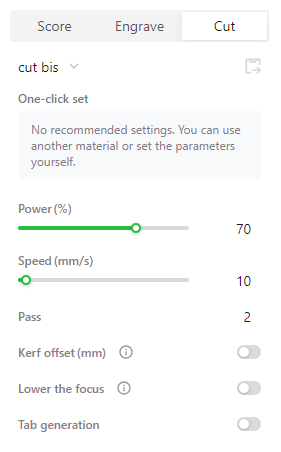
Step5: check all settings
red layer
blue layer
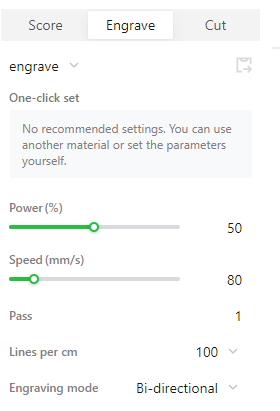
Step6: start engraving
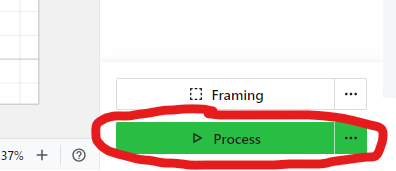
Click on the process button at the bottom of the application.
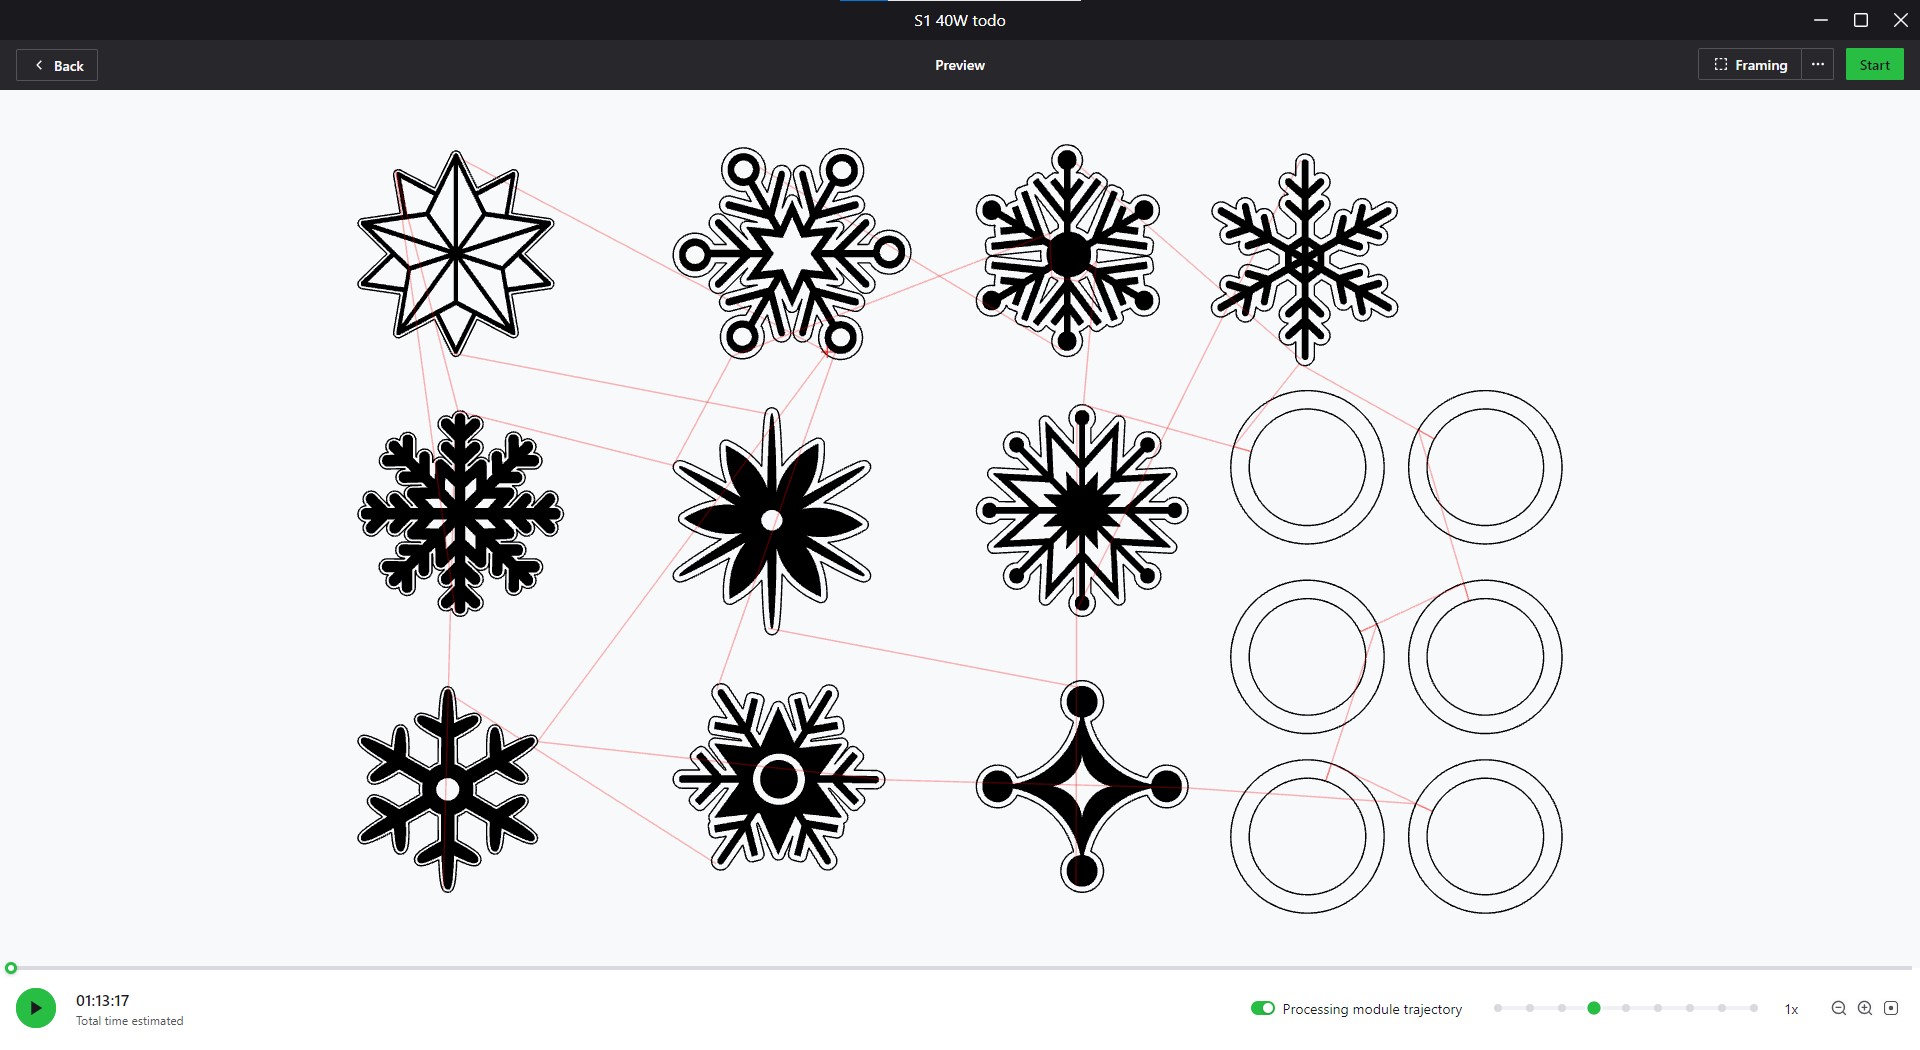
The application shows you a preview of the job and calculates how long it will take to complete.
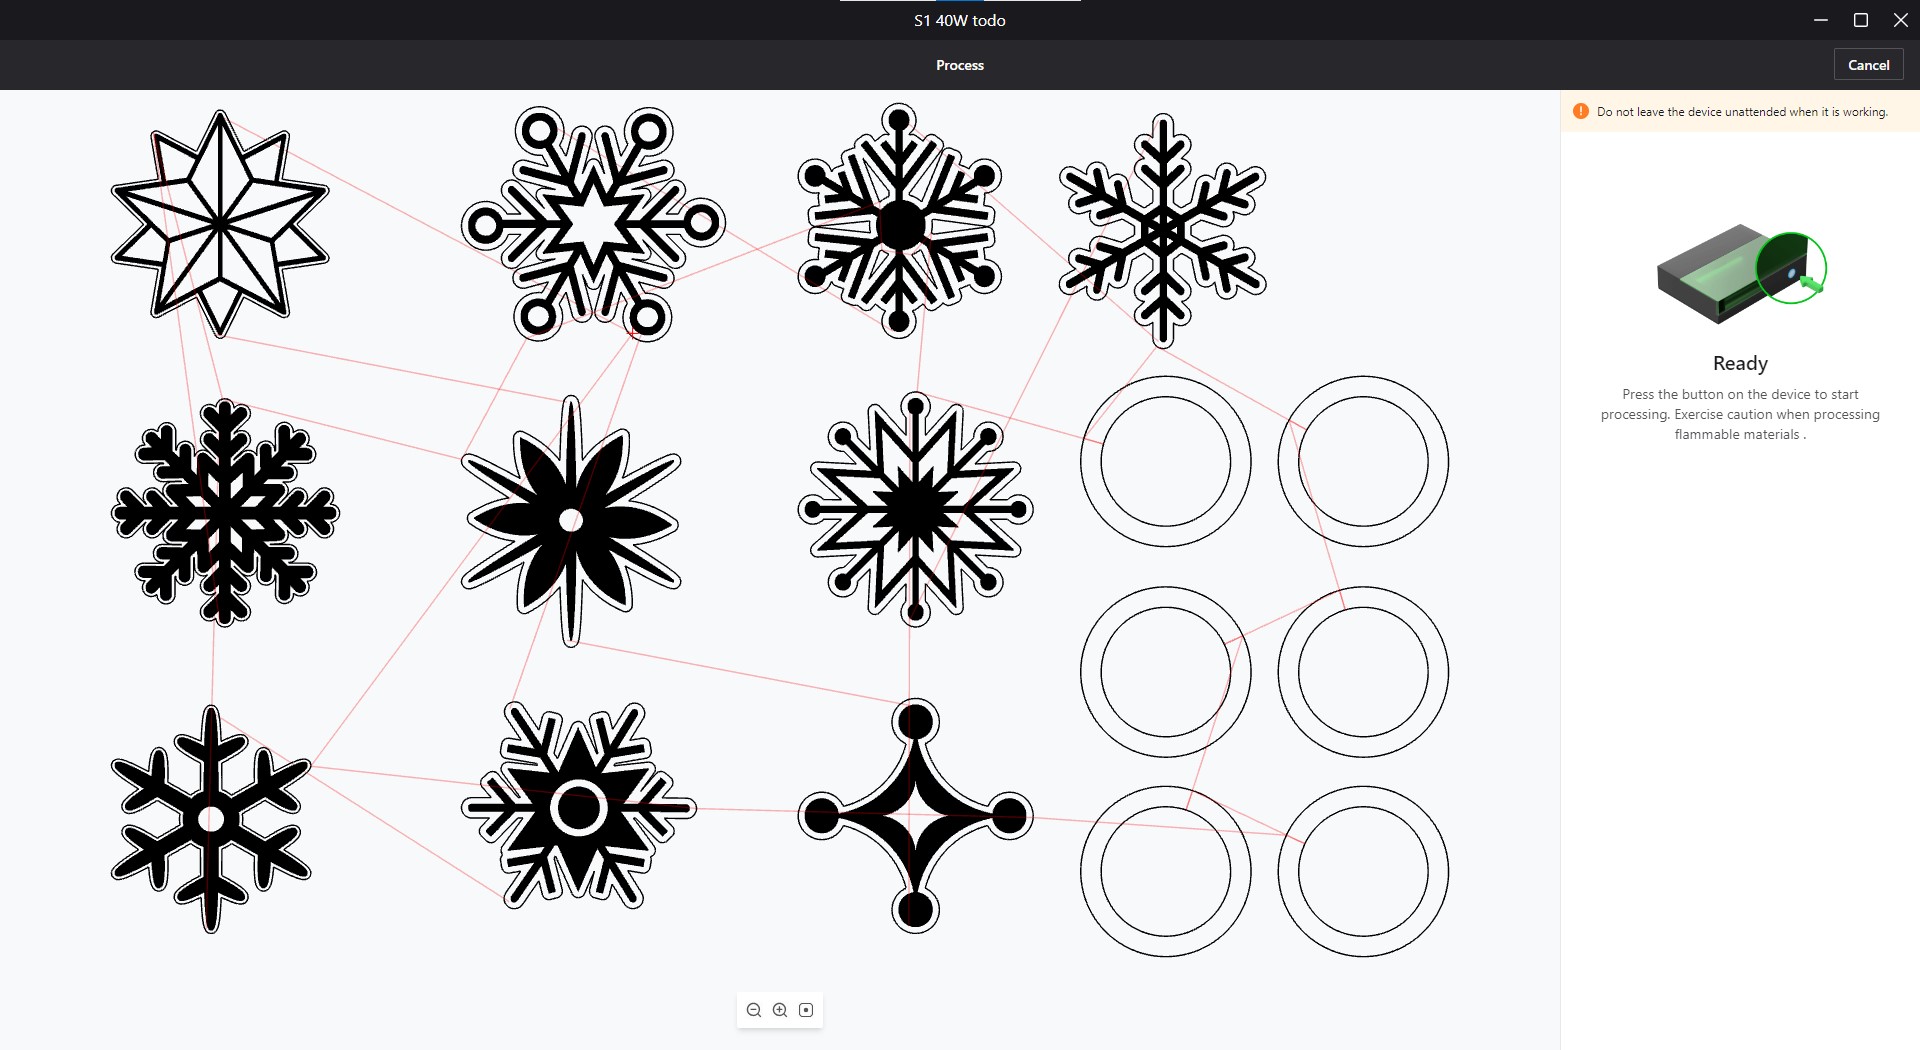
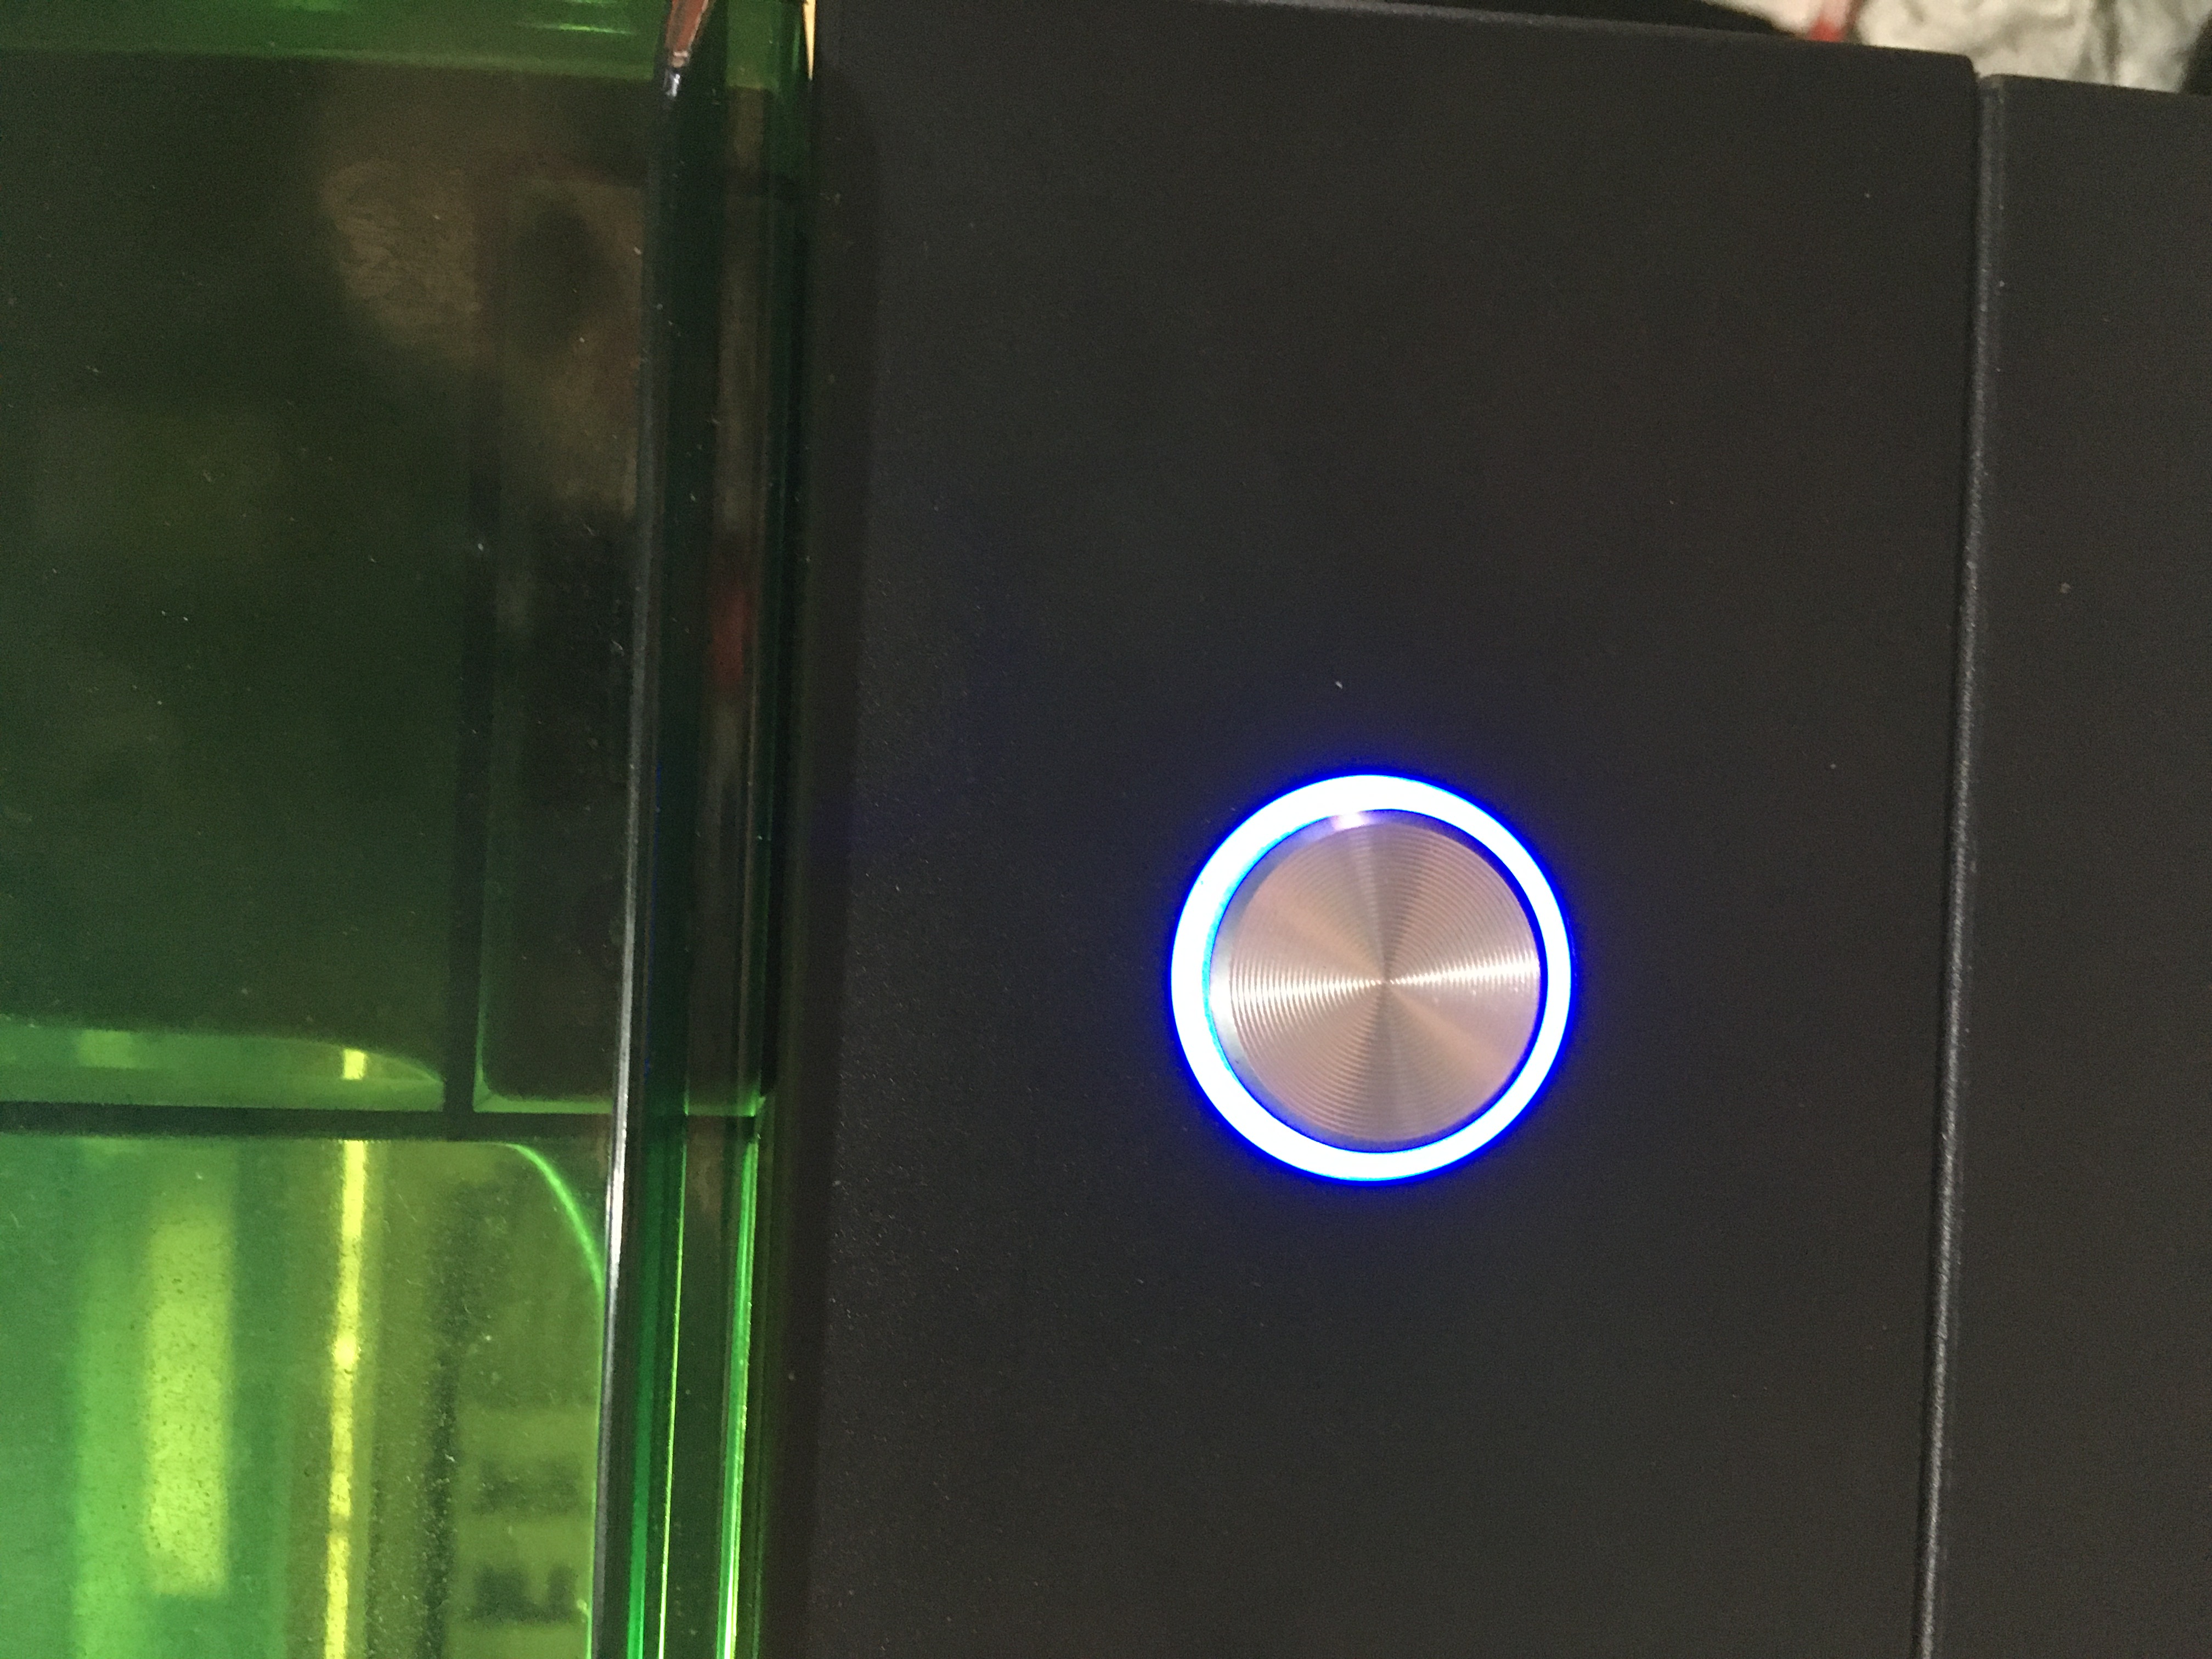
Click on “Start” to send the commands to the laser.
Step7: Remove pieces from machine
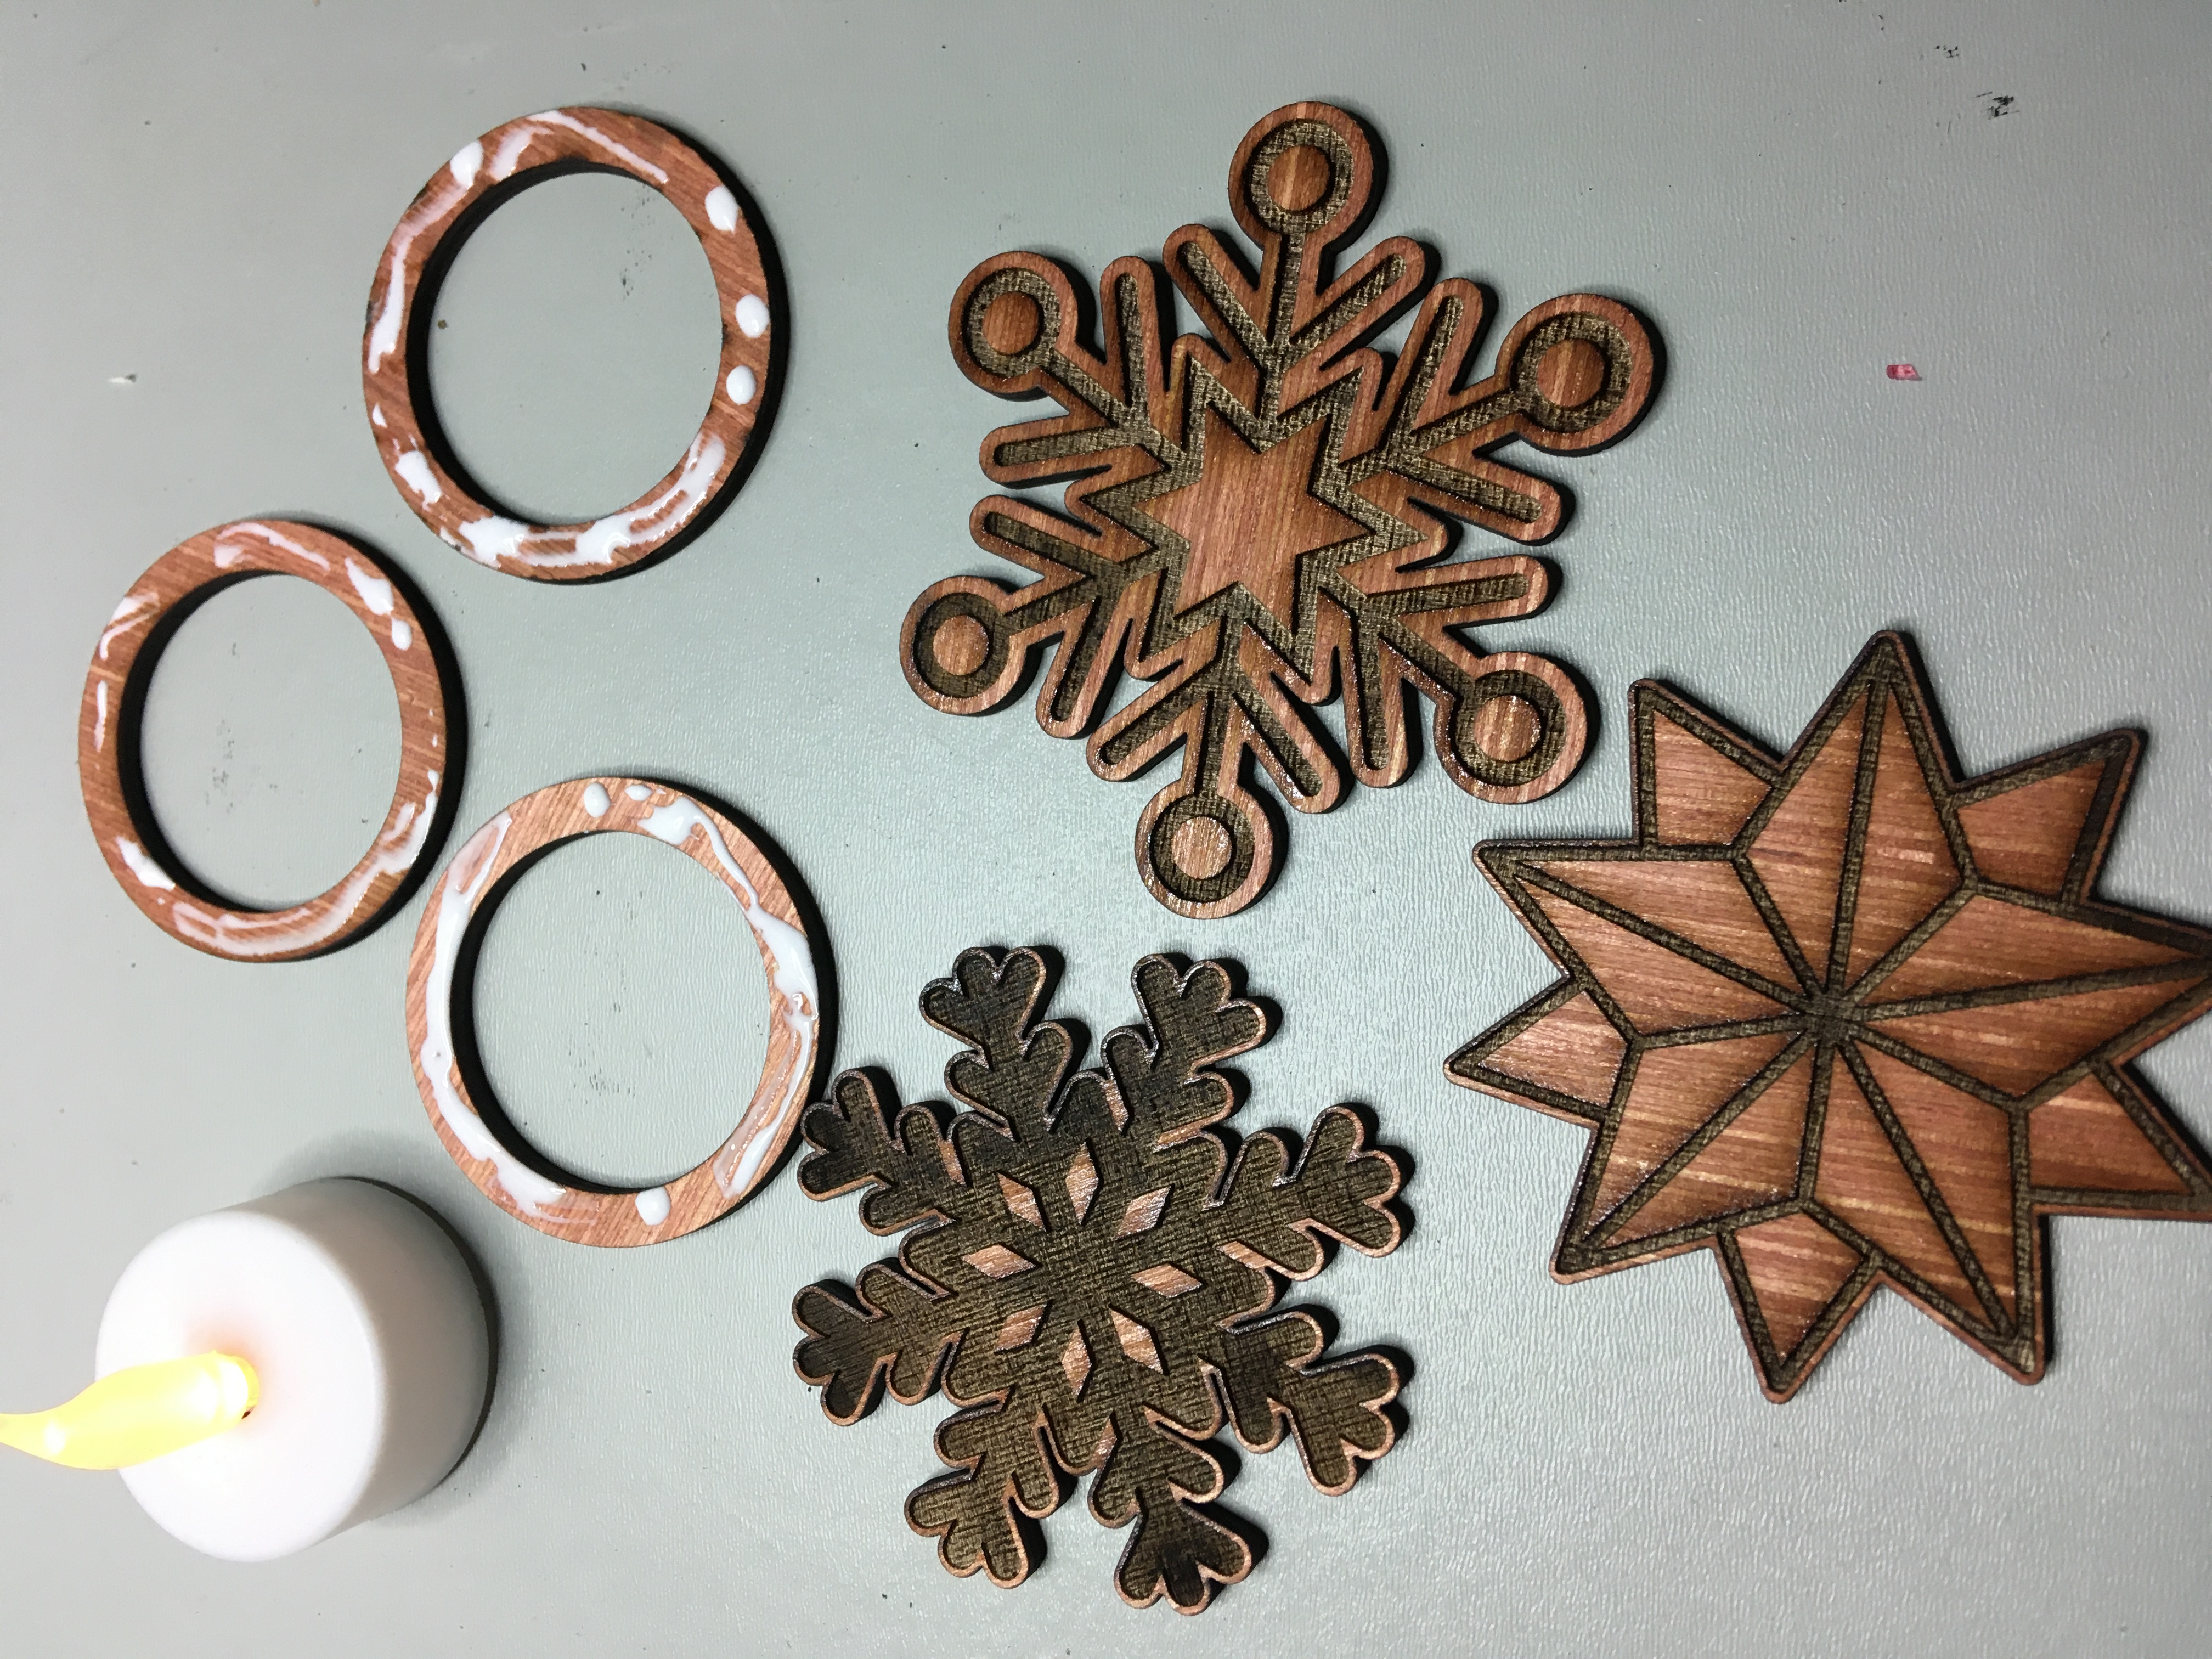
It's done, remove piece and glue ….
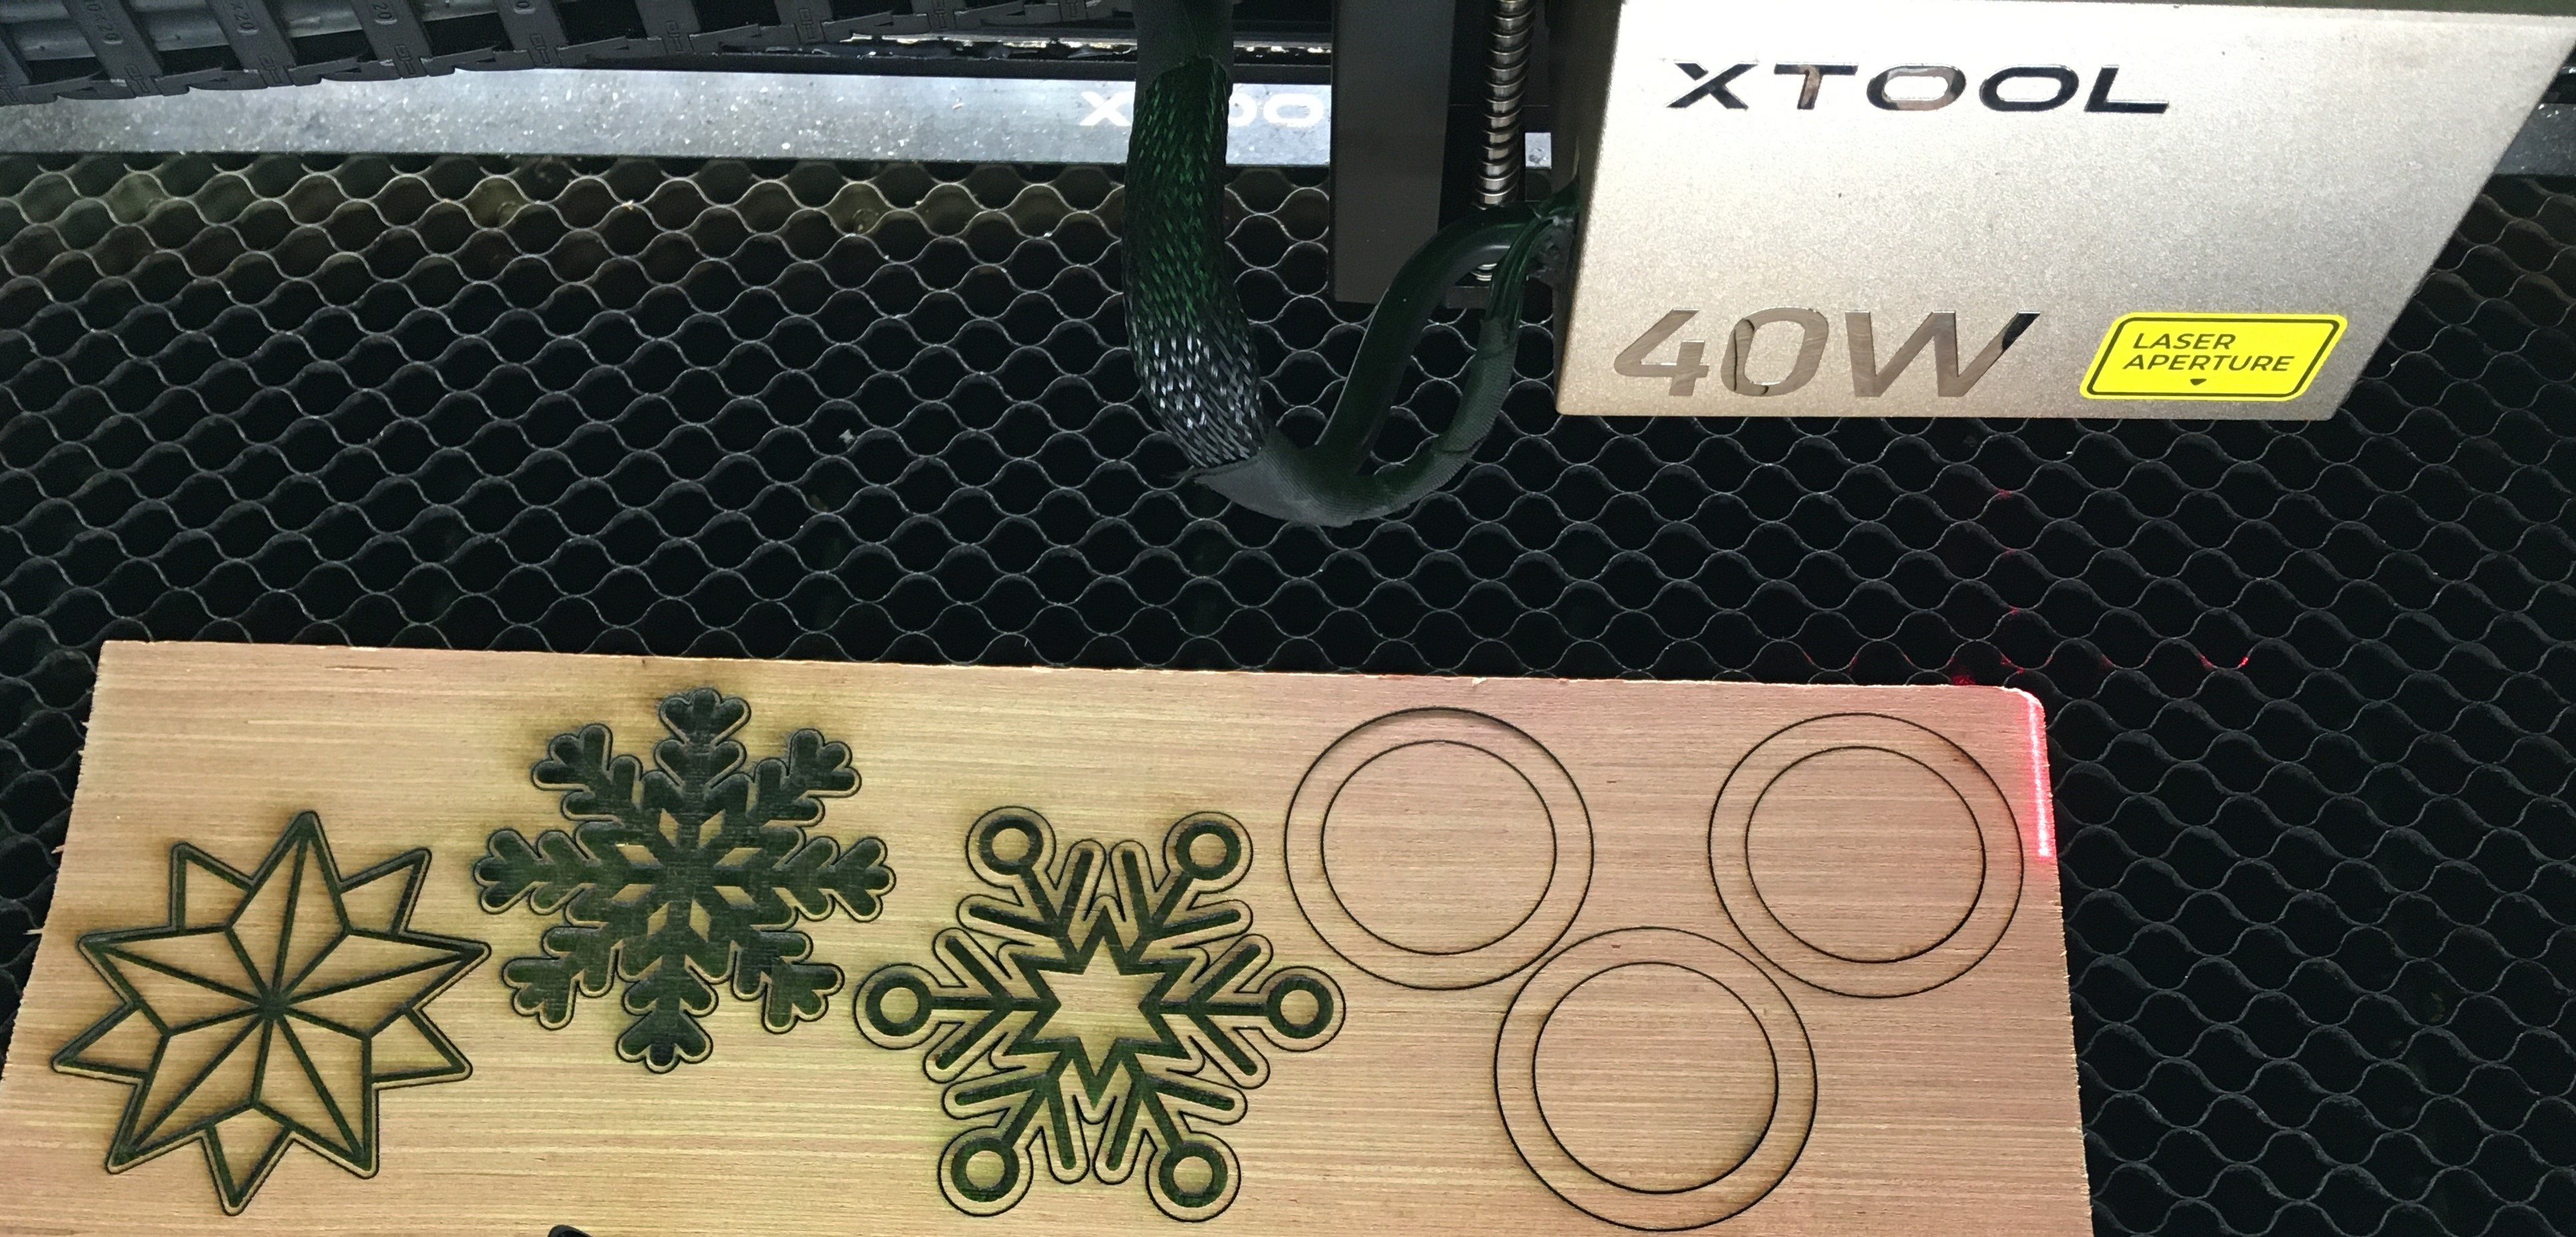
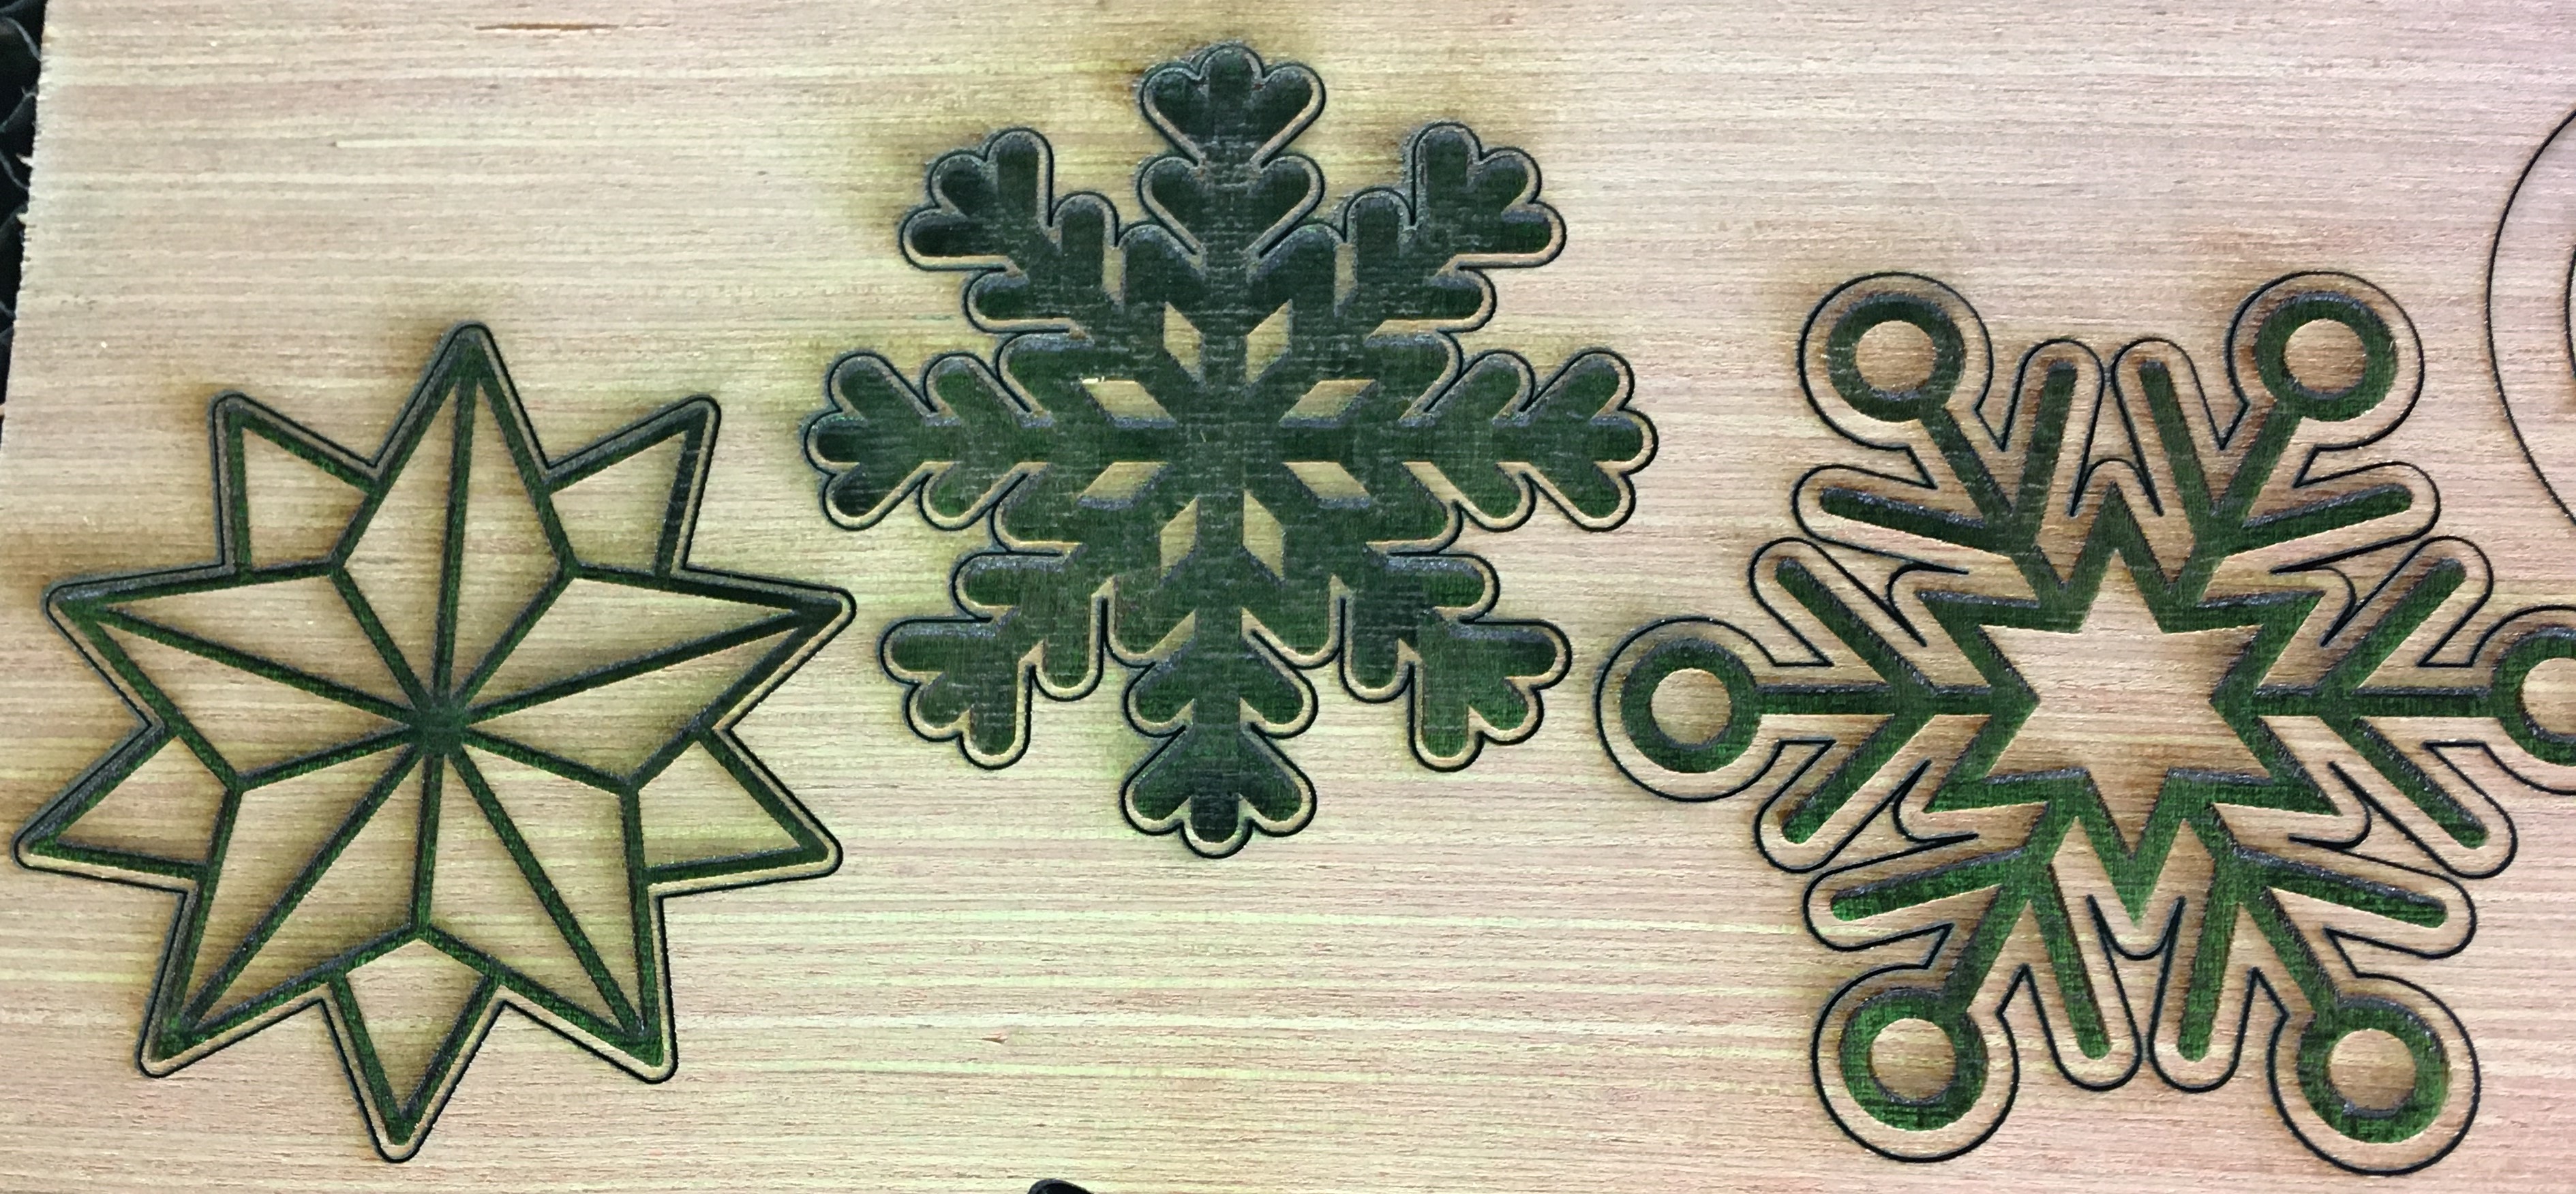
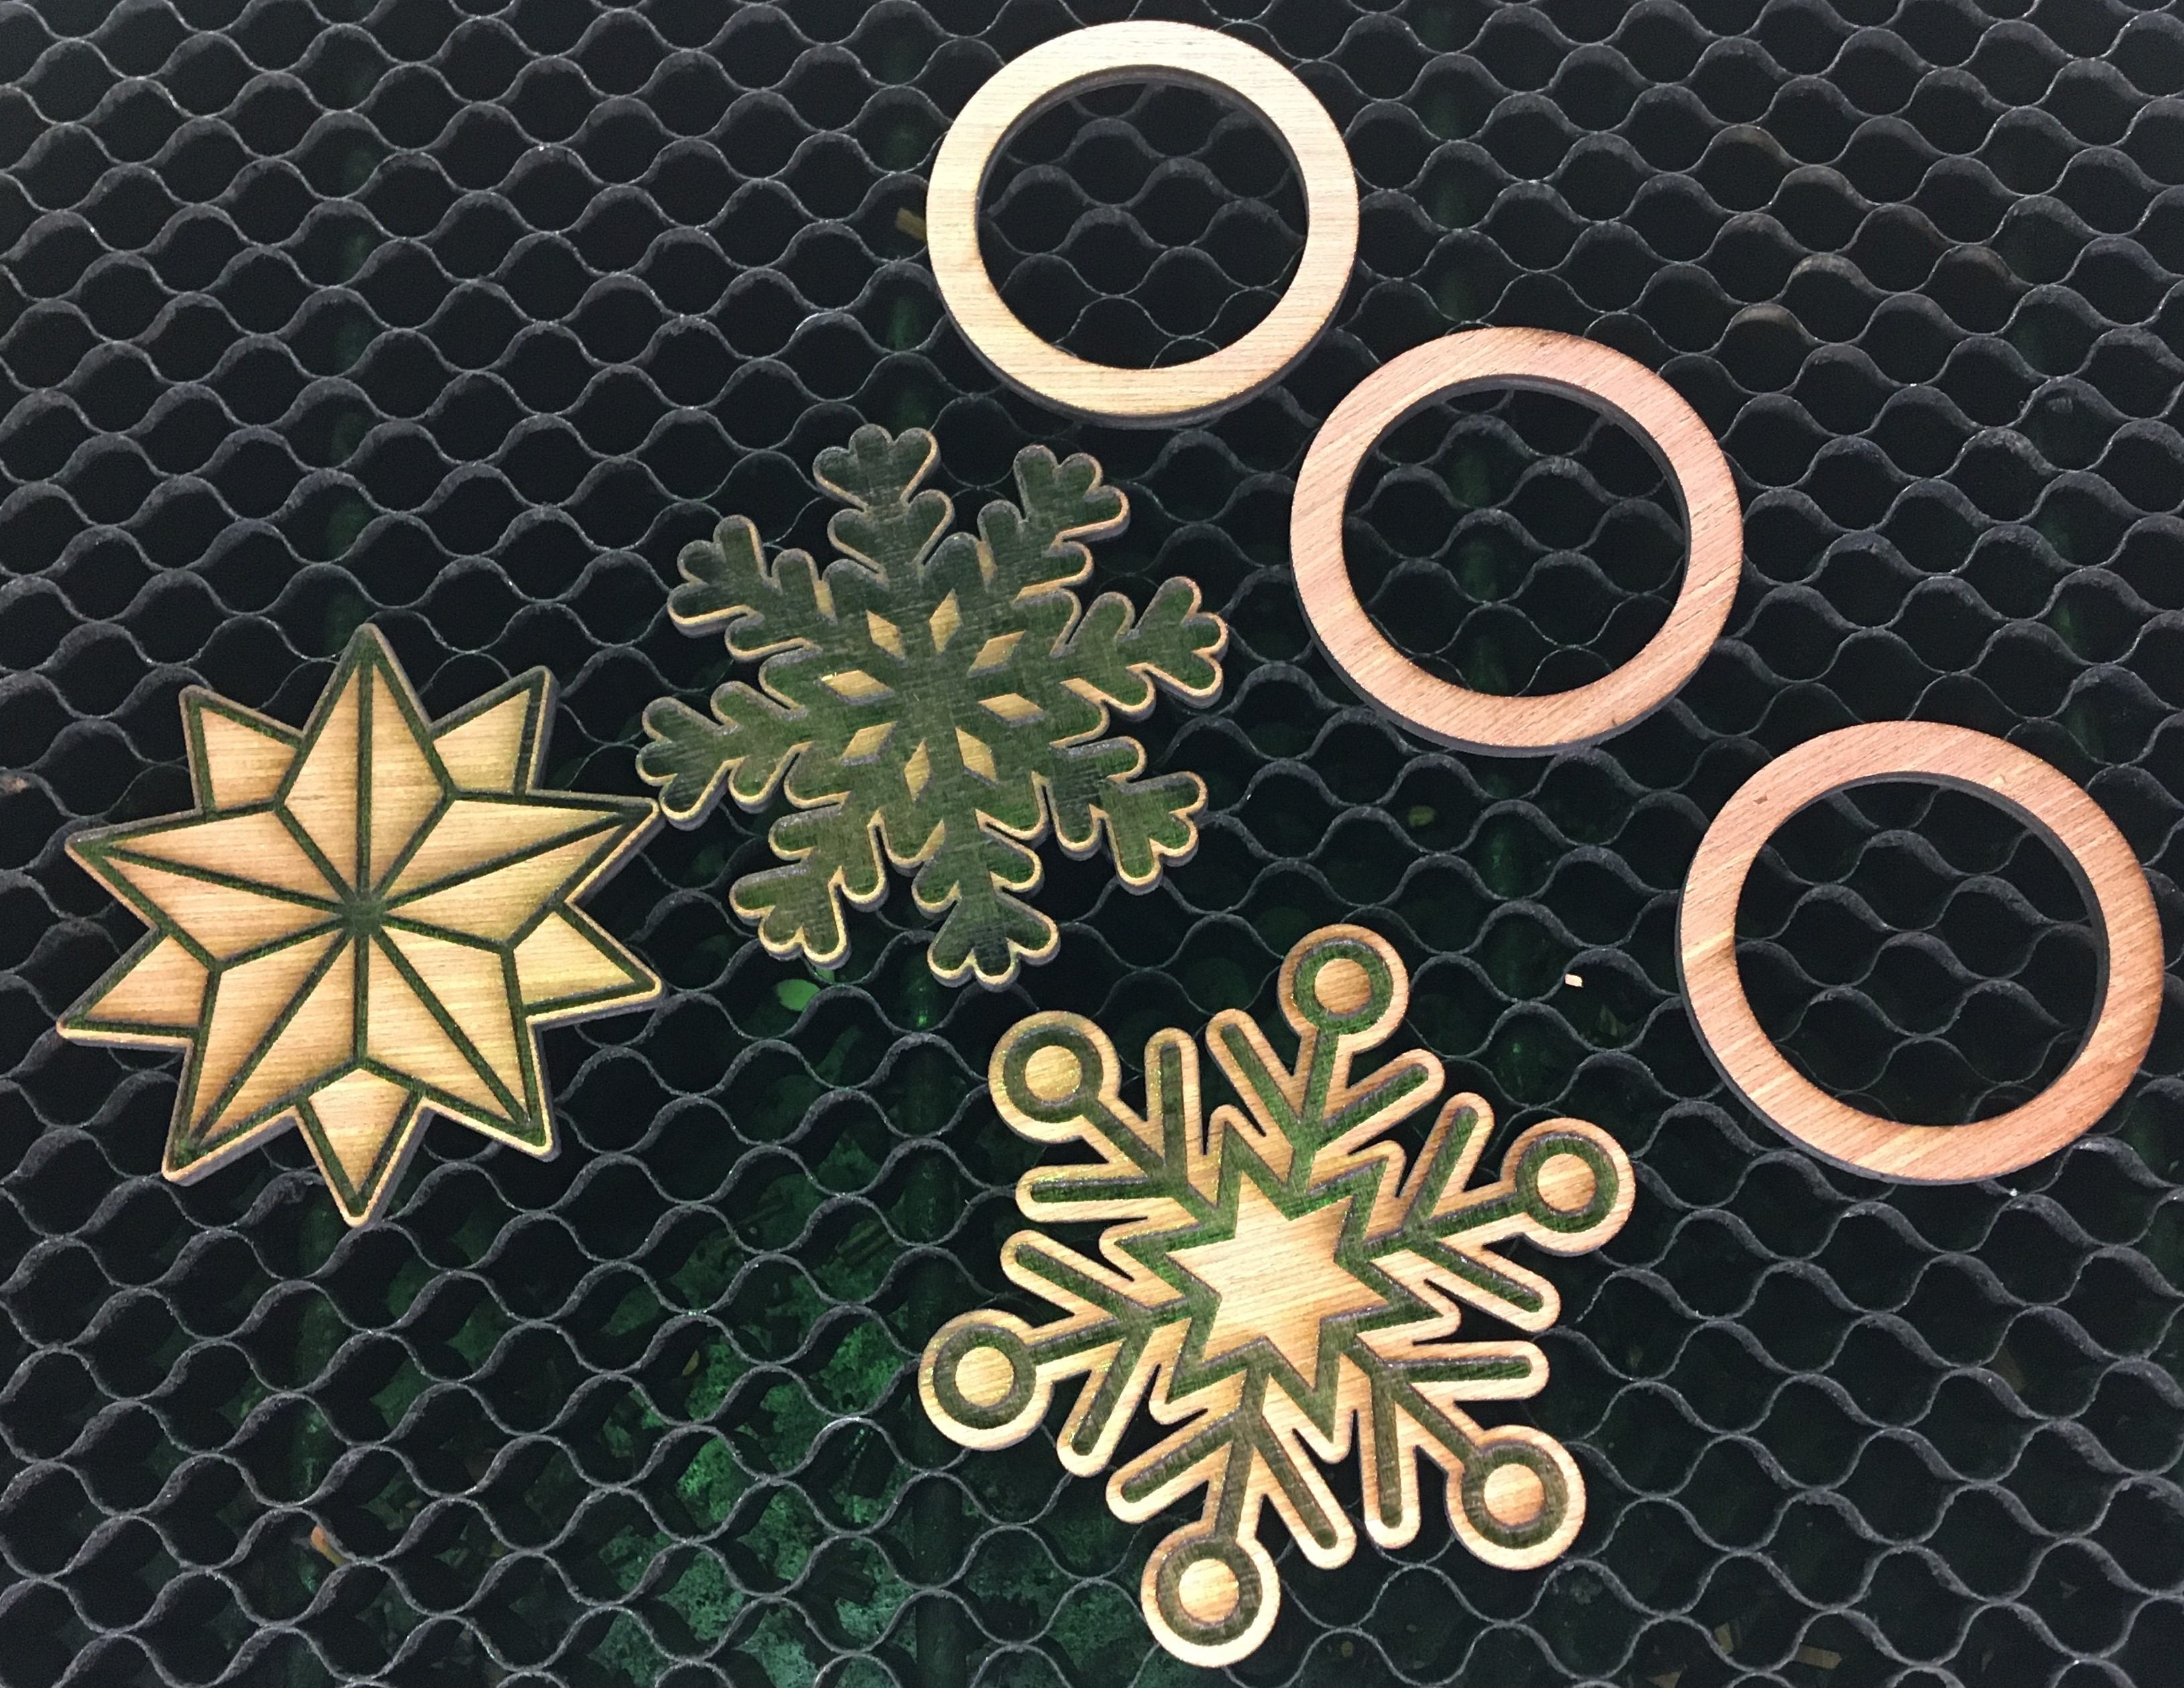
Step8: Glue all parts together
Glue all parts together
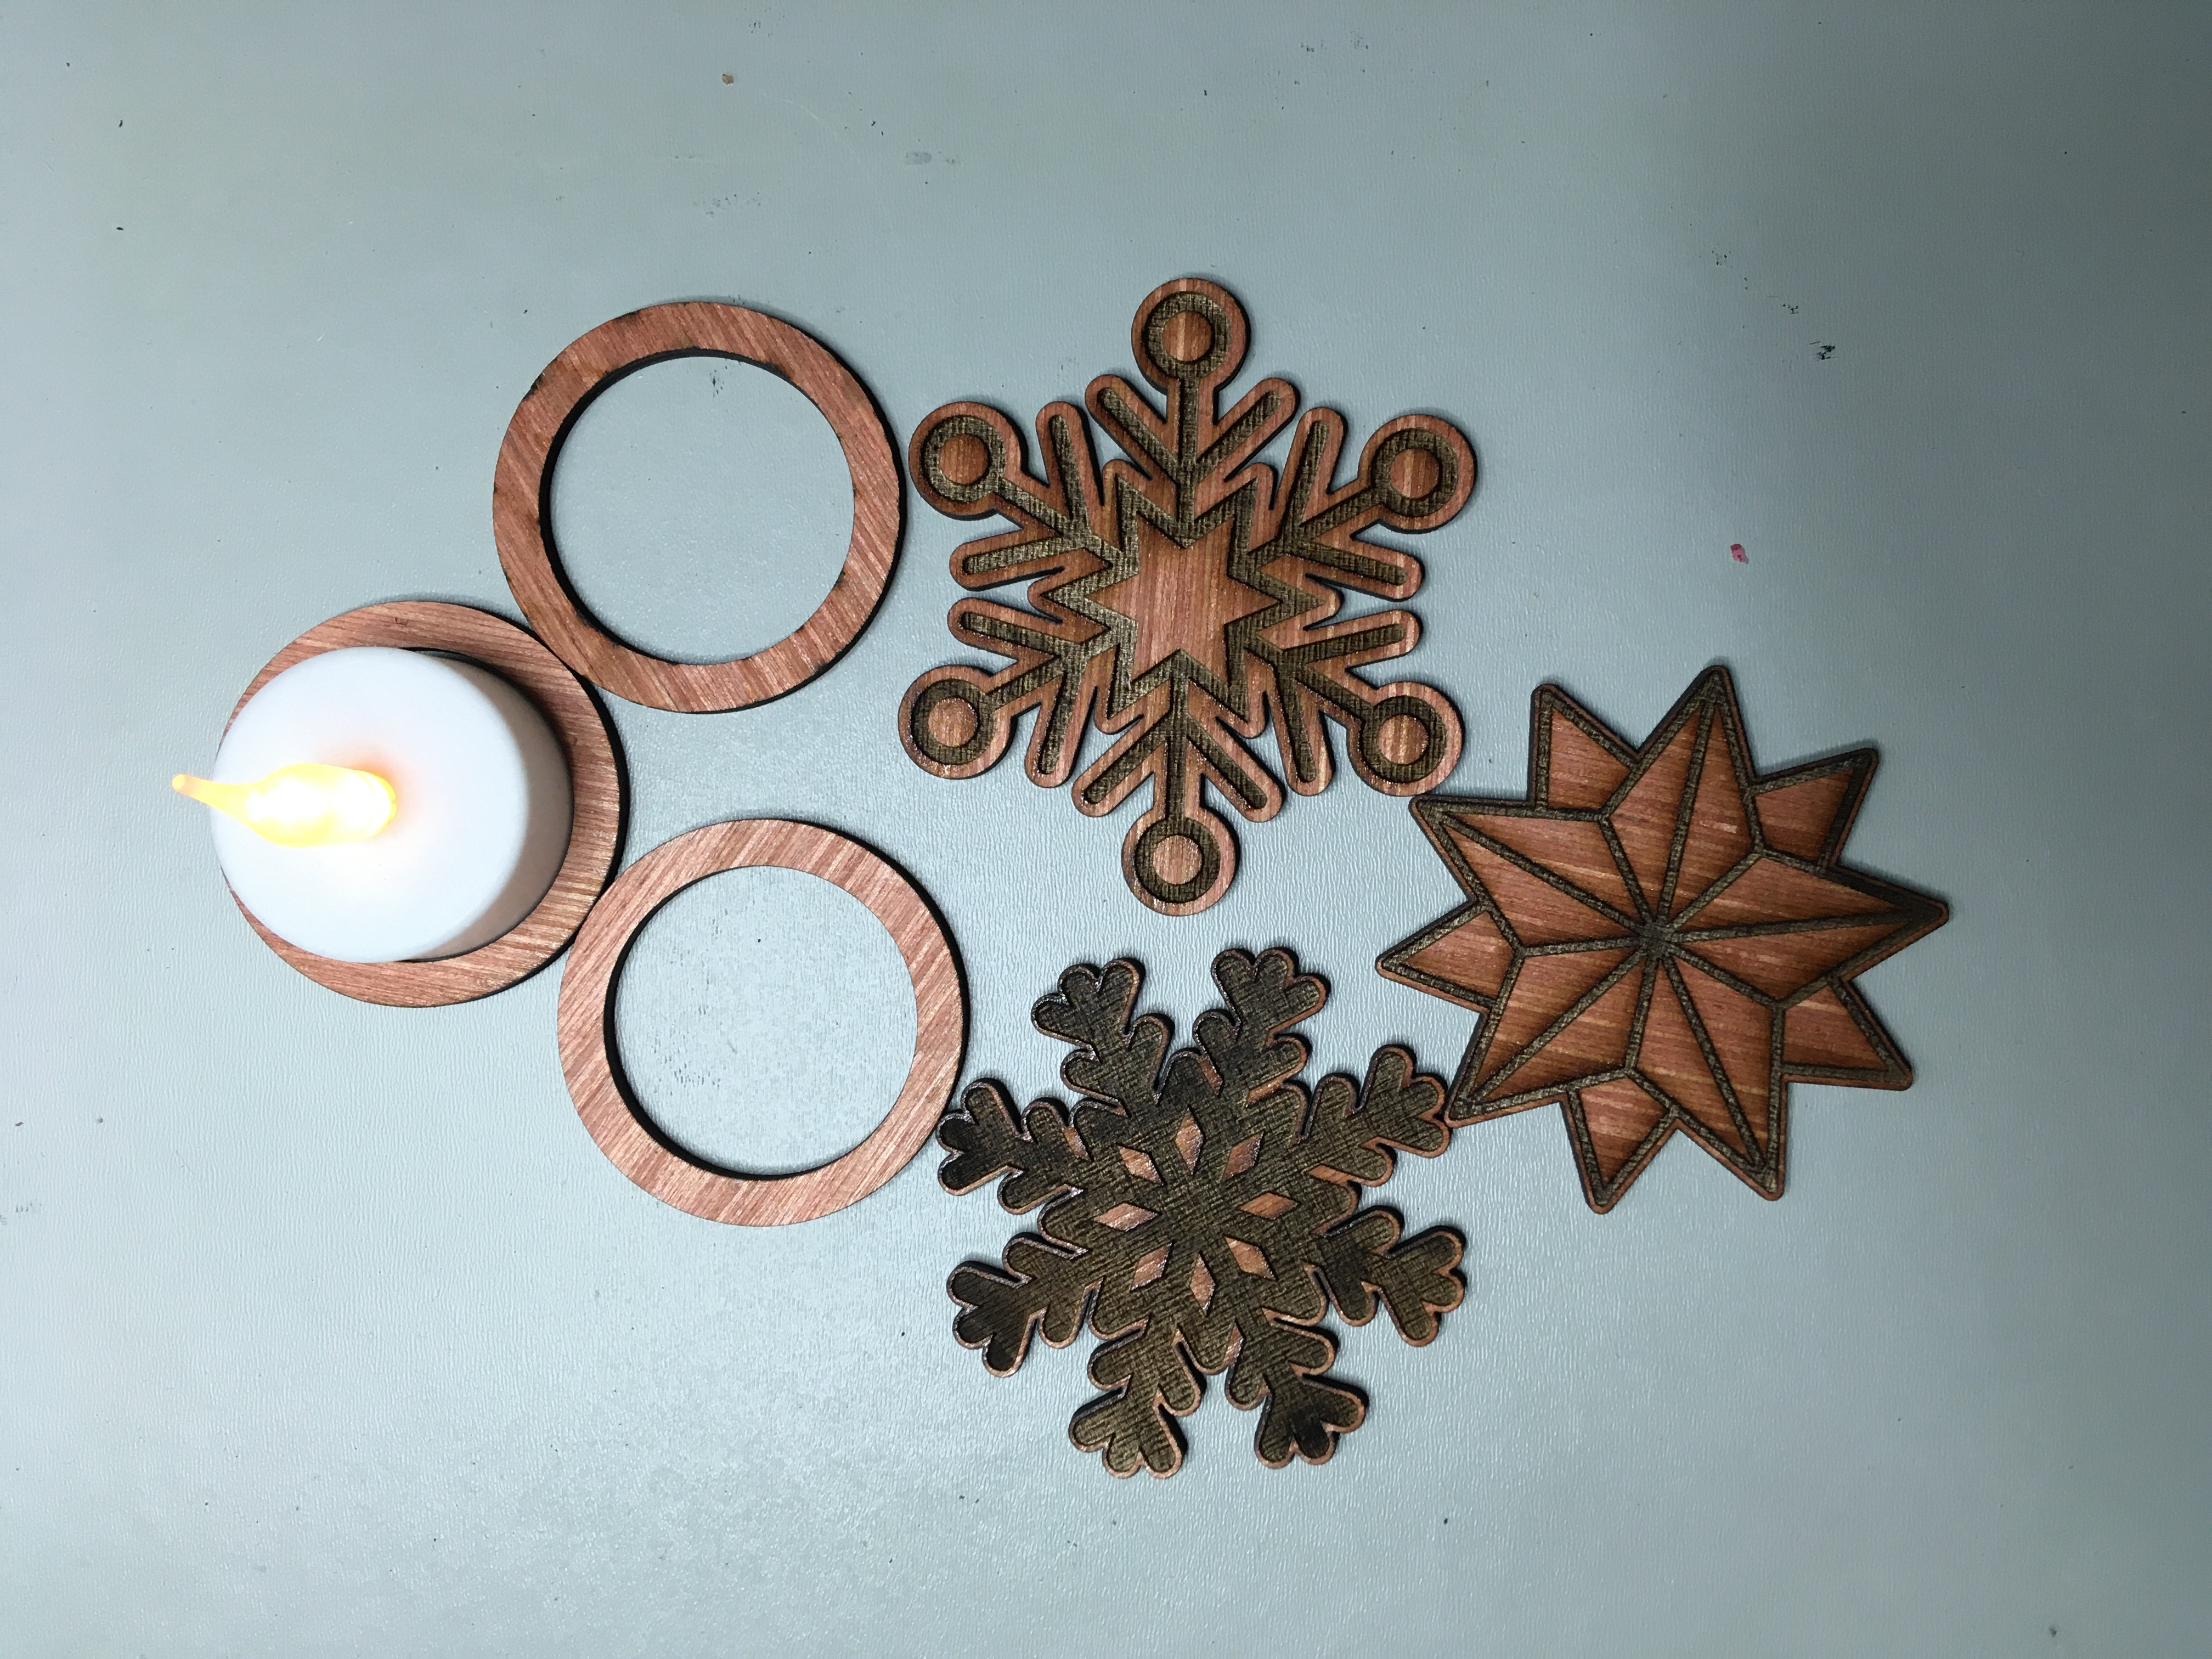
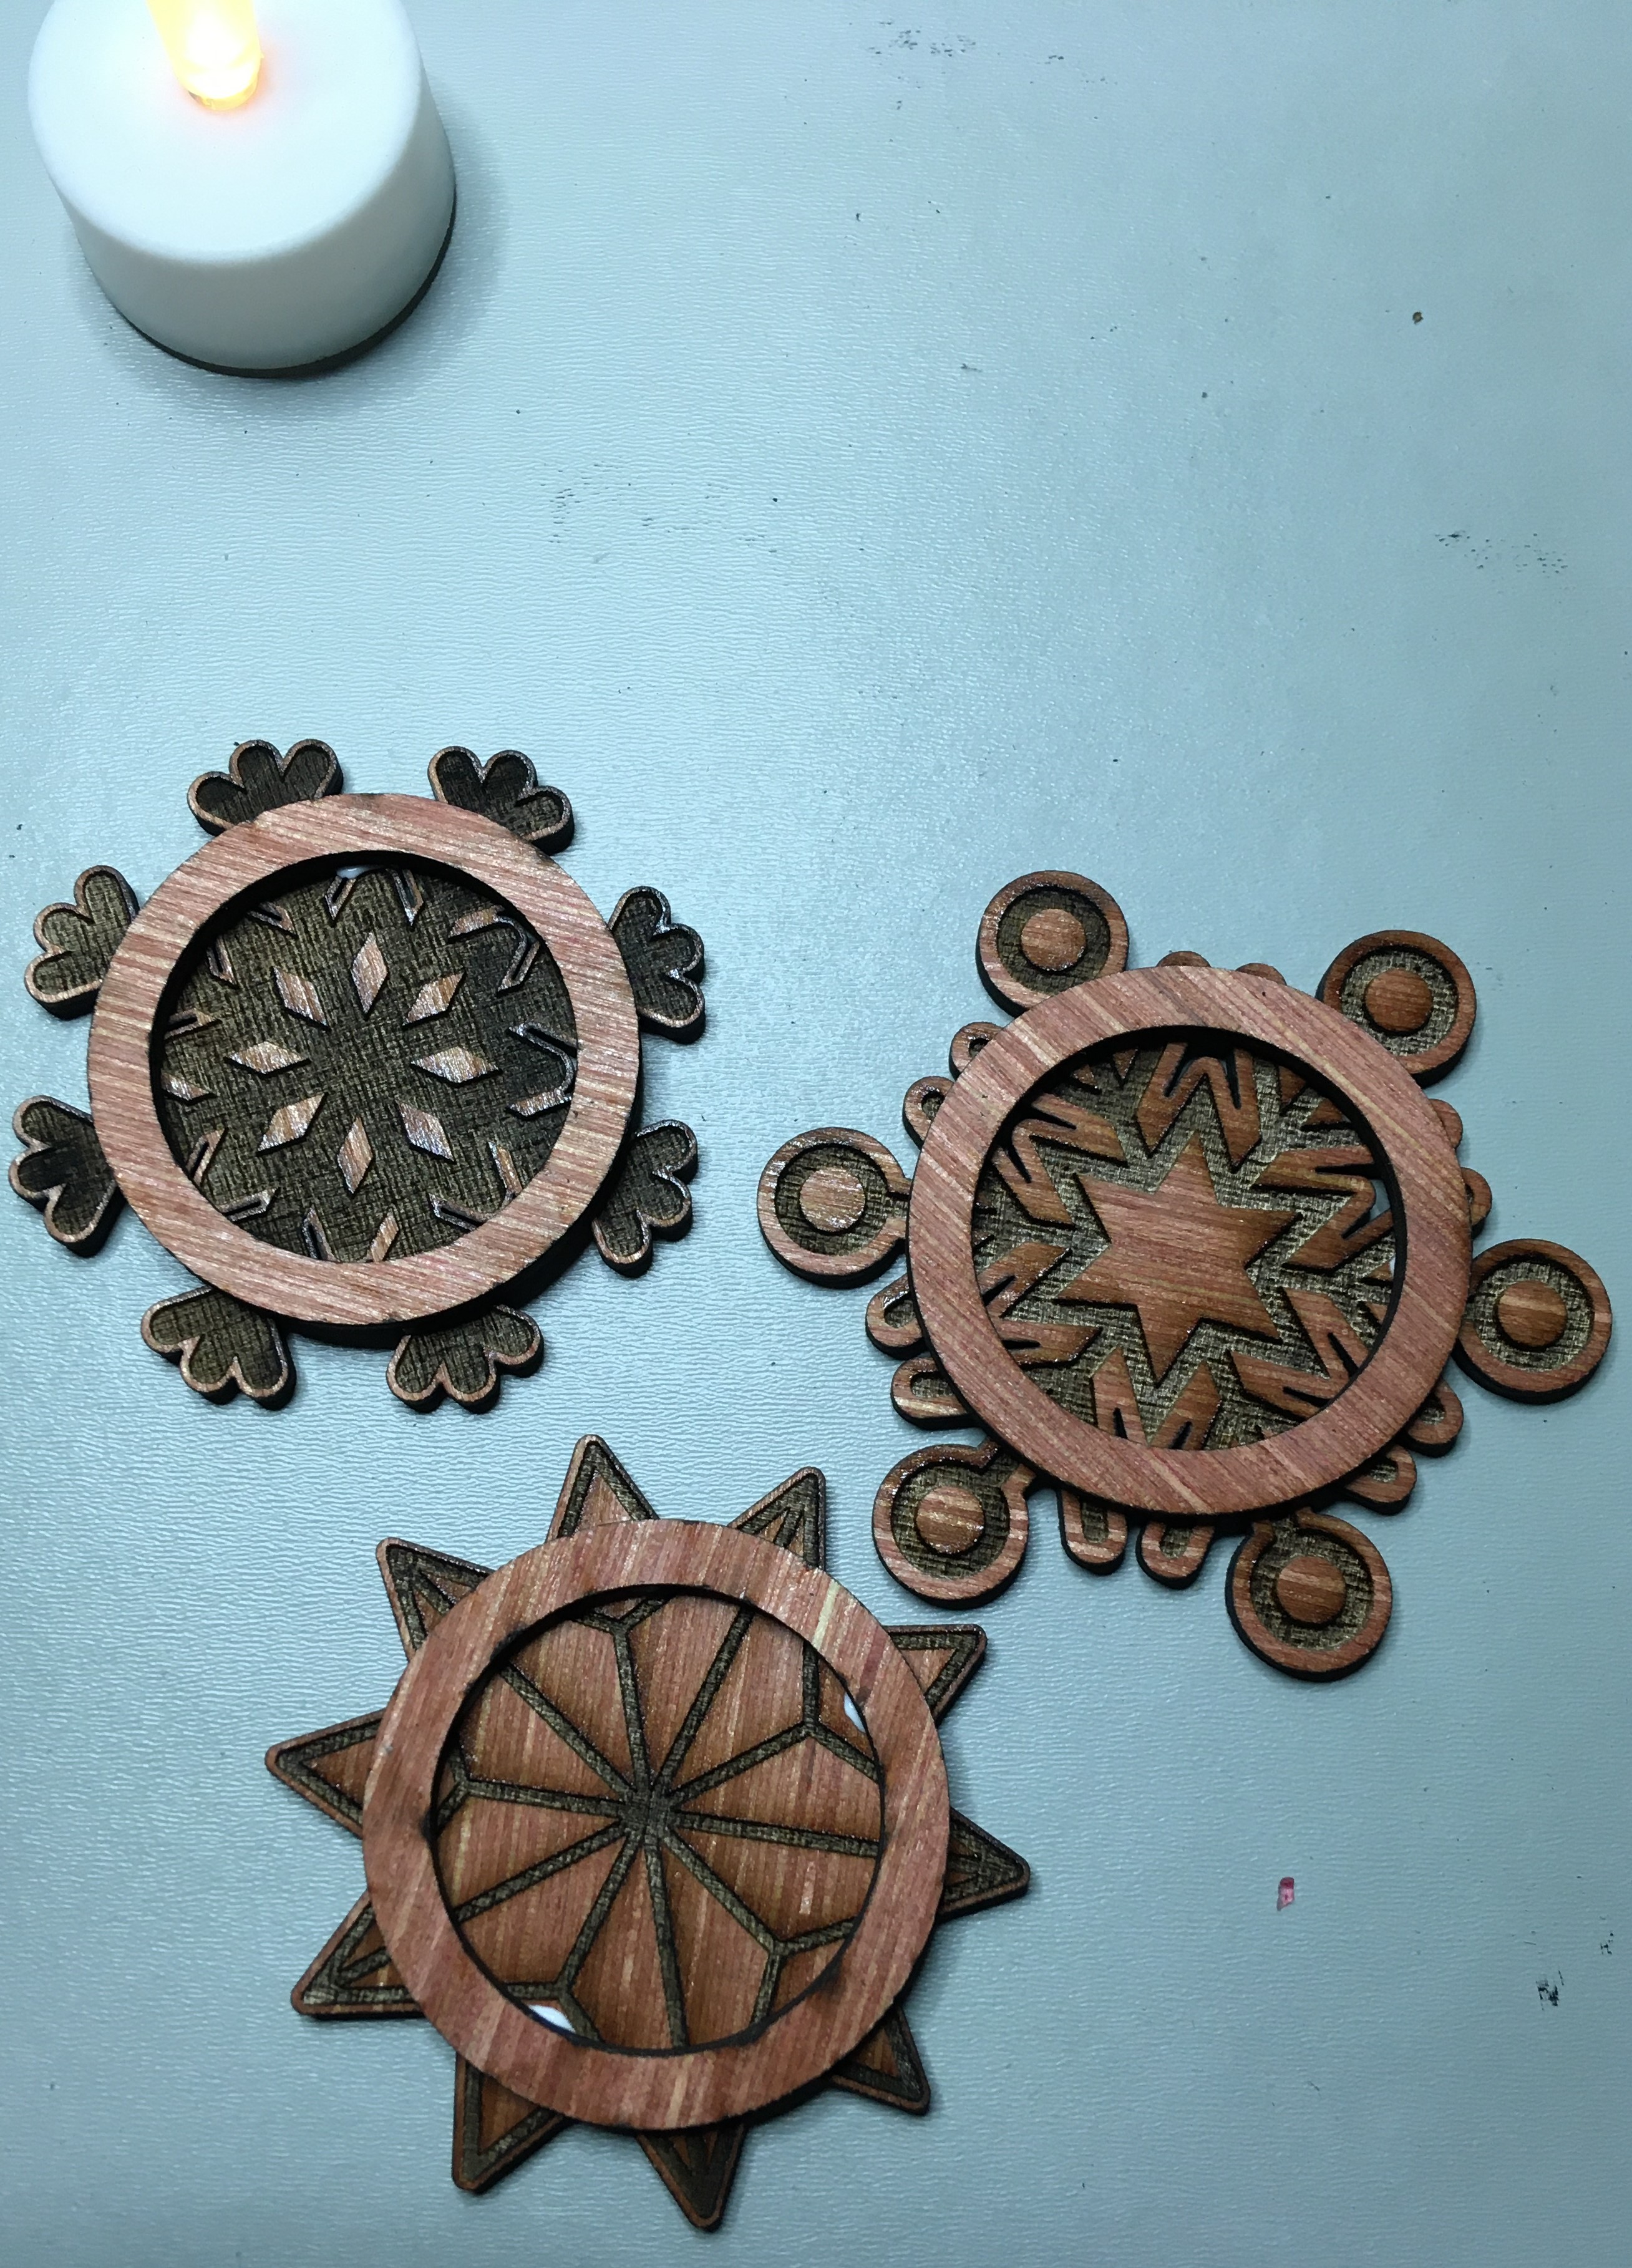
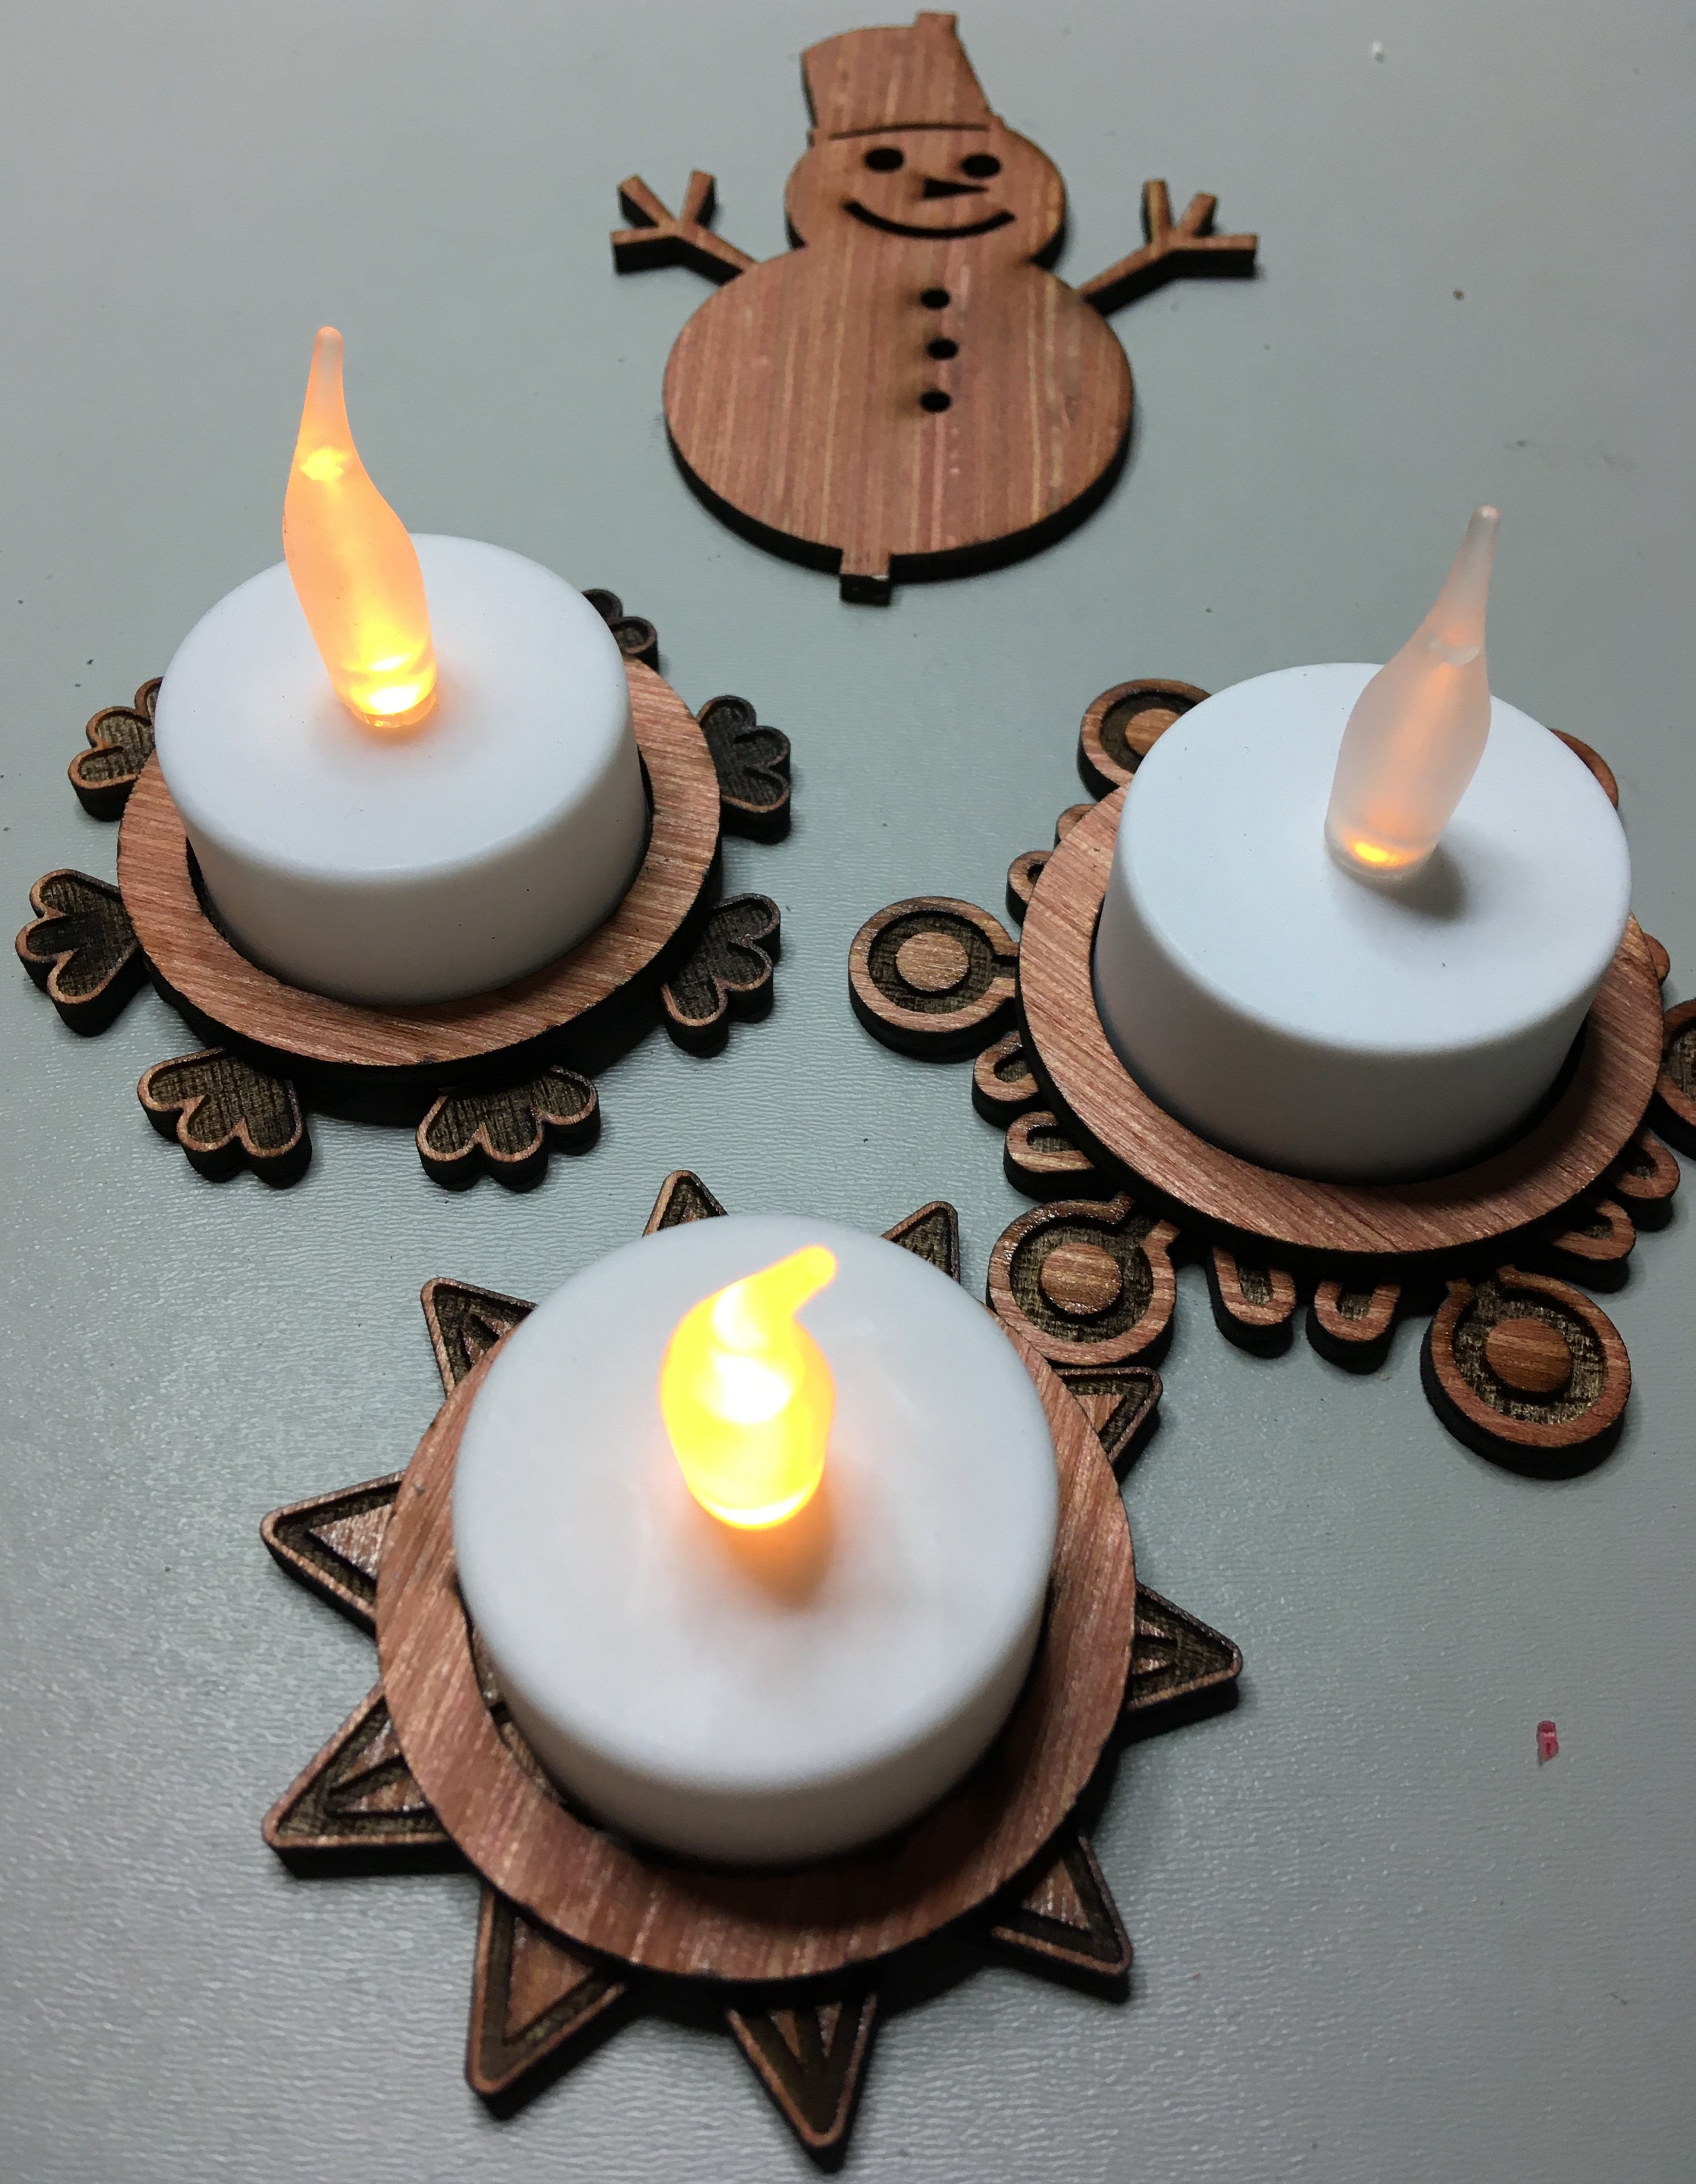
Step9: decorate your table
Hide your gift (money, message, credit card, …) in your bauble and attach it to your Christmas tree.
Remixes



You may also like

24 Xmas Coasters I with personalisation ( laminated parquet panels)


Wooden Christmas Bow Ties with festive engravings

24 Natives Coasters ( laminated parquet panels)

24 Xmas Coasters IV with personalisation ( laminated parquet panels)

24 Xmas Coasters II with personalisation ( laminated parquet panels)

DIY Christmas table tree decorations with star toppers

Wall decoration - Mini shelf Model 01

Xmas puzzle for children 2 (Juliette) - The tree of a thousand lights

DIY Christmas wooden stockings with money gift(another design)

DIY Christmas ornaments with mini liquor bottles

Christmas Candle Holders Laser Cut Bundle. Wooden Snowflake and Holiday Themed Tea Light Candle Holders


Snowflake Tealight Holder


Wall decoration - Mini shelf Model 04 (2 versions)_copy

Halloween Bag for sweeties pack 03 - (4 models - many possible combinaisons)

DIY Christmas ornaments with mini liquor bottles by DIY.V-Business

12 European Capitals II Coasters DIY.V-Business

DIY Christmas-themed wooden napkin rings for table setting

Laser Cut Wooden Candle Holders with LED Tea Lights
