![[Laser cut and engrave] DIY Christmas ornaments with mini liquor bottles](https://image-res.atomm.com/resource/xtool/community/attachment/xtool-community/70ef75b2-3808-47bf-ab25-1cf64c8c09d9?x-oss-process=image/resize,w_1200,h_900,limit_0/interlace,1/format,webp/auto-orient,1)
![[Laser cut and engrave] DIY Christmas ornaments with mini liquor bottles](data:image/png;base64,iVBORw0KGgoAAAANSUhEUgAAAAoAAAAKCAYAAACNMs+9AAAAAXNSR0IArs4c6QAAABdJREFUKFNjZCASMBKpjmFUId6QIjp4AAppAAuXjCs4AAAAAElFTkSuQmCC)
![[Laser cut and engrave] DIY Christmas ornaments with mini liquor bottles](https://image-res.atomm.com/resource/xtool/community/attachment/xtool-community/70ef75b2-3808-47bf-ab25-1cf64c8c09d9?x-oss-process=image/resize,w_200,h_150,limit_0/interlace,1/format,webp/auto-orient,1)
![[Laser cut and engrave] DIY Christmas ornaments with mini liquor bottles](https://image-res.atomm.com/resource/xtool/community/attachment/xtool-community/b04b9d49-096a-41fc-bcb4-d175ca00c4fe.JPG?x-oss-process=image/resize,w_200,h_150,limit_0/interlace,1/format,webp/auto-orient,1)
![[Laser cut and engrave] DIY Christmas ornaments with mini liquor bottles](https://image-res.atomm.com/resource/xtool/community/attachment/xtool-community/41041094-0103-49ec-9252-e5eabca908ce.JPG?x-oss-process=image/resize,w_200,h_150,limit_0/interlace,1/format,webp/auto-orient,1)
![[Laser cut and engrave] DIY Christmas ornaments with mini liquor bottles](https://image-res.atomm.com/resource/xtool/community/attachment/xtool-community/b3af314e-b045-4133-8b78-085e3b5d8b0c.JPG?x-oss-process=image/resize,w_200,h_150,limit_0/interlace,1/format,webp/auto-orient,1)
![[Laser cut and engrave] DIY Christmas ornaments with mini liquor bottles](https://image-res.atomm.com/resource/xtool/community/attachment/xtool-community/f7da7f9a-2bf9-4816-a4e4-4b8615852dbc.JPG?x-oss-process=image/resize,w_200,h_150,limit_0/interlace,1/format,webp/auto-orient,1)
![[Laser cut and engrave] DIY Christmas ornaments with mini liquor bottles](https://image-res.atomm.com/resource/xtool/community/attachment/xtool-community/7914bbf9-72ce-4ffb-b59b-cad03a01a579.JPG?x-oss-process=image/resize,w_200,h_150,limit_0/interlace,1/format,webp/auto-orient,1)
![[Laser cut and engrave] DIY Christmas ornaments with mini liquor bottles](https://image-res.atomm.com/resource/xtool/community/attachment/xtool-community/2737e59c-6865-4c12-9657-0a1e4b66537b.JPG?x-oss-process=image/resize,w_200,h_150,limit_0/interlace,1/format,webp/auto-orient,1)
![[Laser cut and engrave] DIY Christmas ornaments with mini liquor bottles](https://image-res.atomm.com/resource/xtool/community/attachment/xtool-community/8262c58e-8457-4050-8d07-45b0ee1766be.JPG?x-oss-process=image/resize,w_200,h_150,limit_0/interlace,1/format,webp/auto-orient,1)
![[Laser cut and engrave] DIY Christmas ornaments with mini liquor bottles](https://image-res.atomm.com/resource/xtool/community/attachment/xtool-community/92d1d2ed-f716-4375-aa32-8ab2bed3ce5d.JPG?x-oss-process=image/resize,w_200,h_150,limit_0/interlace,1/format,webp/auto-orient,1)
![[Laser cut and engrave] DIY Christmas ornaments with mini liquor bottles](https://image-res.atomm.com/resource/xtool/community/attachment/xtool-community/4896c400-e24e-4194-a9d7-382b93cdf7e4.jpg?x-oss-process=image/resize,w_200,h_150,limit_0/interlace,1/format,webp/auto-orient,1)
DIY Christmas ornaments with mini liquor bottles
 Instruction


Information
      Make your Christmas tree extra special with this unique mignonette  Christmas ornament.

Crafted with precision using an XTool S1 laser cutter, this intricate design features a miniature bottle of Johnnie Walker Red Label ne   stled within an elegant oval frame. The ornament is adorned with festive snowflakes and the year "2024" for a personalized touch.

Key Features:

Unique Design: A festive and stylish addition to your Christmas decor.

Miniature Bottle: A miniature bottle adds a touch of sophistication.

Laser-Cut Precision: Intricate details and clean cuts for a premium look.

Personalized Touch: The year "2024" makes this ornament a keepsake for years to come.
Perfect for:

Whiskey enthusiasts
Christmas tree decorations
Holiday gifts
Home decor
Elevate your Christmas celebrations with this one-of-a-kind ornament.
Instruction
Step1: Open XCS xTool Creative Space and upload XCS files
Open templates on your computer
- start XCS
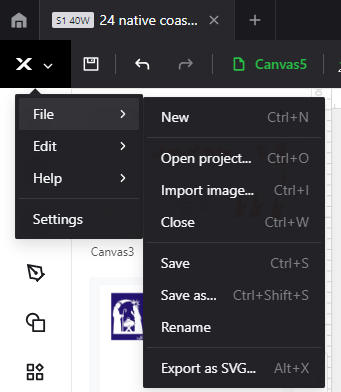
2. Go to Files -→ open project
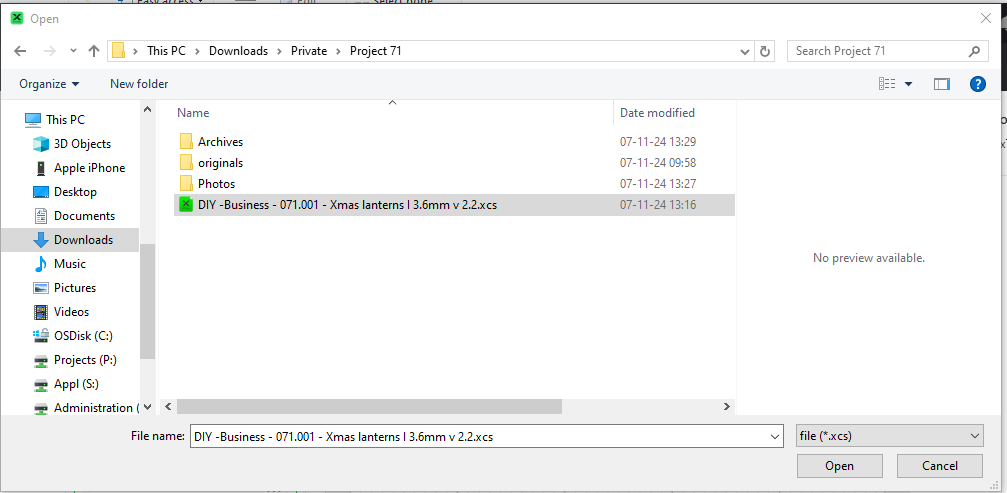
3. select Xmas Ball - 01.xcs in your drive
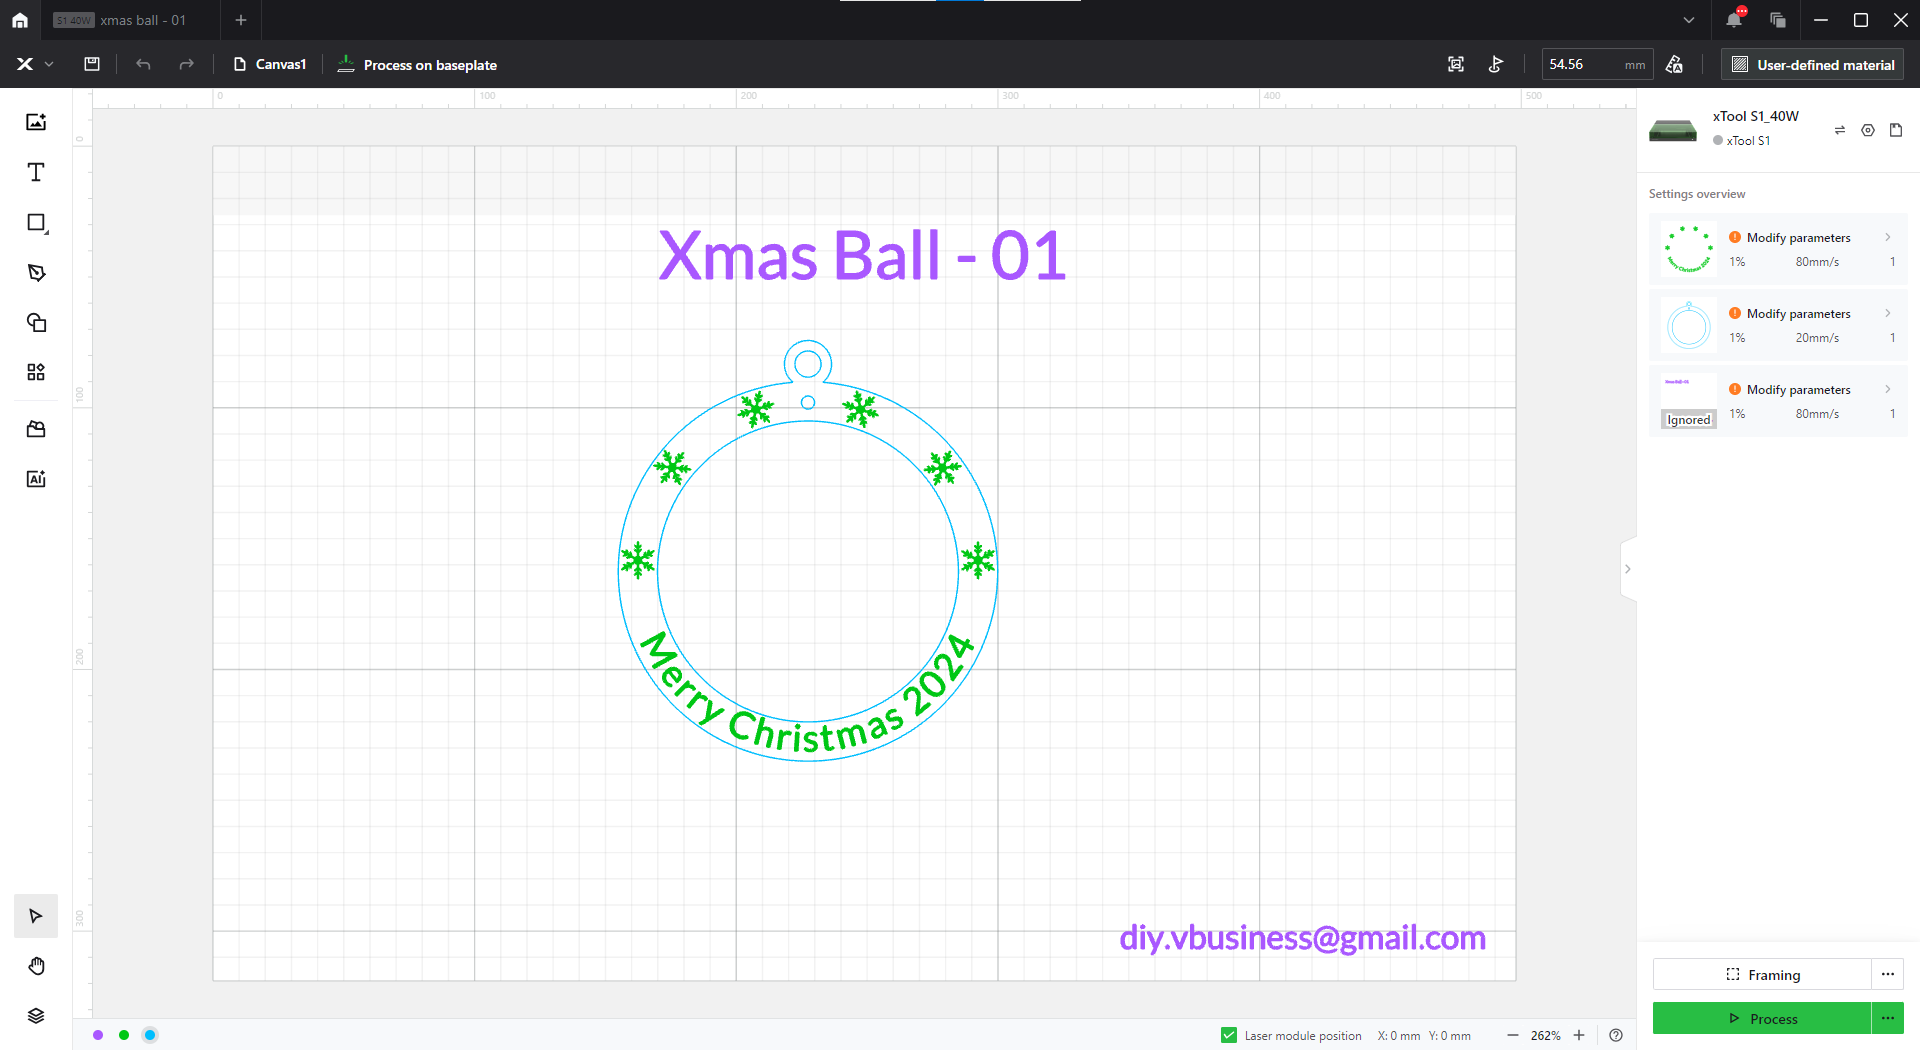
Step2: place your material into the Laser
Place your piece in the center of the cutting board.
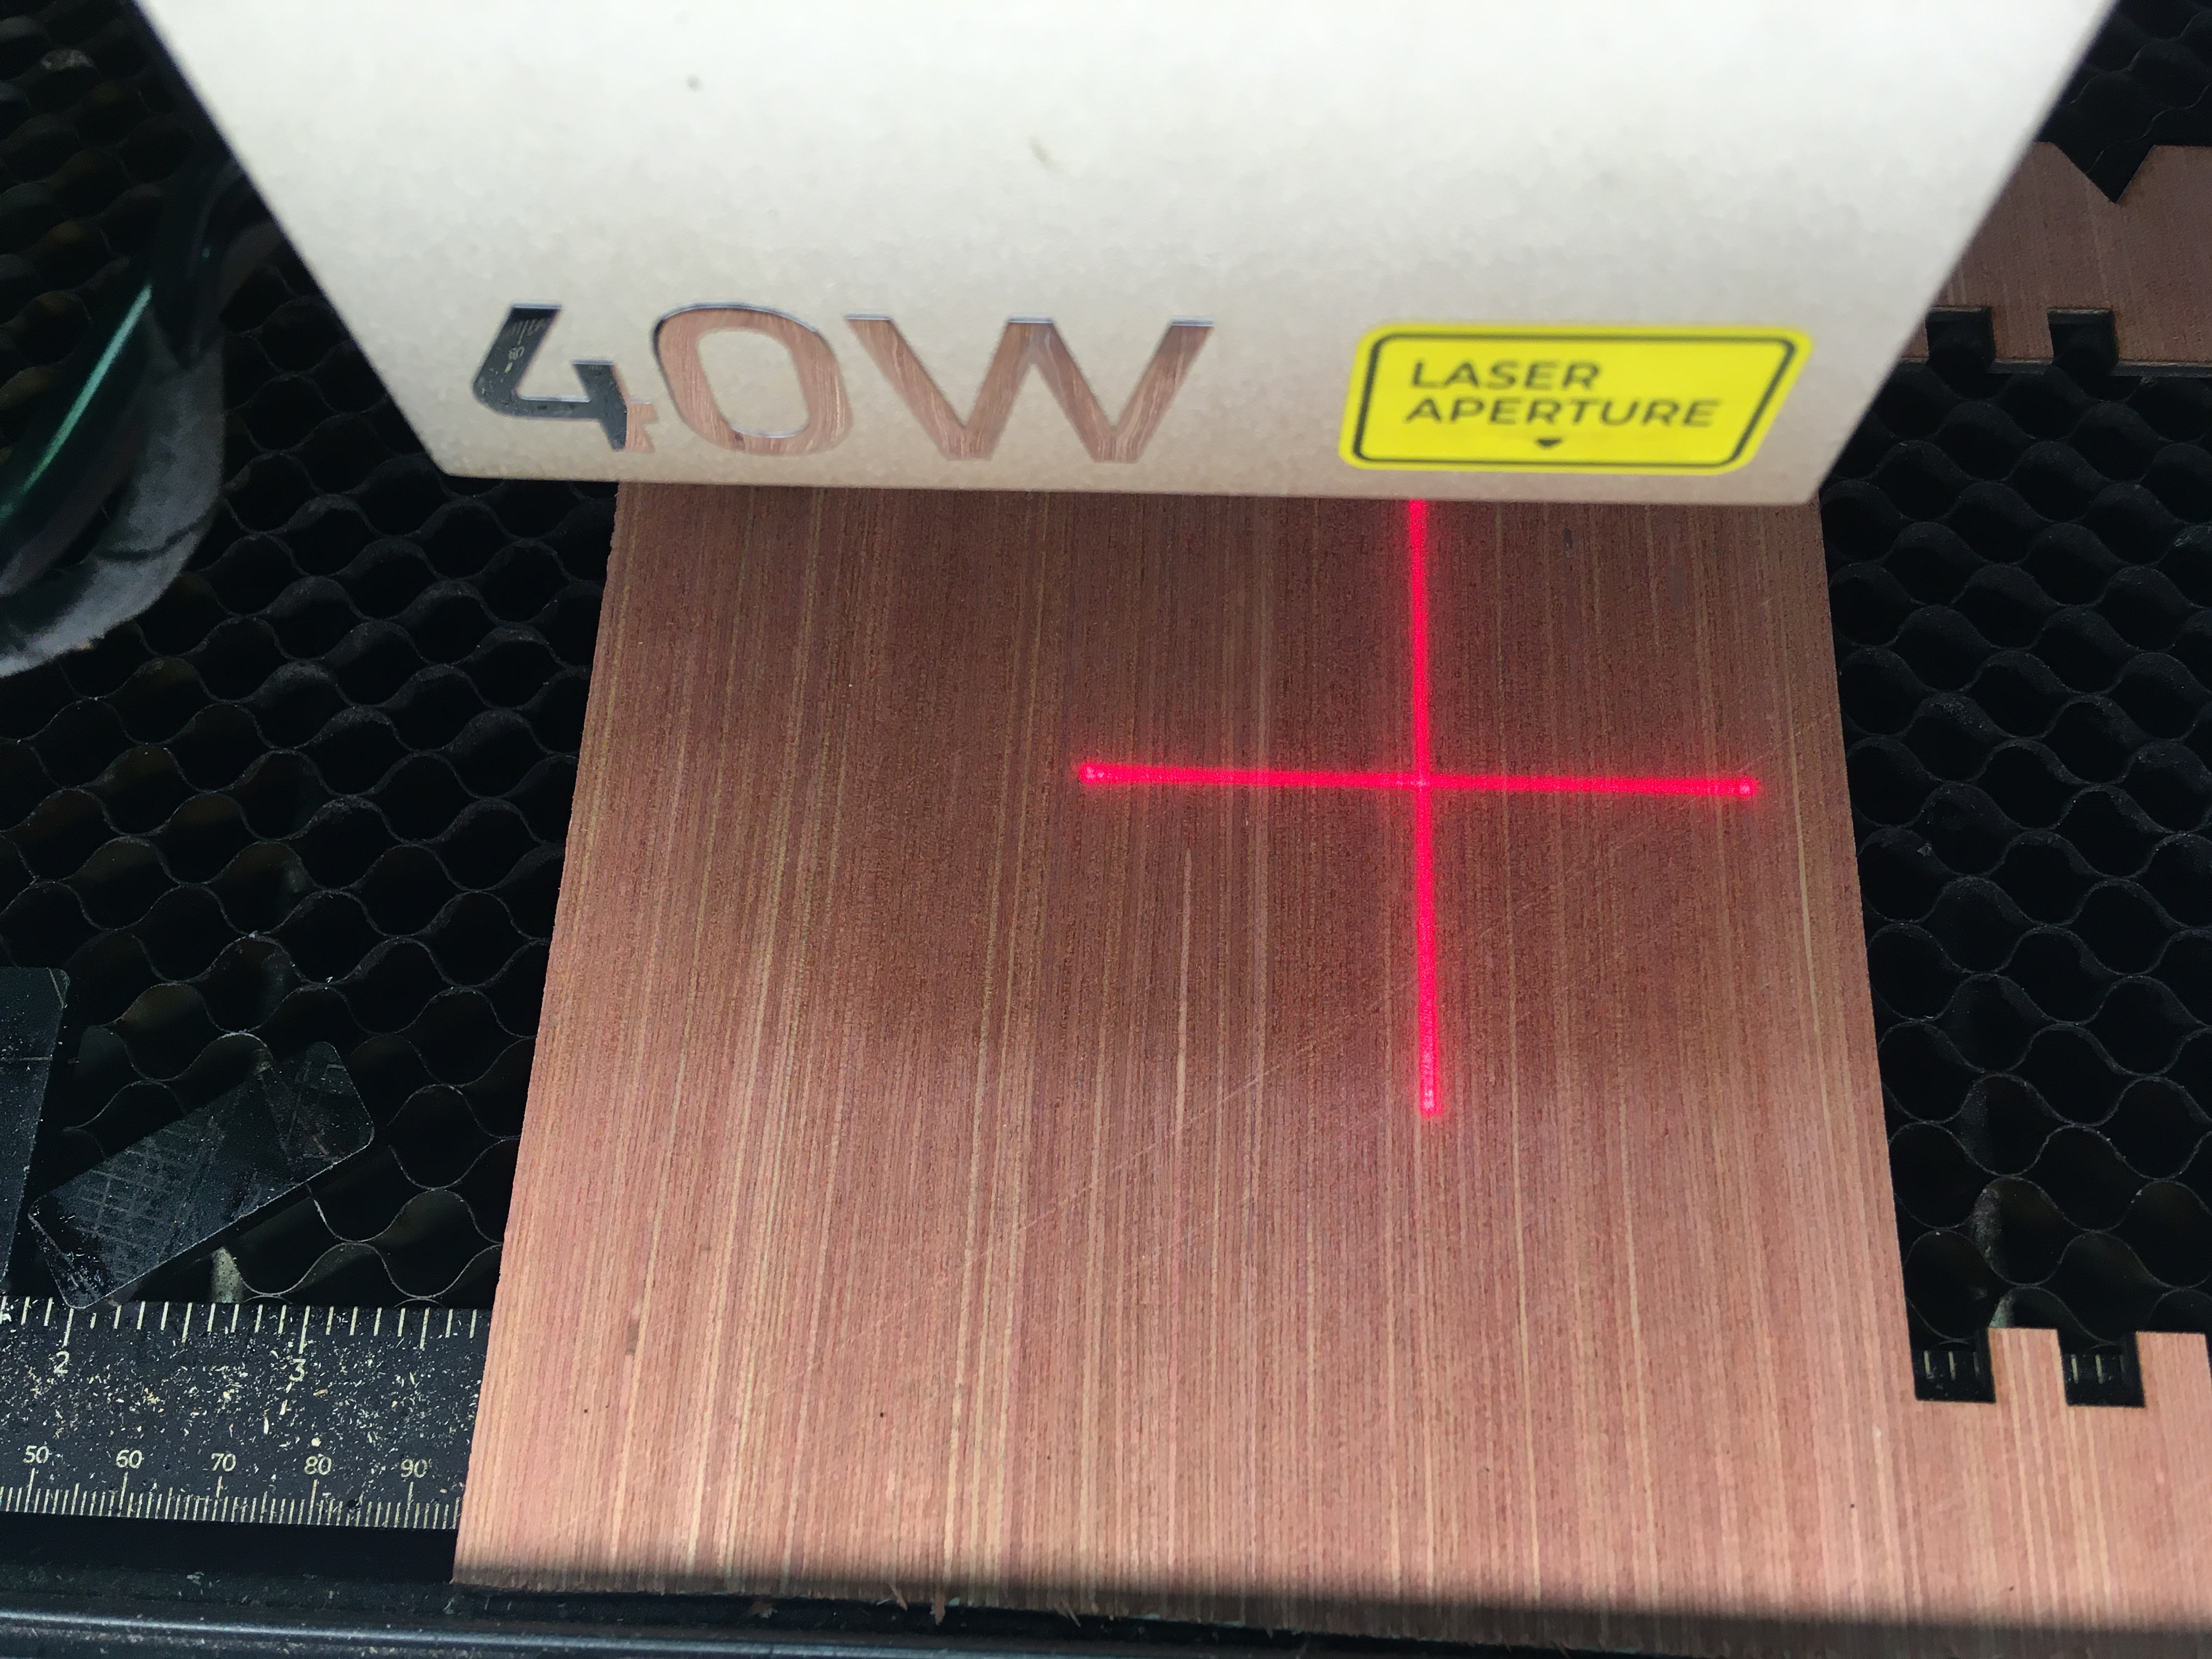
Step3: Set up the focus
Click on the distance button to measure the focus.
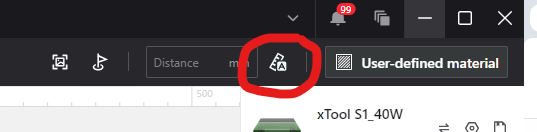
Step4: Select engrave area
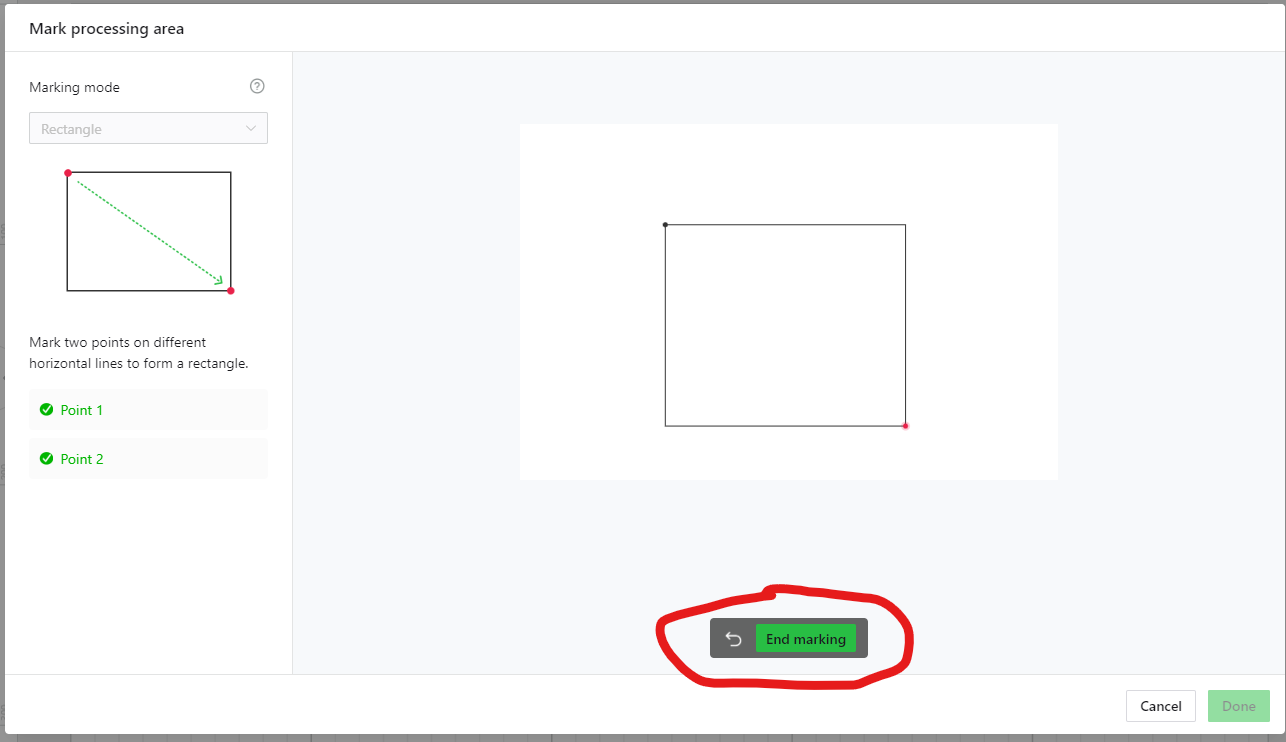
Click on Mark processing area area button

Select the type of cutting surface. If you're using parquet planks, this will certainly be the rectangle. click on “Start making”
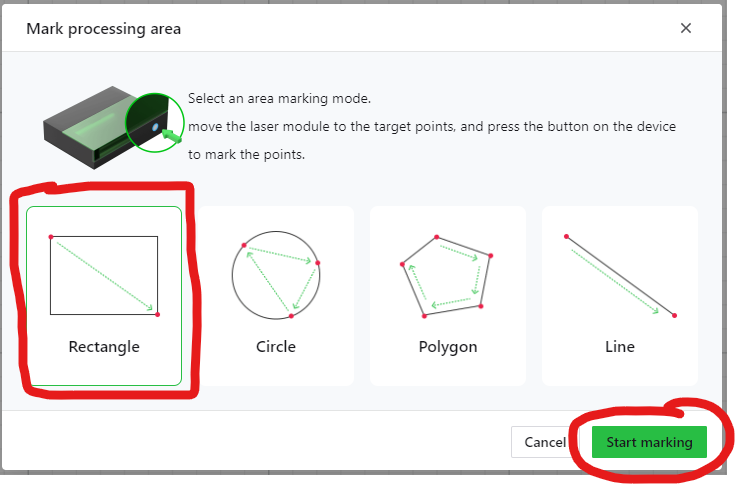
Move the pointer to the first point, then press the laser button. Do the same with the second point.
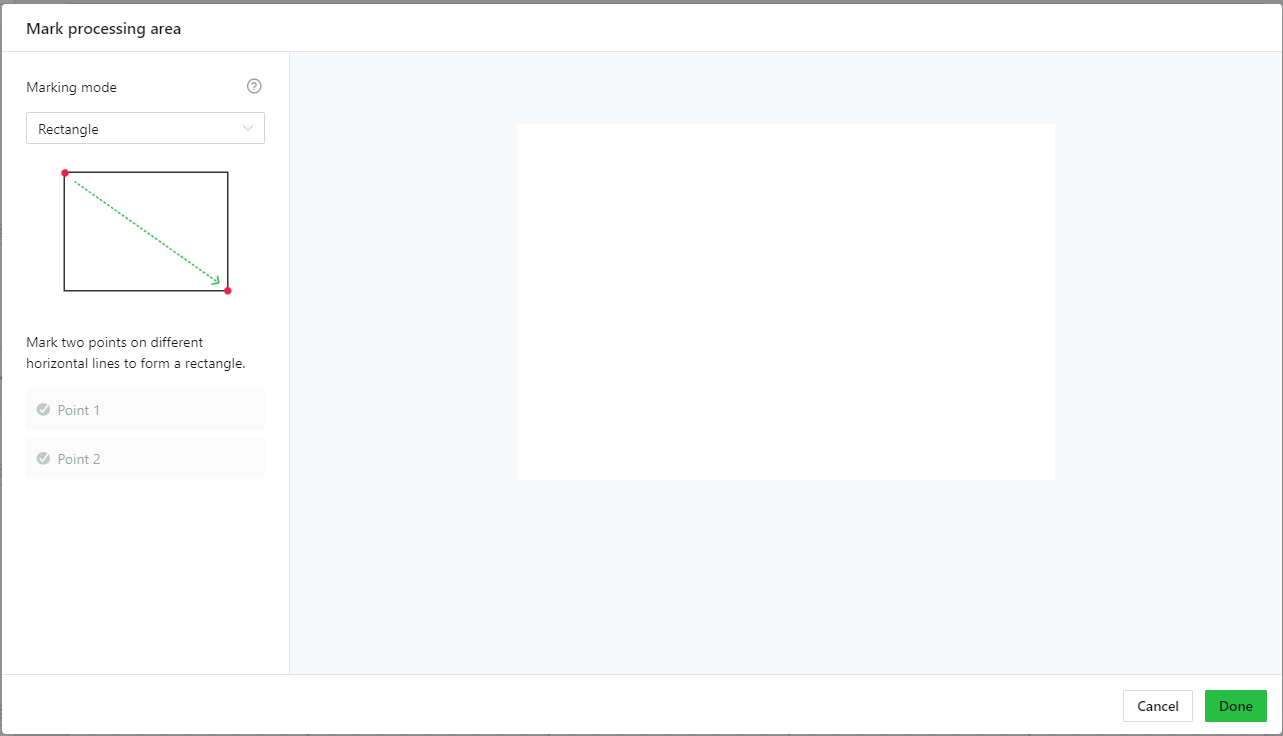
At the end, don't forget to click on the “End making” button. If you don't, you'll have to start again (I often do).
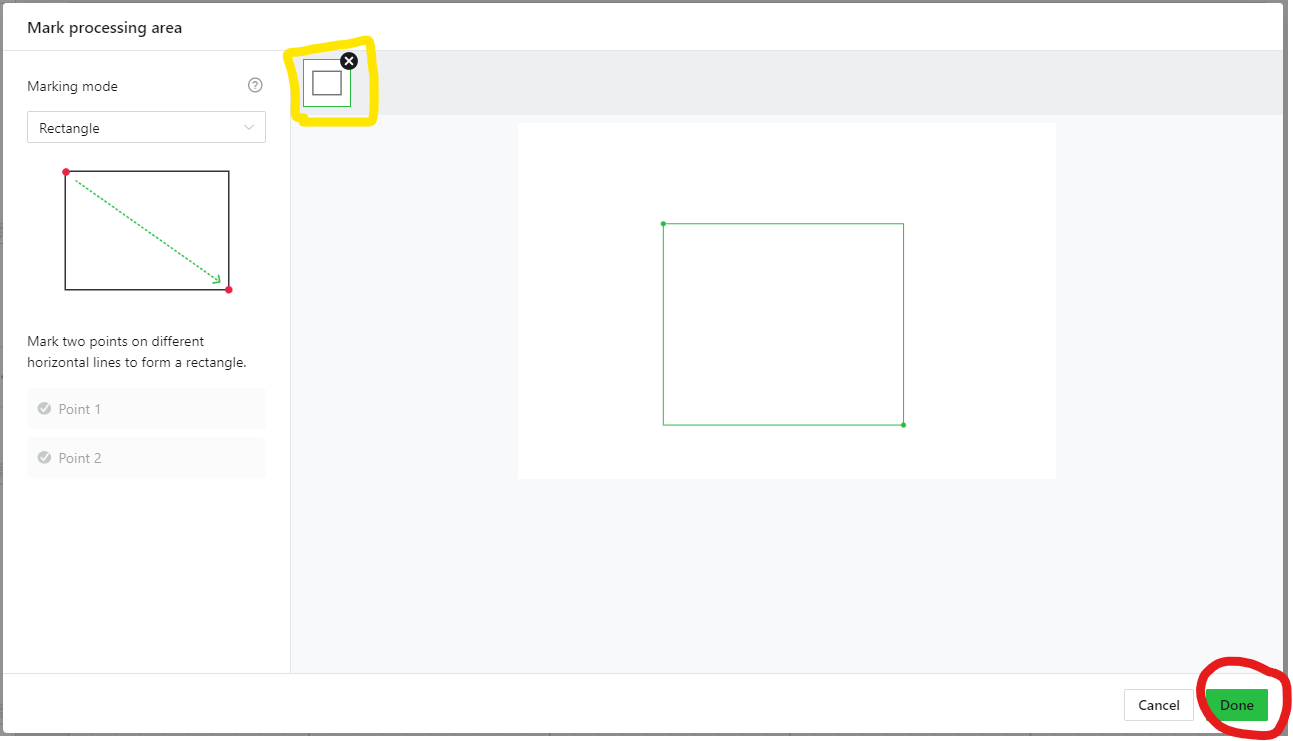
Your zone is shown at the top of the window (yellow frame).
To close the operation, simply click on “Done”.
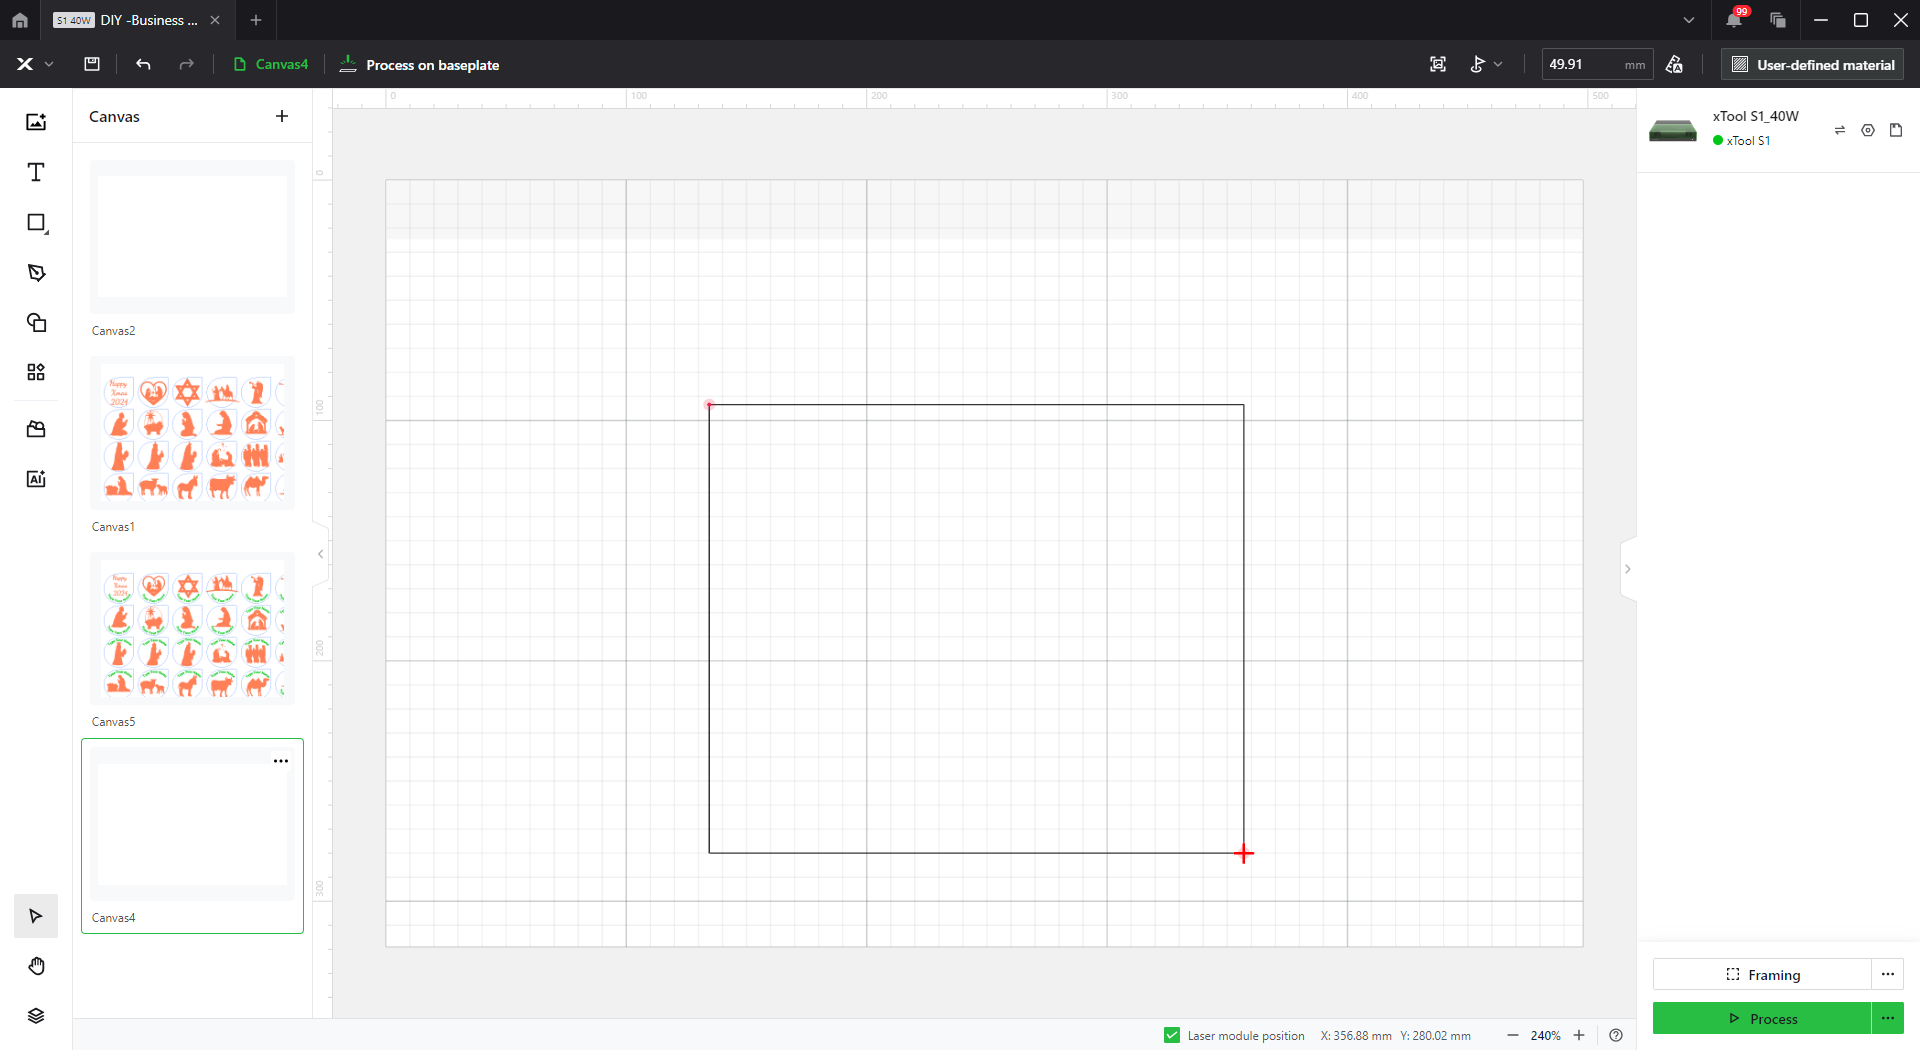
The cutting area appears on your canvas. Now copy your favorite coasters into it.
Step5: check all settings
Step6: start engraving
Click on the process button at the bottom of the application.
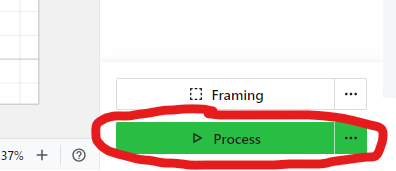
The application shows you a preview of the job and calculates how long it will take to complete.
Click on “Start” to send the commands to the laser.
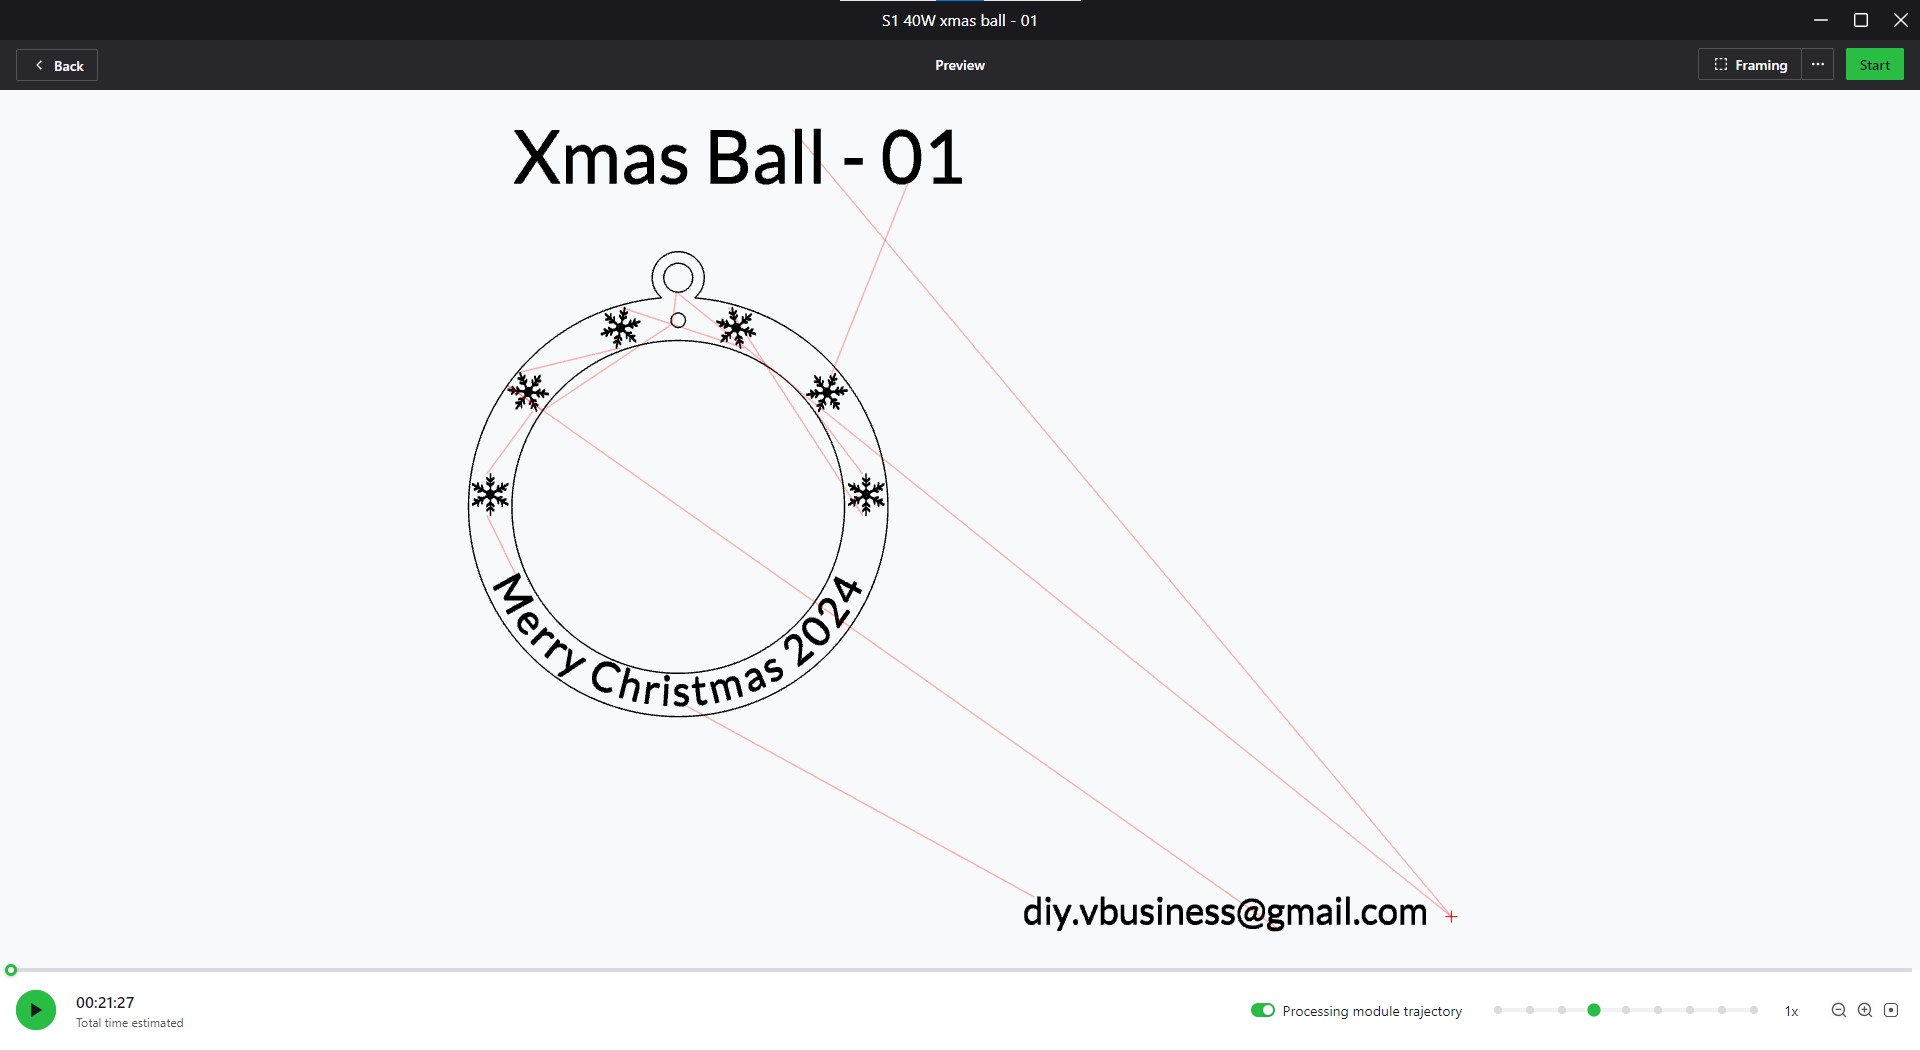
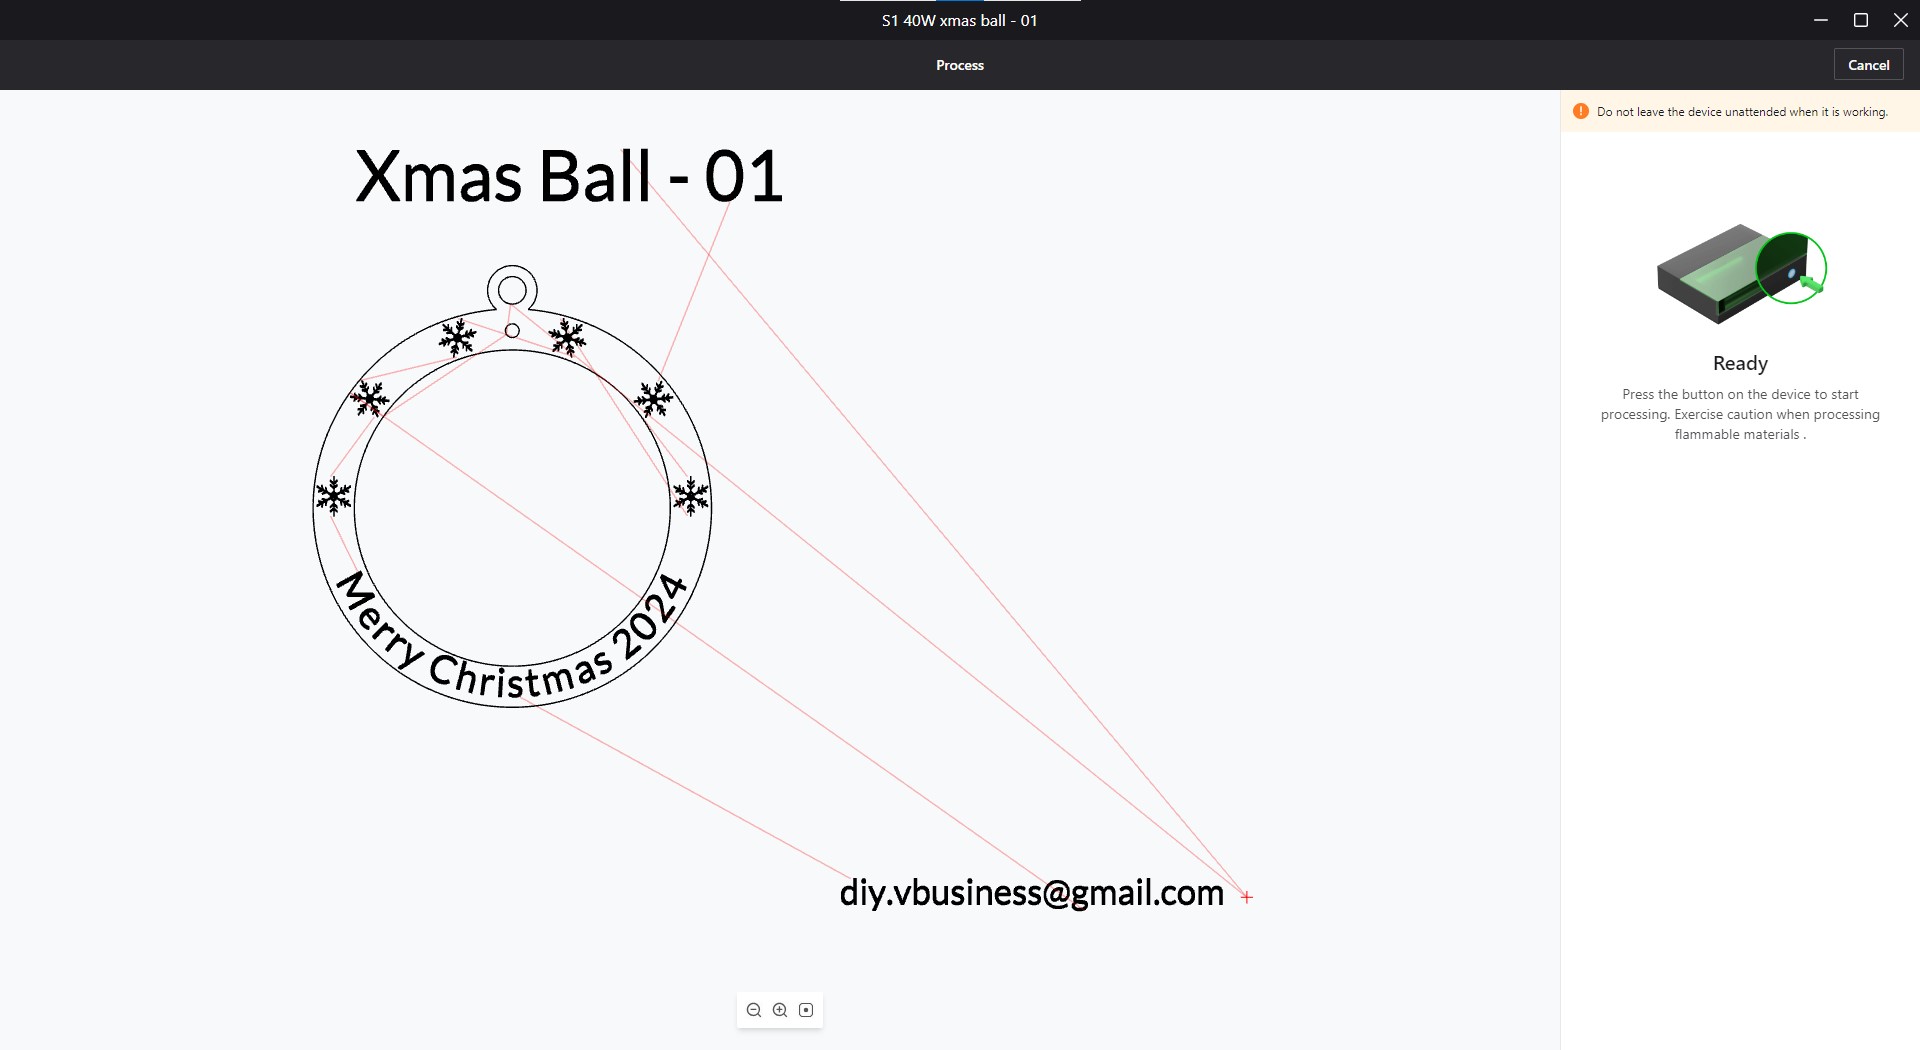
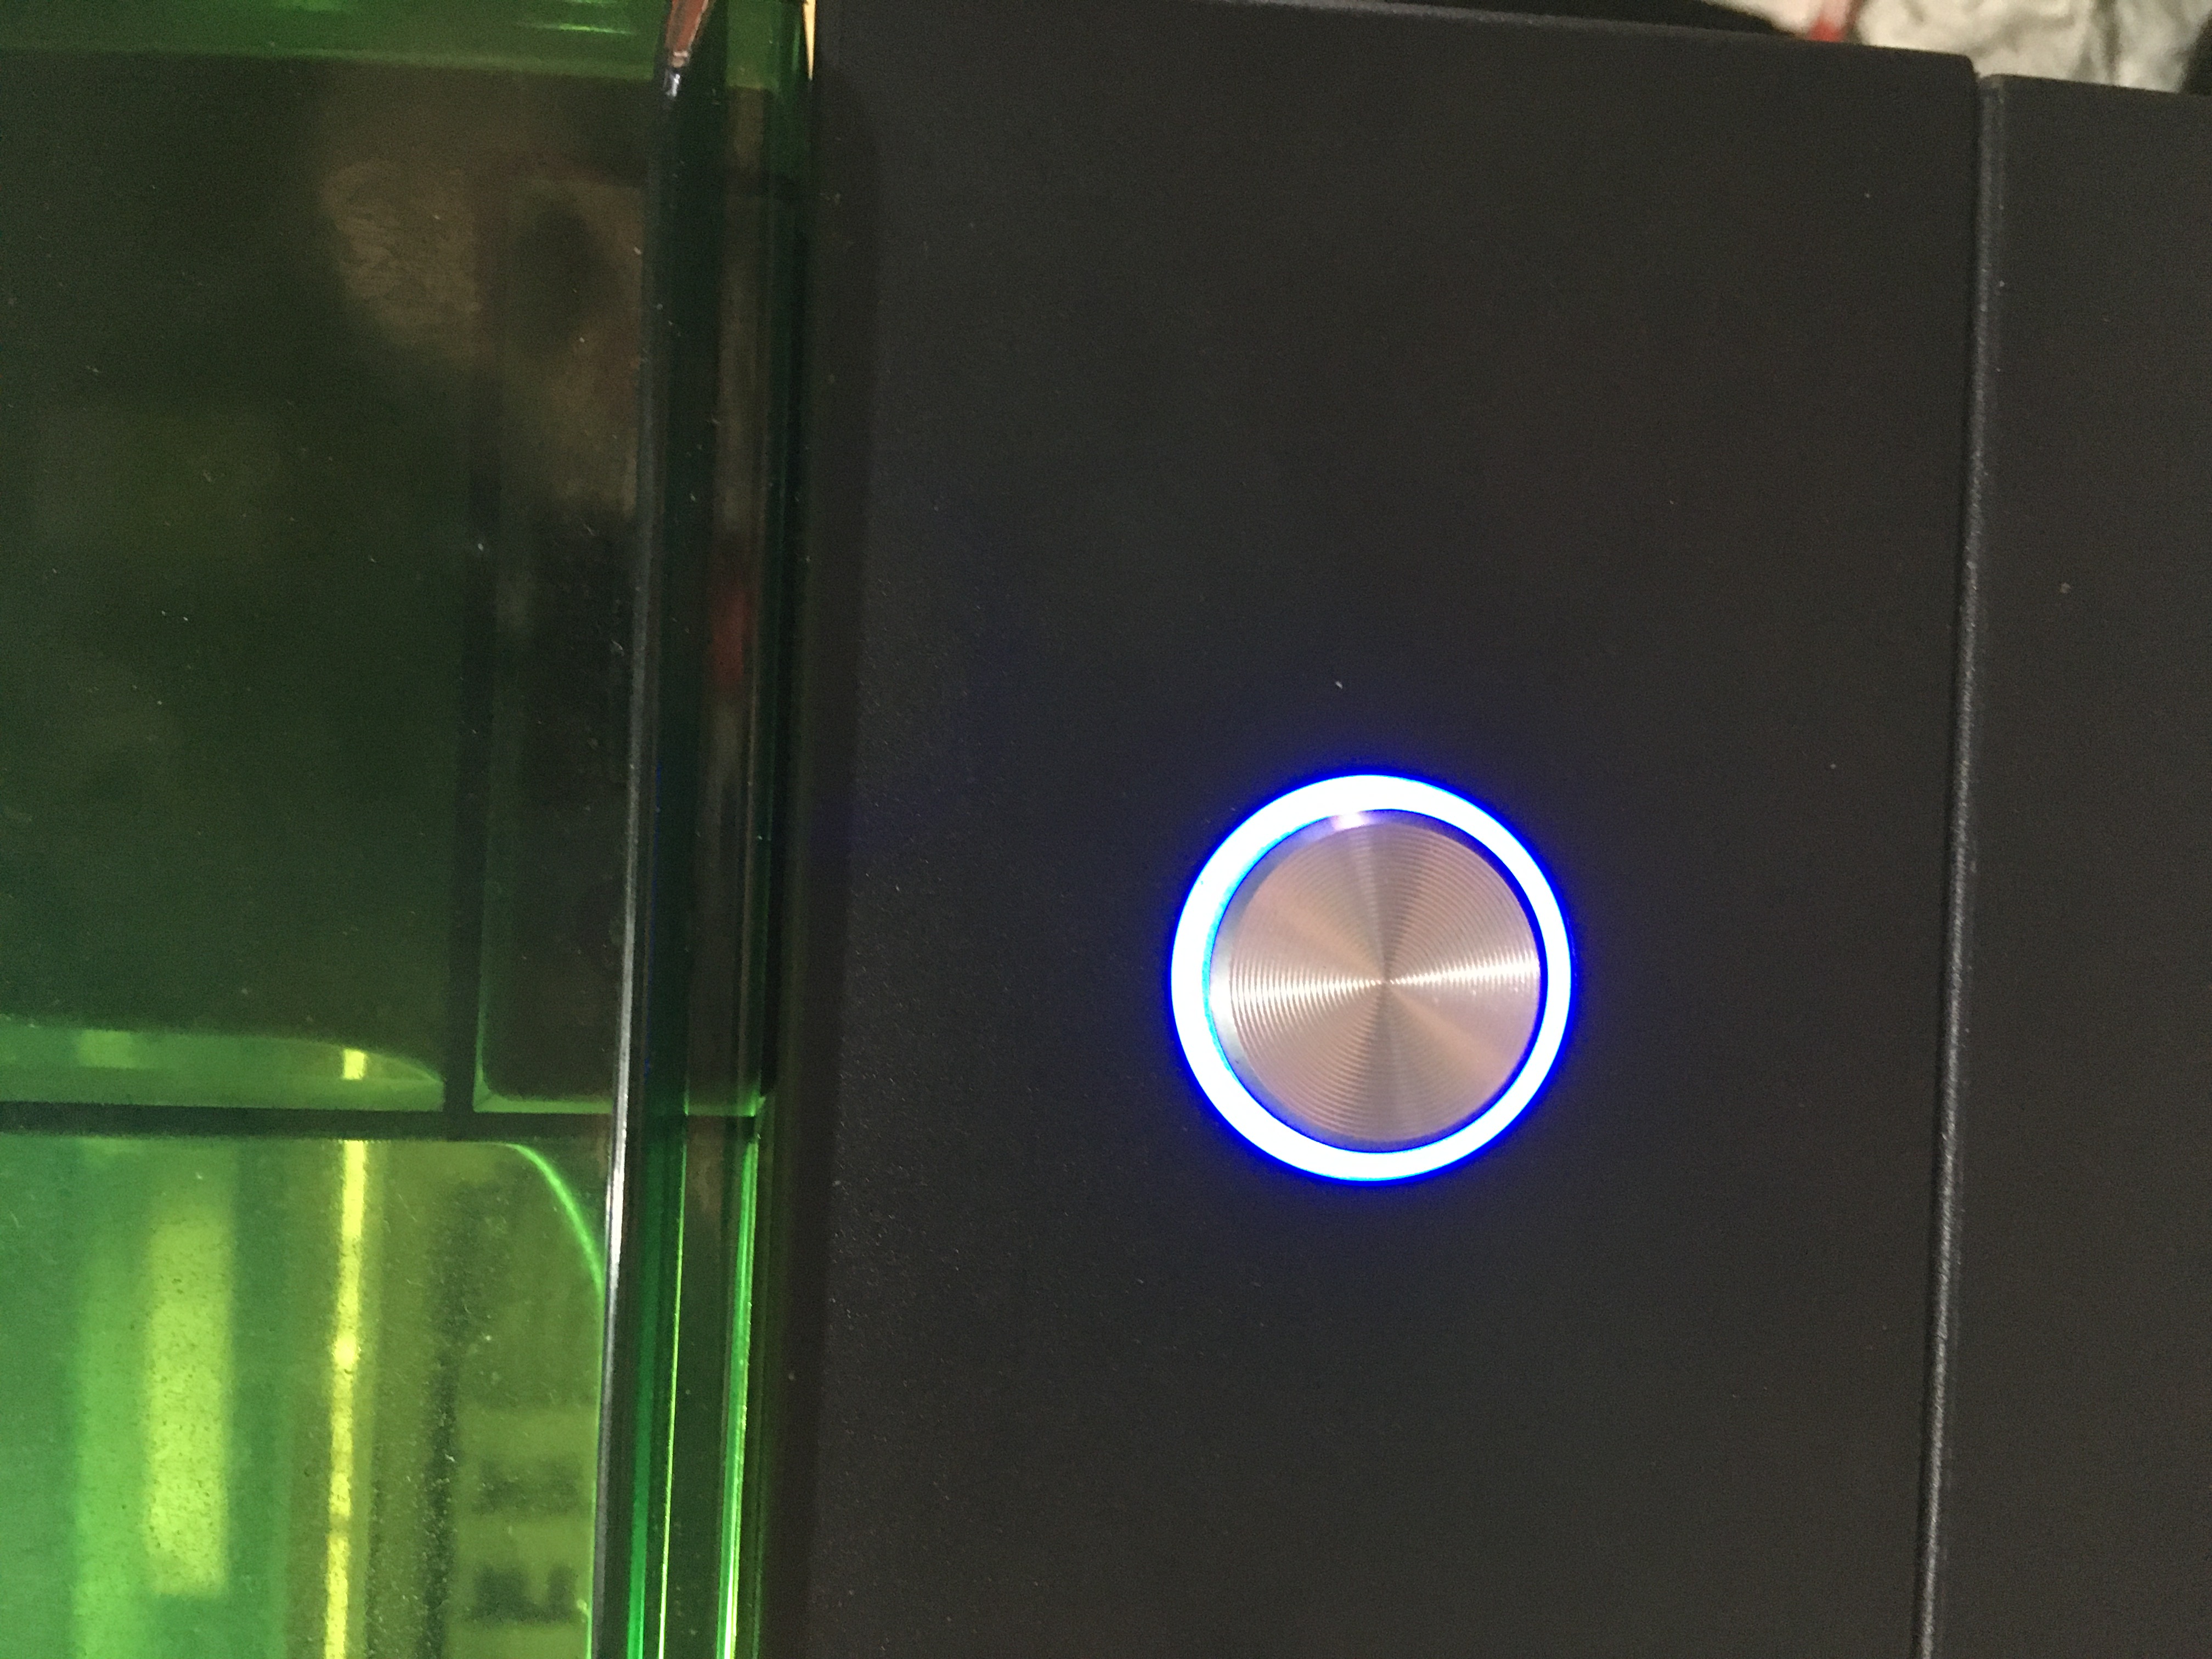
Step7: Remove pieces from machine
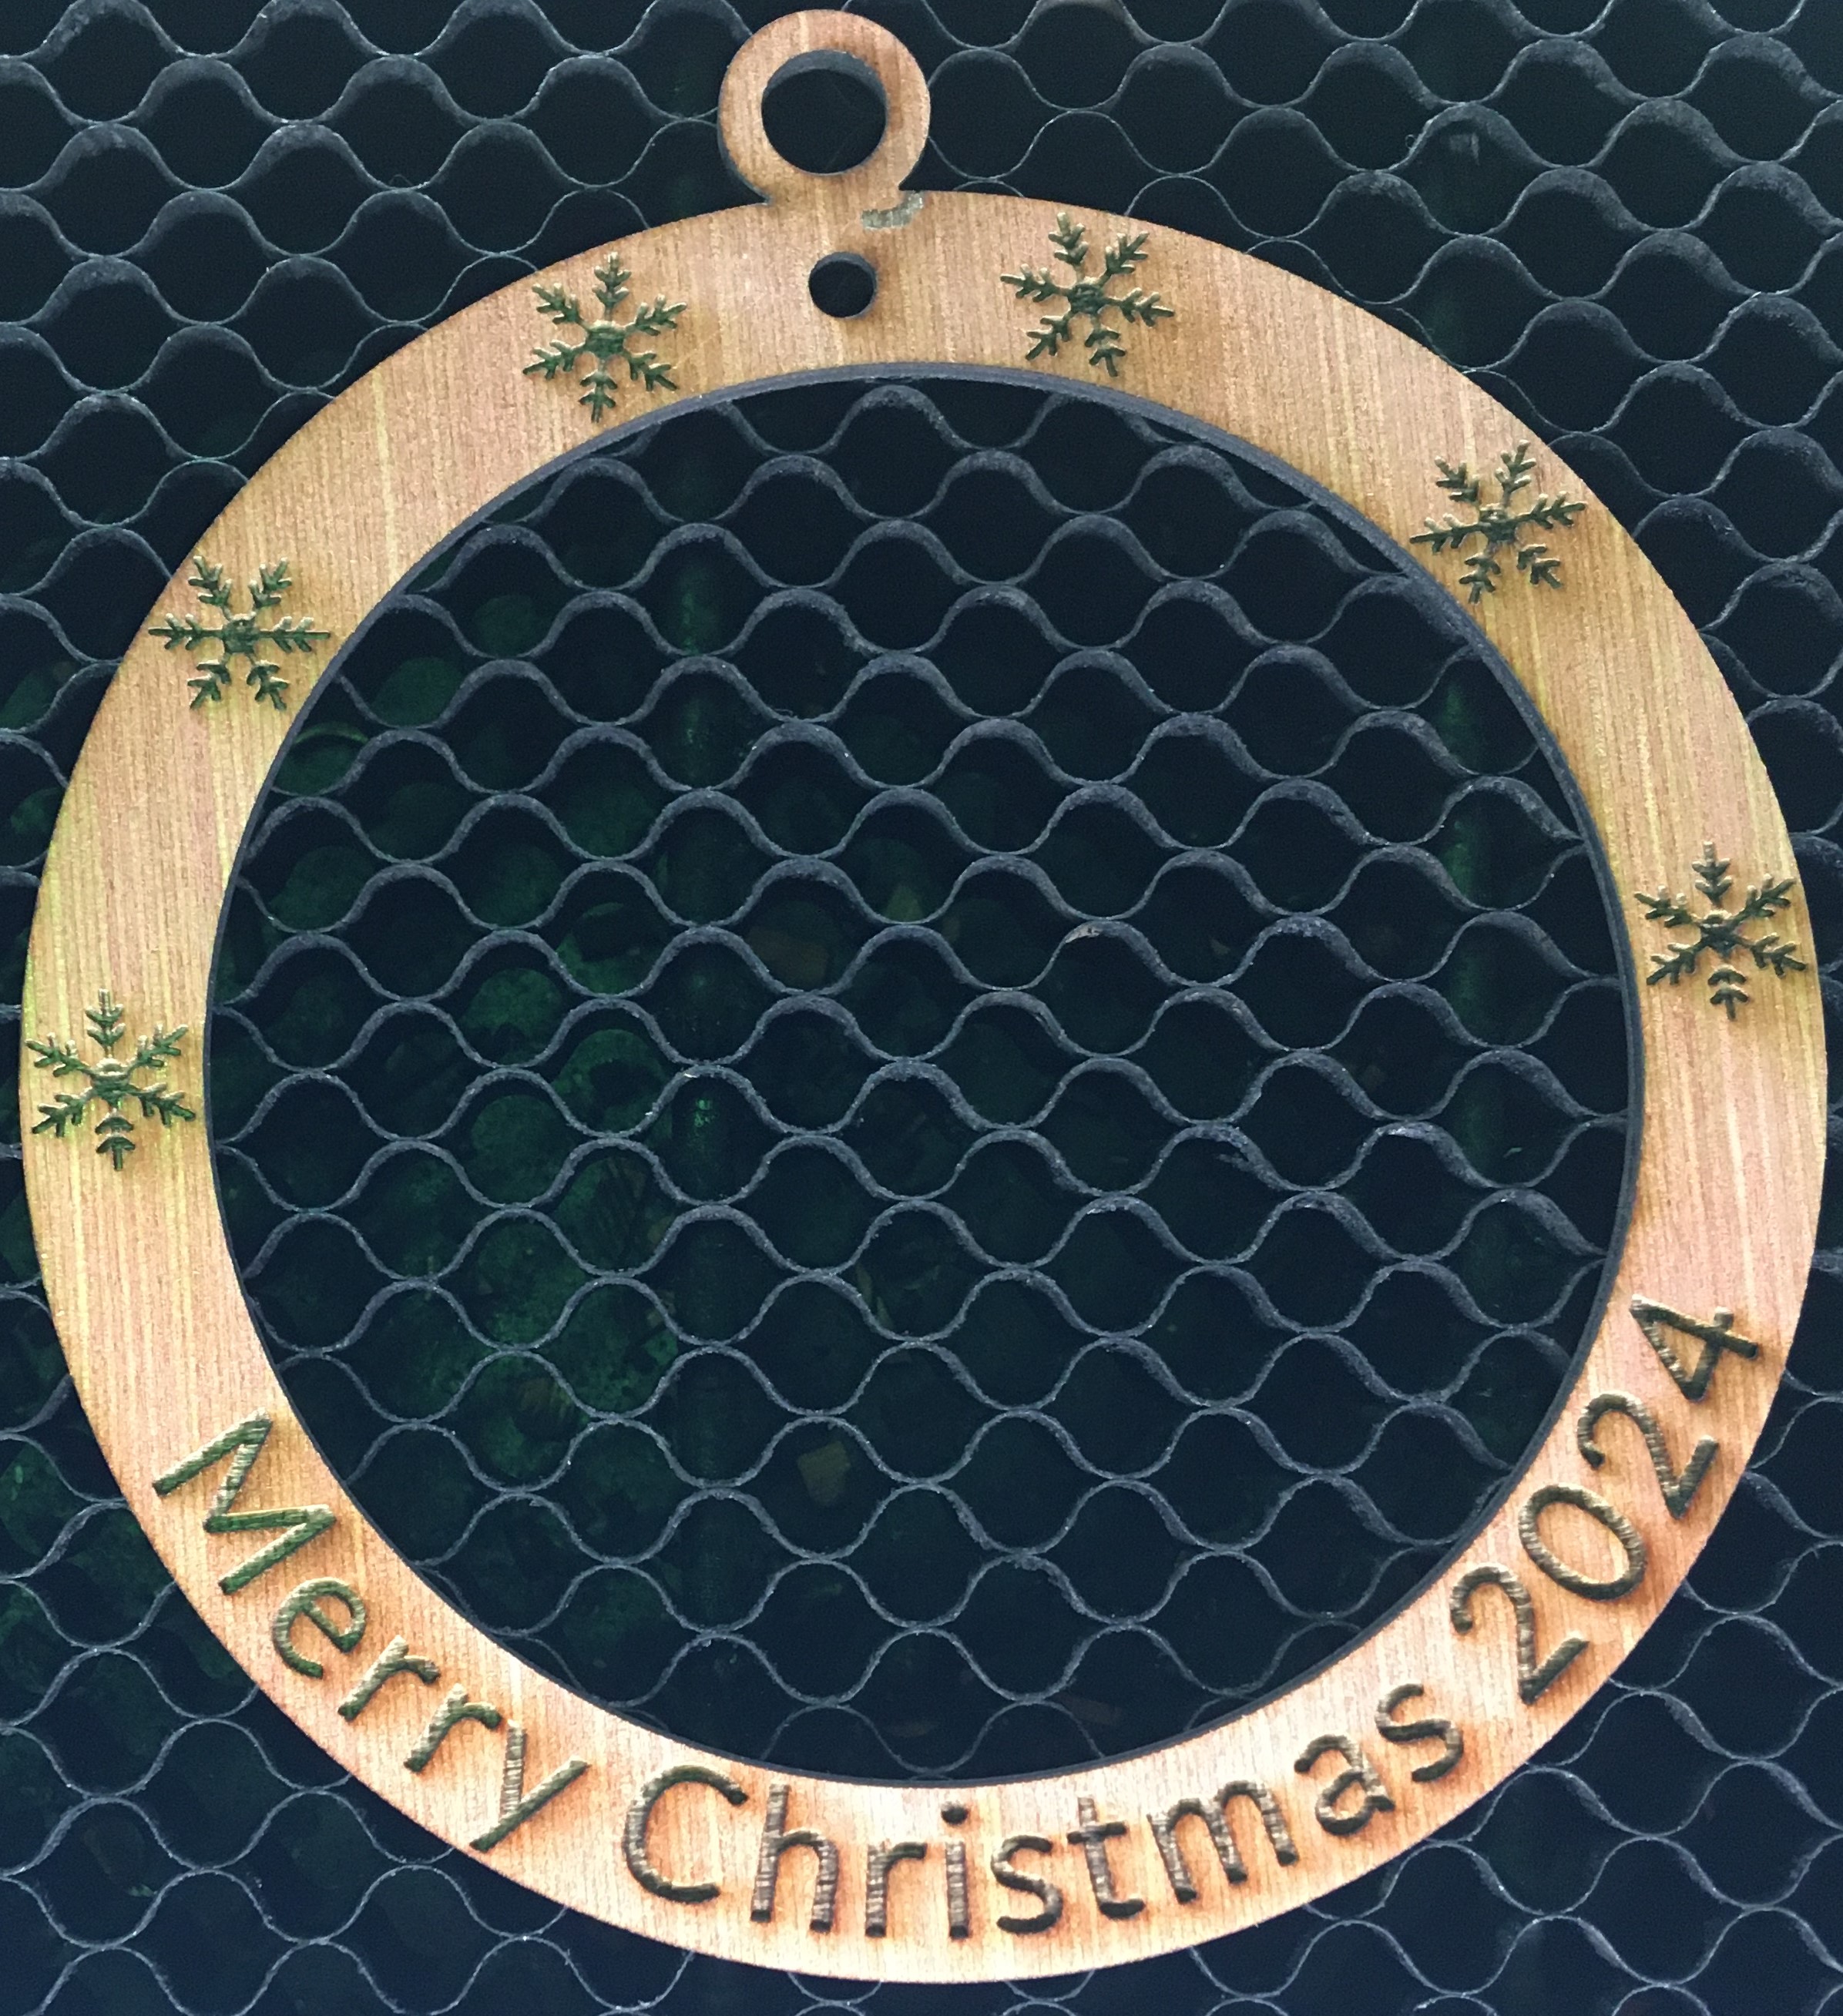
It's done, remove piece and glue ….
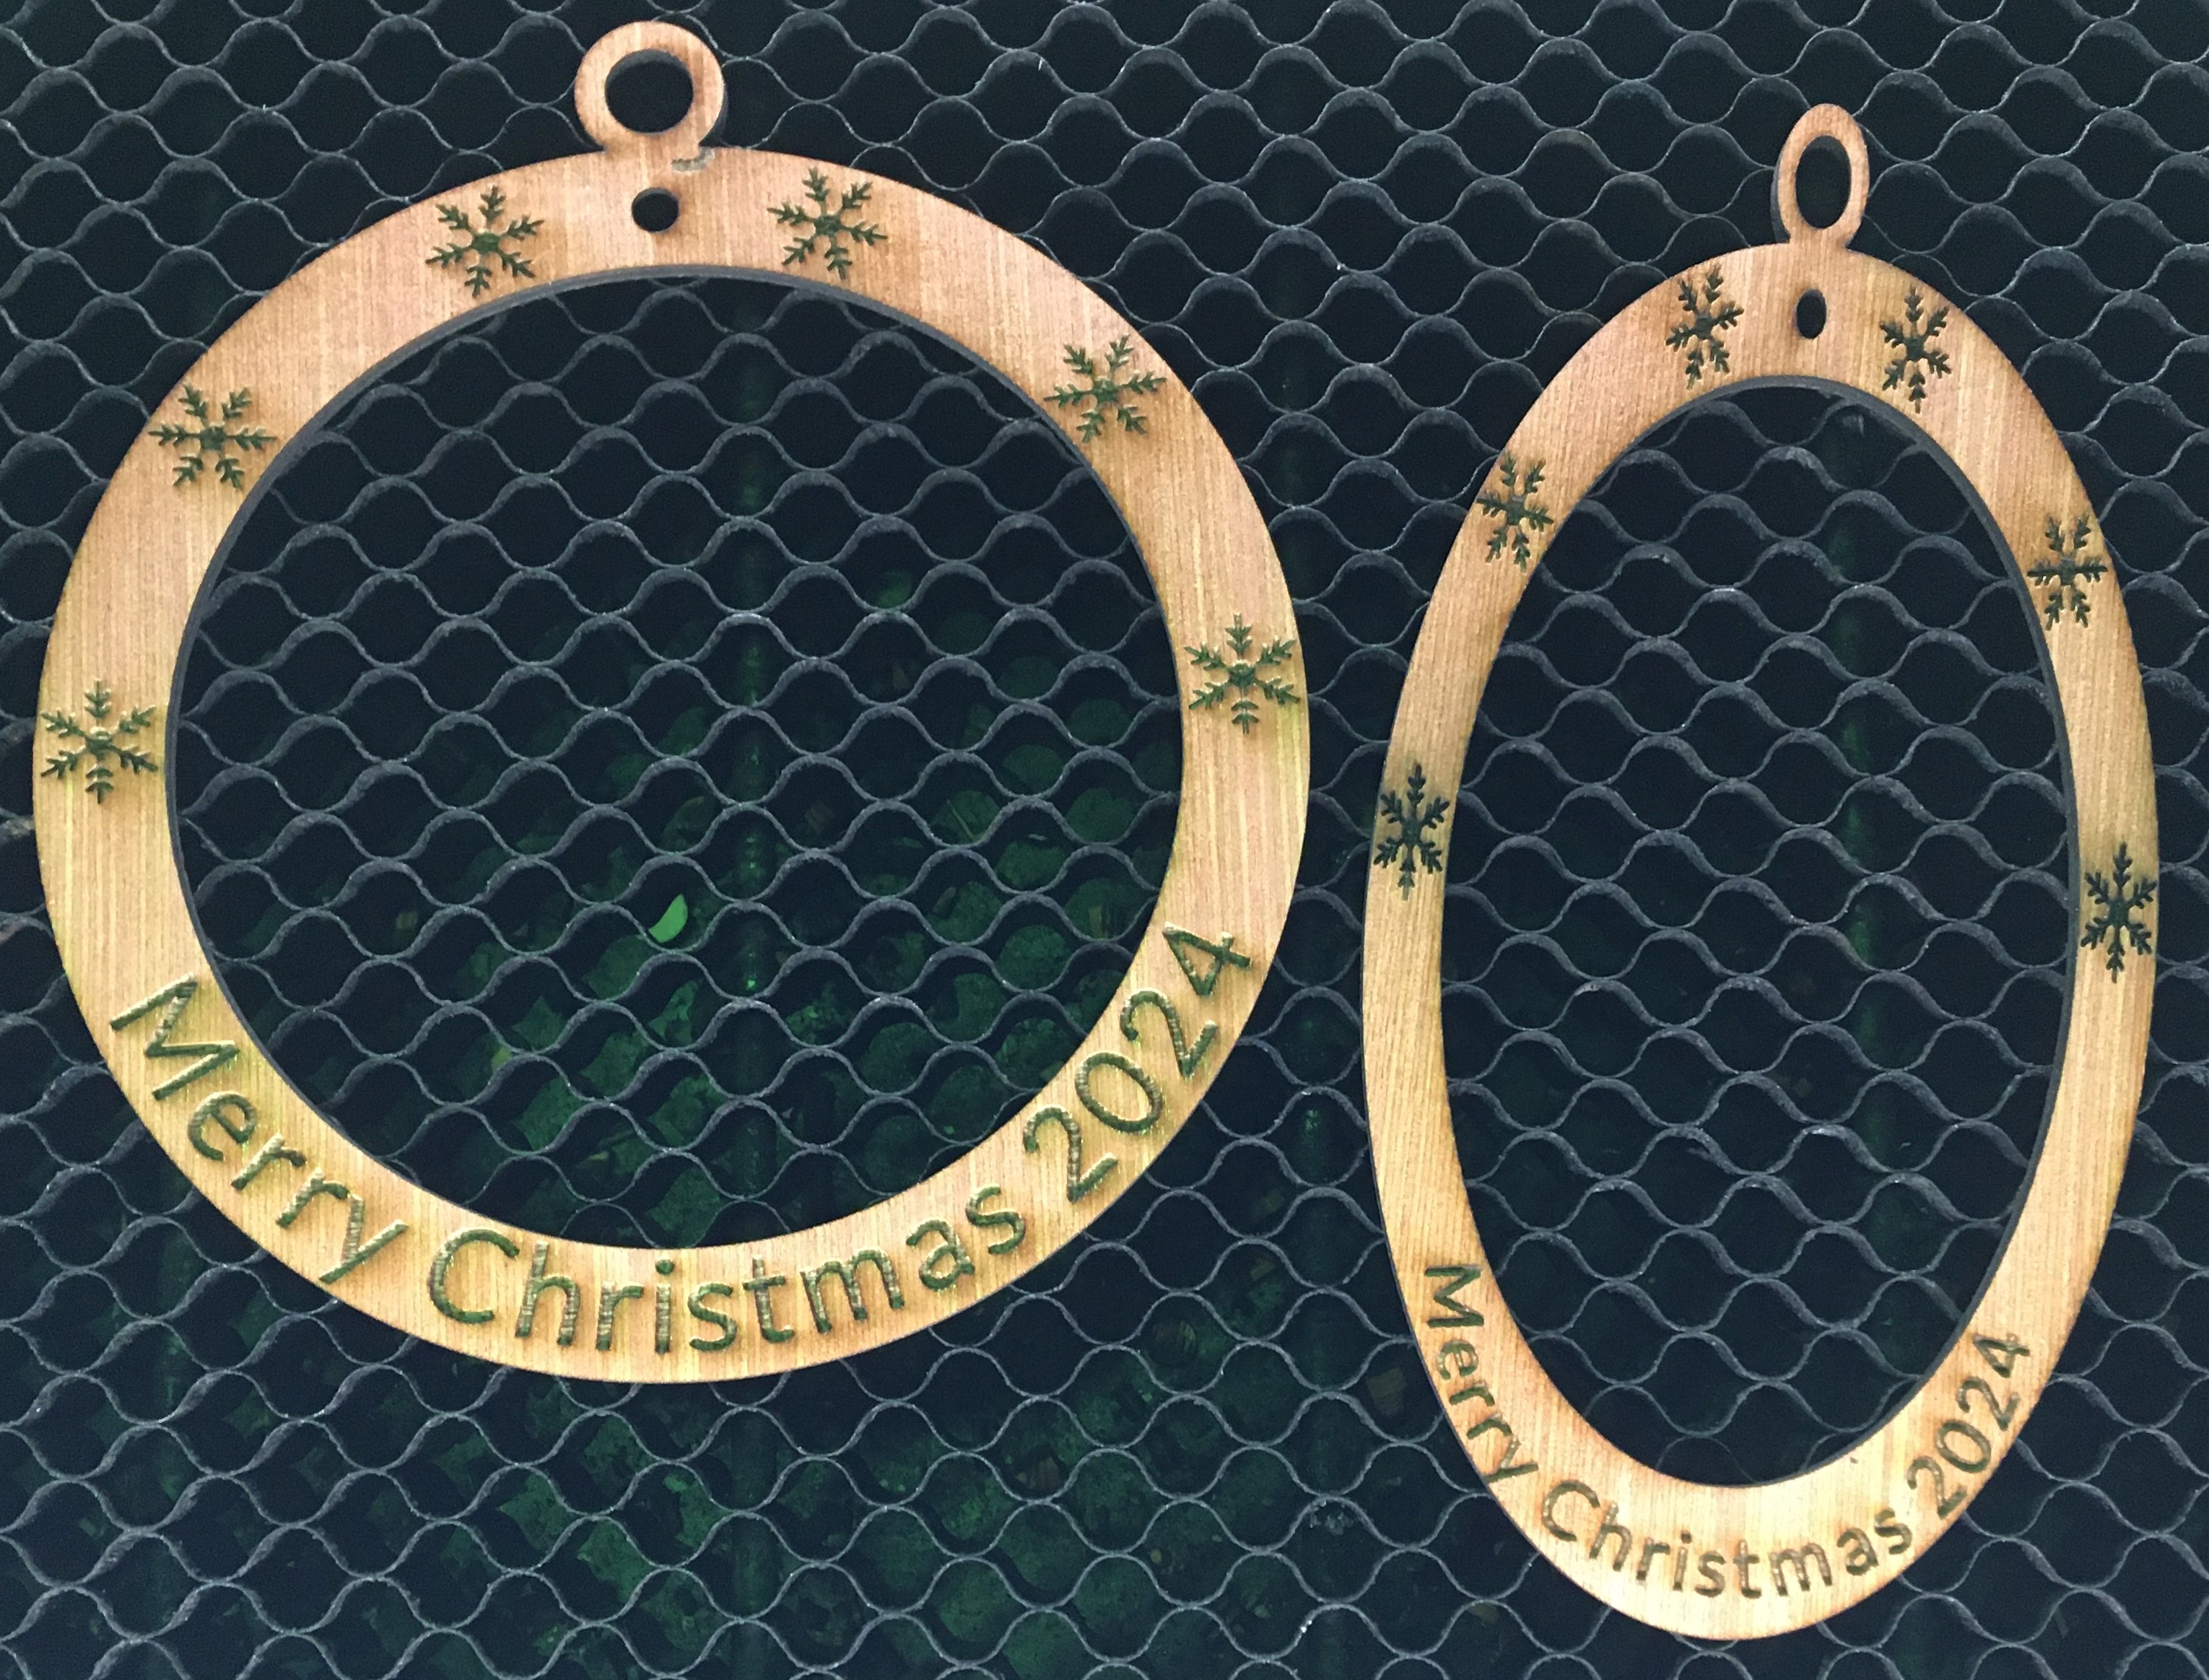
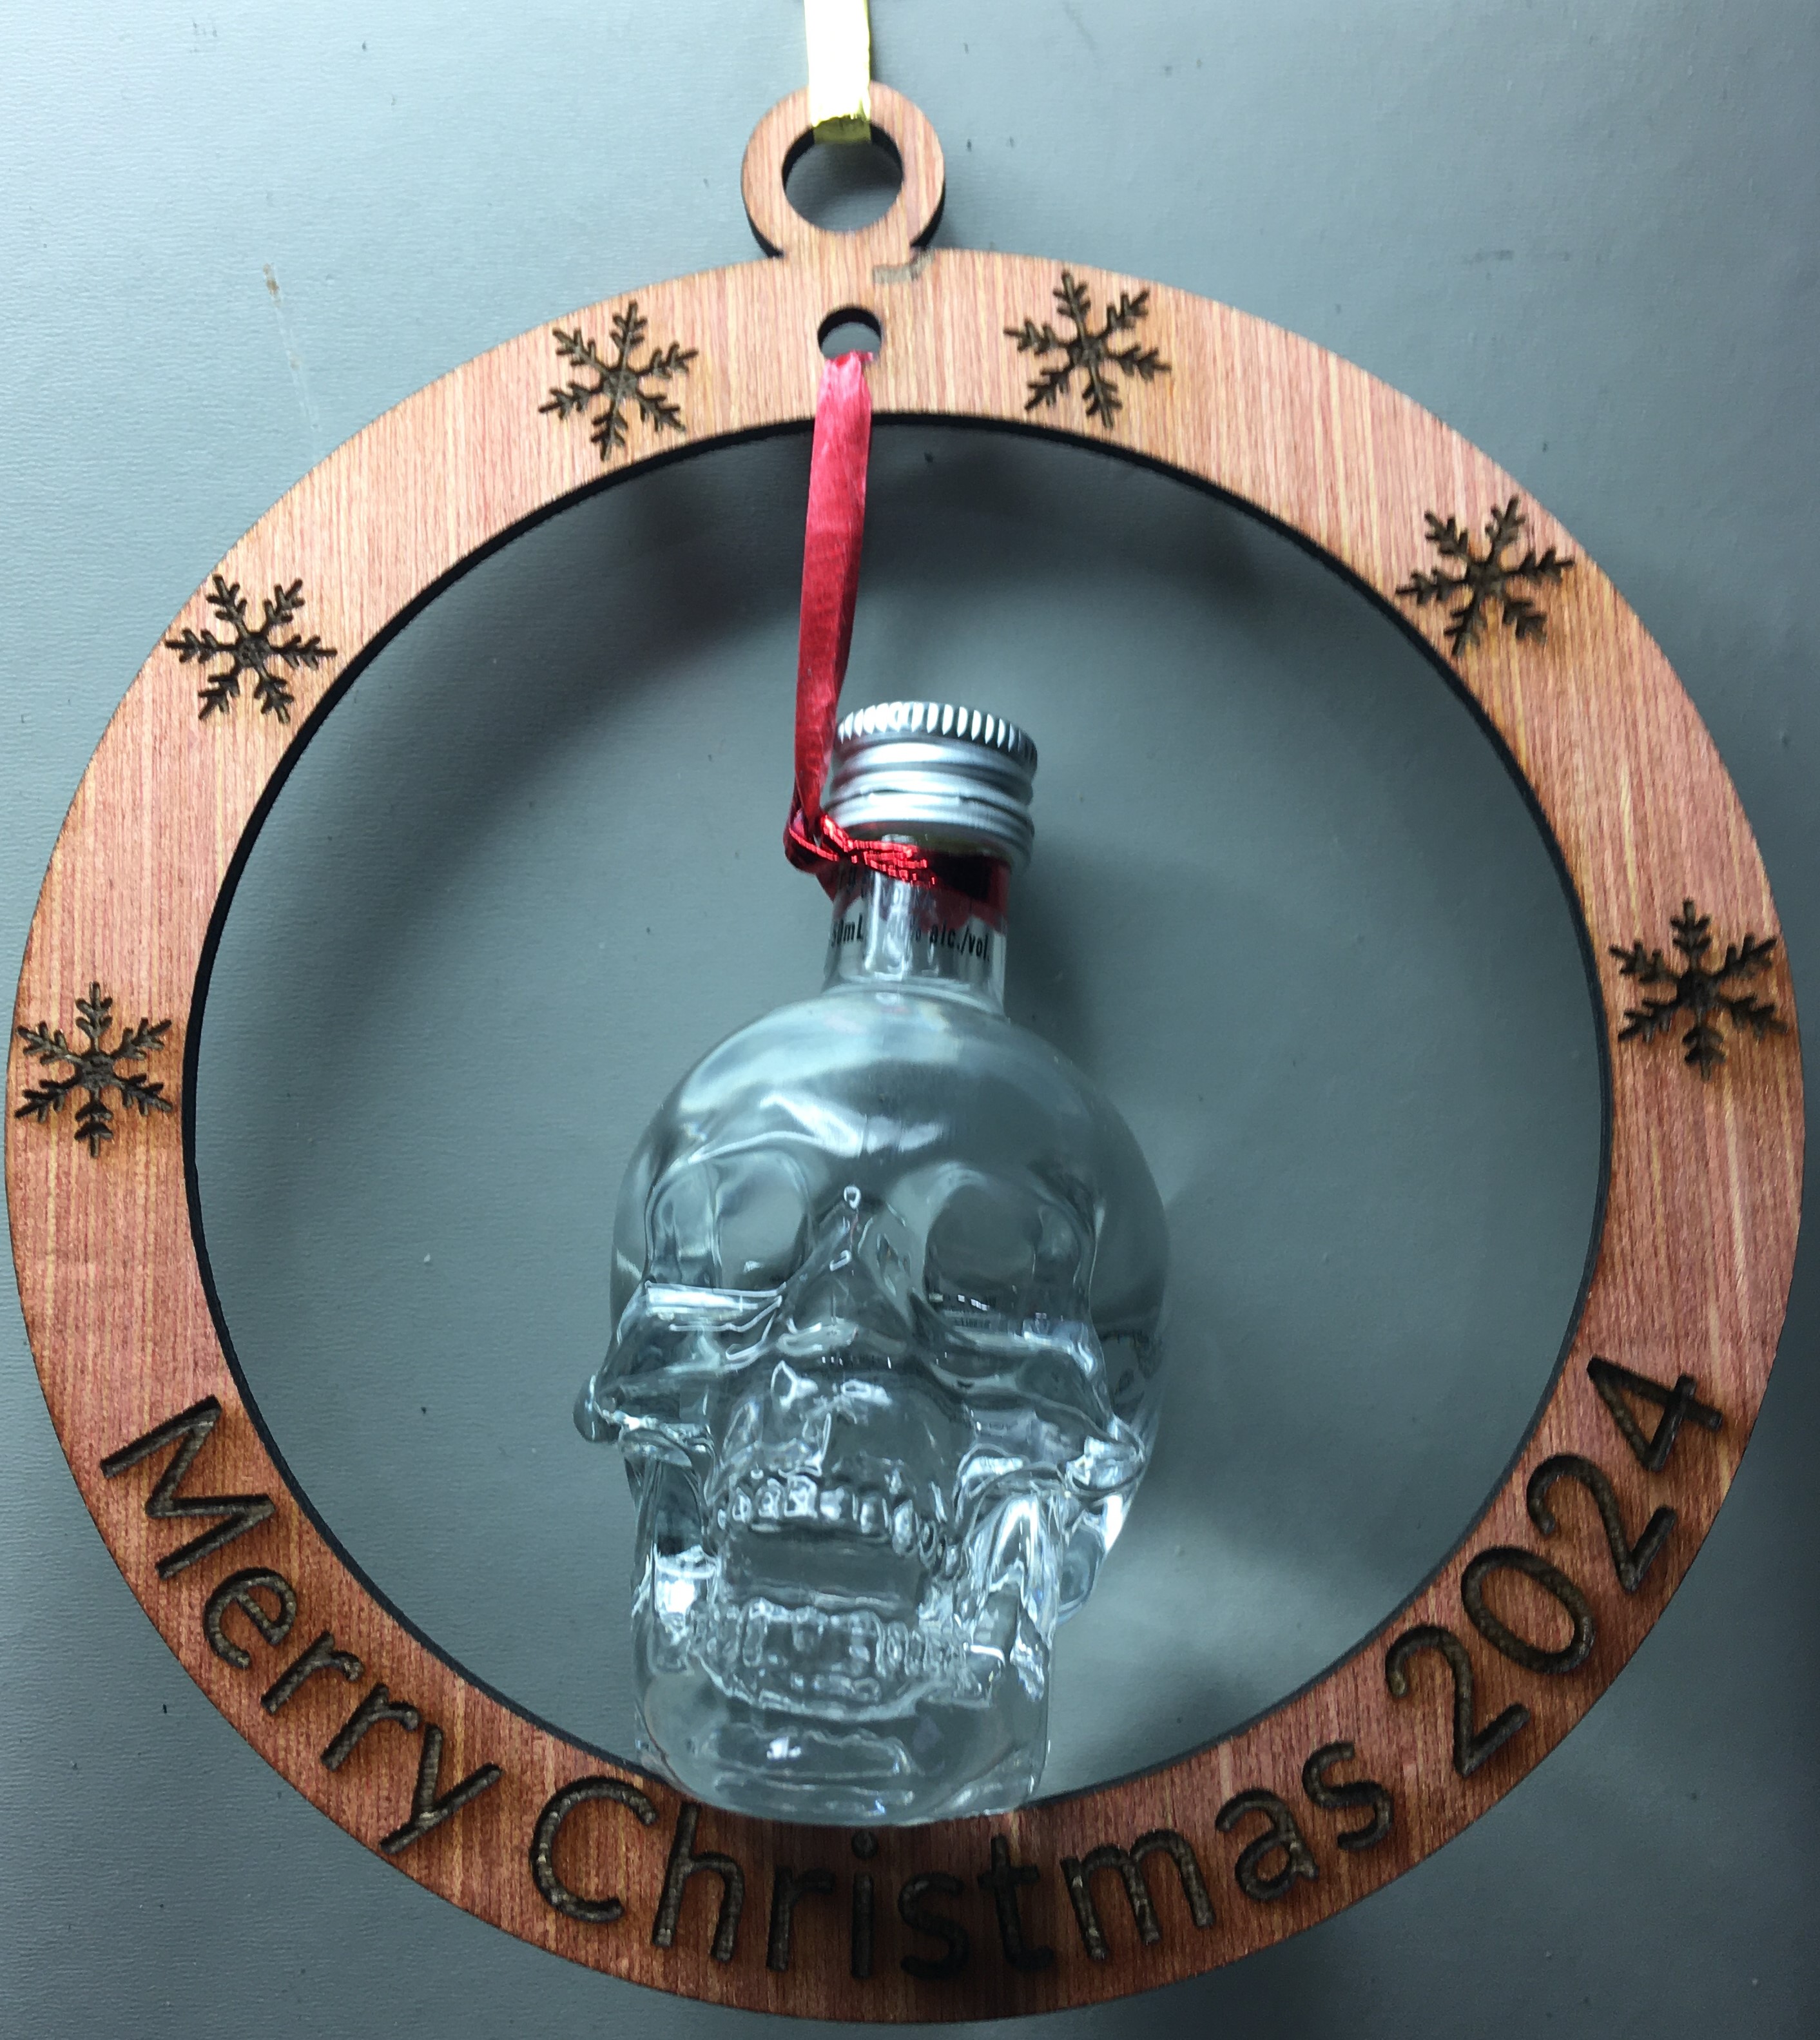
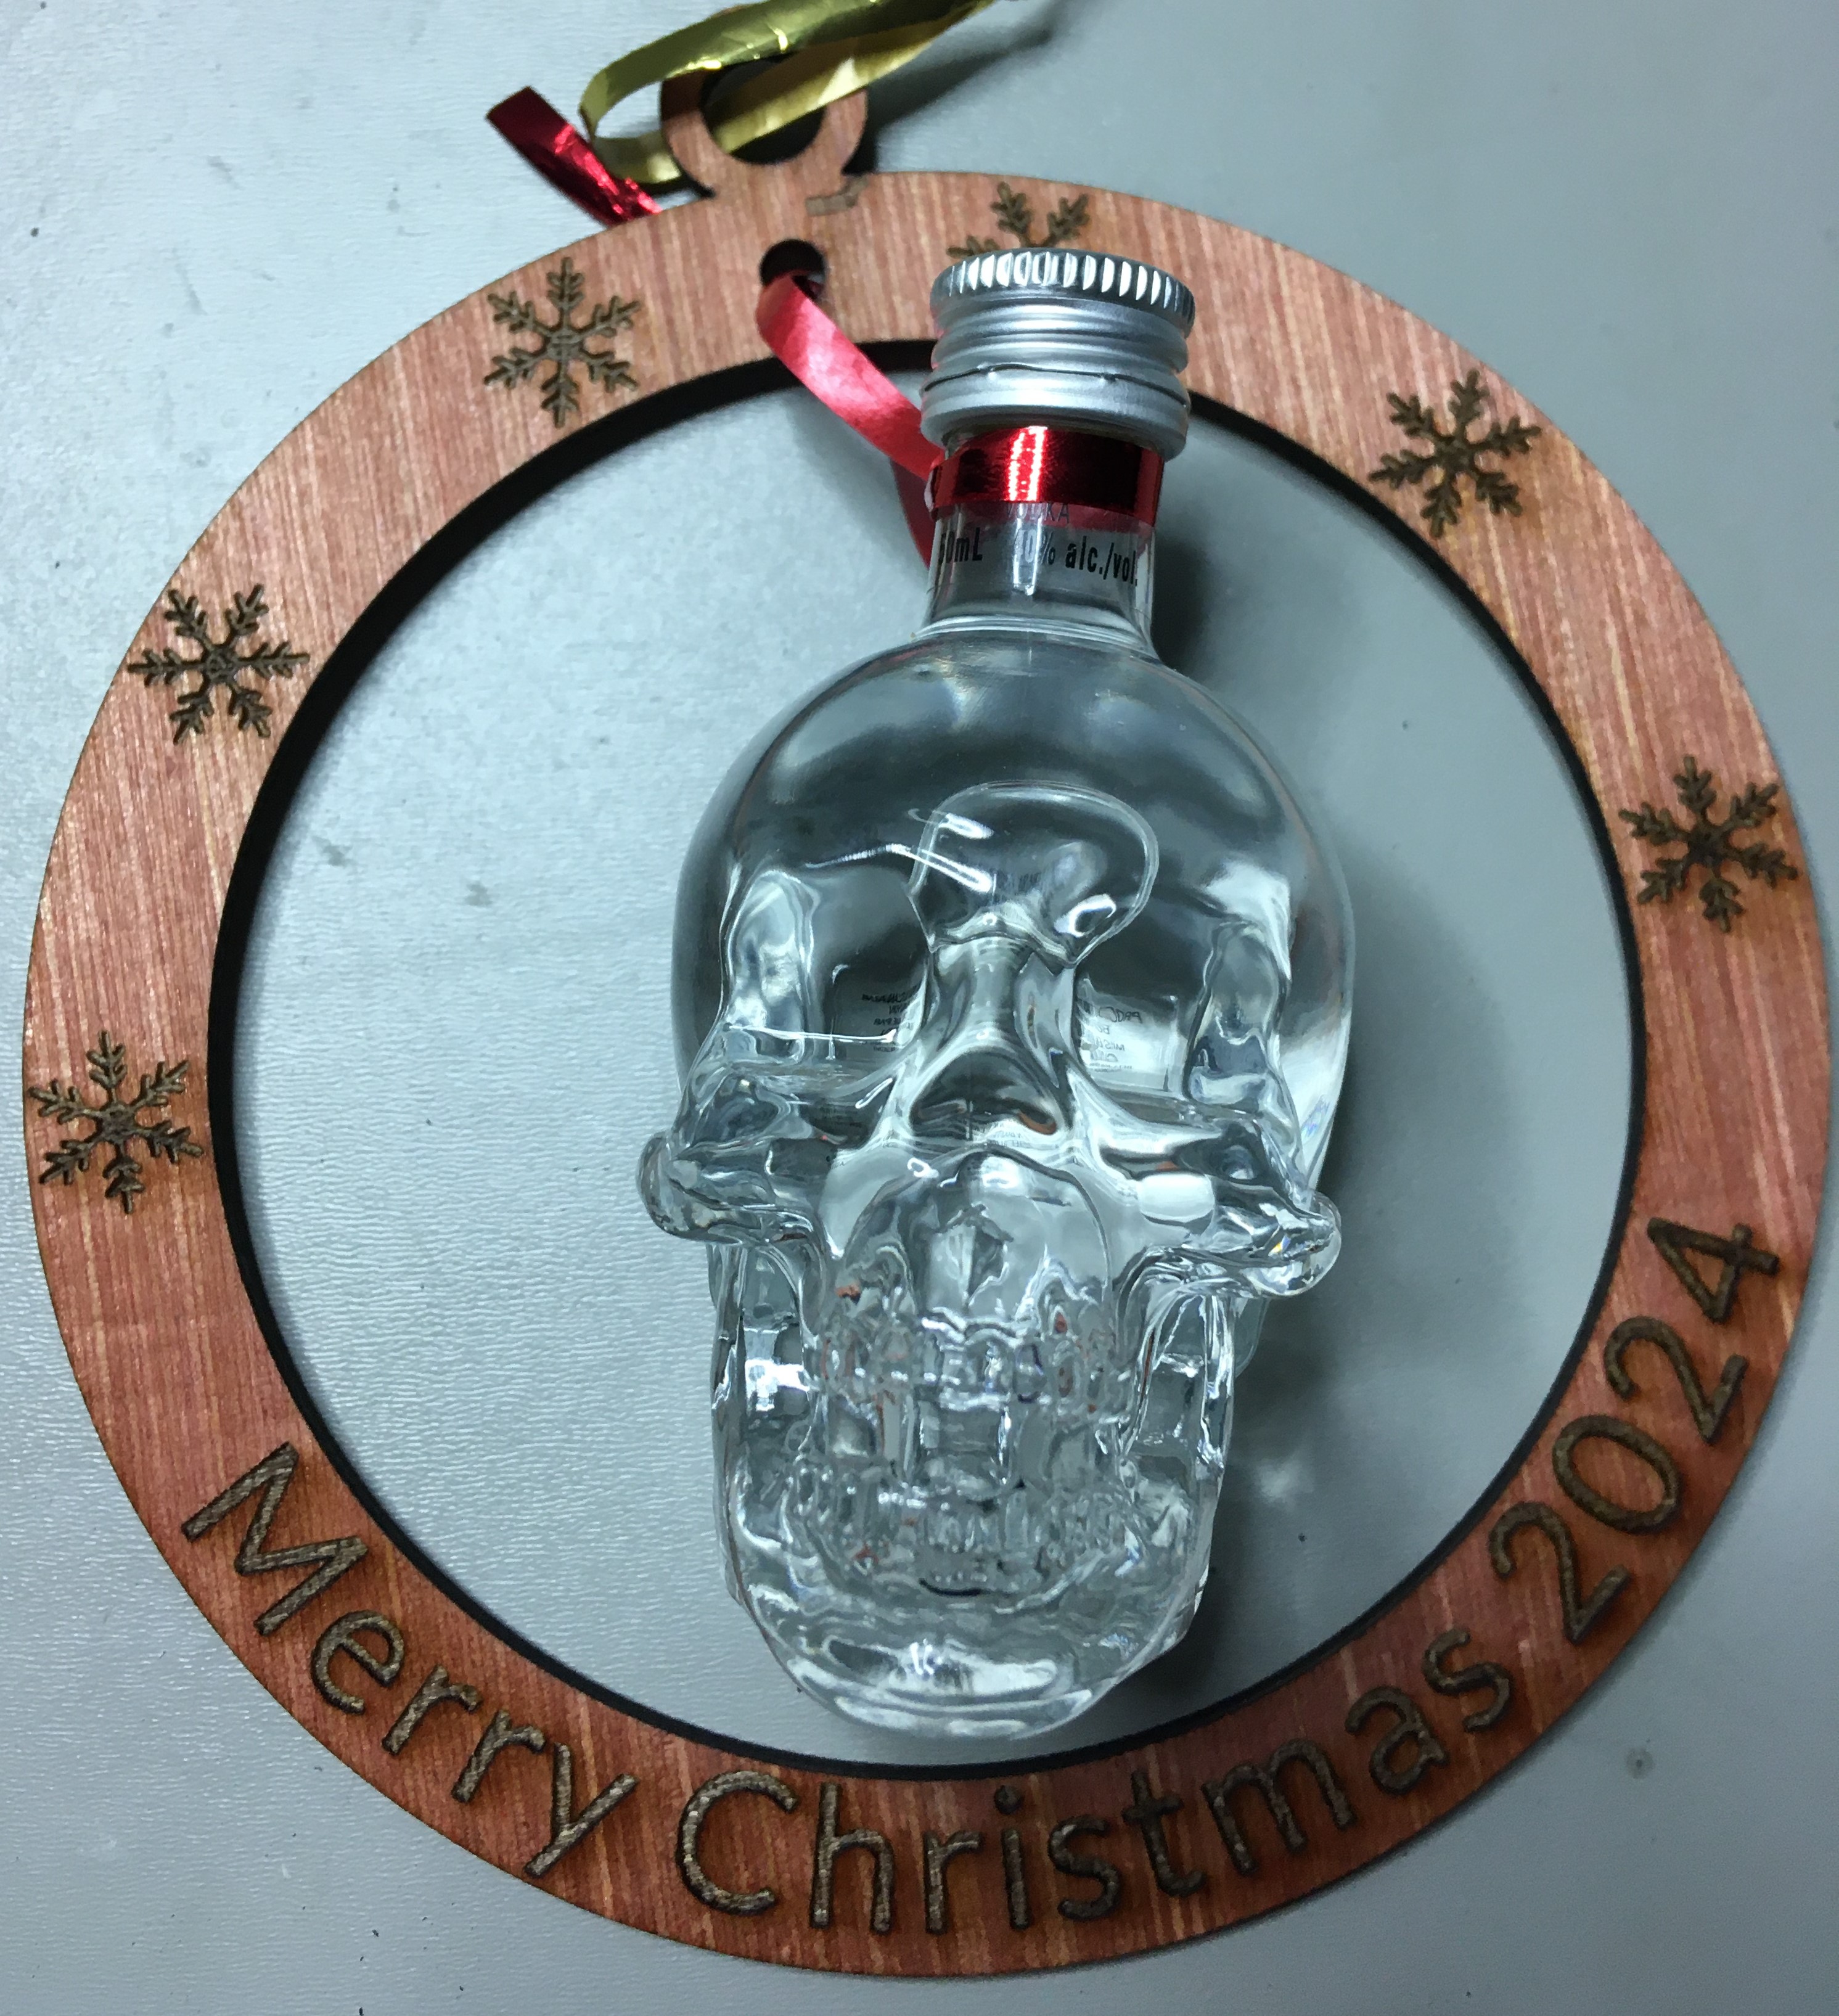
Step8: Fix the Bottle in the decoration
Fix the Bottle in the decoration
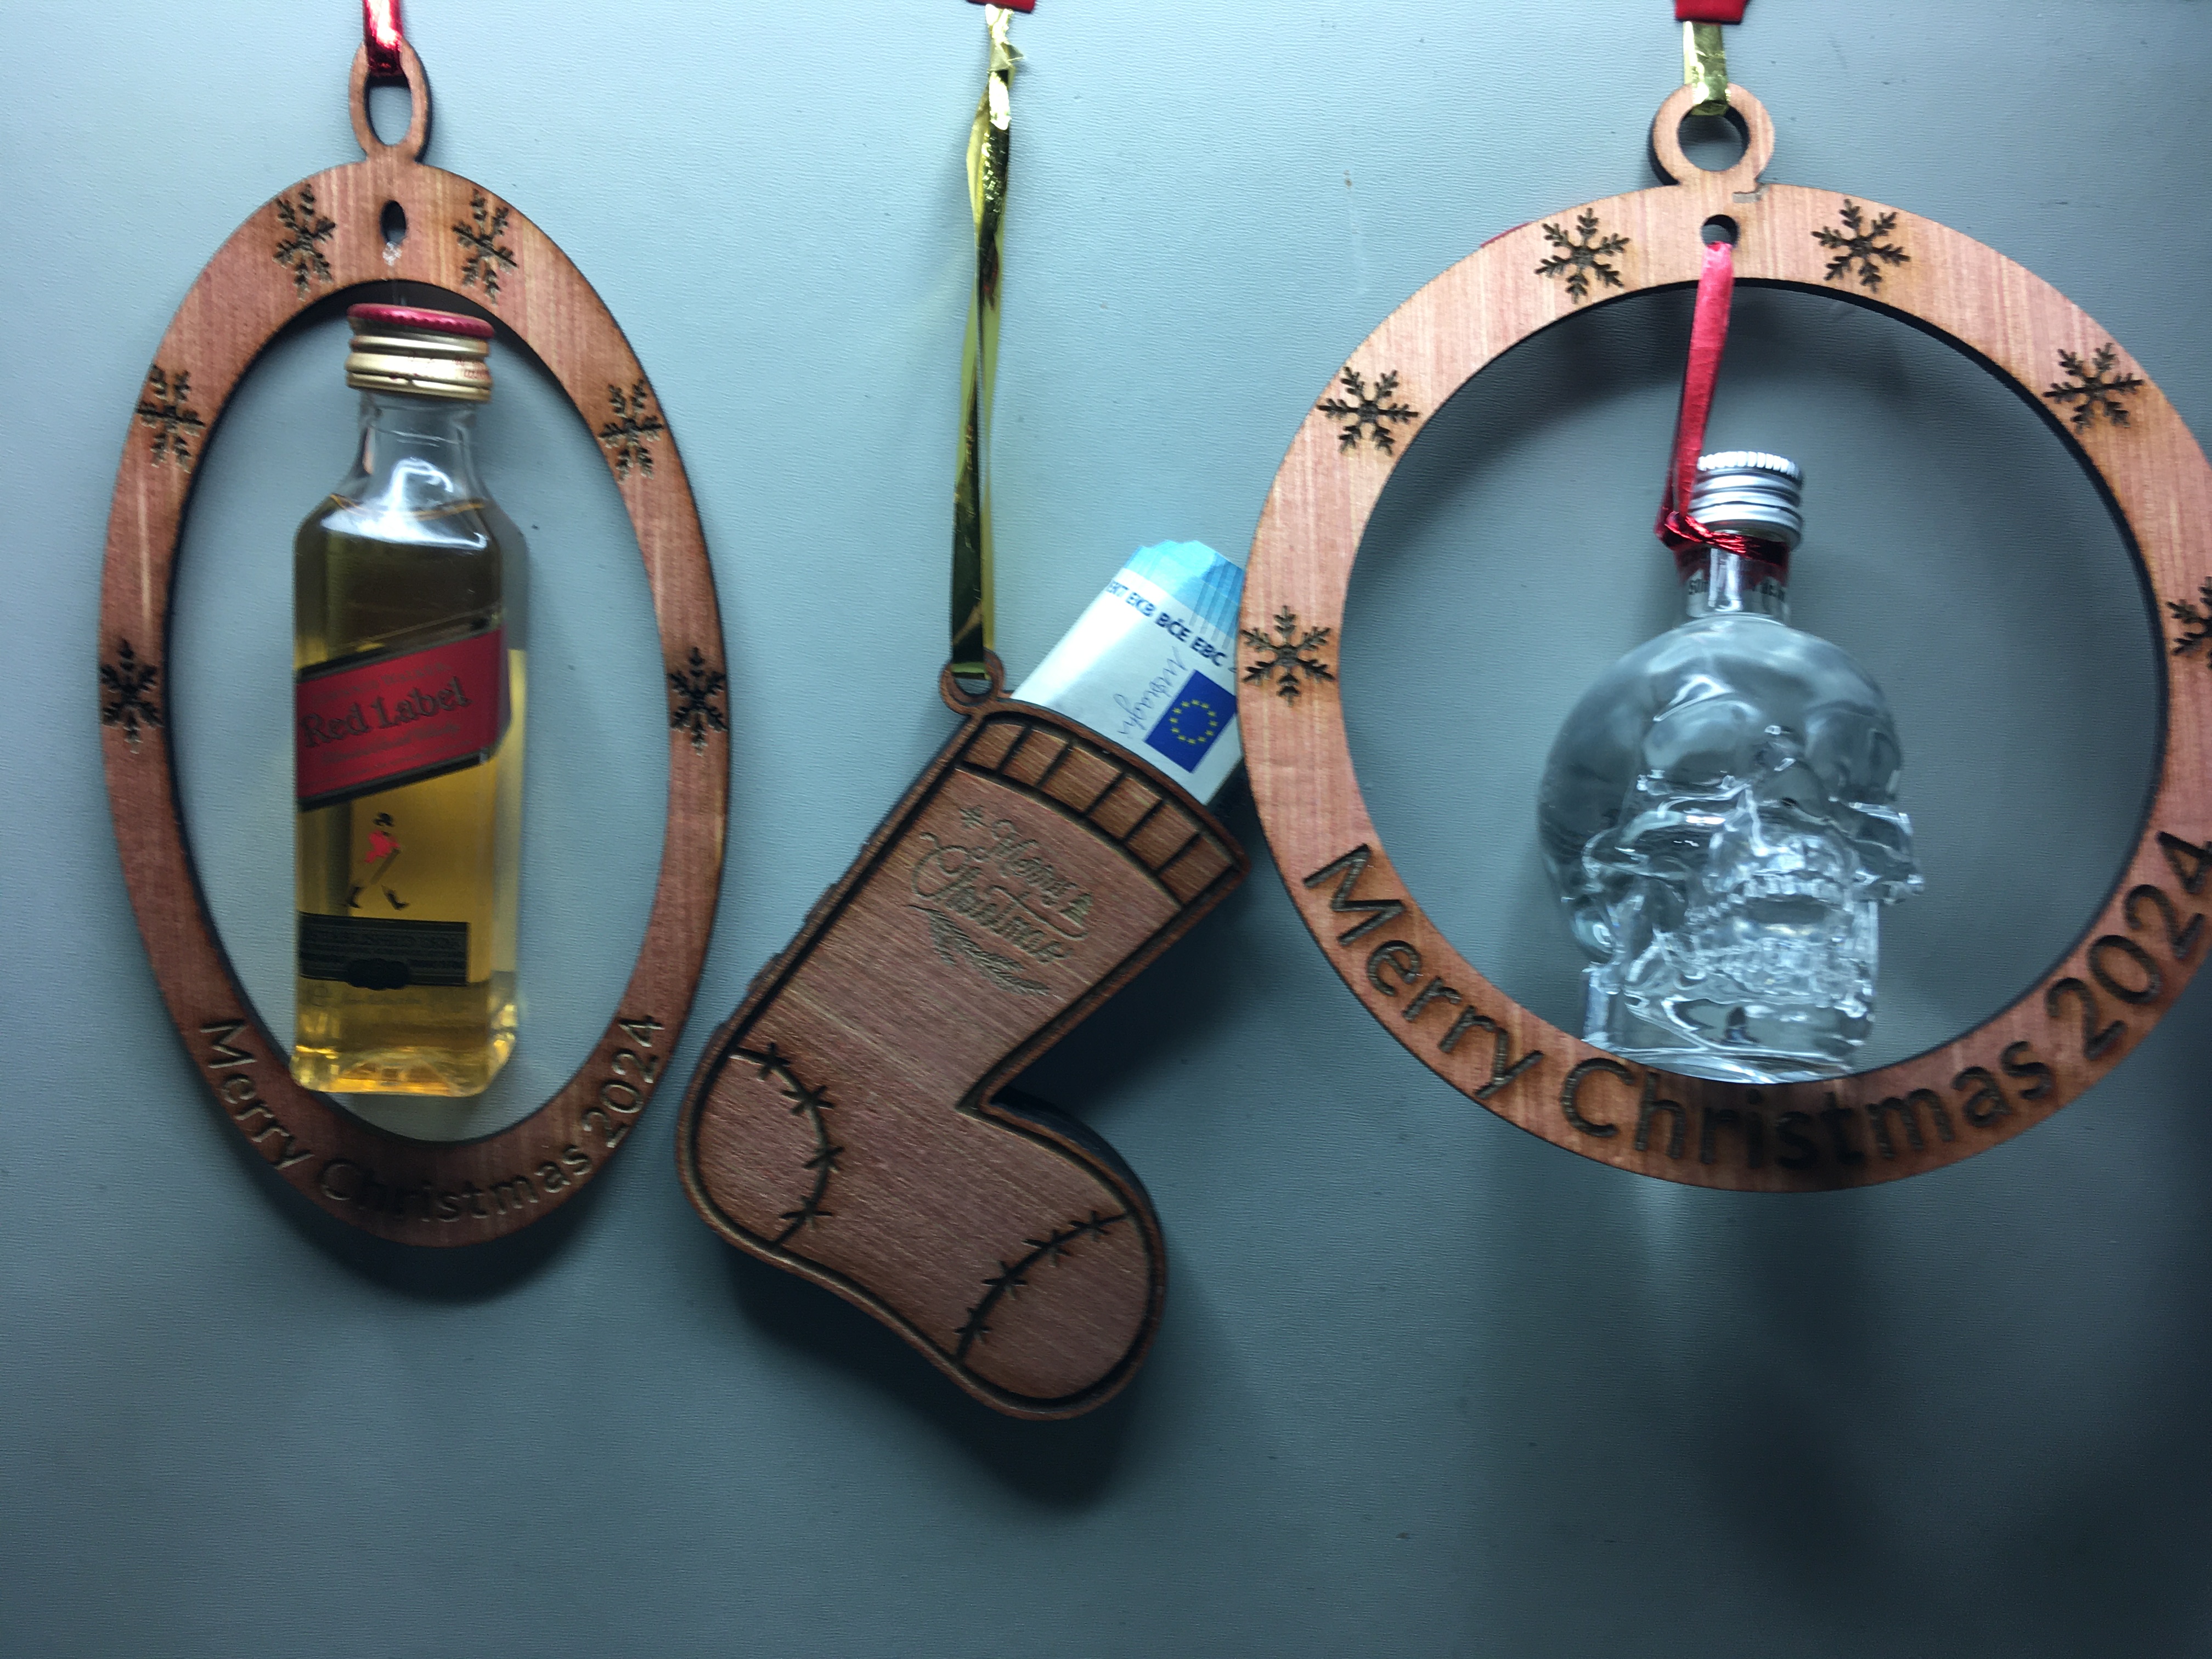
Step9: it's time to decorate your Christmas tree.
It's time to decorate your Christmas Tree.
Remixes



You may also like

Personalized Christmas Ornament


Personalized wooden Christmas ornament calendar - Calendrier boule de noël personnalisée


Christmas ornaments bundle


Snowflake Christmas Ornaments (heart)
.jpg?x-oss-process=image/resize,m_fill,w_240,h_240,limit_0/interlace,1/format,webp/auto-orient,1)

Cookie Monster Christmas Tree Ornament Decoration


Wooden gingerbread man Christmas ornament


25 Days Until Christmas Wooden Ornament Decoration


Personalized Merry Christmas Ornament


DIY Christmas wooden Christmas


Personalized Christmas tree ornament


Christmas Glass Baubles Ornament

Bad Santa Ornaments SVG | DIY Christmas Decor | Funny Christmas Ornaments SVG | Bad Santa Box Organizer


Customizable Family Ornaments: Perfect for Holiday Celebrations


Holly Christmas Tree Ornaments

Gnome Christmas Ornament


Wooden snowman Christmas ornament

Merry & Bright ornament


Wooden Christmas ornament with Merry Christmas text
