Report
![[Laser cut and engrave] Halloween Pumpkin Shelf Sitter](https://image-res.atomm.com/ali-res/community/making/6ad6ad94-b625-4957-a166-83c8cebd034a/8.jpg?x-oss-process=image/resize,m_fill,w_1280,h_960,limit_0/interlace,1/format,webp/auto-orient,1)
![[Laser cut and engrave] Halloween Pumpkin Shelf Sitter](data:image/png;base64,iVBORw0KGgoAAAANSUhEUgAAAAoAAAAKCAYAAACNMs+9AAAAAXNSR0IArs4c6QAAABdJREFUKFNjZCASMBKpjmFUId6QIjp4AAppAAuXjCs4AAAAAElFTkSuQmCC)
![[Laser cut and engrave] Halloween Pumpkin Shelf Sitter](https://image-res.atomm.com/ali-res/community/making/6ad6ad94-b625-4957-a166-83c8cebd034a/8.jpg?x-oss-process=image/resize,m_fill,w_160,h_120,limit_0/interlace,1/format,webp/auto-orient,1)
![[Laser cut and engrave] Halloween Pumpkin Shelf Sitter](https://image-res.atomm.com/ali-res/community/making/03116a90-b96c-4fc8-8998-18d009b29e33/9.jpg?x-oss-process=image/resize,m_fill,w_160,h_120,limit_0/interlace,1/format,webp/auto-orient,1)
Halloween Pumpkin Shelf Sitter
 Instruction
HalloweenPumpkinSitter
.xcs
Application scenario
Laser processing (30min)
Machine & module

xTool P2
55WCompatible xTool Machine
P3
F2
F2 Ultra UV
F2 Ultra(Single)
F2 Ultra
F1 Ultra
F1
F1 Lite
S1
P2S
M1 Ultra
M1
D1 Pro 2.0
D1 Pro
D1
Laserbox
M2
Material used

1/8"(3mm) Basswood Plywood

526
8229
Information
      A 2 layer Halloween pumpkin shelf sitter with a stand. This is made from 3mm wood, if you resize the file or use a different thickness, you will need to adjust the slots. Finished project is about 8 inches wide and 7.5 inches tall.

You can find more of my laser files here: www.supervectorgirl.com
Instruction
1
Step1: Laser Cut

Preview

Preview

Preview
- Open the project file in XSC.
- Set the black lines to cut.
- I auto-measured the distance.
- I have included the settings I used on the P2. This can be made on all lasers.
- This file is made for 3mm thickness material. You will need to adjust the slot for different wood thicknesses.
- There are small pieces that you will need to use, so don't throw away the little pieces. These pieces are the cutouts from the letters.
2
Step2: Paint

Preview

Preview
After all your pieces are cut out, it's time to paint.
- I used acrylic paint and paint brushes for this project.
- I like to put the little pieces on some tape, so it's easy to paint. They don't move around this way.
- Paint the back piece all black and the front piece could be all orange, if desired. I chose to paint the stem and leaves a different color though. Paint one piece of the stand black. Paint all the little pieces orange.
3
Step3: Assembly

Preview

Preview
- After the painting is dry, glue the two stand pieces together.
- Glue the front pumpkin to the back piece.
- Using the cutout letters as a stencil, insert (do not glue) it into the pumpkin. Glue the small pieces in the letter cutout areas. I used letter O here, and placed it in the pumpkin, and glued down the mouth of the letter O. (Picture 2)
- Shake out or gently tap the pumpkin to get the stencil letters to fall out.
- Insert the basket into the base, and you will be done!
4
Step4: Finished.

Preview

Preview
I hope you enjoyed making this project with me. Don't forget to give this project a Thumbs Up/Like.
Comments
Remixes



You may also like

$5.49
$5.49
$10.98
Credits549
Pumpkin Halloween Crate Basket

17

$2.49
$2.49
$8.30
Credits249
Happy Halloween Pumpkin Round Sign

19

$2.49
$2.49
$8.30
Credits249
Laser Cut Happy Halloween Pumpkin Wall Art Decor
0

$1.99
$1.99
$4.97
Credits199
Happy Halloween Wreath with Black Cat

40

$3.99
$3.99
$7.98
Credits399
Halloween Stacked Pumpkins with Witch Hat
8

$1.99
$1.99
$3.98
Credits199
Happy Halloween Pumpkin with Witch
6

$1.60
$1.60
$4.00
Credits160
Bundle
Halloween Door Hangers Laser Cut Template
5

$5.49
$5.49
$10.98
Credits549
Frankenstein Halloween Crate Basket
12

Happy Halloween Fall Pumpkin Lasercut Editable Sign

21
106

Layered Happy Halloween Pumpkin Door Sign

4
2

$1.99
$1.99
$6.64
Credits199
Bundle
Halloween Decorative Panels Bundle
25

Spooky Happy Halloween Wreath
130
461

Laser Cut Happy Halloween Pumpkin Table Decoration

0
6

$1.99
$1.99
$4.97
Credits199
Bundle
Happy Halloween Pumpkins Set
7
$2.49
$2.49
$8.30
Credits249
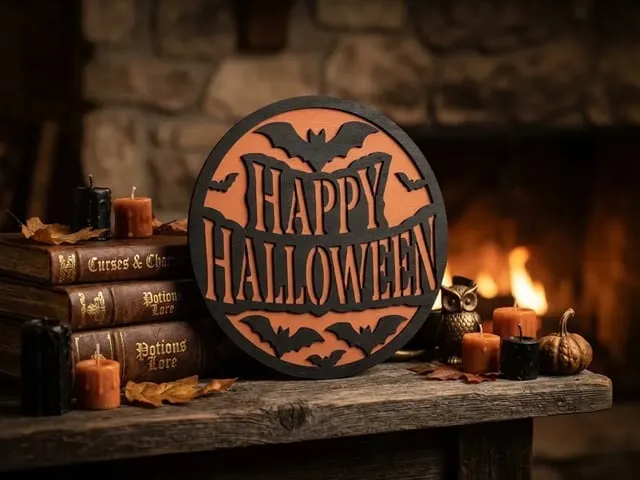
Happy Halloween Round Sign with Bat Silhouettes

0

$2.99
$2.99
$5.98
Credits299
Pumpkin Treat Bag Box - M1 Ultra
19

$3.99
$3.99
$7.98
Credits399
Fall Floral Stacked Pumpkins
125

3D Halloween front door sign. Layered hanging sign lasercut. Happy Halloween quote svg. Spooky welcome sign. Halloween characters

118
761