
![[Laser cut and engrave] Pumkin coasters (xTool pumpkin Pillow) #DerivativeCreation @xTool](https://image-res.atomm.com/ali-res/community/making/148d4307-ef5a-4ffa-8b2a-507229ced566/PhotoRoom-20230922_161155.png?x-oss-process=image/resize,m_fill,w_1280,h_960,limit_0/interlace,1/format,webp/auto-orient,1)
![[Laser cut and engrave] Pumkin coasters (xTool pumpkin Pillow) #DerivativeCreation @xTool](data:image/png;base64,iVBORw0KGgoAAAANSUhEUgAAAAoAAAAKCAYAAACNMs+9AAAAAXNSR0IArs4c6QAAABdJREFUKFNjZCASMBKpjmFUId6QIjp4AAppAAuXjCs4AAAAAElFTkSuQmCC)
![[Laser cut and engrave] Pumkin coasters (xTool pumpkin Pillow) #DerivativeCreation @xTool](https://image-res.atomm.com/ali-res/community/making/148d4307-ef5a-4ffa-8b2a-507229ced566/PhotoRoom-20230922_161155.png?x-oss-process=image/resize,m_fill,w_160,h_120,limit_0/interlace,1/format,webp/auto-orient,1)
![[Laser cut and engrave] Pumkin coasters (xTool pumpkin Pillow) #DerivativeCreation @xTool](https://image-res.atomm.com/ali-res/community/making/892b94ca-37f3-4450-a858-cae4b3c2a5aa/PhotoRoom-20230922_161155.png?x-oss-process=image/resize,m_fill,w_160,h_120,limit_0/interlace,1/format,webp/auto-orient,1)
Pumkin coasters (xTool pumpkin Pillow) #DerivativeCreation @xTool
 Remix
Remix Instruction


Information
      Pumpkin design from xTool projects that was made with vinyl to put on a pillow.
https://projects.xtool.com/howtos/178
I made the design a little smaller and added my own words, to make it into coasters.
This remix is based on
Instruction
Step1: Insert the xTool pumpkin pillow design


Open the xTool pillow design in XCS. File can be found in the how to's on this website.
Delete the txt (or keep it) and size the pumpkin to your liking.
Click on txt and make your own txt and chose the font. In this case i used Gordita's and inserted it in between the 2 halves of the pumpkin.
Step2: How to save the image


I noticed that the xTool pumpkin pillow file, was made for vinyl and therefore was set to cut only.
Since i wanted to engrave the image, i had to save the image first, by using the snip tool and hoover over the image and saved it. Then i inserted that image and removed the background. I was able to set the settings to engrave.
Then i clicked on the outline and unclicked the inner outlines, so that i only had the outline left around the pumpkin.
I kept increasing the numbers, so that no inner cut lines were seen.
I then put in the settings for engraving and the cut settings and adjusted the size for the coaster size i wanted.
After it was engraved and cut, i cleaned it up and colored the lines and words with sharpie pens.
Remixes


You may also like

Pumpkin Coasters


Laser Cut 3D Wooden Hello Pumpkin Fall / Autumn Wall Sign Decor

Pumpkin spice latte

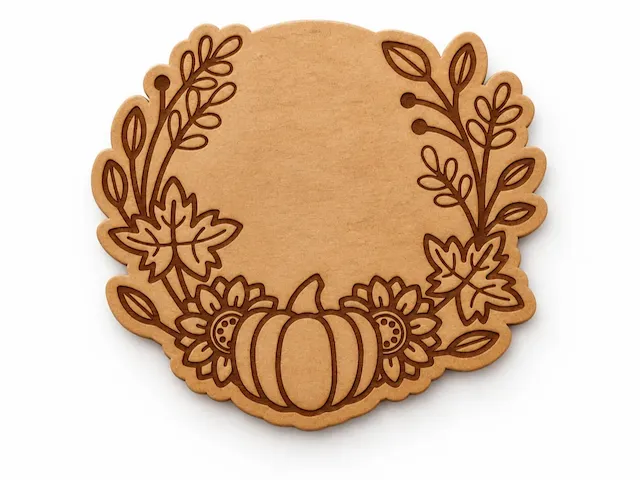
Autumn Pumpkin and Sunflower Wreath Sign


Laser Cut Wooden Pumpkin Decoration for Fall Seasonal Decor

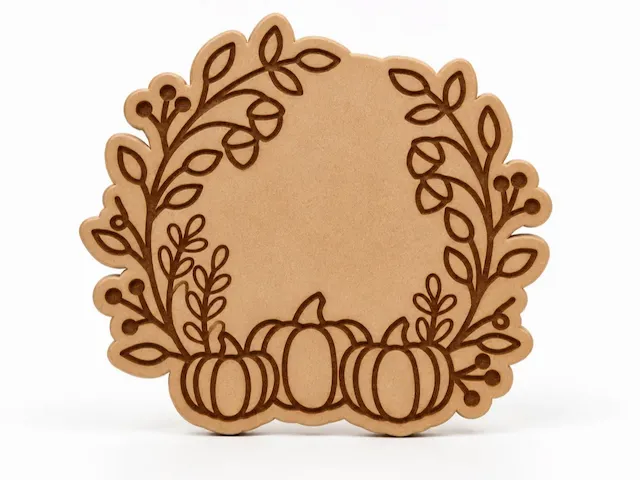
Autumn Pumpkin Wreath Sign with Foliage Accents

Cute Kawaii Pumpkin Stickers with Fall Expressions


3 layer wood and acrylic fall sign

Wooden Pumpkin Tabletop Sign for Fall Home Decor


Hello Pumpkin Autumn Wall Decor Sign


Jack-o'-lantern pumpkin keychain with spooky face 16 DESIGNS


Halloween Themed Laser Cut Wooden Pumpkin and Spider Web Decor

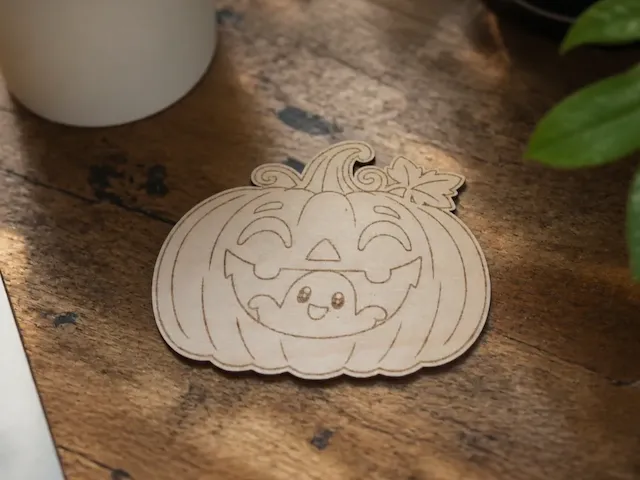
Wooden pumpkin with cute ghost for Halloween


Wooden Pumpkin Wall Hanging with Floral Accents

🍂 DIY Fall Magnets – Bring Autumn to Your Fridge!


Pumpkin Kitchen Sign with Whisk and Spatula Motif

Lasergeschnittene Herbstornamente aus Holz mit Kürbis und Kastanie


Autumn Wreath Sign with Pumpkins and Mushrooms