
![[Laser cut and engrave] Hanging Rectangle Insert Box](https://storage-us.atomm.com/resource/xart/result/424567/e3511abf-4ff3-437e-933e-290c10246481.png?x-oss-process=image/resize,w_1200,h_900,limit_0/interlace,1/format,webp/auto-orient,1)
Hanging Rectangle Insert Box
 Instruction
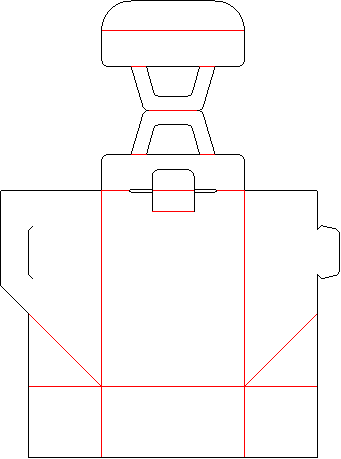


Instruction
Step1: Print the boxes.

Print out the carrier box (1 &2) and insert box on your preferred card stock. TEST YOUR DESIGN FIRST ON SIMILAR OR EXACT MATERIAL IF THIS IS YOUR FIRST TIME PRINTING ON CHOSEN MATERIAL. Make sure die-lines are light and do not go all the way through.
Step2: Fold die-lines

Fold the carrier box and insert box along the die-lines.
Step3: Glue tabs


Glue the overlapping bottom tabs of the carrier box (1 & 2). Make sure the lines are aligned. Glue the side tab of the insert box. Let dry completely.
Step4: Insert tabs


Fold over and insert tabs of the carrier box. Close the insert box.
Step5: Close the box


Insert the insert box into the bottom of the carrier box. Fold over the top handles over the top of the insert box. Then fold over the top flap and insert the handles into the slot and pull them through gently. Finally, fold over and insert the closure tabs to close.
