
Report
![[Laser cut and engrave] Religious themed bookmarks with cross and lily motifs](https://image-res.atomm.com/resource/xtool/community/attachment/xtool-community/3fb06753-4ef9-4660-9943-983af48eab5e.png?x-oss-process=image/resize,m_fill,w_1280,h_960,limit_0/interlace,1/format,webp/auto-orient,1)
![[Laser cut and engrave] Religious themed bookmarks with cross and lily motifs](data:image/png;base64,iVBORw0KGgoAAAANSUhEUgAAAAoAAAAKCAYAAACNMs+9AAAAAXNSR0IArs4c6QAAABdJREFUKFNjZCASMBKpjmFUId6QIjp4AAppAAuXjCs4AAAAAElFTkSuQmCC)
![[Laser cut and engrave] Religious themed bookmarks with cross and lily motifs](https://image-res.atomm.com/resource/xtool/community/attachment/xtool-community/3fb06753-4ef9-4660-9943-983af48eab5e.png?x-oss-process=image/resize,m_fill,w_160,h_120,limit_0/interlace,1/format,webp/auto-orient,1)
![[Laser cut and engrave] Religious themed bookmarks with cross and lily motifs](https://image-res.atomm.com/resource/xtool/community/attachment/xtool-community/ba74d811-bb56-4eab-838b-915517925ed5.png?x-oss-process=image/resize,m_fill,w_160,h_120,limit_0/interlace,1/format,webp/auto-orient,1)
![[Laser cut and engrave] Religious themed bookmarks with cross and lily motifs](https://image-res.atomm.com/resource/xtool/community/attachment/xtool-community/d89072a3-e400-4935-9e83-0d43b9395255.png?x-oss-process=image/resize,m_fill,w_160,h_120,limit_0/interlace,1/format,webp/auto-orient,1)
Keep your place with purpose and elegance. 📖
 Instruction
Keep your place with purpose and elegance
.xcs
Application scenario
Laser processing
Machine & module

xTool D1 Pro
20WCompatible xTool Machine
P3
F2
F2 Ultra UV
F2 Ultra(Single)
F2 Ultra
F1 Ultra
F1
F1 Lite
S1
P2S
P2
M1 Ultra
M1
D1 Pro 2.0
D1
Laserbox
M2
Material used

1/2"(12mm) Pine Ponderosa Plywood

57
1040
Information
Whether you are gifting a loved one or treating yourself, these beautifully minimalist laser-engraved bookmarks are the perfect companion for your daily reading, Bible study, or journaling. Crafted from high-quality natural materials, each bookmark is designed to be a durable and meaningful keepsake that will last for years to come.
Instruction
1
Step1
Preparation and Safety
- Ventilation: Ensure your smoke purifier is on or your exhaust fan is venting outside. Cutting wood produces significant smoke and char.
- Air Assist: Always use Air Assist when cutting wood. It blows away debris and prevents the wood from catching fire, resulting in cleaner cuts.
- Fire Safety: Never leave your laser unattended while cutting.
2
Step2
Physical Setup in the Machine
- Place the Material: Lay your wood flat on the honeycomb panel or slats.
- Secure the Wood: Use "honeycomb pins" or magnets to ensure the wood is perfectly flat. If the wood is warped, the laser will lose focus, and it won't cut through.
Position the Laser Head: Manually move the laser head (or use the software arrows) to the top-left corner of your material.
3
Step3
Configuring xTool Studio
- Connect Your Device: Open XCS and connect to your S1 or P2 via USB, Wi-Fi, or IP.
- Import Your Design: Open the xcs file you downloaded from Atomm.
- Select Mode:
- S1: Choose Process on Flat (unless using the riser base/rotary).
- P2: Choose Slat Flat.
- S1: Choose Process on Flat (unless using the riser base/rotary).
- Capture the Canvas: * On the P2, click Refresh to take a wide-angle photo of your wood.
- On the S1, use the Twin-Point Positioning feature to define your work area, as it does not have a camera.
- On the S1, use the Twin-Point Positioning feature to define your work area, as it does not have a camera.
Setting the Focus
Proper focus is the difference between a clean cut and a scorched mess.
- Auto-Measure: In the right-hand panel, click the Auto-measure icon (it looks like a small ruler/target).
- S1: The probe will drop down to touch the wood.
- P2: The laser head will move over the material to measure the height via the built-in sensor.
4
Step4
Adjusting "Cut" Parameters
Select your design on the canvas to open the settings panel on the right.
- Processing Type: Change from "Score" or "Engrave" to Cut.
- Setting the Power/Speed:
- Presets: If you are using xTool branded materials, select the material from the "User-defined" dropdown for automatic settings.
- Manual: For generic 3mm Basswood, a good starting point is:
- S1 (40W): Power 100%, Speed 8–10 mm/s.
- P2 (55W): Power 100%, Speed 15–20 mm/s.
- S1 (40W): Power 100%, Speed 8–10 mm/s.
- Presets: If you are using xTool branded materials, select the material from the "User-defined" dropdown for automatic settings.
- Passes: Set to 1 unless the wood is exceptionally thick (over 10mm).
5
Step5
Framing and Starting
- Framing: Click Framing on the bottom right. The laser head will move in a rectangle to show you exactly where the cut will happen. Ensure it doesn't hit any pins or magnets.
- Process: Click Process, then Start.
- Physical Button: Finally, press the Start button on the machine itself to begin the cut.
Comments
Remixes



You may also like

Wooden Cross Ornament with Flower Motif and Tassel

3
29

Laser Engraved Wooden Inspirational Bookmarks with Religious Quotes for Easter

6
64

Christian cross decorated with an engraved rose

1
2

$3.59
$3.59
$5.98
Credits359
Bundle
Bookmark Trio

10

$3.59
$3.59
$5.98
Credits359
Bookmark with Hand Drawn Flowers
7
Floral Cross Religious Scripture Bookmarks

8
41

$3.59
$3.59
$5.98
Credits359
Bookmark With Flowers
9

$1.50
$1.50
Credits150
Floral Pattern Wooden Bookmarks with Botanical Designs

1

Wooden bookmark with feather and botanical branch motifs
1
11

Laser Cut Wooden Floral Bookmark Set with Customisable Text

131
625

God Stands With Me Wooden Bookmark With Praying Hands Illustration

2
42

Engraved Paying Angel Bookmark with Ribbon

42
219
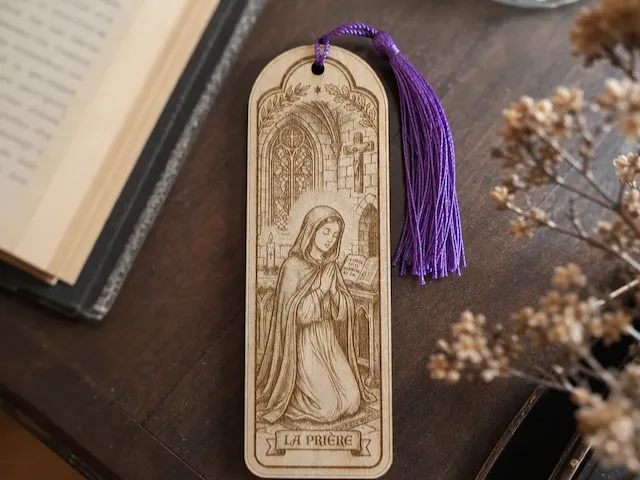
Wooden Bookmark with Prayer Illustration

2
5
$1.99
$1.99
Credits199
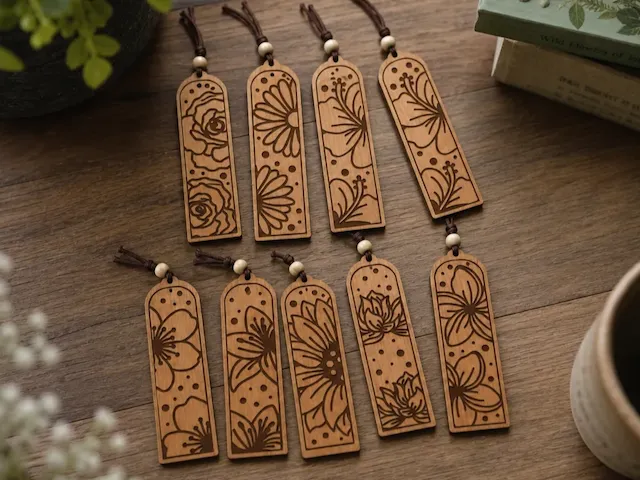
Floral Pattern Wooden Bookmarks with Tassels

0

$1.50
$1.50
Credits150
Floral Pattern Wooden Bookmarks with Leather Tassels

1

$3.75
$3.75
$7.50
Credits375
Inspirational Wooden Bookmarks with Bible Verses by Craftivity

8

$3.59
$3.59
$5.98
Credits359
Floral Bookmark
7

$1.99
$1.99
Credits199
Easter Bookmarks Laser Cut Bundle. Christian Symbols. Wooden Cross Bookmarks. Reading Accessory. Religious Designs. Christianity SVG. Bible Accessory

4