
Report
![[Laser cut and engrave] Easter Egg Shaped Tic-Tac-Toe Game with Bunny and Egg Playing Pieces](https://image-res.atomm.com/resource/xtool/community/attachment/xtool-community/73f797a6-111d-427b-a663-bd356e63fe6a.png?x-oss-process=image/resize,w_1200,h_900,limit_0/interlace,1/format,webp/auto-orient,1)
![[Laser cut and engrave] Easter Egg Shaped Tic-Tac-Toe Game with Bunny and Egg Playing Pieces](data:image/png;base64,iVBORw0KGgoAAAANSUhEUgAAAAoAAAAKCAYAAACNMs+9AAAAAXNSR0IArs4c6QAAABdJREFUKFNjZCASMBKpjmFUId6QIjp4AAppAAuXjCs4AAAAAElFTkSuQmCC)
![[Laser cut and engrave] Easter Egg Shaped Tic-Tac-Toe Game with Bunny and Egg Playing Pieces](https://image-res.atomm.com/resource/xtool/community/attachment/xtool-community/73f797a6-111d-427b-a663-bd356e63fe6a.png?x-oss-process=image/resize,w_200,h_150,limit_0/interlace,1/format,webp/auto-orient,1)
![[Laser cut and engrave] Easter Egg Shaped Tic-Tac-Toe Game with Bunny and Egg Playing Pieces](https://image-res.atomm.com/resource/xtool/community/attachment/xtool-community/4153da85-fb8a-4bc4-aeb9-e183828a735d.png?x-oss-process=image/resize,w_200,h_150,limit_0/interlace,1/format,webp/auto-orient,1)
![[Laser cut and engrave] Easter Egg Shaped Tic-Tac-Toe Game with Bunny and Egg Playing Pieces](https://image-res.atomm.com/resource/xtool/community/attachment/xtool-community/d878c1ec-6a4a-4c74-8128-f84891afbdec.png?x-oss-process=image/resize,w_200,h_150,limit_0/interlace,1/format,webp/auto-orient,1)
![[Laser cut and engrave] Easter Egg Shaped Tic-Tac-Toe Game with Bunny and Egg Playing Pieces](https://image-res.atomm.com/resource/xtool/community/attachment/xtool-community/324aa874-9774-4341-a099-f3129b4a2fef.png?x-oss-process=image/resize,w_200,h_150,limit_0/interlace,1/format,webp/auto-orient,1)
Wooden Easter Tic-Tac-Toe Game
 Instruction
Wooden Easter Tic-Tac-Toe Game
.xcs
Application scenario
Laser processing
Machine & module

xTool D1 Pro
20WCompatible xTool Machine
New
M2
10W, 20WF2 Ultra UV
5WF1 Ultra
20WM1
5W, 10WD1
5W, 10W, 20WD1 Pro
5W, 10W, 40WP2
55WF1
10WS1
10W, 20W, 40WM1 Ultra
10W, 20WP2S
55WMaterial used

1/2"(12mm) Pine Ponderosa Plywood

14
557
Information
Bring a touch of artisanal charm to your Spring celebrations with our handcrafted Wooden Tic-Tac-Toe Egg Board! Say goodbye to screens and hello to classic, face-to-face fun with this adorable, travel-sized game. Perfectly themed for Easter with charming bunnies and colorful eggs, it’s a delightful activity that the whole family will cherish.
Instruction
1
Step1
Setup and Connection
- Power On: Turn on your laser engraver and ensure your exhaust fan or air purifier is running.
- Connect to XCS: Open xTool Studio on your computer. Connect your machine via USB, Wi-Fi, or Ethernet. You should see your specific machine model recognized in the top right corner of the software.
- Place Your Material: Open the lid and place your blank material on the honeycomb panel or baseplate.
- Measure Distance (Focus): This is critical for a sharp engraving.
- If your machine has a camera, refresh the bed view.
- Click the Auto-Measure icon (usually a small ruler) in the top right panel so the laser head physically measures the thickness of your material.
- If your machine has a camera, refresh the bed view.
2
Step2
Design and Placement
- Import Your Design: Import my design that you have downloaded from Atomm.
- Scale and Position: Click and drag the corners of your design to scale it to the correct size.
- Tip: If your machine features a built-in camera, simply drag your design over the live background image of your material. If not, position it on the digital canvas relative to where you plan to start your laser head.
- Tip: If your machine features a built-in camera, simply drag your design over the live background image of your material. If not, position it on the digital canvas relative to where you plan to start your laser head.
3
Step3
Engraving Settings
- Select Processing Type: Click on your design to select it. On the right-hand panel, ensure the processing type is set to Engrave (rather than Cut or Score).
- Input Parameters: * Power (%): Determines how hard the laser fires.
- Speed (mm/s): Determines how fast the laser head moves.
- Lines per cm / LPI: Determines the resolution of the engrave (higher numbers mean a denser, darker engrave, but take longer).
- Tip: Use XCS's default material library drop-down to find a baseline setting for common materials like basswood, acrylic, or leather.
- Speed (mm/s): Determines how fast the laser head moves.
4
Step4
Framing and Execution
- Frame the Job: This is the most important step to prevent ruining a blank. Click the Framing button in the software or on the machine. The laser head will move in a bounding box (emitting a weak, safe laser crosshair or red dot) to show exactly where the engraving will happen on your material. Adjust your material or digital design if it's not perfectly centered.
- Process: Once you are happy with the framing, click the green Process button in the bottom right corner of XCS.
- Start the Engrave: A preview window will pop up showing the estimated time. Click Start on the screen, put on your laser safety glasses (if your machine doesn't have a fully enclosed safety lid), and press the physical blinking start button on your machine.
Comments
Remixes



You may also like

Laser Cut Wooden Christmas Tic Tac Toe Game with Festive Pieces

12
31

Cute Easter Bunny and Carrot Tic Tac Toe Set

6
50

Lasergeschnittenes Tic Tac Toe Spiel

6
38

Christmas Tic-Tac-Toe

61
249

Valentine's Day Tic Tac Toe Game with Heart and X Pieces
2
7

spring tic tac toe with bees and flowers
0
4

Laser Cut Wooden Tic Tac Toe Game Set with Keychain Pieces

17
95

Laser Cut Tic Tac Toe Game for Kids

14
79

$4.99
$4.99
$9.98
Credits499
Easter Tic Tac Toe Game with Box Lid

30

Laser Cut Wooden Christmas Tree Tic Tac Toe Game with Festive Pieces
29
112

Laser Cut Wooden Pokémon Tic Tac Toe Game Board with Pikachu Pieces
92
389
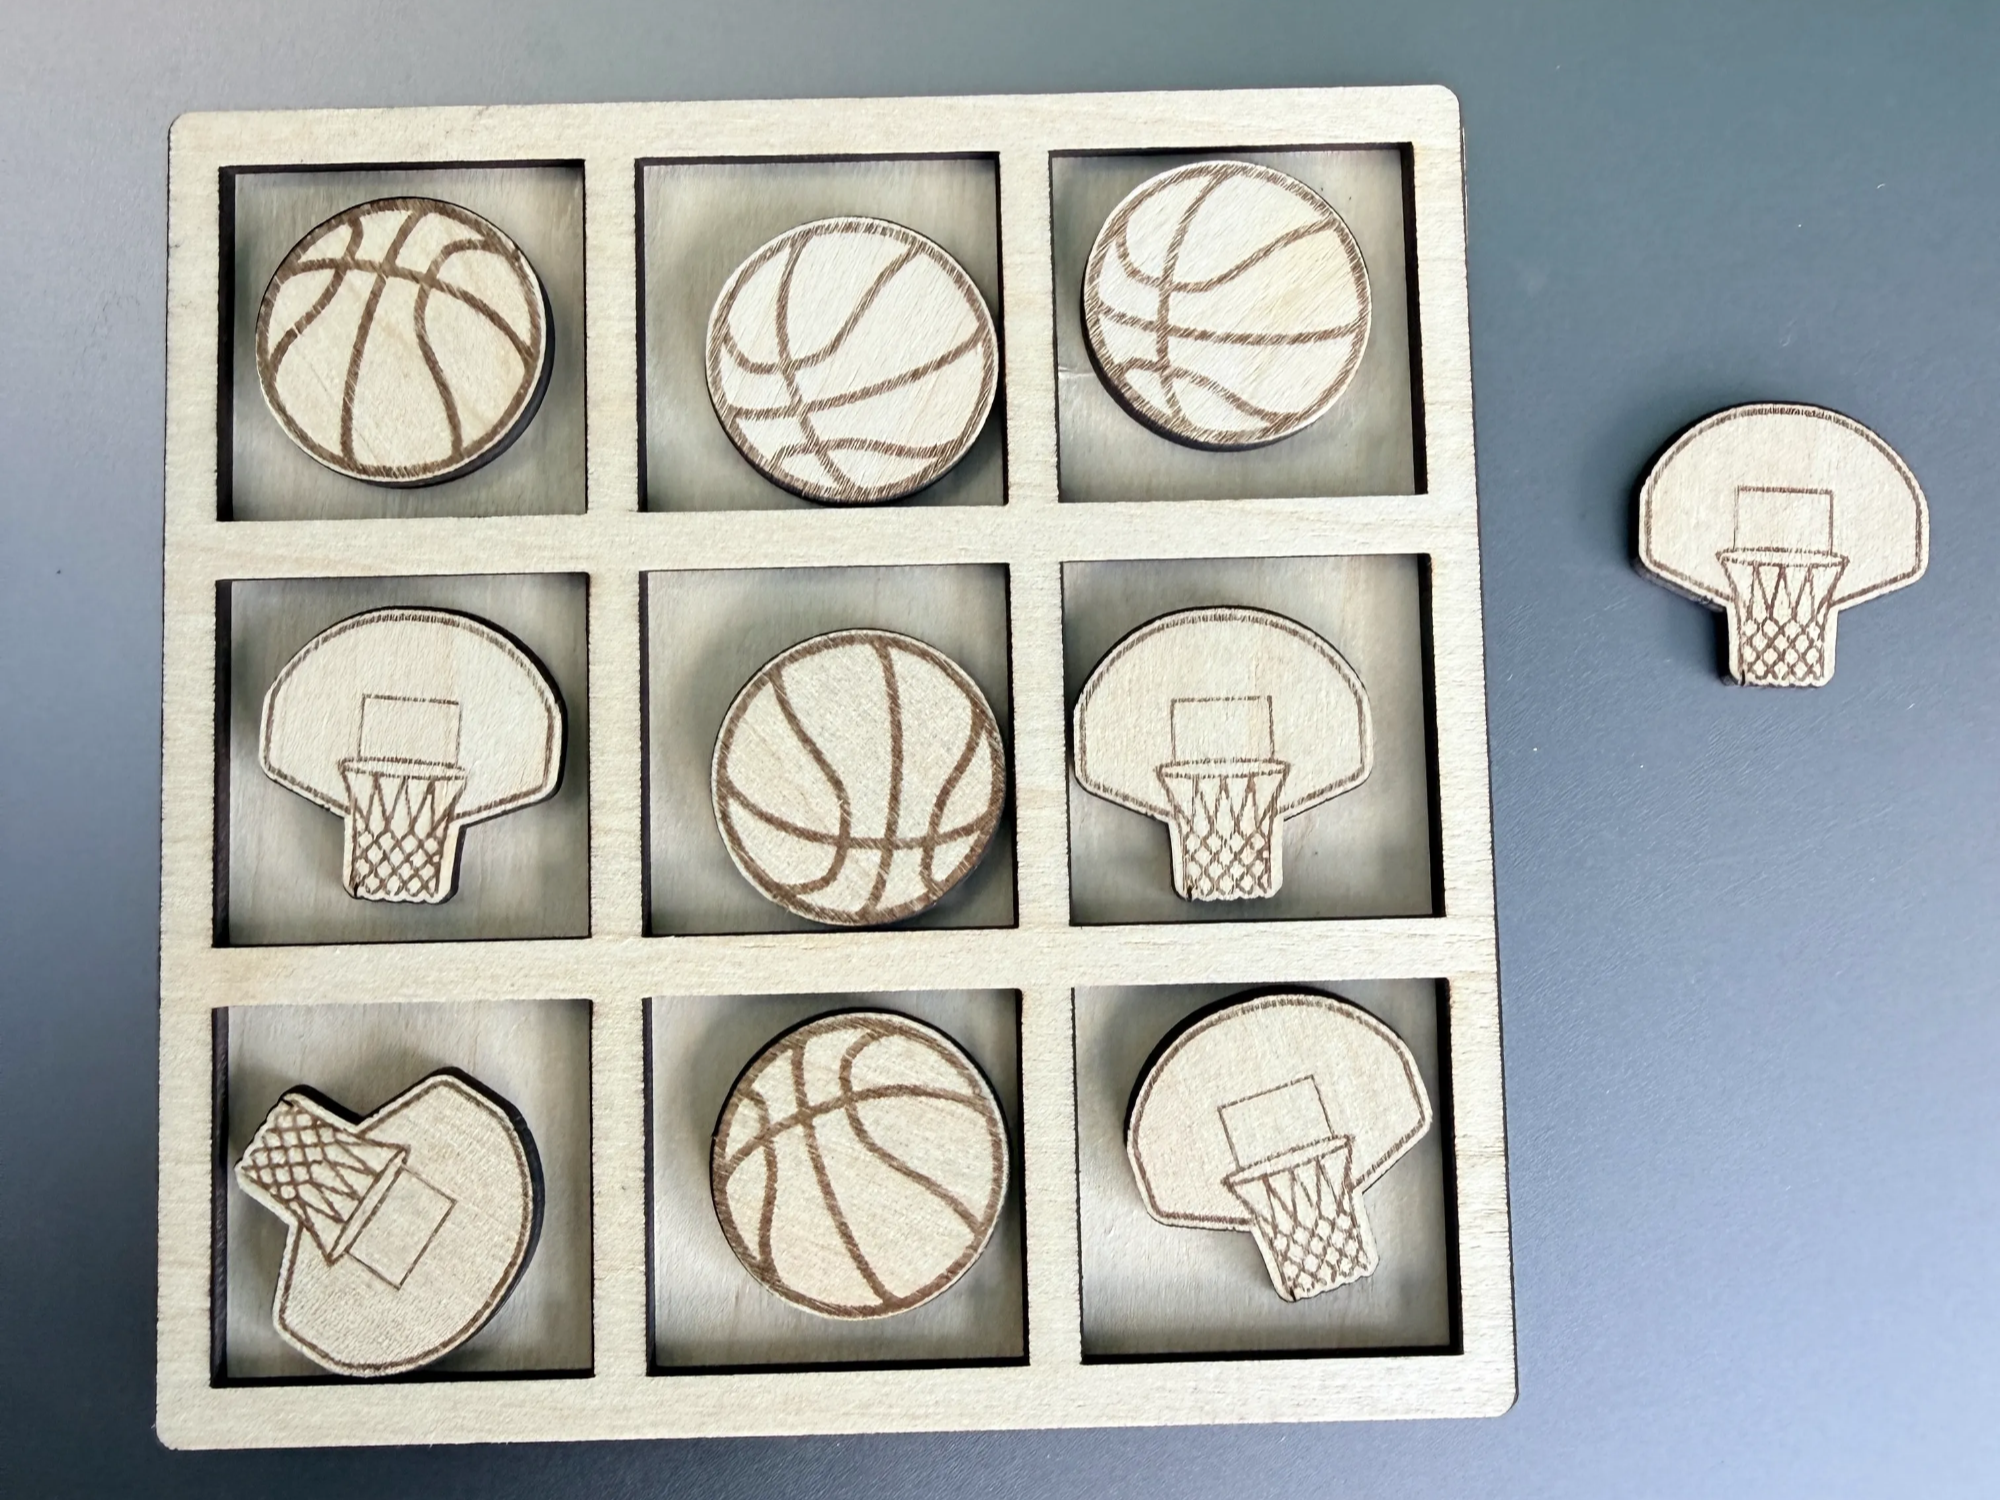
the tic tac toe basketball

1
5

Wooden Tic Tac Toe Game with Hearts and Xs for Valentine's Day

66
356

Laser Cut Acrylic Tic Tac Toe Game Board with Raised Pieces
5
34

Valentine’s Day Minimalist Tic-Tac-Toe
10
23

Laser Cut Wooden Tic Tac Toe Game Board with Heart and Angel Pieces

3
33

Laser Cut Wooden Tic Tac Toe Game with Red Heart Pieces
3
22

Laser Cut Wooden Tic Tac Toe Love edition Game with Bear and Heart Pieces
17
31