
Report

Leatherette Patch Jig
ID 43267
 Instruction
Files

Original files
AuthorS1 · 1/4"(6mm) Walnut Plywood
1

Add Make Profile
Same design, different machine, material, or any improvement · Earn 100 Credits
Tips for a great Make Profile →
370
4016
Information
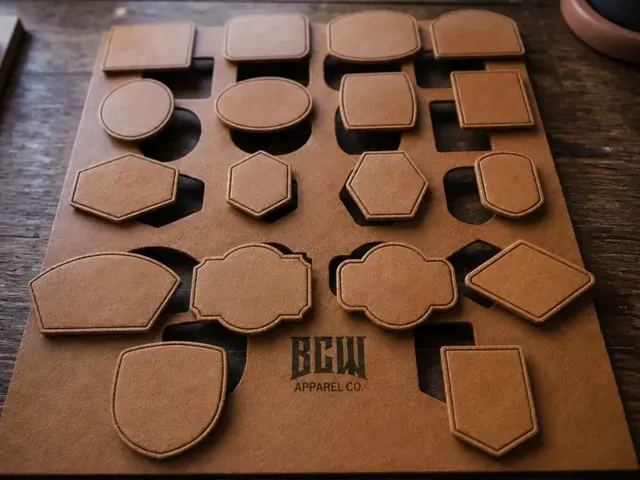
Designed a jig for leatherette 3x2 in. patches. Will fit hexagon, oval, and rectangle patches. There is an overlay for all 3 types of patches for laser area.
Instruction
1
Step1

Preview

Preview

Preview
Place your 12x24 in. panel in the S1, make sure the right side is snug against the wall while being carful not to have it on top of the lip, line up corners shown with the black screws. I lined it up with the side of the screw closest to me when S1 was open.
2
Step2
Go to XCS. Frame to make sure its in your area that you want it. Then process.
3
Step3

Preview
Once complete make note where you lined up your corners if you didn't follow the 1st step or had to move the panel for some reason.
4
Step4

Preview
Now you can use the jig! Back on the XCS go to your laser settings and change the output to off. Select all items and lock into place. The shapes are color coded and can be used to get a rough estimate of work area on the patch.
5
Step5

Preview
And finally Enjoy!
Comments



You may also like

Leather patch jig round, square and squoval

21
77

Leather goods

37
288

Iron-on Leather patch for a hat
0
3

Round Leather Patch with Stitching Holes

4
67


Handcrafted Leather Label Patch with Stitching Holes
20
99
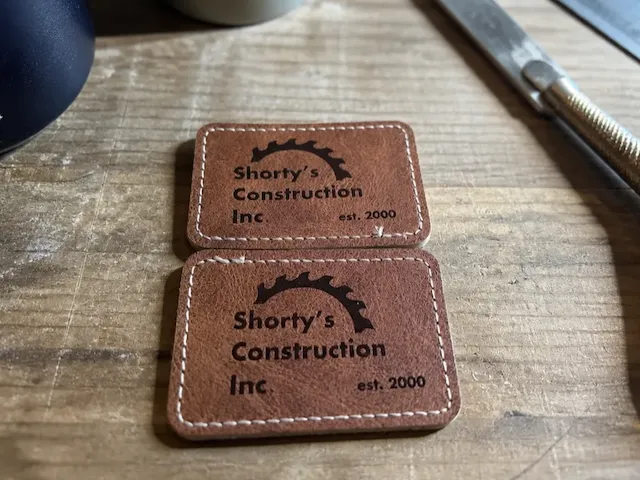
Shorty's Construction Inc. Rectangular Faux Leather Patch

0
1

Custom Leather Hat Patch-Country Roads

19
142

Polygon Leather Patch
3
57

Coupe/Gravure contour/Gravure pleine sur cuir double face

1
12
AFI sing the sorrow logo

1
1

Set of Brown Leather Labels with Stitching and Studs
1
0

❤♠♦♣Leather Bookmark Clip Set in Playing Card Suit Designs
3
7

Handmade leather circular keychain on grass with flowers
16
113

Veg-Tan Leather Luggage Tag Set of 2 — Suitcase + Carry-On Tags with Privacy Flap, Strap Slot & Strap, Stitch Holes, 2mm Leather SVG DXF

0
0

Support Your Local Laser Workshop Leather Patch

2
5

Handcrafted Square Leather Patch w/ Stitching Holes and Rounded Corners
8
50

Be Still and Know That I Am God Leather Patch

0
1

Letherette Hat Patch
0
10