
![[Laser cut and engrave] Dog Face Stud Earrings](https://image-res.atomm.com/resource/xtool/community/attachment/xtool-community/4738c6cc-a944-4676-98e6-56d2dcb083d0.JPG?x-oss-process=image/resize,w_1200,h_900,limit_0/interlace,1/format,webp/auto-orient,1)
Dog Face Stud Earrings
 Instruction


Information
Make cure little puppies - this is the best use of creating something cool from wooden scraps.
Instruction
Step1: Cut

Use my settings and engrave / cut this design. You can resize a bit, if you want a smaller version, but that might would be hard to paint.
The settings are working well with 10W M1 machine - adjust if needed.
Step2: Paint


I used brown and white colors, painted with POSCA acrylic markers.
Wait until dried.
Step3: Varnish the top

We will start with the painted part - use a light coat of varnish, and paint it over the top. Wait until it dried perfectly.
Step4: Add earring studs to the back


Use a strong glue (I used Pentart's Express glue), add just a small drop of glue to the center of the back, and add the stud settings. Gently hold it together for a few seconds to make sure that it's glued well.
Wait again until it dries.
Step5: Add varnish to the back and edges

Once it dried, you can add a layer of varnish to the back and the sides too to make it extra durable. Again - wait until it dried.
Step6: Add the back


… and you are ready to use - or sell :)
Remixes



You may also like

Pawprint stud earrings

Avocado & Toast stud earrings


squirrel stud earrings


Animal Face Stud Earrings set


Paw Ear Studs

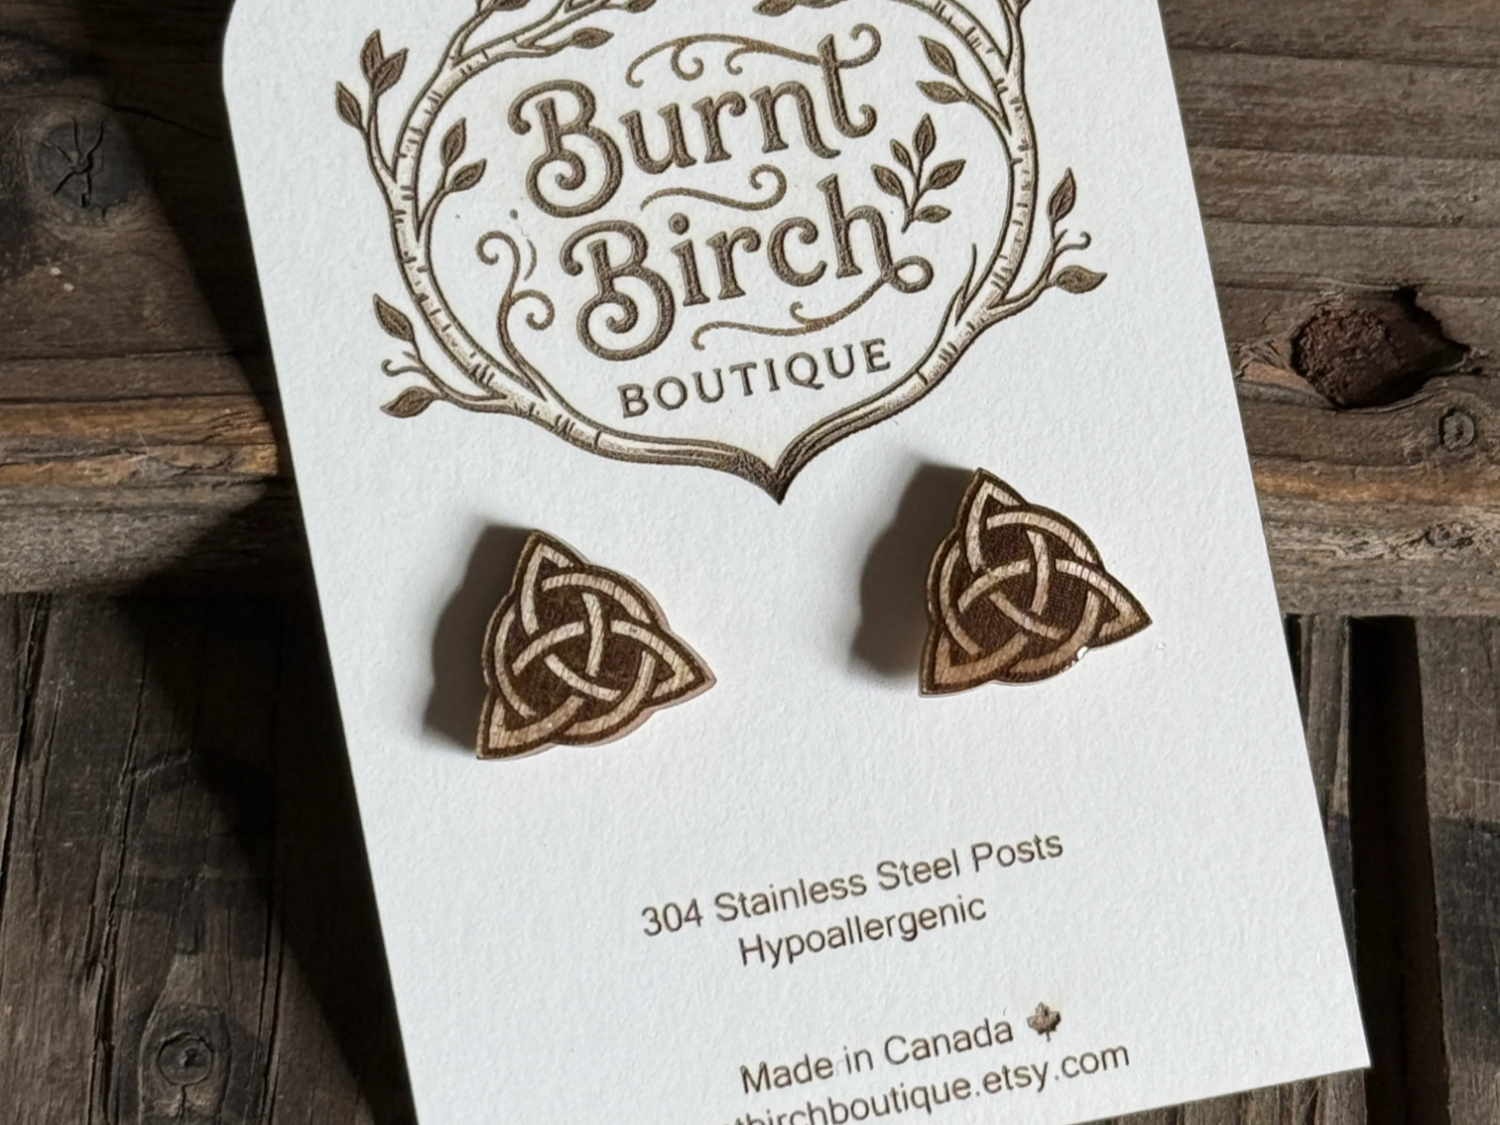
Celtic Trinity Knot Stud Earrings


Simple Heart Shape Stud Earring


Laser Cut Heart Shaped Cat Face earring


Laser Cut Dog Face Earrings Studs Wooden Engraved


Face with Sunglasses Stud Earrings


Ghost stud earrings

I Love a Rescue Pet Earring


Pompompurin Cute Puppy Character Dangle Earrings


Custom Laser Cut KPS Logo Stud Earrings in brass 1 mm


Wooden Bat stud Earrings

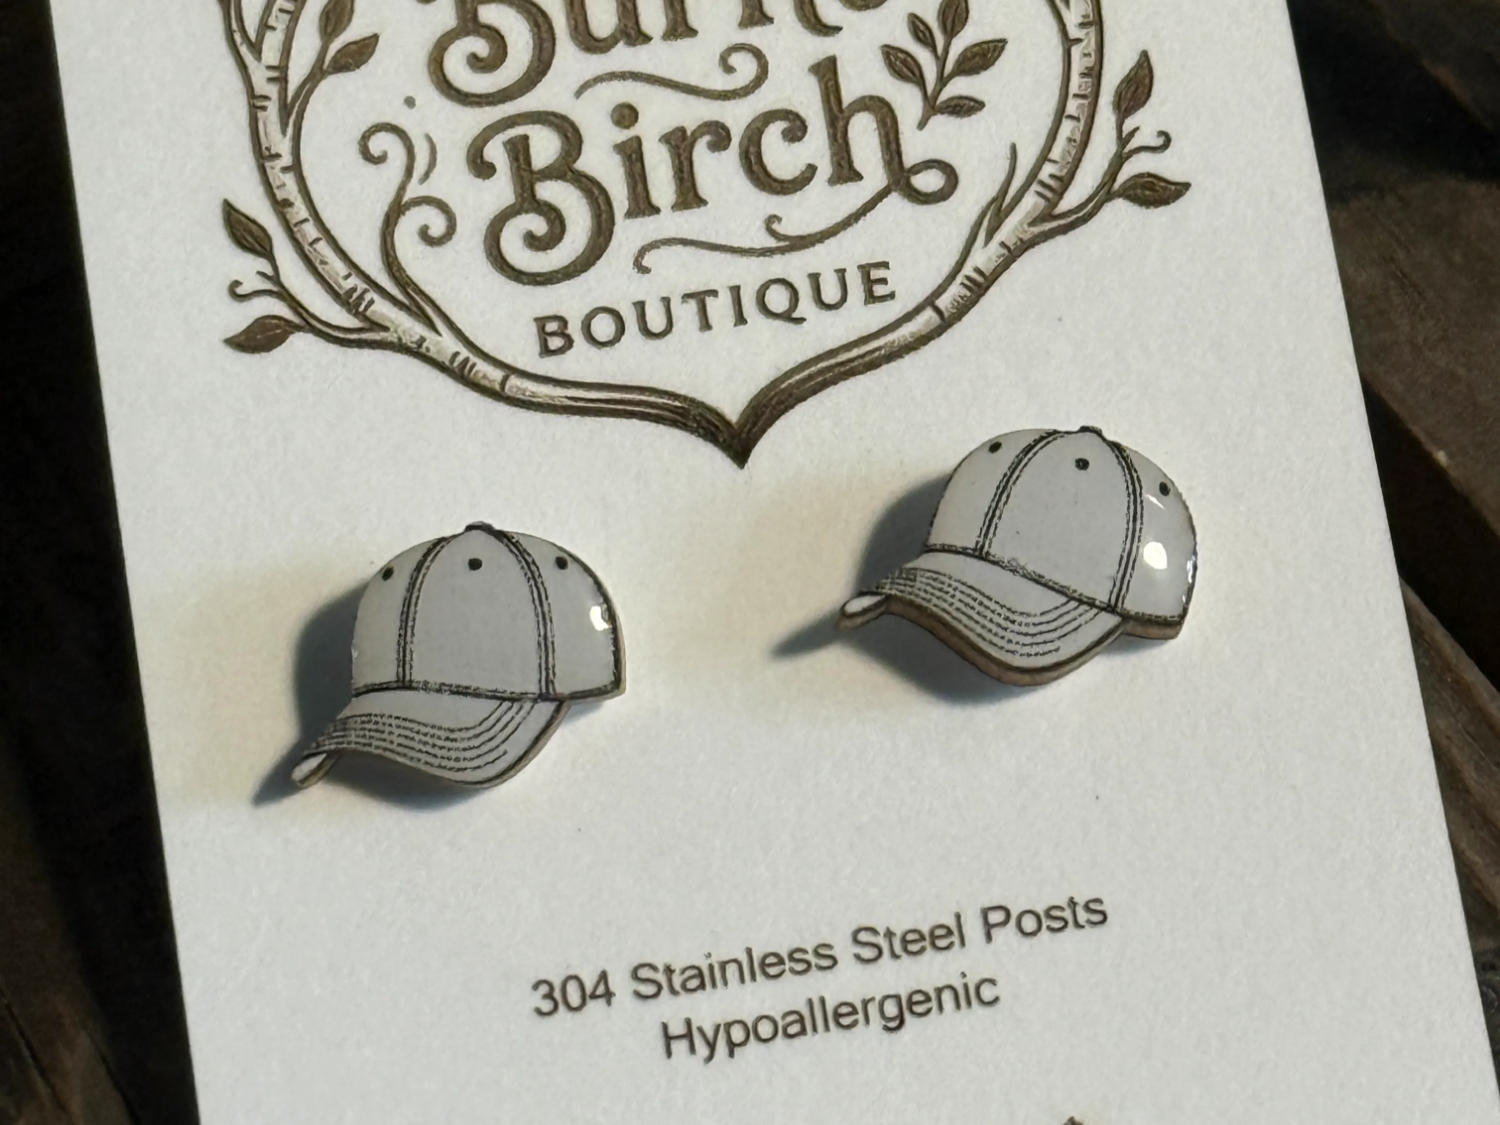
Baseball Cap Stud Earrings
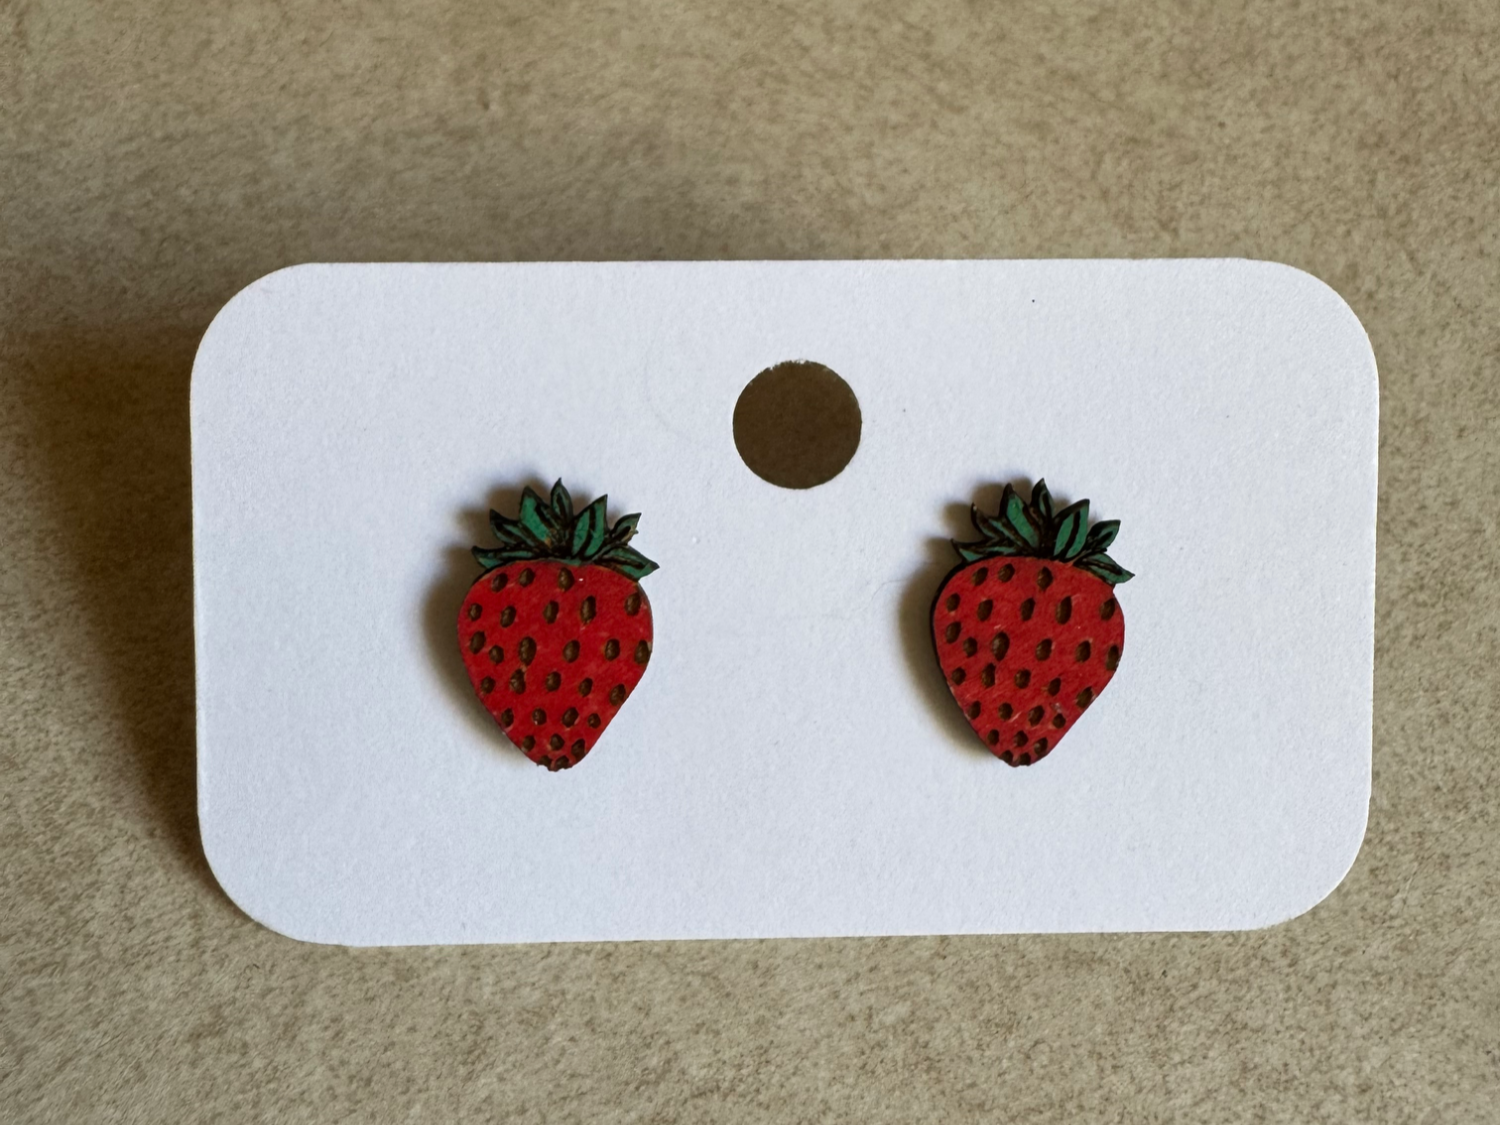
Strawberry Stud Earrings

Ladybug Stud Earring
