
![[Laser cut and engrave] Colorful Laser Cut Happy Easter Wall Hanging Decoration with Bunnies](https://image-res.atomm.com/resource/xtool/community/attachment/xtool-community/a52fa38f-5099-40bb-a700-263a9acd8dd6.jpeg?x-oss-process=image/resize,w_1200,h_900,limit_0/interlace,1/format,webp/auto-orient,1)
![[Laser cut and engrave] Colorful Laser Cut Happy Easter Wall Hanging Decoration with Bunnies](data:image/png;base64,iVBORw0KGgoAAAANSUhEUgAAAAoAAAAKCAYAAACNMs+9AAAAAXNSR0IArs4c6QAAABdJREFUKFNjZCASMBKpjmFUId6QIjp4AAppAAuXjCs4AAAAAElFTkSuQmCC)
![[Laser cut and engrave] Colorful Laser Cut Happy Easter Wall Hanging Decoration with Bunnies](https://image-res.atomm.com/resource/xtool/community/attachment/xtool-community/a52fa38f-5099-40bb-a700-263a9acd8dd6.jpeg?x-oss-process=image/resize,w_200,h_150,limit_0/interlace,1/format,webp/auto-orient,1)
![[Laser cut and engrave] Colorful Laser Cut Happy Easter Wall Hanging Decoration with Bunnies](https://image-res.atomm.com/resource/xtool/community/attachment/xtool-community/a15fec3a-2798-4253-805d-6b6648bdcce4.jpeg?x-oss-process=image/resize,w_200,h_150,limit_0/interlace,1/format,webp/auto-orient,1)
![[Laser cut and engrave] Colorful Laser Cut Happy Easter Wall Hanging Decoration with Bunnies](https://image-res.atomm.com/resource/xtool/community/attachment/xtool-community/61ab3a4e-aa7e-444c-813e-5e729be4832f.jpeg?x-oss-process=image/resize,w_200,h_150,limit_0/interlace,1/format,webp/auto-orient,1)
![[Laser cut and engrave] Colorful Laser Cut Happy Easter Wall Hanging Decoration with Bunnies](https://image-res.atomm.com/resource/xtool/community/attachment/xtool-community/8a6a82ec-3a05-4e49-9ae3-89e2286ace63.jpeg?x-oss-process=image/resize,w_200,h_150,limit_0/interlace,1/format,webp/auto-orient,1)
Laser Cut Happy Easter Hanging Decoration with Bunnies and Eggs
 Instruction


Information
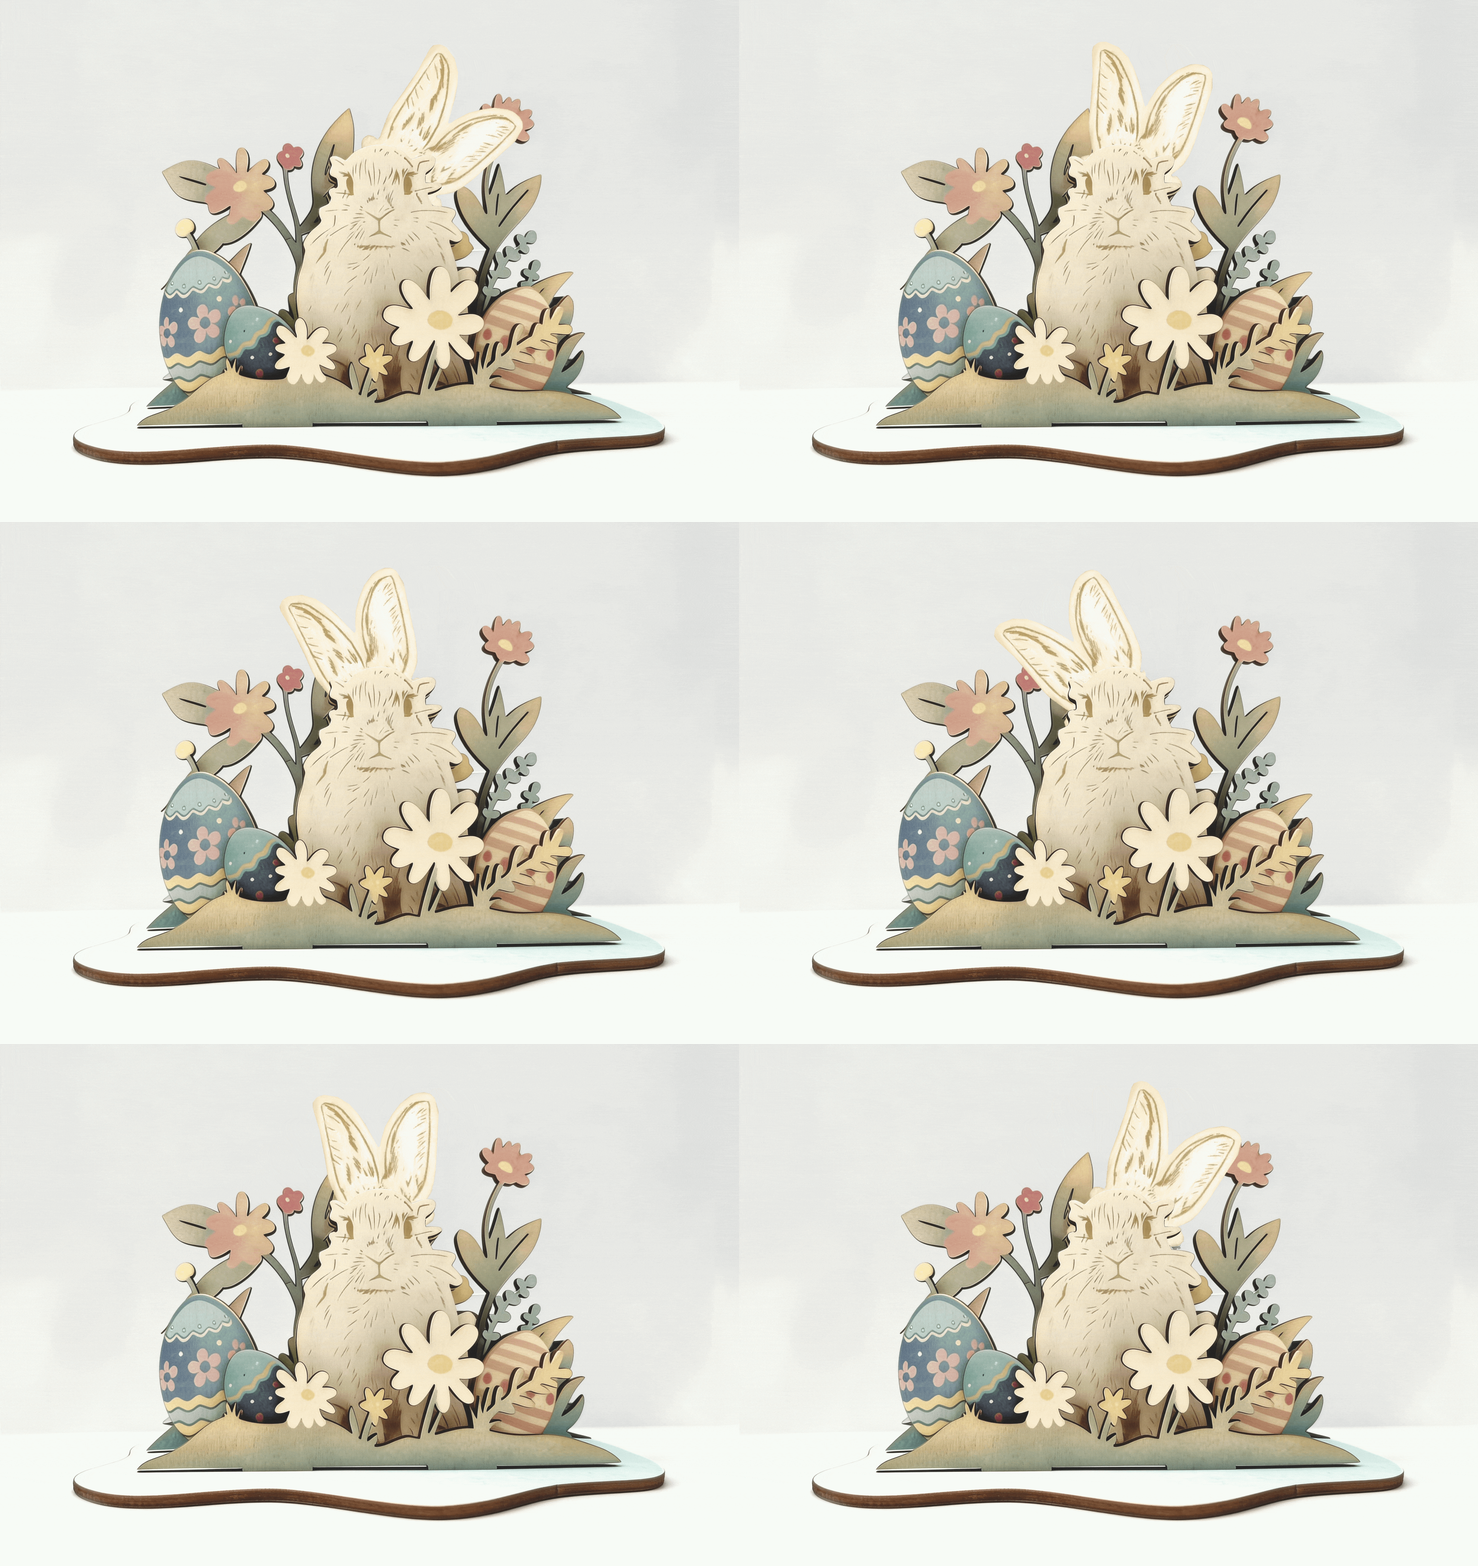
      This Happy Easter decorative sign is a simple and elegant laser-cut project perfect for seasonal décor. The design features smooth script lettering that creates a light and festive look, making it ideal for decorating doors, walls, wreaths, or Easter displays.
The sign was designed to be cut from 3mm basswood plywood, which provides a clean cut and a natural wood finish. After cutting, the piece can be customized with paint, stain, or layered colors to match your Easter decorations. Pastel colors, soft florals, or a natural wood finish all work beautifully with this design.
This project is beginner-friendly and works well for hobbyists using desktop laser machines such as the xTool M1 Ultra 10W. It’s a quick project that produces a charming handmade decoration for spring.
Instruction
Step1
Step 1 – File Preparation
Open the design file in xTool Creative Space or your preferred laser software.
The file is organized for cutting
Confirm that the cut lines are set to the correct layer settings for your machine.
⚠️ Do not resize the file unless you adjust the slot or support thickness accordingly. Resizing may affect proportions and structural balance.
Step2

Step 2 – Material Setup
Recommended material:
3mm basswood plywood
Before starting the cut:
Place the wood flat on the laser bed.
Ensure the material is clean and free from dust or debris.
Confirm proper focus and calibration for your machine.
If using a different laser machine, run a small test cut first to confirm settings.
Step3
Step 3 – Laser Cutting
Load the material into the laser machine.
Align the design on the workspace inside the software.
Frame the design to ensure correct positioning on the material.
Start the cutting process.
⚠️ Always supervise the laser while it is operating.
After cutting:
Carefully remove the sign from the machine.
Remove any small pieces remaining in the letters
Step4

Step 4 – Finishing
After cutting, you can finish the sign in several ways:
Lightly sand the edges if needed.
Paint the sign with pastel Easter colors.
Apply wood stain for a natural rustic look.
Seal with clear spray or acrylic sealer for protection.
Optional decorations include:
Small flowers
Ribbon or twine for hanging
Layered painted details
Remixes
License



You may also like

Laser Cut Happy Easter Bunny Egg Table Decoration


'/%3e%3cdefs%3e%3clinearGradient%20id='paint0_linear_1433_15726'%20x1='12'%20y1='5.25'%20x2='12'%20y2='18.75'%20gradientUnits='userSpaceOnUse'%3e%3cstop%20stop-color='%23FFC654'/%3e%3cstop%20offset='1'%20stop-color='%23FF8D12'/%3e%3c/linearGradient%3e%3c/defs%3e%3c/svg%3e)
Laser Cut Easter Bunny and Eggs Table Decoration


Laser Cut Layered Easter Cross Decoration with Bunny Ears and Colorful Eggs


Easter Bunny Laser Cut File | Bunny Egg Stand Laser Cut | Easter Wreath SVG


Laser Cut Happy Easter Bunny Egg Ornament Decoration


Easter Egg Hanging Ornament with Bunny and Flower Motif


Laser Cut Wooden Easter Bunny Egg Holder with Colorful Eggs


Laser Cut Wooden Easter Bunny Shelf Sitter Decoration (Easter Rabbit Decor)


Easter Egg Ornament Laser Cut. Three-Layer Easter Decoration. Easter Bunny. Hanging Decoration


Easter Bunny Ornament with Egg


Colorful Laser Cut Easter Gnome Holding Painted Striped Egg Decoration


'/%3e%3cdefs%3e%3clinearGradient%20id='paint0_linear_1433_15675'%20x1='12'%20y1='3.25'%20x2='16.6891'%20y2='20.75'%20gradientUnits='userSpaceOnUse'%3e%3cstop%20stop-color='%23FF5D80'/%3e%3cstop%20offset='1'%20stop-color='%23FF0035'/%3e%3c/linearGradient%3e%3c/defs%3e%3c/svg%3e)
Laser Cut Easter Bunny Window Ornament

Easter Stand Laser Cut. Easter Time. Decorative Sign with Eggs and Carrot. Desk Decor. Happy Easter SVG


Laser Cut Spring Time Bunny Window Hanging Decoration

Laser Cut Wooden Easter Wall Hanging Decoration with Bunny and Girl


Laser Cut Wooden Bunny Egg Holder Easter Decoration

Laser Cut Easter Bunny Cross Table Decoration on Wooden Base


Laser Cut Easter Egg Decoration with Bunny and Floral Design
