
Report
![[Laser cut and engrave] A Letter to Father & Movable Envelope](https://image-res.atomm.com/resource/xtool/community/attachment/xtool-community/0e612180-6984-433f-a91a-c52303f0e5c4?x-oss-process=image/resize,w_1200,h_900,limit_0/interlace,1/format,webp/auto-orient,1)
![[Laser cut and engrave] A Letter to Father & Movable Envelope](data:image/png;base64,iVBORw0KGgoAAAANSUhEUgAAAAoAAAAKCAYAAACNMs+9AAAAAXNSR0IArs4c6QAAABdJREFUKFNjZCASMBKpjmFUId6QIjp4AAppAAuXjCs4AAAAAElFTkSuQmCC)
![[Laser cut and engrave] A Letter to Father & Movable Envelope](https://image-res.atomm.com/resource/xtool/community/attachment/xtool-community/0e612180-6984-433f-a91a-c52303f0e5c4?x-oss-process=image/resize,w_200,h_150,limit_0/interlace,1/format,webp/auto-orient,1)
![[Laser cut and engrave] A Letter to Father & Movable Envelope](https://image-res.atomm.com/resource/xtool/community/attachment/xtool-community/f0a268b2-2452-4e59-b9cf-89ae6d00e7c4.png?x-oss-process=image/resize,w_200,h_150,limit_0/interlace,1/format,webp/auto-orient,1)
![[Laser cut and engrave] A Letter to Father & Movable Envelope](https://image-res.atomm.com/resource/xtool/community/attachment/xtool-community/bbecc13d-69d6-4ec2-8ca2-521280ec39ad.png?x-oss-process=image/resize,w_200,h_150,limit_0/interlace,1/format,webp/auto-orient,1)
![[Laser cut and engrave] A Letter to Father & Movable Envelope](https://image-res.atomm.com/resource/xtool/community/attachment/xtool-community/1655e71f-4adc-4edf-85ee-13a01c4bcef8.png?x-oss-process=image/resize,w_200,h_150,limit_0/interlace,1/format,webp/auto-orient,1)
A Letter to Father & Movable Envelope
 Second Prize in 2025 Father's Day Contest
 Instruction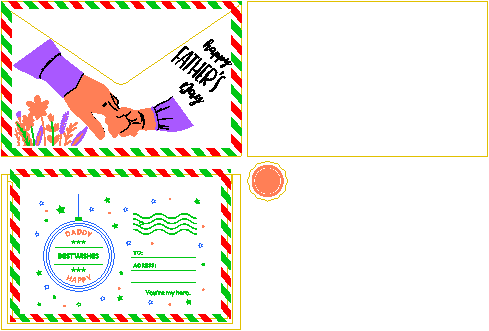
Alettertomyfather
.xcs
Application scenario
Laser processing
Machine & module

xTool D1 Pro
20WCompatible xTool Machine
New
M2
10W, 20WF2 Ultra UV
5WF2
15WP3
80WF2 Ultra
40WF1 Ultra
20WM1
5W, 10WD1
5W, 10W, 20WD1 Pro
5W, 10W, 40WP2
55WF1
10WS1
10W, 20W, 40WM1 Ultra
10W, 20WP2S
55WMaterial used

1/8"(3mm) Basswood Plywood

386
4378
Information
      Product Description:
Father's Day is coming soon I made a letter to my father through laser processing, I hope he is always healthy and happy!
Product Dimensions:
Length: 120mm, width 75mm, height 9mm
Instruction
1
Step1: Prepare the following materials

Preview
Materials required are.
1. XCS file cut wood pieces
2
Step2: Installation of envelope dividers

Preview

Preview

Preview
Install the envelope dividers as shown in the picture and secure with glue
Note:
Don't drop too much glue
3
Step3: Installation of envelope flaps

Preview

Preview

Preview
Install the envelope flap according to the illustration and drop of glue
Note:
Don't drop too much glue
4
Step4: Installation Letters

Preview

Preview

Preview
Install the letter according to the illustration and drop of glue
Note:
Don't drop too much glue
5
Step5: Installation of Envelope Clasp Trim

Preview

Preview

Preview
2 More images
Attach the envelope clasp trim according to the diagram and drop of glue
Note:
1. Don't drop too much glue
2.If sliding the envelope up and down is not smooth, you can put a drop of lubricant on the back of the envelope, this will help the envelope slide
Comments
Remixes



You may also like

Envelope with Heart-Shaped Closure

71
386

May Birth Flower Gift Card Holder

12
65

Father's Day Greeting Card

1
14

A birthday gift of money

189
1161

Laser Engraved Wooden Father's Day Greeting Card

3
23

Merry Christmas Money Holder Card with Festive Design

98
611

Thistle invitation envelope
10
61

Christmas Pop-up Card

89
274

$2.99
$2.99
Credits299
Mother's Day Gift Card Holder Laser Cut

6

GIF
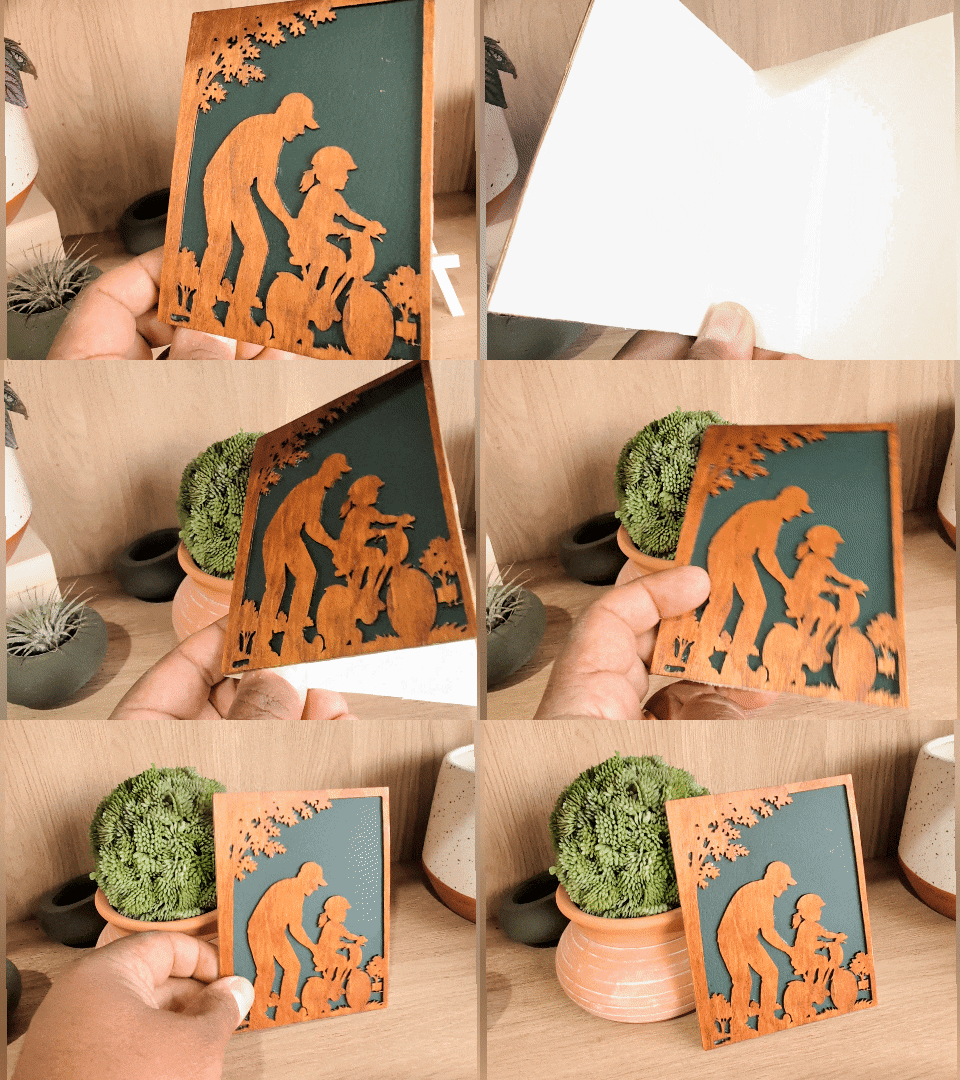
Dad Teaching Daughter to Ride a Bike – Wooden Father’s Day Greeting Card

22
47

Merry Christmas Framing Picture

34
9

Father's Day Post Card for Fishermen

0
1

Christmas gift / greeting card

30
110

Christmas Pop-Out Card Laser Cut. Greeting Card. 3D Christmas Ornament. Xmas Characters. Cat in the Christmas Wreath

21
67

Christmas Card

4
29

Personalized Laser Cut Wedding Card
.jpg?x-oss-process=image/resize,m_fill,w_240,h_240,limit_0/interlace,1/format,webp/auto-orient,1)
12
48

Money Card For Christmas | GER+ENG

134
554

Birthday Card Paper Cutting Craft

6
101