Report
![[Laser cut and engrave] Leather Hat Patches Cut Files](https://image-res.atomm.com/resource/xtool/community/attachment/xtool-community/f7103d12-1dd2-4eb5-af33-8fbedcfb718e?x-oss-process=image/resize,m_fill,w_1280,h_960,limit_0/interlace,1/format,webp/auto-orient,1)
![[Laser cut and engrave] Leather Hat Patches Cut Files](data:image/png;base64,iVBORw0KGgoAAAANSUhEUgAAAAoAAAAKCAYAAACNMs+9AAAAAXNSR0IArs4c6QAAABdJREFUKFNjZCASMBKpjmFUId6QIjp4AAppAAuXjCs4AAAAAElFTkSuQmCC)
![[Laser cut and engrave] Leather Hat Patches Cut Files](https://image-res.atomm.com/resource/xtool/community/attachment/xtool-community/f7103d12-1dd2-4eb5-af33-8fbedcfb718e?x-oss-process=image/resize,m_fill,w_160,h_120,limit_0/interlace,1/format,webp/auto-orient,1)
![[Laser cut and engrave] Leather Hat Patches Cut Files](https://image-res.atomm.com/resource/xtool/community/attachment/xtool-community/2b5537d7-2d71-4897-810e-96fd0d79dbae/img_v3_02f6_ede10c9d-e924-4e10-bacb-f22999d1cb8g.jpg?x-oss-process=image/resize,m_fill,w_160,h_120,limit_0/interlace,1/format,webp/auto-orient,1)
![[Laser cut and engrave] Leather Hat Patches Cut Files](https://image-res.atomm.com/resource/xtool/community/attachment/xtool-community/d8c566f1-8133-4f30-a011-86427060ecf1/img_v3_02f7_f576998f-c575-458e-ad9d-589395dc686g.jpg?x-oss-process=image/resize,m_fill,w_160,h_120,limit_0/interlace,1/format,webp/auto-orient,1)
![[Laser cut and engrave] Leather Hat Patches Cut Files](https://image-res.atomm.com/resource/xtool/community/attachment/xtool-community/ea770543-9bce-4c38-aa1c-50b4c96a55b5/img_v3_02f7_484103c9-ea9c-4cb9-b599-9d65a631ed6g.jpg?x-oss-process=image/resize,m_fill,w_160,h_120,limit_0/interlace,1/format,webp/auto-orient,1)
Leather Hat Patches Cut Files
 Instruction
HatPatch3
.xcs
Application scenario
Laser processing (20min)
Machine & module

xTool F1 Ultra
20WCompatible xTool Machine
P3
F2
F2 Ultra UV
F2 Ultra(Single)
F2 Ultra
F1
F1 Lite
S1
P2S
P2
M1 Ultra
M1
D1 Pro 2.0
D1 Pro
D1
Laserbox
M2
Material used

Rectangular Laserable Leatherette Iron-on Patch-76*51mm/85*85mm-Black to Sliver-10pcs

65
2624
Information
In an age where everyone wants to be different, we've come up with a new satirical hat sticker set that will make you stand out from the crowd. These designs are more than just decorative, they are a spark of wit and a clever response to the little absurdities of everyday life.
Instruction
1
Step1: Import the XCS file

Preview
Start the machine, open the xTool Creative Space on the computer, drag in the required XCS file, adjust the parameters.
F1 Ultra
laser type:blue light
power: 15
speed: 40
lines per cm:120
pass: 1
2
Step2: Laser engraving

Preview
Place the consumables to be engraved, take the distance, walk the border to determine the scope, and drag the pattern onto the consumables.
3
Step3: Clean

Preview
Sterilize the laser engraved caps with alcohol wipes.
4
Step4: Finish

Preview
.jpg?x-oss-process=image/resize,m_fill,w_640,h_480,limit_0/interlace,1/format,webp/auto-orient,1)
Preview

Preview
Thus you have completed the laser engraved ironic and funny leather hat sticker, place him in your home for decoration!
NOTE:
Do not touch the finished cap sticker immediately to prevent high temperature burns.
Comments
Remixes



You may also like

Leather Alberta patch

13
117

Fire Department Leather Patch

39
161

leather Patch

60
293

Brown Leather PU Patch

0
15

6 Leather Patch Designs

70
483

Diamond Leather Patch with Stitching Holes

4
33

Leather patch for hats and apparel

1
2

Leather Patch Repair

20
165
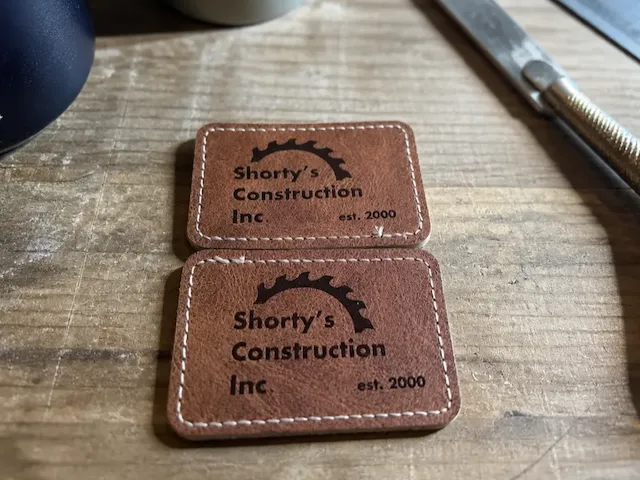
Shorty's Construction Inc. Rectangular Faux Leather Patch

0
0

Leather Patch

55
205

The Breakfast Club of Spring Hill Rectangular Leather Patch

0
4

Antler Leather Patch
9
52

Leather patch Two tones Effect

20
142

Faux leather patch with 'No, is a complete sentence'
.jpg?x-oss-process=image/resize,m_fill,w_80,h_80,limit_0/interlace,1/format,webp/auto-orient,1)
15
94

Custom Patch Hats

4
11

Handcrafted Leather Label Patch with Stitching Holes
17
88

Leather patch

0
0

Leather Hat Patch

2
31