
Report
![[Laser cut and engrave] Staycreativeforever Cake Topper](https://image-res.atomm.com/resource/xtool/community/attachment/xtool-community/61ee95a8-5c7c-4f9a-b1ec-f7ac108a44ff?x-oss-process=image/resize,w_1200,h_900,limit_0/interlace,1/format,webp/auto-orient,1)
![[Laser cut and engrave] Staycreativeforever Cake Topper](data:image/png;base64,iVBORw0KGgoAAAANSUhEUgAAAAoAAAAKCAYAAACNMs+9AAAAAXNSR0IArs4c6QAAABdJREFUKFNjZCASMBKpjmFUId6QIjp4AAppAAuXjCs4AAAAAElFTkSuQmCC)
![[Laser cut and engrave] Staycreativeforever Cake Topper](https://image-res.atomm.com/resource/xtool/community/attachment/xtool-community/61ee95a8-5c7c-4f9a-b1ec-f7ac108a44ff?x-oss-process=image/resize,w_200,h_150,limit_0/interlace,1/format,webp/auto-orient,1)
![[Laser cut and engrave] Staycreativeforever Cake Topper](https://image-res.atomm.com/resource/xtool/community/attachment/xtool-community/9485a7d3-e7b1-4681-8822-e3415d4e8f52/image (44).png?x-oss-process=image/resize,w_200,h_150,limit_0/interlace,1/format,webp/auto-orient,1)
![[Laser cut and engrave] Staycreativeforever Cake Topper](https://image-res.atomm.com/resource/xtool/community/attachment/xtool-community/ecc34060-269c-4ecd-bc7b-b6fa2a195db3/image (42).png?x-oss-process=image/resize,w_200,h_150,limit_0/interlace,1/format,webp/auto-orient,1)
![[Laser cut and engrave] Staycreativeforever Cake Topper](https://image-res.atomm.com/resource/xtool/community/attachment/xtool-community/cf221aa0-c2a6-4b7f-ac52-4c9f2224f059/image (40).png?x-oss-process=image/resize,w_200,h_150,limit_0/interlace,1/format,webp/auto-orient,1)
Staycreativeforever Cake Topper
 Instruction
Staycreativeforevertopper
.xcs
Application scenario
Laser processing (20min)
Machine & module

xTool P2
55WMaterial used

Gold Mirror Acrylic

41
1608
Information
For this special day, we have crafted this one-of-a-kind cake topper that is not only meant to embellish the cake, but also to celebrate a wonderful beginning. The exquisite design is paired with sparkling materials to make every moment glowing.
Instruction
1
Step1: Import the XCS file

Preview
Start the machine, open the xTool Creative Space on the computer, drag in the required XCS file, adjust the parameters.
P2
processing type:cut
power: 100
speed: 14
pass: 1
2
Step2: laser engraving
.png?x-oss-process=image/resize,m_fill,w_1500,h_1125,limit_0/interlace,1/format,webp/auto-orient,1)
Preview
Place the consumables to be engraved, take the distance, walk the border to determine the scope, and drag the pattern onto the consumables.
3
Step3: Cleanse
.png?x-oss-process=image/resize,m_fill,w_1500,h_1125,limit_0/interlace,1/format,webp/auto-orient,1)
Preview
Sterilize and wipe the laser engraved acrylic with alcohol wipes.
NOTE:Do not touch the processed acrylic immediately to prevent high temperature burns.
4
Step4: Finish
.png?x-oss-process=image/resize,m_fill,w_800,h_600,limit_0/interlace,1/format,webp/auto-orient,1)
Preview
.png?x-oss-process=image/resize,m_fill,w_800,h_600,limit_0/interlace,1/format,webp/auto-orient,1)
Preview
This way you will have completed the cake topper, place him in your home for decoration!
Comments
Remixes



You may also like

cake topper one ( first baby year)

7
136

Cake Topper

2
9

Laser Cut Cake Topper - Princess Castle - 4-Ever A Princess

12
54

Cake topper Thanskgiving

29
27

Dance cupcake topper

2
12

'/%3e%3cdefs%3e%3clinearGradient%20id='paint0_linear_1433_15752'%20x1='12.5'%20y1='5'%20x2='12.5'%20y2='19.2596'%20gradientUnits='userSpaceOnUse'%3e%3cstop%20stop-color='%232F7FFF'/%3e%3cstop%20offset='1'%20stop-color='%232661F1'/%3e%3c/linearGradient%3e%3c/defs%3e%3c/svg%3e)
 Template
Personalized Cake Topper

0


Cake topper

0
1
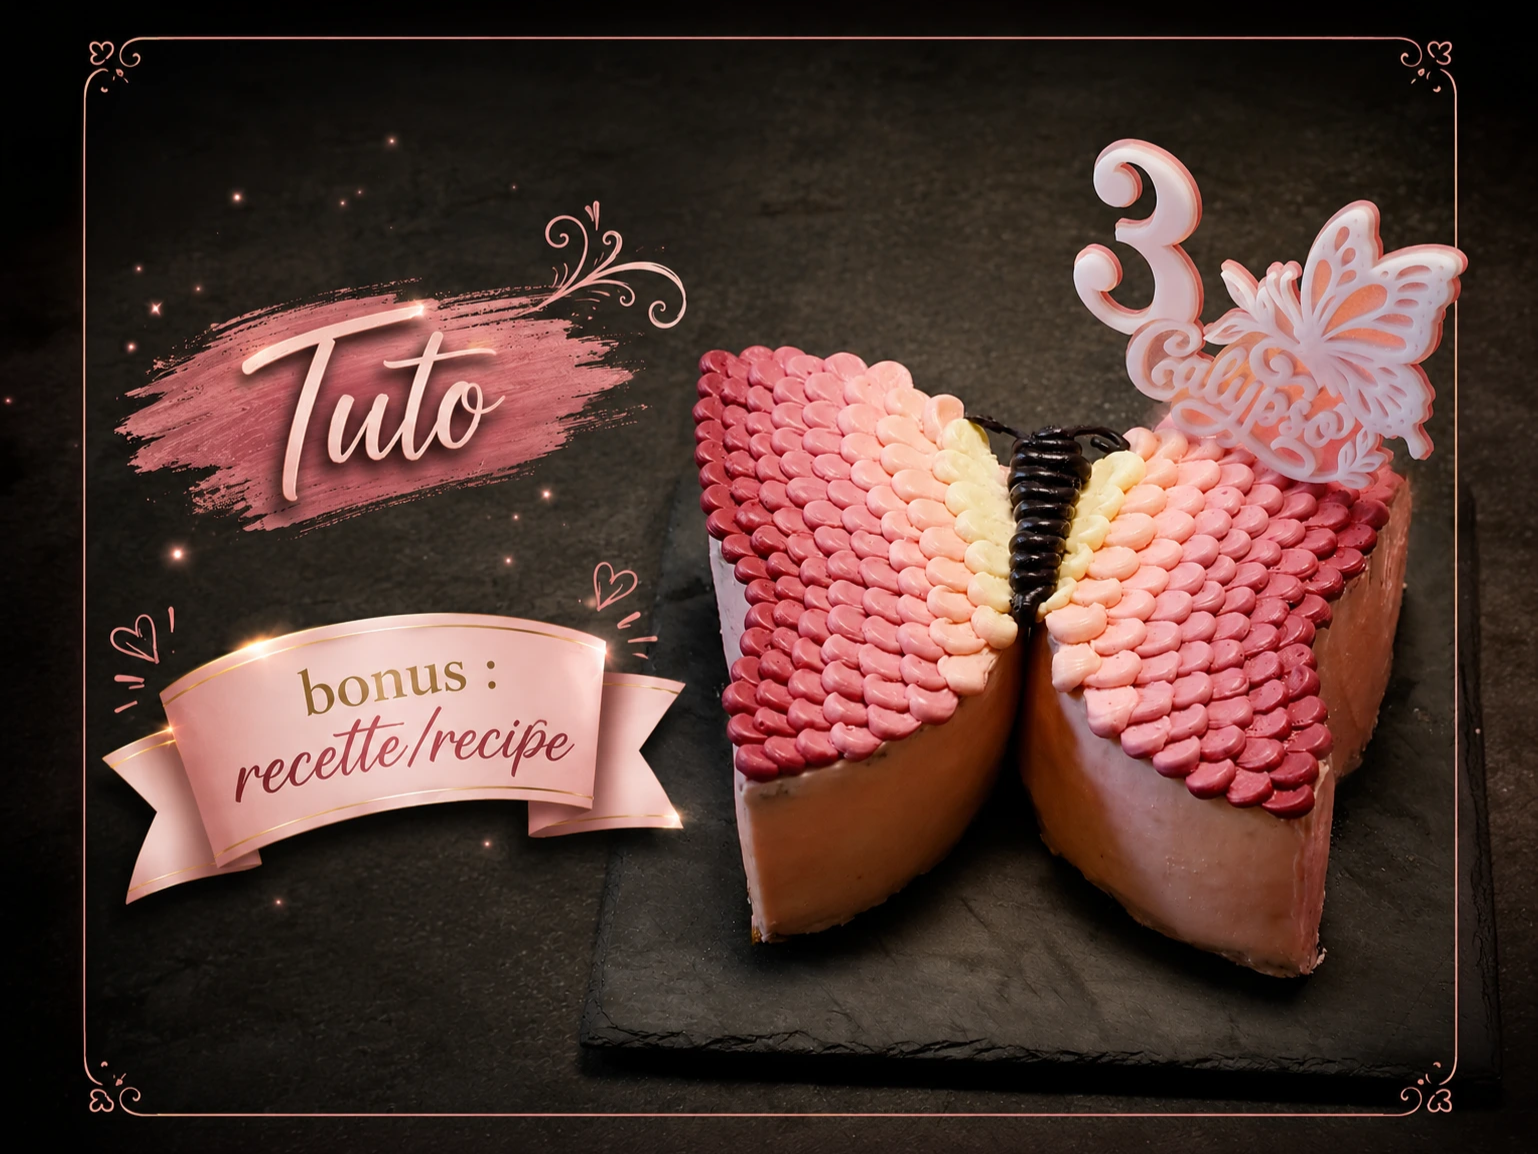
Customization tutorial - create your own butterfly cake topper - Bonus recipe

1
0

$1.99
$1.99
Credits199
Graduation Cake Topper Laser Cut

0

Cake Topper for Cedric 1 Birthday

3
13

Dog Number Cake Topper SVG Bundle | Puppy Birthday Topper Set | Paw Print Cake Decoration | Laser Cut SVG Files

1
53

Cheers to 20 Twice Cake Topper

0
0

Laser Cut Merry Christmas Cake Topper for Christmas

1
7

Welcome cake with baby illustration in plastic container

11
29

Bowling cupcake topper with Happy Birthday text
1
8
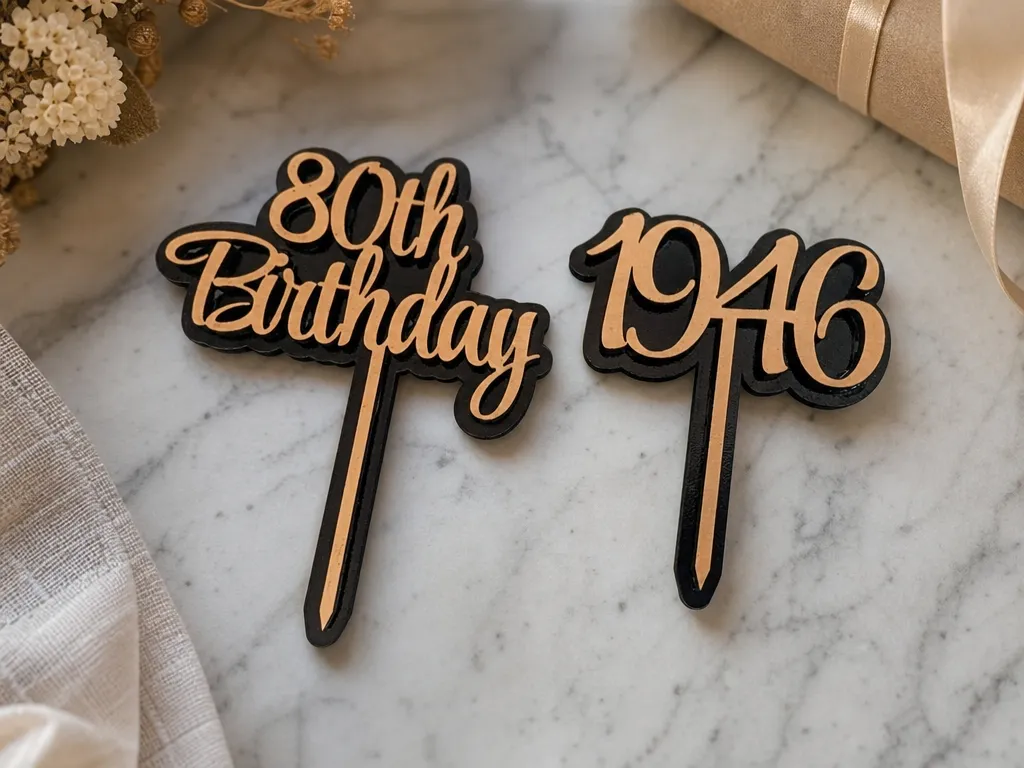
80th birthday and 1946 cup cake toppers

0
7

Laser Cut Customizable Milestone Cake Topper Bundle Happy 21st, 30th, 40th, 50th, 60th, 70th , 80th, 90th & 100th Birthday Cake Topper

4
56

Valentine's Day Cake Topper

0
5