


Why Testing Speed and Power Matters
Every material reacts differently under a laser beam. What works for 3mm birch plywood may burn through thin paper or barely mark acrylic. Without testing, you risk undercutting, overburning, or wasting materials. Proper testing ensures precision, safety, and repeatability.
Create a Test Template Before Every New Material
Before running a big job, test your material first.
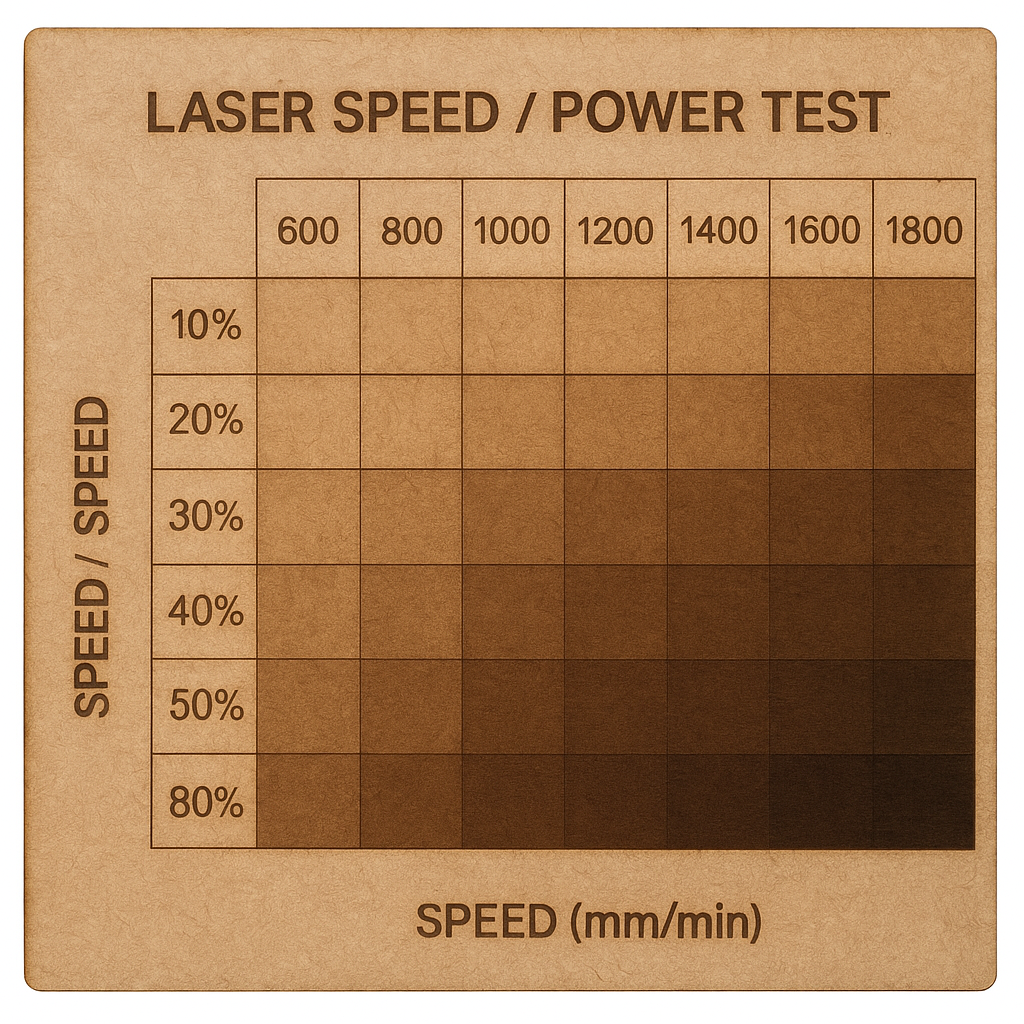
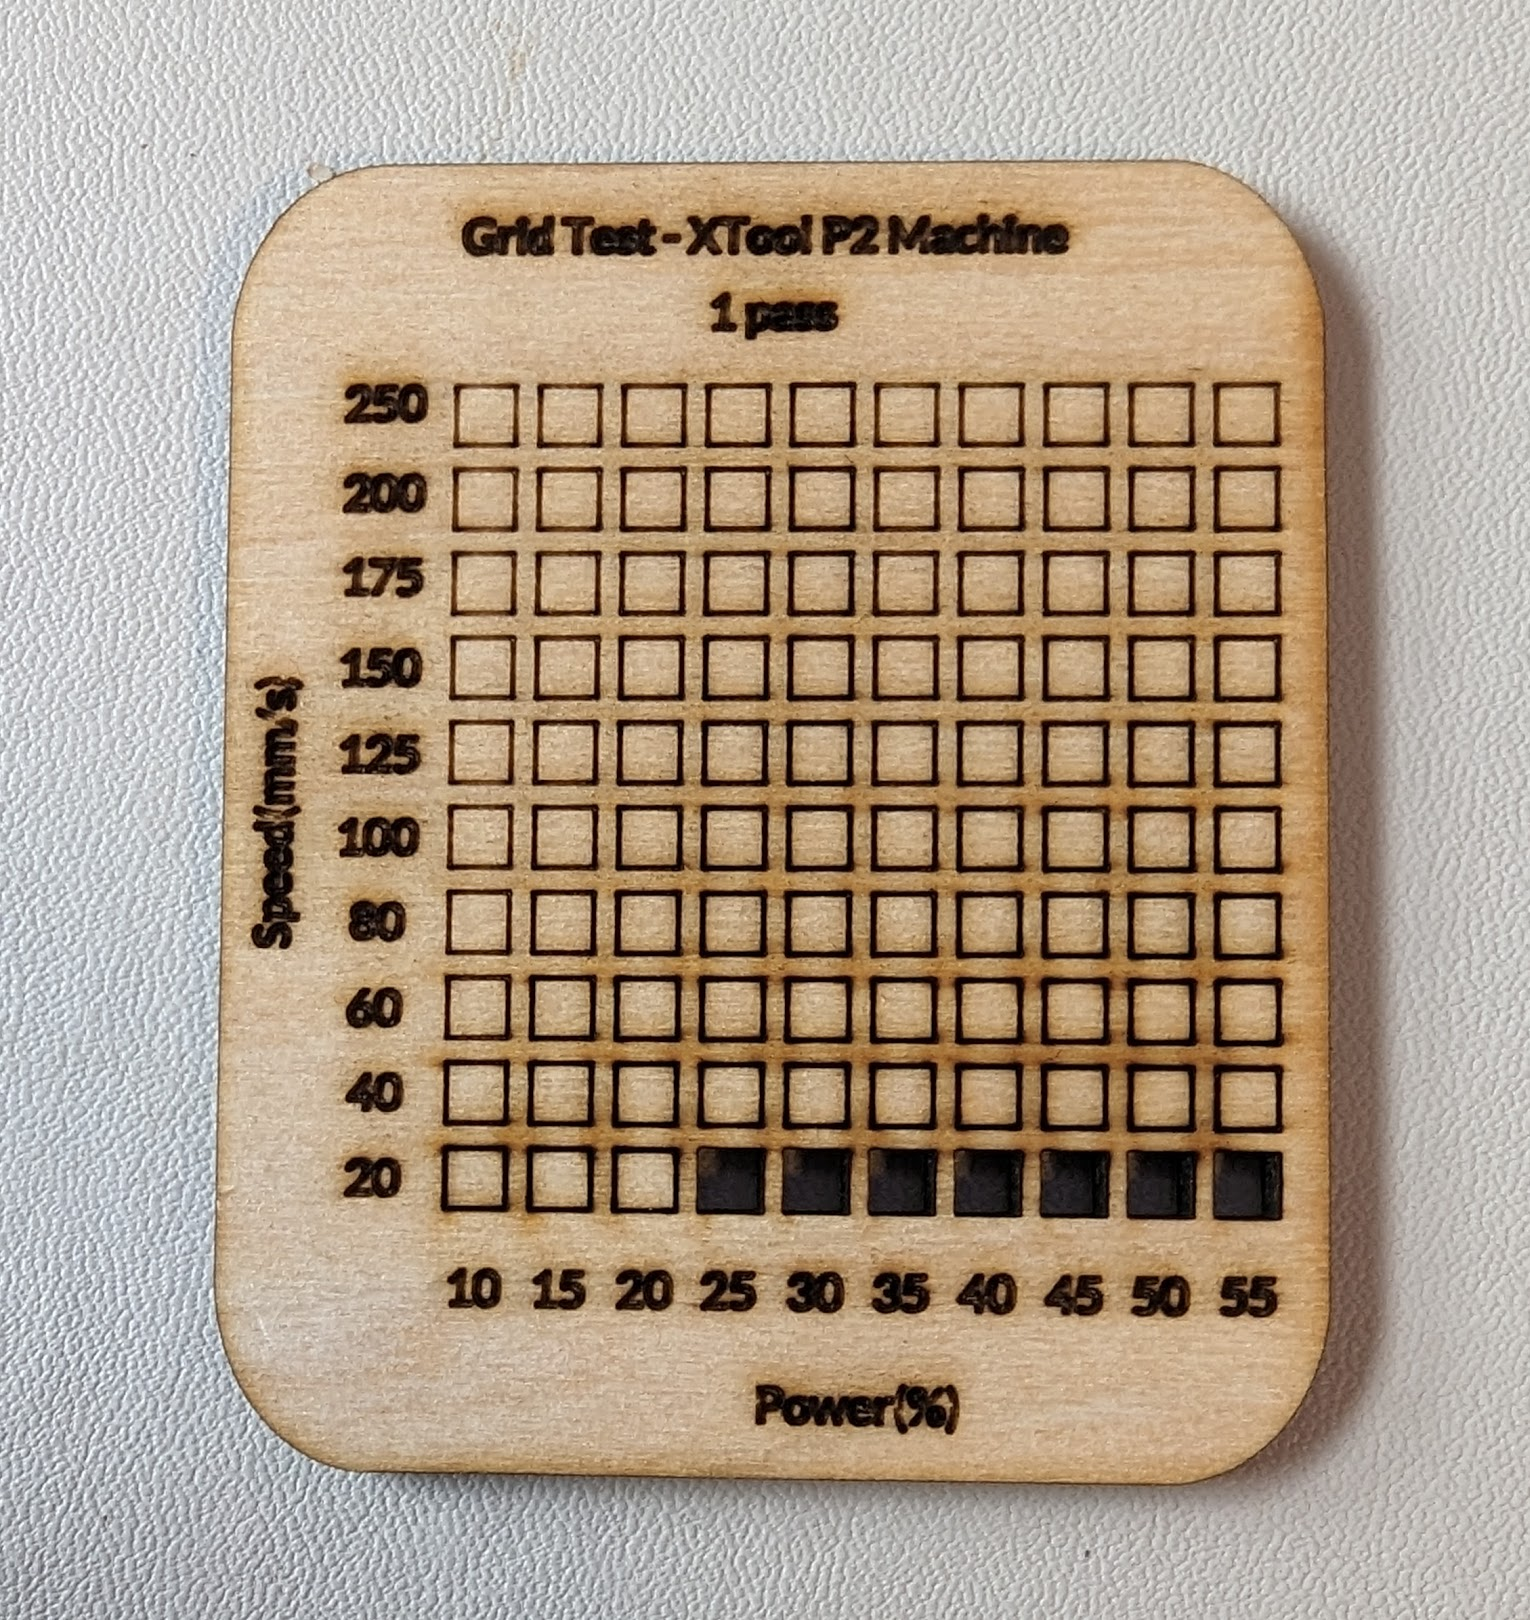
Take a 10×10 cm scrap piece of your material and use a test file that includes:
✅ A grid of squares with different power/speed combos
✅ A mix of cutting, line engraving, and filled engraving
✅ Labeled settings for later reference
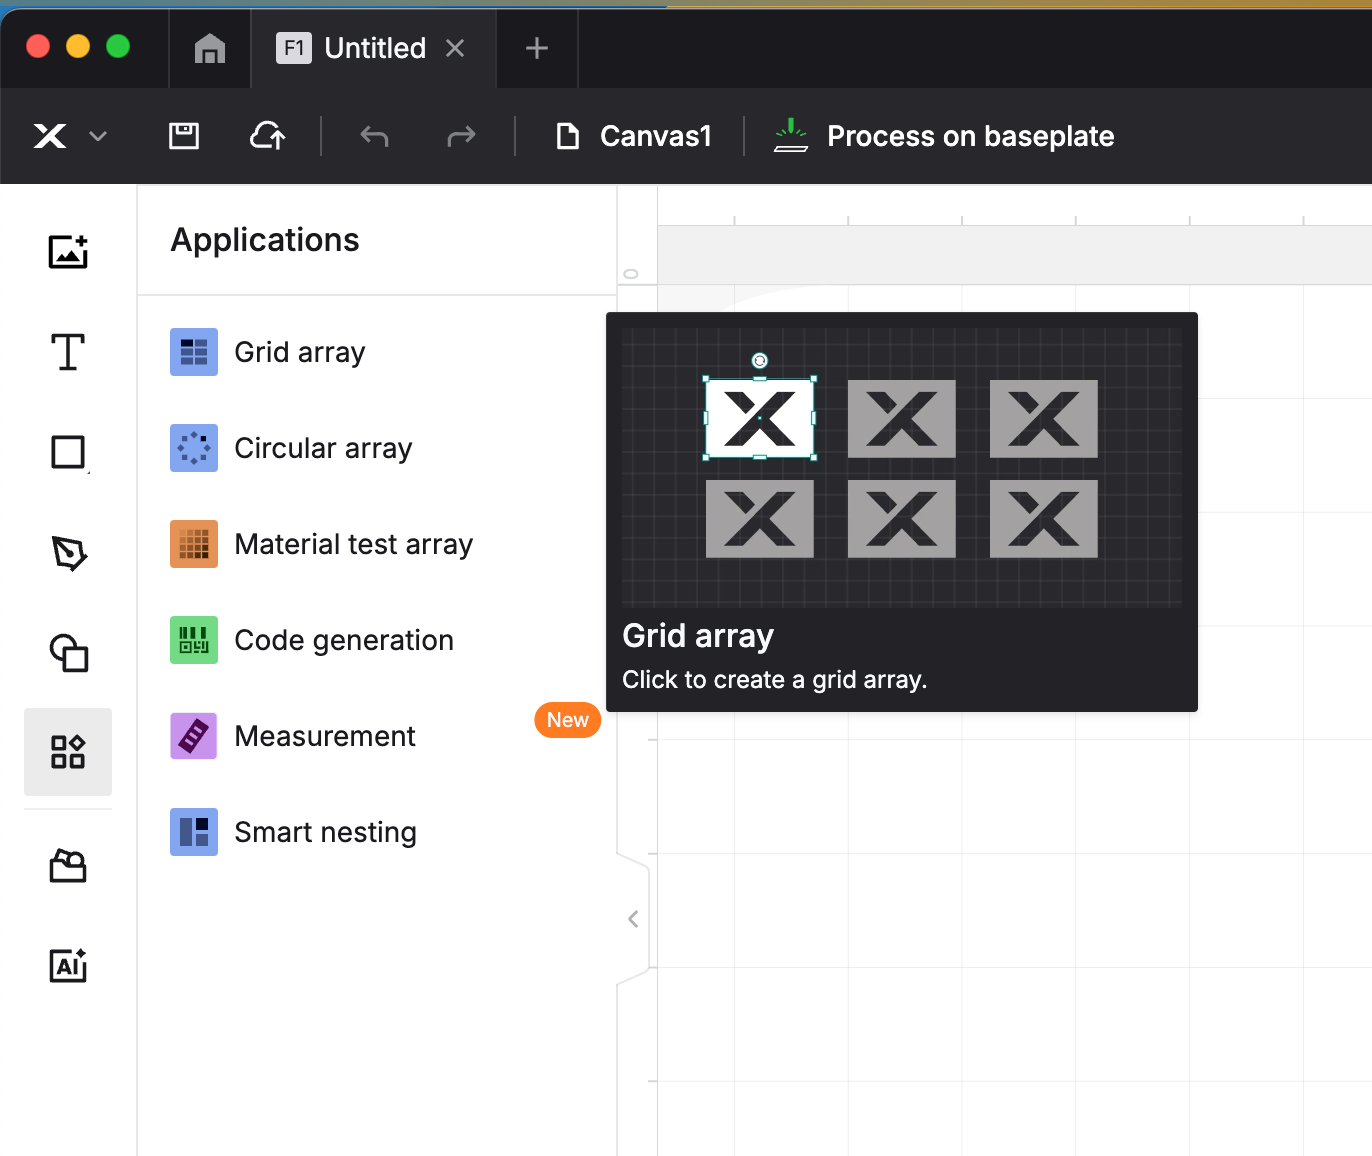
Tools like xTool Creative Space offer test grid generators.
You can also browse test grids shared in the Atomm Community to learn from others' settings before testing your own.
This quick step can save hours of troubleshooting later.
How to Read the Results
When your test finishes, check each square or sample:
- Cut Test: Clean cut with minimal charring, no warping
- Engraving Test: Sharp lines, no burning or over-melting
- Signs of too much power: Burn marks, rough edges, yellowing
- Signs of not enough power: Incomplete cuts, faint engraving
If you’re doing deep engraving or need contrast, you’ll want settings with consistent depth and clean edges.
Suggested Starting Parameters (Reference Only)
🔸 Birch Plywood (3mm)
Engrave: Speed 1500 mm/min, Power 25–35%
Cut: Speed 250 mm/min, Power 90–100%
🔸 Cast Acrylic (3mm)
Engrave: Speed 1000 mm/min, Power 30–50%
Cut: Speed 200 mm/min, Power 95–100%
🔸 Veg-Tanned Leather
Engrave: Speed 1200 mm/min, Power 20–35%
Cut: Speed 300 mm/min, Power 85–95%
✏️ Note: Always adjust based on your machine wattage, lens focus, and material batch.
Frequently Asked Questions
Q: Why does the same material behave differently sometimes?
A: Even the same plywood type can vary in glue, grain, moisture, or density. That’s why testing every batch matters.
Q: Should I turn on air assist when testing?
A: Yes for cutting—air assist helps clear debris and prevent burns. Optional for engraving unless smoke interferes.
Q: When should I re-test settings?
A: Whenever you change:
- Material type
- Thickness
- Focus distance
- Lens, mirror, or power level
Q: I’m still getting burns—what should I do?
A: Try increasing speed, lowering power, or lifting focus slightly to defocus the beam.
Final Tips
Keep a digital or physical logbook of your successful settings. For each material, record:
- Name & source
- Thickness
- Cut/engrave speed
- Power %
- Comments (contrast, edge finish, smell, etc.)
Over time, this “cheat sheet” will help you scale your projects faster and with fewer mistakes.