![[Laser cut and engrave] Summer Craft - Sunflower Hanger](https://image-res.atomm.com/ali-res/community/making/c9e6d6aa-91c2-4f98-9e2a-6996ec81e46d/final_sm.jpg?x-oss-process=image/resize,w_1200,h_900,limit_0/interlace,1/format,webp/auto-orient,1)
![[Laser cut and engrave] Summer Craft - Sunflower Hanger](data:image/png;base64,iVBORw0KGgoAAAANSUhEUgAAAAoAAAAKCAYAAACNMs+9AAAAAXNSR0IArs4c6QAAABdJREFUKFNjZCASMBKpjmFUId6QIjp4AAppAAuXjCs4AAAAAElFTkSuQmCC)
![[Laser cut and engrave] Summer Craft - Sunflower Hanger](https://image-res.atomm.com/ali-res/community/making/c9e6d6aa-91c2-4f98-9e2a-6996ec81e46d/final_sm.jpg?x-oss-process=image/resize,w_200,h_150,limit_0/interlace,1/format,webp/auto-orient,1)
![[Laser cut and engrave] Summer Craft - Sunflower Hanger](https://image-res.atomm.com/ali-res/community/making/b192130b-b047-4cf5-b2c2-89c09dff55e1/final_sm.jpg?x-oss-process=image/resize,w_200,h_150,limit_0/interlace,1/format,webp/auto-orient,1)
Summer Craft - Sunflower Hanger
 Instruction


Information
I wanted to include my son in some of these projects, as I tend to do with these events. My son wanted to make his mother a sunflower hanger for his mother for the summer craft project.
Instruction
Step1: Select A Good Flower Image

The first step is just finding a good flower image (or any image, really). One that has a decent contrast between the background and the foreground, so that you may create a distinction when it comes time to trace it.
Step2: Image Adjustments


The second step involves inverting the image (if necessary) and adjusting the grayscale slider to get the edges of the image defined nicely to make the tracing come out good. The settings I used are in the second screenshot.
Step3: Image Trace

Trace your image using the built-in feature. If you've done your work outside of XCS, you probably already have an SVG file of your shape. This is where you'd bring your file in (skipping the previous steps).
You will separate the resulting trace path from the image and delete the image from the project file as it is no longer needed once the trace is done.
Step4: Create Circle Cutout


In order to make the web-like suspension in the middle, if you wish to do that, you'll create a shape for the cutout in the size you wish to use. Once you've sized it up right, you'll use the Combine tool and do a Combine>Subtract at Overlap.
Step5: Create Outlines, Suspend Shape, and Loom Holes


At this point, you're going to create the outlines of the overall shape of the flower. These two outlines are going to become the background of the piece once you add the hanger loop.
After adding the hanger loop to the top of the outer outline, you'll create a small circle and create a circular array (or line them up however you like, be creative!)
Step6: Add Outline to Detail Layer if Needed!

You may need to add an outline to the detail layer if needed to hold all the delicate things together. I added one, but should have made it a bit thicker, as the pieces were thin and we were painting with craft paint. If you are spray painting and using spray adhesive on the back of the detail layer, it may not be an issue.
Have fun!
Remixes


You may also like

Summer Shadow box


Week 1 Summer Craft: Sometimes life is a beach...#summercrafts


Laser Cut Wooden Sunflower Wall Decor Hanging / Tournesol

Summer Vibes

3D Heart with Sunshine, Rolling Hills, and Sunflowers

Summer sign

Summer Ice Cream Sign, Old Fashioned Ice Cream, Ice Cream Sign
.PNG?x-oss-process=image/resize,m_fill,w_240,h_240,limit_0/interlace,1/format,webp/auto-orient,1)

Gnomeo Summer


3D Sunflower tier tray decor bundle. Kitchen sign laser cut. Summer tiered tray set. Wall sign svg. Sunflower quotes. Wooden home decor


Summer Sign Deco


Summer Svg | Beach Svg | Summertime Svg | Palm Tree Svg


Summer To-Do List

Fun Summer Sign


Hello Summer sign


Hello Summer | Summer Svg | Beach Svg | Summertime Svg | Vacation Svg


Surf Layered Design SVG, Summer SVG Design, Surf Wall Art, Surfboard Layered SVG


Update your home decor with these bright, cheerful summer-themed signs

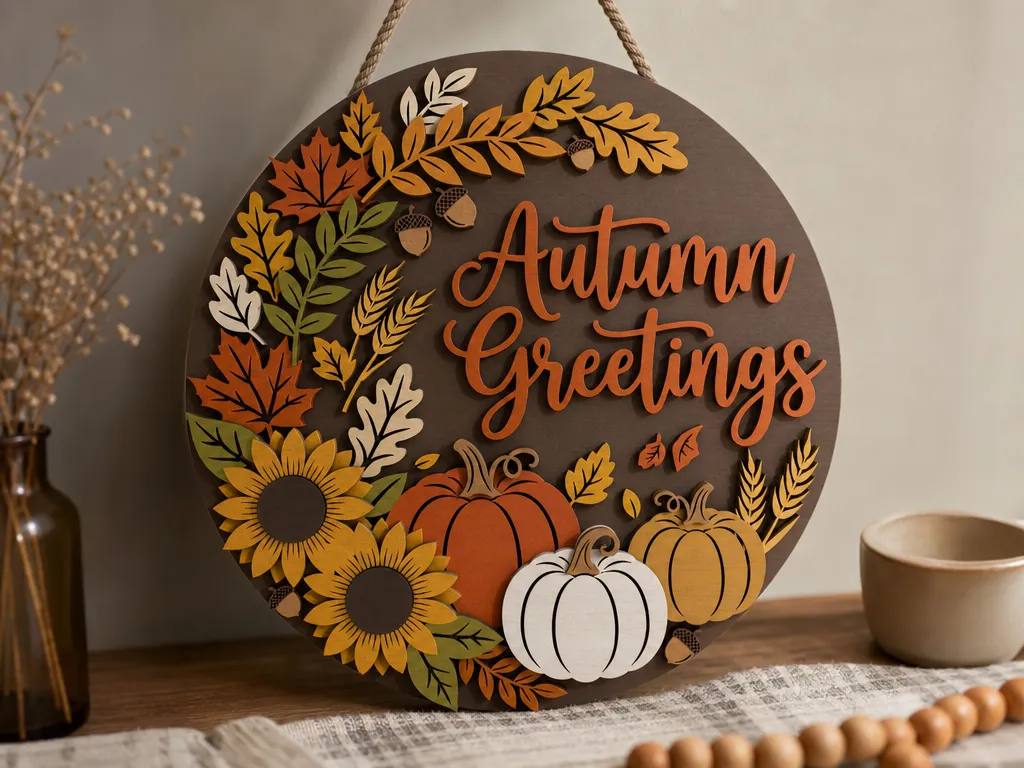
Autumn Greetings Round Wall Hanging with Pumpkins and Sunflowers