![[Laser cut and engrave] Colorful Phoenix Bird Wall Art Print with Floral Accents](https://image-res.atomm.com/resource/xtool/community/attachment/xtool-community/563819b2-3bf3-4bca-a806-31f4aa1ea1c1.jpeg?x-oss-process=image/resize,w_1200,h_900,limit_0/interlace,1/format,webp/auto-orient,1)

![[Laser cut and engrave] Colorful Phoenix Bird Wall Art Print with Floral Accents](data:image/png;base64,iVBORw0KGgoAAAANSUhEUgAAAAoAAAAKCAYAAACNMs+9AAAAAXNSR0IArs4c6QAAABdJREFUKFNjZCASMBKpjmFUId6QIjp4AAppAAuXjCs4AAAAAElFTkSuQmCC)
![[Laser cut and engrave] Colorful Phoenix Bird Wall Art Print with Floral Accents](https://image-res.atomm.com/resource/xtool/community/attachment/xtool-community/563819b2-3bf3-4bca-a806-31f4aa1ea1c1.jpeg?x-oss-process=image/resize,w_200,h_150,limit_0/interlace,1/format,webp/auto-orient,1)
![[Laser cut and engrave] Colorful Phoenix Bird Wall Art Print with Floral Accents](https://storage-us.atomm.com/resource/xtool/community/attachment/xtool-community/94c46148-48d4-4ceb-ac6e-f0e8c7feb858.png)
![[Laser cut and engrave] Colorful Phoenix Bird Wall Art Print with Floral Accents](https://image-res.atomm.com/resource/xtool/community/attachment/xtool-community/bfebb7b3-cb5d-40bf-a242-708c55ad0aae.jpeg?x-oss-process=image/resize,w_200,h_150,limit_0/interlace,1/format,webp/auto-orient,1)
Phoenix Color Engraving - F2 Ultra UV
 Instruction


Information
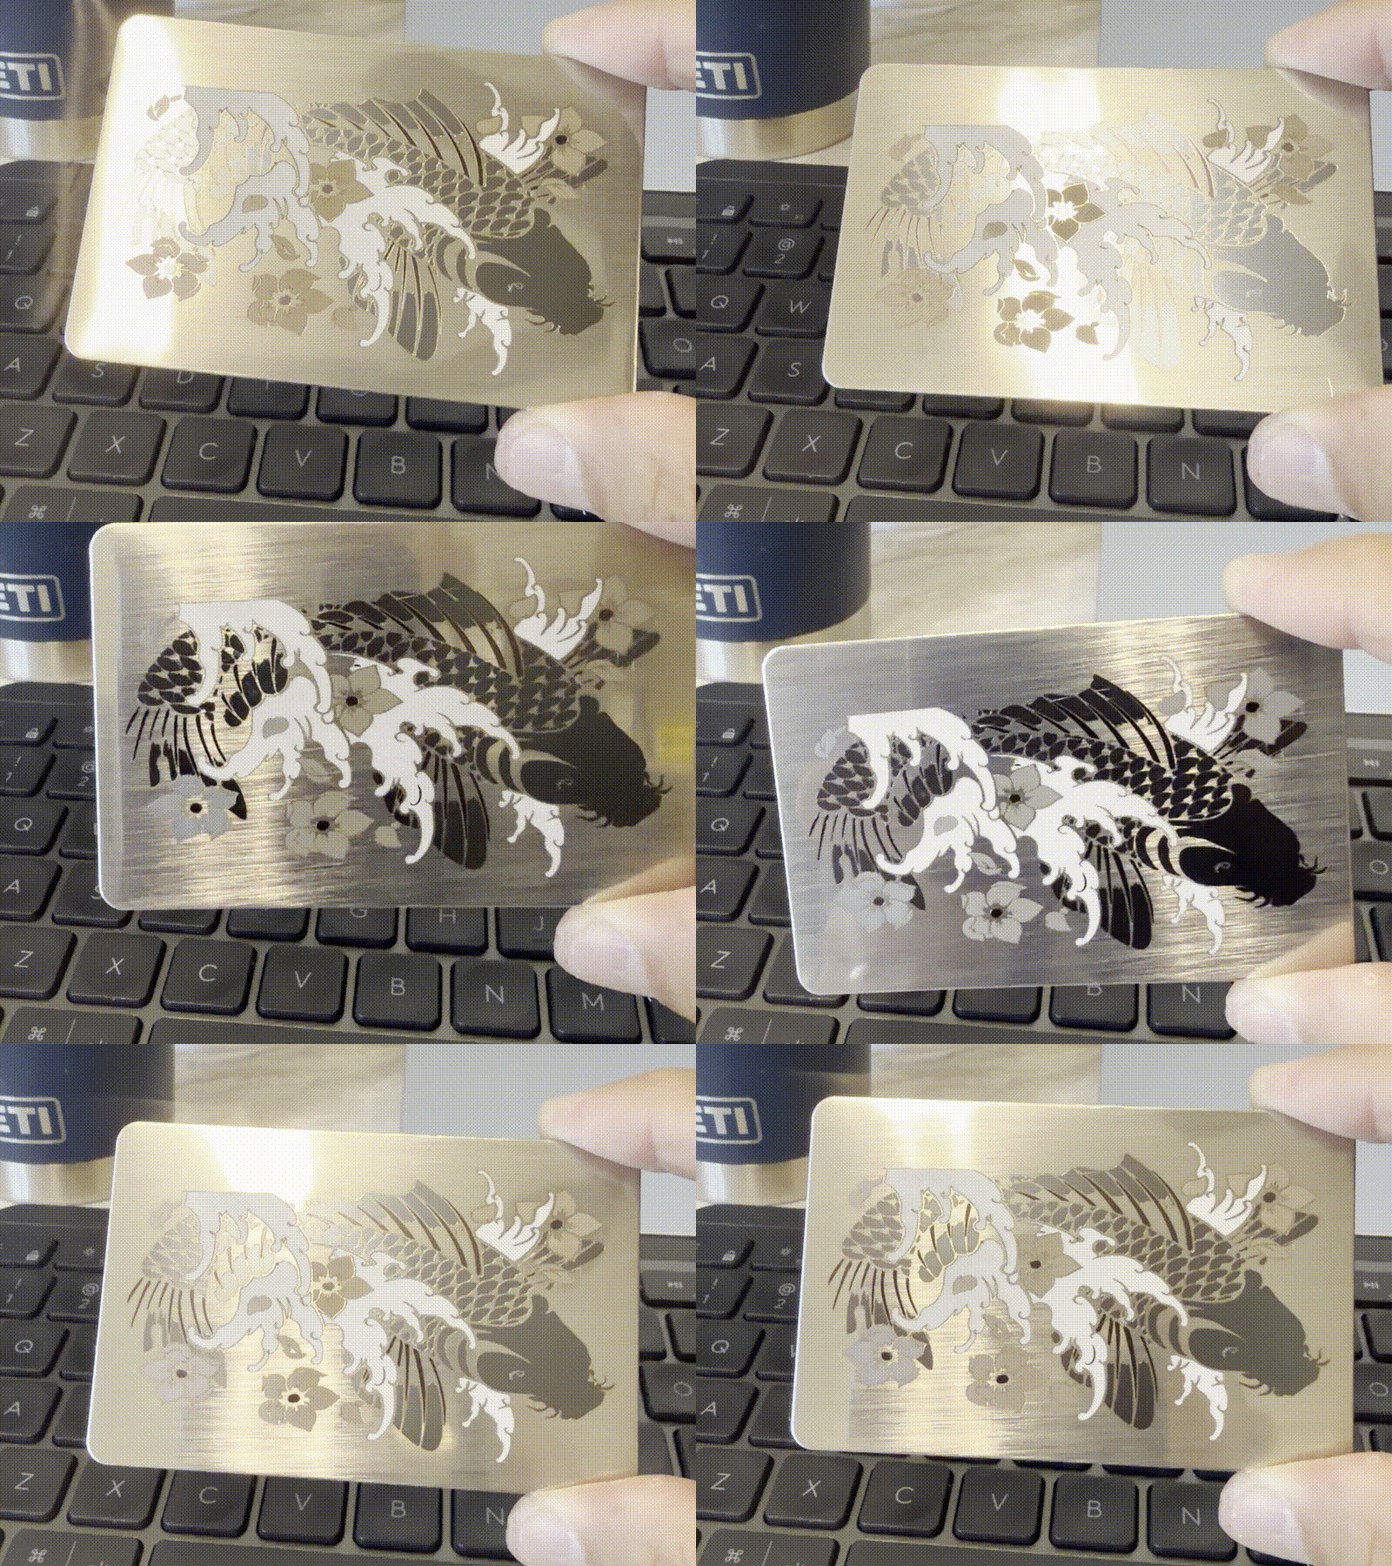
This is a striking color engraving of a stylized phoenix.
Instruction
Step1: Make a test grid

Color engraving is finicky. It is a good idea to run a test grid. Sample color test grids are available on Atomm.
I used the F2 Ultra UV. Look for a test grid appropriate for your laser. Read the instructions carefully, and increase the focus height (Autofocus + 4mm is a good Thickness setting for the F2 UV). Increasing the focus height is necessary to get color on metal.
Step2: Change settings.


The engraving settings can be changed for each color layer. I like to keep the power and speed fixed, and vary the frequency and lines per cm to vary the colors.
Step3: Offset the focus
Increasing the focus height is necessary to get color on metal. Use the autofocus, and then increase the Thickness setting by 4mm or whatever you used when you ran your test grid. So, if the autofocus setting was 1.3mm, change it to 5.3mm.
Step4: Engrave

Process > Start > Wait > WOW!
Remixes
License



You may also like

Color engraving flagon


Forgemark Industries Metal Logo Sign


Metal Color Engraved Decorative Plate with Circular Swirl Dot Mandala Pattern


XTOOL F2 Ultra color engraving test for blue on stainless steel


Metal dog tag color engraving BeamCrafting branded metal circular logo plaque with QR code


'/%3e%3cdefs%3e%3clinearGradient%20id='paint0_linear_1433_15675'%20x1='12'%20y1='3.25'%20x2='16.6891'%20y2='20.75'%20gradientUnits='userSpaceOnUse'%3e%3cstop%20stop-color='%23FF5D80'/%3e%3cstop%20offset='1'%20stop-color='%23FF0035'/%3e%3c/linearGradient%3e%3c/defs%3e%3c/svg%3e)
Golden Mountain Pendant – Dual Laser IR + Blue Engraving on Stainless Steel (xTool F2)


Color engraving stainless steel


304 SS Blank color practice


Color Peacock - F2 Ultra UV Color Engraving on Stainless Steel


Guide to create a model for color engraving


Color engraving of Van Gogh’s portrait on a stainless steel plate

Colored Whale Black Stainless Steel Military Pendant


Captain Levi Laser Engraved Attack on Titan Anime Character Metal Card


Stainless Steel Dogtag MOPA Color Test Grid | Speed * KHZ


Laser color engraving of divers and swift water rescue technician with initials /Laser Farbgravur von Tauchern und Strömungsrettern mit Initialen

Regal Bloom - Color IR Engraving on Aluminum Pendant Using AI Cutout & Dual-Pass Detailing | xTool F2 Ultra

Colored Laser Engraving on a Stainless Steel Pendant – Wave Design


A Color American Flag!
