
Cutting an image out of a picture means lifting one subject away from everything around it, so you can drop it onto a different background, a product mockup, or a design.
This guide shows how to cut out an image for free in a few seconds, when to cut out versus simply erase, and how to save the cutout so it stays usable.
Cut out any subject in secondsUpload a photo and the AI separates your subject automatically — download a clean cutout free.Cut out an imageKey Takeaways
- Cutting out means keeping the subject and discarding everything else — the opposite of erasing an unwanted object.
- An AI tool does the selection automatically; you no longer need to trace outlines by hand.
- Save the result as PNG. Any other common photo format fills the empty area with white.
What Cutting Out an Image Means
A cutout isolates one subject from its surroundings. Everything outside the subject becomes empty rather than white, so the shape can sit naturally on top of whatever you place it on.

The checkerboard pattern is how editors display empty space. It is not part of the file, and it never shows up once the cutout is placed into a design.
Traditionally this meant tracing the outline by hand with a lasso or pen tool. AI tools now detect the subject edge automatically, which is what turned a ten-minute job into a few seconds.
Why Cut Out an Image?
A cutout is reusable in a way a rectangular photo is not. Once the subject is separated, it drops into any layout without dragging its original setting along.

Product listings
Marketplaces want the item isolated on white or on a branded backdrop. A cutout gives you both from one file.
Mockups and previews
Place the same cutout on a shirt, mug, or tote to show a design before anything is printed.
Stickers and decals
A cutout is already the right shape for a die-cut sticker — the outline is the cut line.
Collages and thumbnails
Layer subjects taken from different photos into a single composed scene.
Laser and craft files
A clean outline is the starting point for tracing to a cut path, though it still has to become a vector first — see extracting a design from an image.
What You Need
Less than you would expect, though the photo itself matters more than the tool.
An image with a distinguishable subject
Automatic tools find the subject by contrast. A dark coat against a dark wall is the hard case no matter what you use.
The subject inside the frame
Anything touching the border comes out with a flat, cut-off edge, because there is no boundary there to detect.
A tool that exports PNG
Transparency only survives in a format that supports it. A cutout saved as JPG comes back with white behind it.
Enough resolution for the destination
Screen use is forgiving; print and cutting are not. Check the pixel dimensions of the download, not just how it looks.
Cut Out vs. Erase vs. Crop
These three get mixed up constantly, and picking the wrong one wastes time:
| Action | What You Keep | Typical Use |
|---|---|---|
| Cut out | The subject, on an empty background | Product shots, overlays, stickers, collages |
| Erase | Everything except one unwanted object | Deleting a photobomber or a stray sign |
| Crop | A rectangular region of the original | Reframing or changing aspect ratio |
If you want the subject somewhere else, cut it out. If you want the photo intact minus one thing, erase. Cropping only ever gives you a smaller rectangle of the same picture.
4 Ways to Cut Out an Image
Four routes, from fastest to most controlled. The first covers most jobs; the rest matter when the subject is awkward or you are already inside another tool.
Method 1: How to Cut Out an Image With the Atomm Background Remover
The Atomm Background Remover is a free browser tool that detects the subject and separates it from everything behind it. There is no account step and no install.
What makes it the default recommendation is the download rather than the cutout: a transparent PNG at full resolution with no watermark, which is exactly where most free tools hold something back.

Step 1: Open the background remover
It runs in the browser, so there is nothing to download and no account to create before you start.
Step 2: Upload your picture
JPG, PNG, and WEBP all work, up to 10 MB. Keep the subject fully inside the frame — anything touching the border comes out with a flat, cut-off edge.
Step 3: Let it detect the subject
A few seconds is usually enough. Check the result against the original before downloading, especially along hair and any edge close in tone to the background.
Step 4: Download the transparent PNG
It saves at full resolution with no watermark, ready to place into a design, a listing, or a cut file.
Method 2: How to Cut Out an Image on Your Phone

Both iOS and Android will lift a subject out of a photo without any app. Press and hold the subject in Photos or Google Photos, and the system offers to copy or share it as a cutout.
It is instant and genuinely good on people and pets. The limits are that you get no control over the edge, and the exported file is sized for sharing rather than for print.
Method 3: How to Cut Out an Image in Photoshop or GIMP
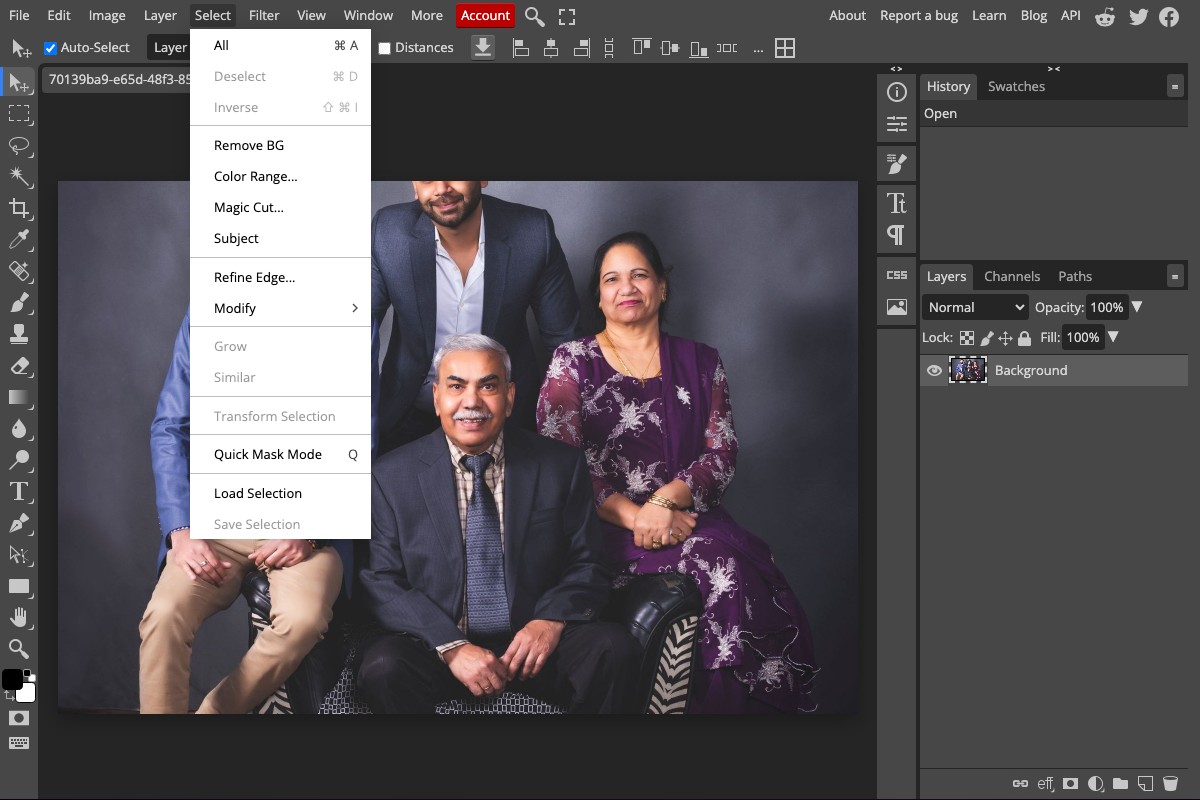
Photoshop, Affinity Photo, and the free GIMP all have selection tools that produce a cutout by hand: quick-select or magic wand to rough it in, then refine the edge manually.
Slower than anything automatic, and the only route that gives complete control. This is what you use when the AI keeps eating part of the subject and no amount of re-uploading fixes it.
Combine the fast route with the slow one
Run the image through an automatic remover first, then open the result in an editor and fix only the few areas it got wrong. That is far quicker than selecting the whole subject by hand, and gets you the same finish.
Method 4: How to Cut Out an Image in Canva or Your Design Tool
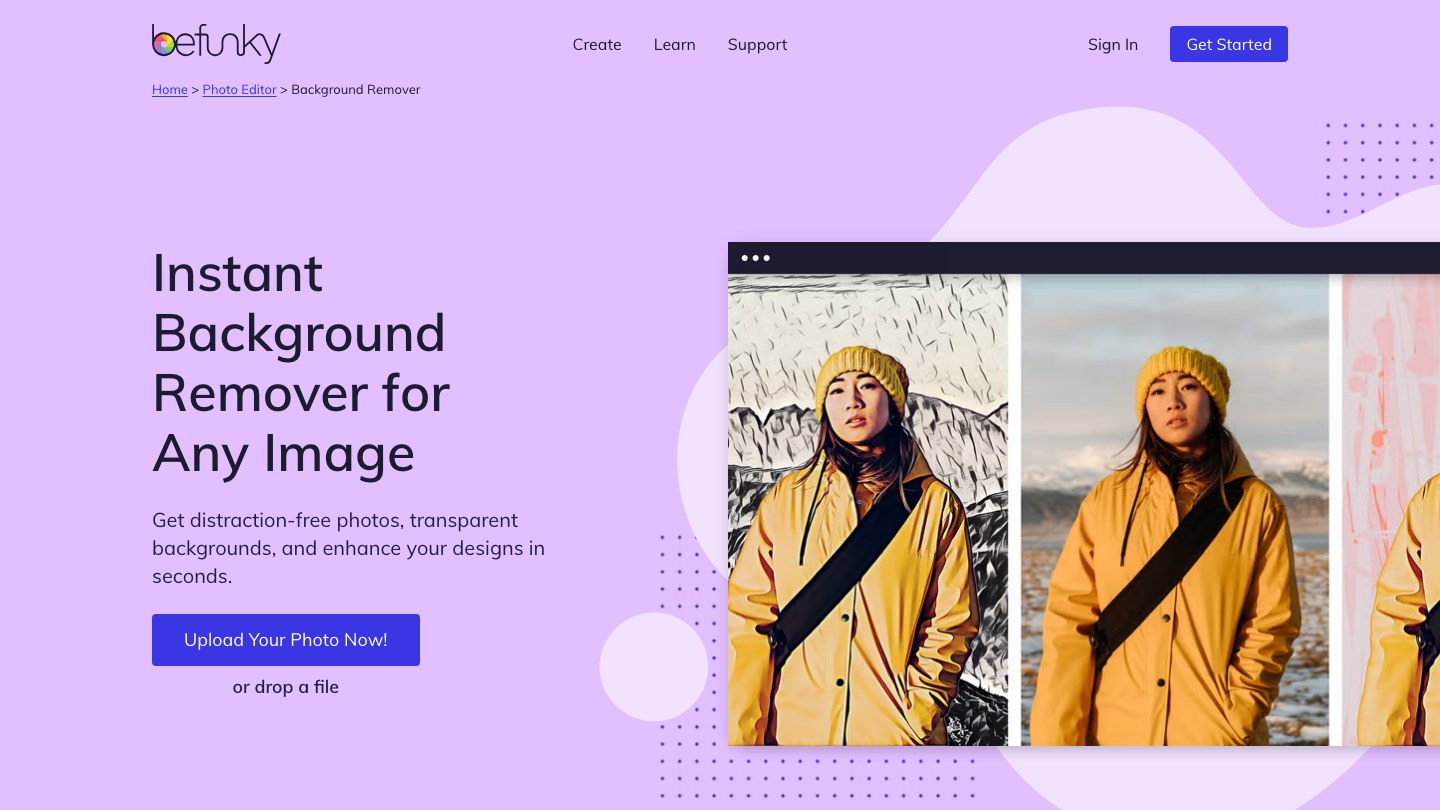
Most design apps now include background removal as a feature, so the cutout happens without leaving the layout you are already working in.
Convenient, and usually the weakest edge quality of the four. It is also where free tiers bite hardest — many apps put background removal behind the paid plan.
What Is the Best Way to Cut Out an Image?
All four routes produce a transparent PNG. Which one fits depends on the subject and where the file is going.
| Method | Speed | Edge control | Best for |
|---|---|---|---|
| Atomm | Seconds | Automatic | Most images, full-resolution PNG |
| Phone built-in | Instant | None | People and pets, quick shares |
| Desktop editor | Minutes | Complete | Difficult subjects and fine hair |
| Design tool | Seconds | Automatic | When you are already in the layout |
For beginners with one image, an automatic online remover is the entire answer: no install, no account, and full resolution at the end.
When the edge has to survive scrutiny — fine hair, fur, a subject close in tone to its background — run it automatically first and repair only the failed areas in an editor.
Sellers working through a catalogue should pick on batch support instead of edge quality. Processing twenty shots in one pass beats a marginally better outline done twenty times.
Designers already inside a layout may as well use the built-in removal in that app. The result is rarely the best available, but not breaking the workflow is worth more than a slightly cleaner edge.
Cutting Out a Tricky Subject

- Hair and fur — the hardest case for any tool. Start from the highest-resolution original you have.
- Low contrast — a pale subject on a pale background confuses edge detection; expect touch-up.
- Glass and transparency — genuinely difficult, since the tool must decide what is subject and what shows through.
- Motion blur — a soft edge has no clear boundary to follow, so the cut looks approximate.
When automatic selection falls short, cut out what you can and clean the remaining edge by hand rather than re-running the tool repeatedly.
Tips and Common Mistakes
Tip 1: Check the file is a PNG before you use it
The usual failure is not a bad cutout but a good one exported as JPG. JPG cannot hold transparency, and nothing recovers it afterwards.
Tip 2: Never judge a cutout on a white page
Transparency is invisible against white. View it on a coloured background, or look for the checkerboard, before deciding the edge is clean.
Tip 3: Contract the selection to kill a halo
A pale fringe is leftover background pixels, not a failed cut. Shrinking the selection by a pixel or two removes it without redoing the work.
Tip 4: Match the resolution to the job
A 720-pixel export is fine for social media and useless for a printed shirt. Confirm the dimensions before building a design around the file.
Conclusion
Cutting out an image means isolating the subject and discarding everything behind it, leaving a transparent PNG you can drop onto anything.
For most photos an automatic remover does it in seconds at full resolution. Reach for a desktop editor only when the subject defeats the automatic route — fine hair, a background the same colour as the subject, overlapping objects.
Whichever route you take, confirm the download is a PNG. A cutout saved as JPG loses its transparency permanently and comes back with a white box behind it.
Frequently Asked Questions about Cutting Out Images
How do I cut an image out of a picture for free?
Upload it to a browser-based background remover, let the AI isolate the subject, and download the result as a PNG. No software, account, or manual tracing is required.
What format should I save a cutout in?
PNG. It supports transparency, so the area around your subject stays empty. Saving as JPG fills that area with white and the cutout stops being usable as an overlay.
Can I cut out more than one subject?
Most tools isolate the main subject automatically. For several separate objects, cut them out one at a time from copies of the original and combine them afterwards.
Why does my cutout have a rough edge?
Usually low contrast between subject and background, or a low-resolution source. Re-run on the largest original you have, then tidy the remaining fringe manually.
Is cutting out the same as removing the background?
They are two names for the same operation. “Cut out” describes keeping the subject; “remove the background” describes discarding the rest. The result is identical.
Cut out your subject for free
Upload a photo, let the AI isolate the subject, and download a ready-to-use transparent PNG.
