
![[Laser cut and engrave] #2026eastercontest Lampada da parete con coniglio in legno tagliato al laser](https://image-res.atomm.com/resource/xtool/community/attachment/xtool-community/bf66db28-9c89-483a-9f54-f32c67120e4d.jpeg?x-oss-process=image/resize,w_1200,h_900,limit_0/interlace,1/format,webp/auto-orient,1)
#2026eastercontest Wall lamp with rabbit made of laser-cut wood
 Instruction


Information
      My social contacts are:
https://www.facebook.com/share/p/1AtEfQr9Ya/
e
https://www.instagram.com/p/DVx2dYujBEX/?img_index=1

My project is a wall lamp for a child's room and represents a balloon-shaped bunny with the words "Happy Easter".
 I divided the project into 3 canvases, in which the various elements to be cut are described.
Instruction
Step1: Base retro

Canvas no. 3
This back base was built with an oval measuring 150x180 mm, to which, through the stitch modification, a trapezoid was added to represent the shape of the balloon. In the end you get a base of 150x200 mm.
Also, after building the front base, I engraved two oval pupils on the back base and cut a 5mm hole to hang it.
On the same canvas there are 5 spacers of 15x30 mm, to then join the two bases.
Step2: Front base

Canvas n. 2
To obtain the front base I copied the back base and I added, through a design program, the ears, the mustache and the muzzle transforming the design into svg. Then with xtool I added the egg-shaped eyes, the eyebrows and the words "Happy Easter", all laser carved to make sure that you could see the light below.
Of course, the theme is Easter, otherwise this writing could be the name of the boy or girl.
Step3: Upside-down front base


Canvas n. 1
To make sure that the spacers were placed in precise points without difficulty, I used the Snapshot Preview. I turned the front base on the honeycomb upside down and through the photo I put the rectangles in the positions indicated by PC, so that they could be glued later in those predetermined places.
The rectangles have a size of 30x3 mm (depending on the thickness that one uses, if you use a 5 mm plywood then it must be 30x5 mm)
Step4: Inserting the lights


I bought a string of 10 LED bulbs and I took care to attach the lights inwards.
Step5: Packing


All that remains is to glue the two bases to obtain the wall lamp
Remixes



You may also like

Laser Cut Wooden Lamp with Pink Bow and Custom Name


LED wall lamp with Goku silhouette on Speedy cloud


'/%3e%3cdefs%3e%3clinearGradient%20id='paint0_linear_1433_15752'%20x1='12.5'%20y1='5'%20x2='12.5'%20y2='19.2596'%20gradientUnits='userSpaceOnUse'%3e%3cstop%20stop-color='%232F7FFF'/%3e%3cstop%20offset='1'%20stop-color='%232661F1'/%3e%3c/linearGradient%3e%3c/defs%3e%3c/svg%3e)
Table lamp with Bologna FC logo and Forza Bologna lettering


Square wooden lantern with forest and deer motif illuminated


Oriental style lamp


Acrylic lamp for Mom


Illuminated table sign with Mamma inscription


Mother's Day "Greetings" Story Lamp


Lampada da tavolo con pannello acrilico inciso a forma di fata di San Valentino


Wooden Hexagonal Lantern with Bunnies and Easter Egg Patterns https://www.facebook.com/photo/?fbid=27200238909564783&set=pcb.27200239192898

M wooden lamp with stars and laser-cut Mayan name

Personalised table lamp with purple LaBuBu and Nicole name

Space rocket lamp for children's room

Basketball Lamp


is a table lamp made from a modification made to a chandelier


Lampada A.S. Roma


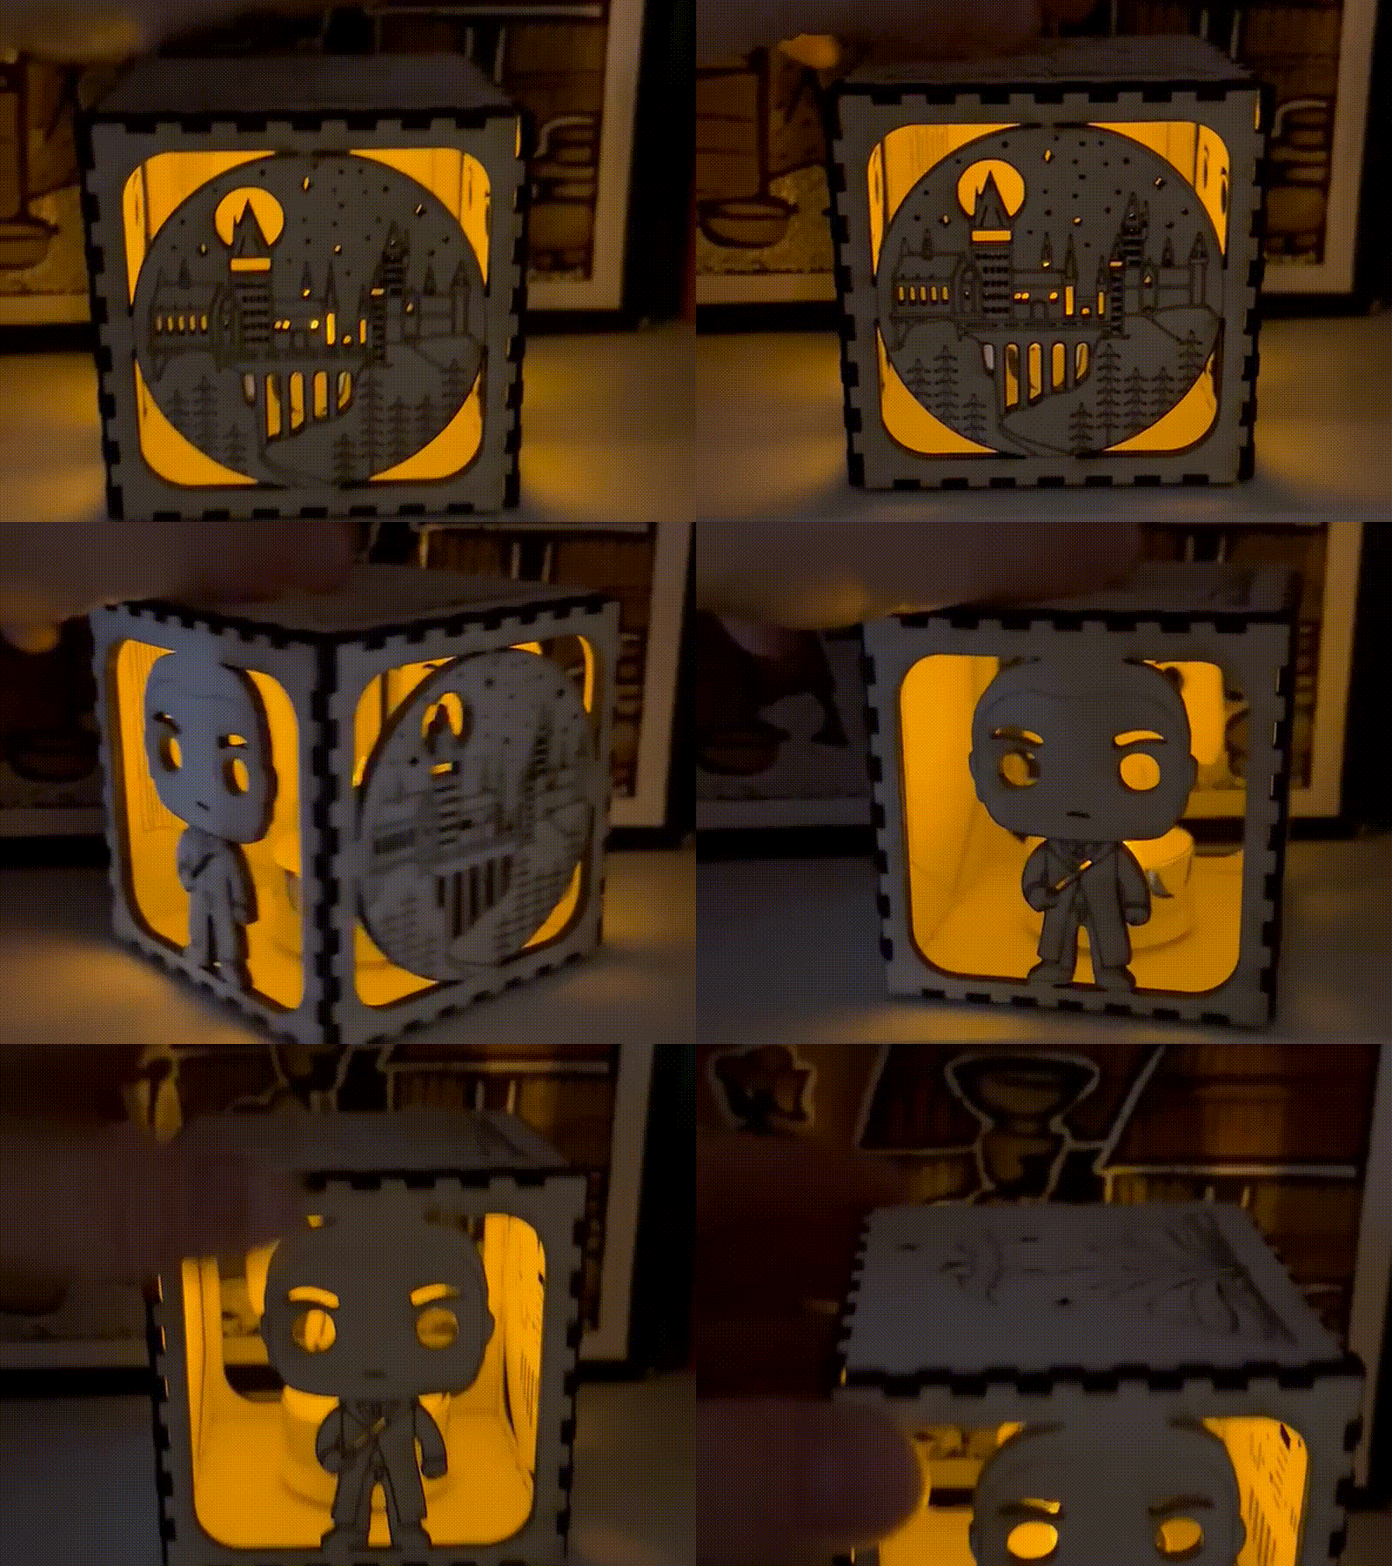
Dramion Lantern, Harry Potter


Santa Claus Merry Christmas LED Night Light - Christmas acrylic Led lamp. Merry Christmas in 6 languages.
