
![[Laser cut and engrave] Handcrafted Black Leather Bag with Red Stitching Heart Details](https://storage-us.atomm.com/resource/xart/result/366741/f99f3269-bc1c-45d2-ab0d-126f64e728e7.png?x-oss-process=image/resize,w_1200,h_900,limit_0/interlace,1/format,webp/auto-orient,1)
![[Laser cut and engrave] Handcrafted Black Leather Bag with Red Stitching Heart Details](data:image/gif;base64,R0lGODlhAQABAAAAACH5BAEKAAEALAAAAAABAAEAAAICTAEAOw==)
Handcrafted Black Leather Bag with Red Stitching Heart Details
 Instruction
Information
      Heart Bag Leather Pattern. This will involve "A LOT" of stitching.

**Warning
The Cutting time will only be around 30-60 mins, stitching for me at least (I'm a bit of a novice) took around 10 hours

When cutting Leather I like to place the leather in topside down, I find this leaves a better cut/finish on the end product.

The Leather will Char and needs to be cleaned.

The leather also has a tendency to curl when cut with the laser, if it has been rolled make sure to roll back the other way to flatten it out.

I am not a CAD designer and created this file for my own personal use and am only uploading by request, although I think all the settings are correct, I do apologise if there are mistakes in the pattern.**
Instruction
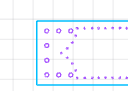
Step1: The Cut
The Heart Bag pieces are separated into 5 canvas's
Bag Back
Front
Sides
Strapping
Shoulder Strap
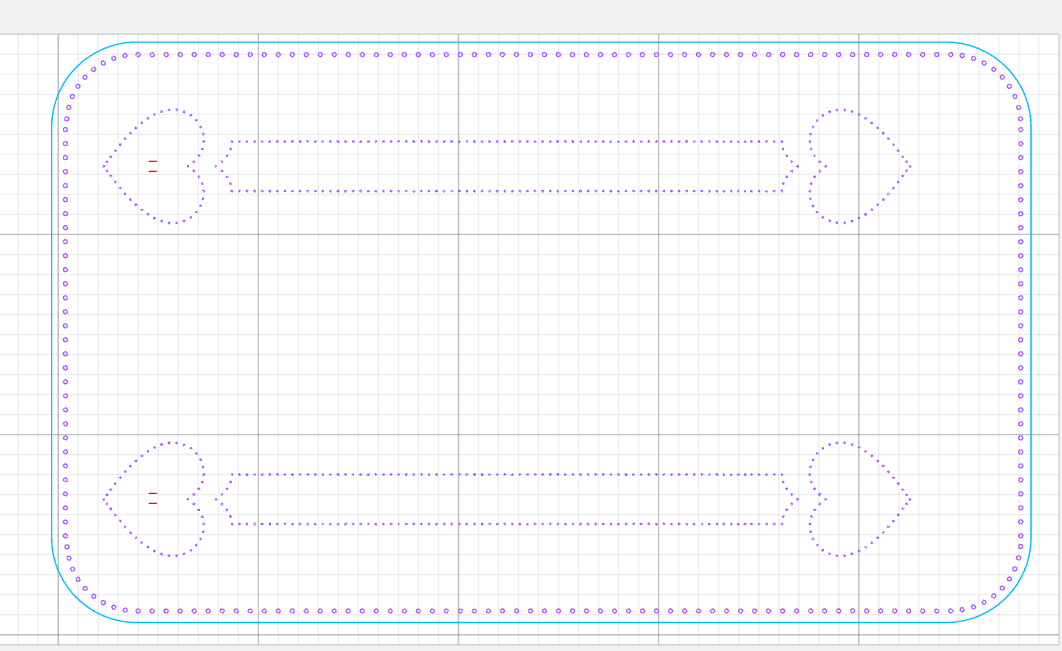
Each design has been categorised by cut order or customisation using colour layers.
Purple Layer - Threading holes and should be cut first
Blue Layer - Outer cuts should be cut last after all holes are cut to avoid leather curling.
Red Layer - This layer is for fixtures I used, if you cannot get the same fixtures you will need to edit this to suit your fixtures.
Place your leather topside down, fix to bed.
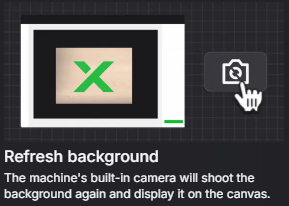
Refresh Background
Align the design to your material, make sure not to waste too much! With the mistakes I made in creating this (you should be able to avoid them, I've fixed them in this iteration) I used most of the Black leather from the materials list supplied above.
Select the Purple layer and ensure your output is on and the Blue layer is off
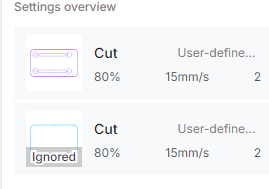
Process the purple layer (and Red Layer if your fittings are the same, else fix the red layer to suit your fittings).


Once the purple layer is complete, visually check the material in the P2S, make sure it looks good!
Select the purple layer and turn off the Output
Select the Blue Layer and turn on Output, your settings overview should look like this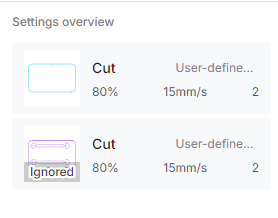
Process the Blue Layer


Repeat this process for each Canvas.
Step2: Clean up your edging
Cutting the leather in this way will leave heavy charring. Make sure to wipe down all your edging. If you would like to sand and burnish your edges this would be the time. I didn't bother, I didn't mind the effect of the laser on the leather with the design and colouring of the bag. If you want to clean each of the holes do this now also, as leaving as is will discolour your threading, again I didn't bother it just darkened the colouring a little.
Step3: The Fit Up
Oh boy, get ready for a project :D
I was pretty slow, so this took me around 10 hours of hand stitching….
Secure your magnetic fixtures now before you start stitching.
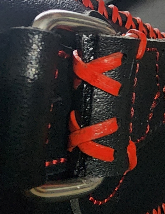
Attach the Strapping to the back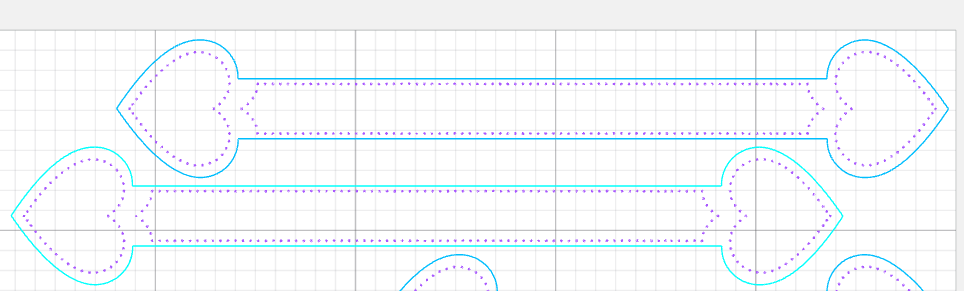
Now Attach the Strapping to the Sides. Make sure to include the Stainless Square Ring between the stitching. Fold the end over and sew through both layers of the strapping and the bag the sides of the bag. Obviously do this for both sides.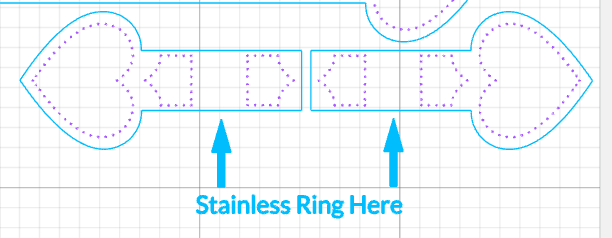
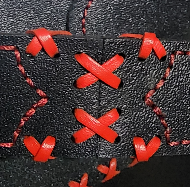
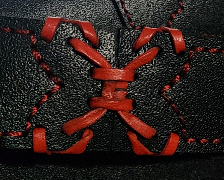
Next Hand Stitch the Lace into the larger Holes.
This is the Order I did it, but if you can find a better way have at it!
Bottom Middle Front, attach to bottom Sides and thread to top
Bottom Middle Back, attach to bottom Sides and thread to top
Attach each Bottom of Sides to each other.
Top of bag opening edges.
That's the main portion of the bag.
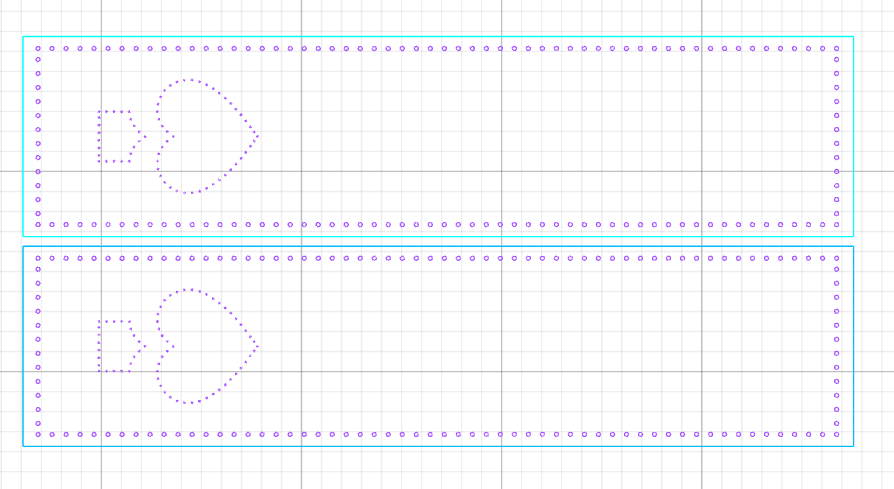
For the Shoulder Strap
Notice there are 2 separate designs 
The designs with the Hourglass will be the ends to Attach to the Stainless Square Rings of the main bag.
Place the Shoulder strap pieces back to back and sew the 1mm holes together. You should have 4 pieces when complete.
Here is the threading pattern I used
Top Side
Bottom Side
I glued the lace and the strap ends together to secure them in place.
And then to the Stainless Square Rings
Above all have fun! Feel free to leave a comment and ask questions if I have missed anything!

