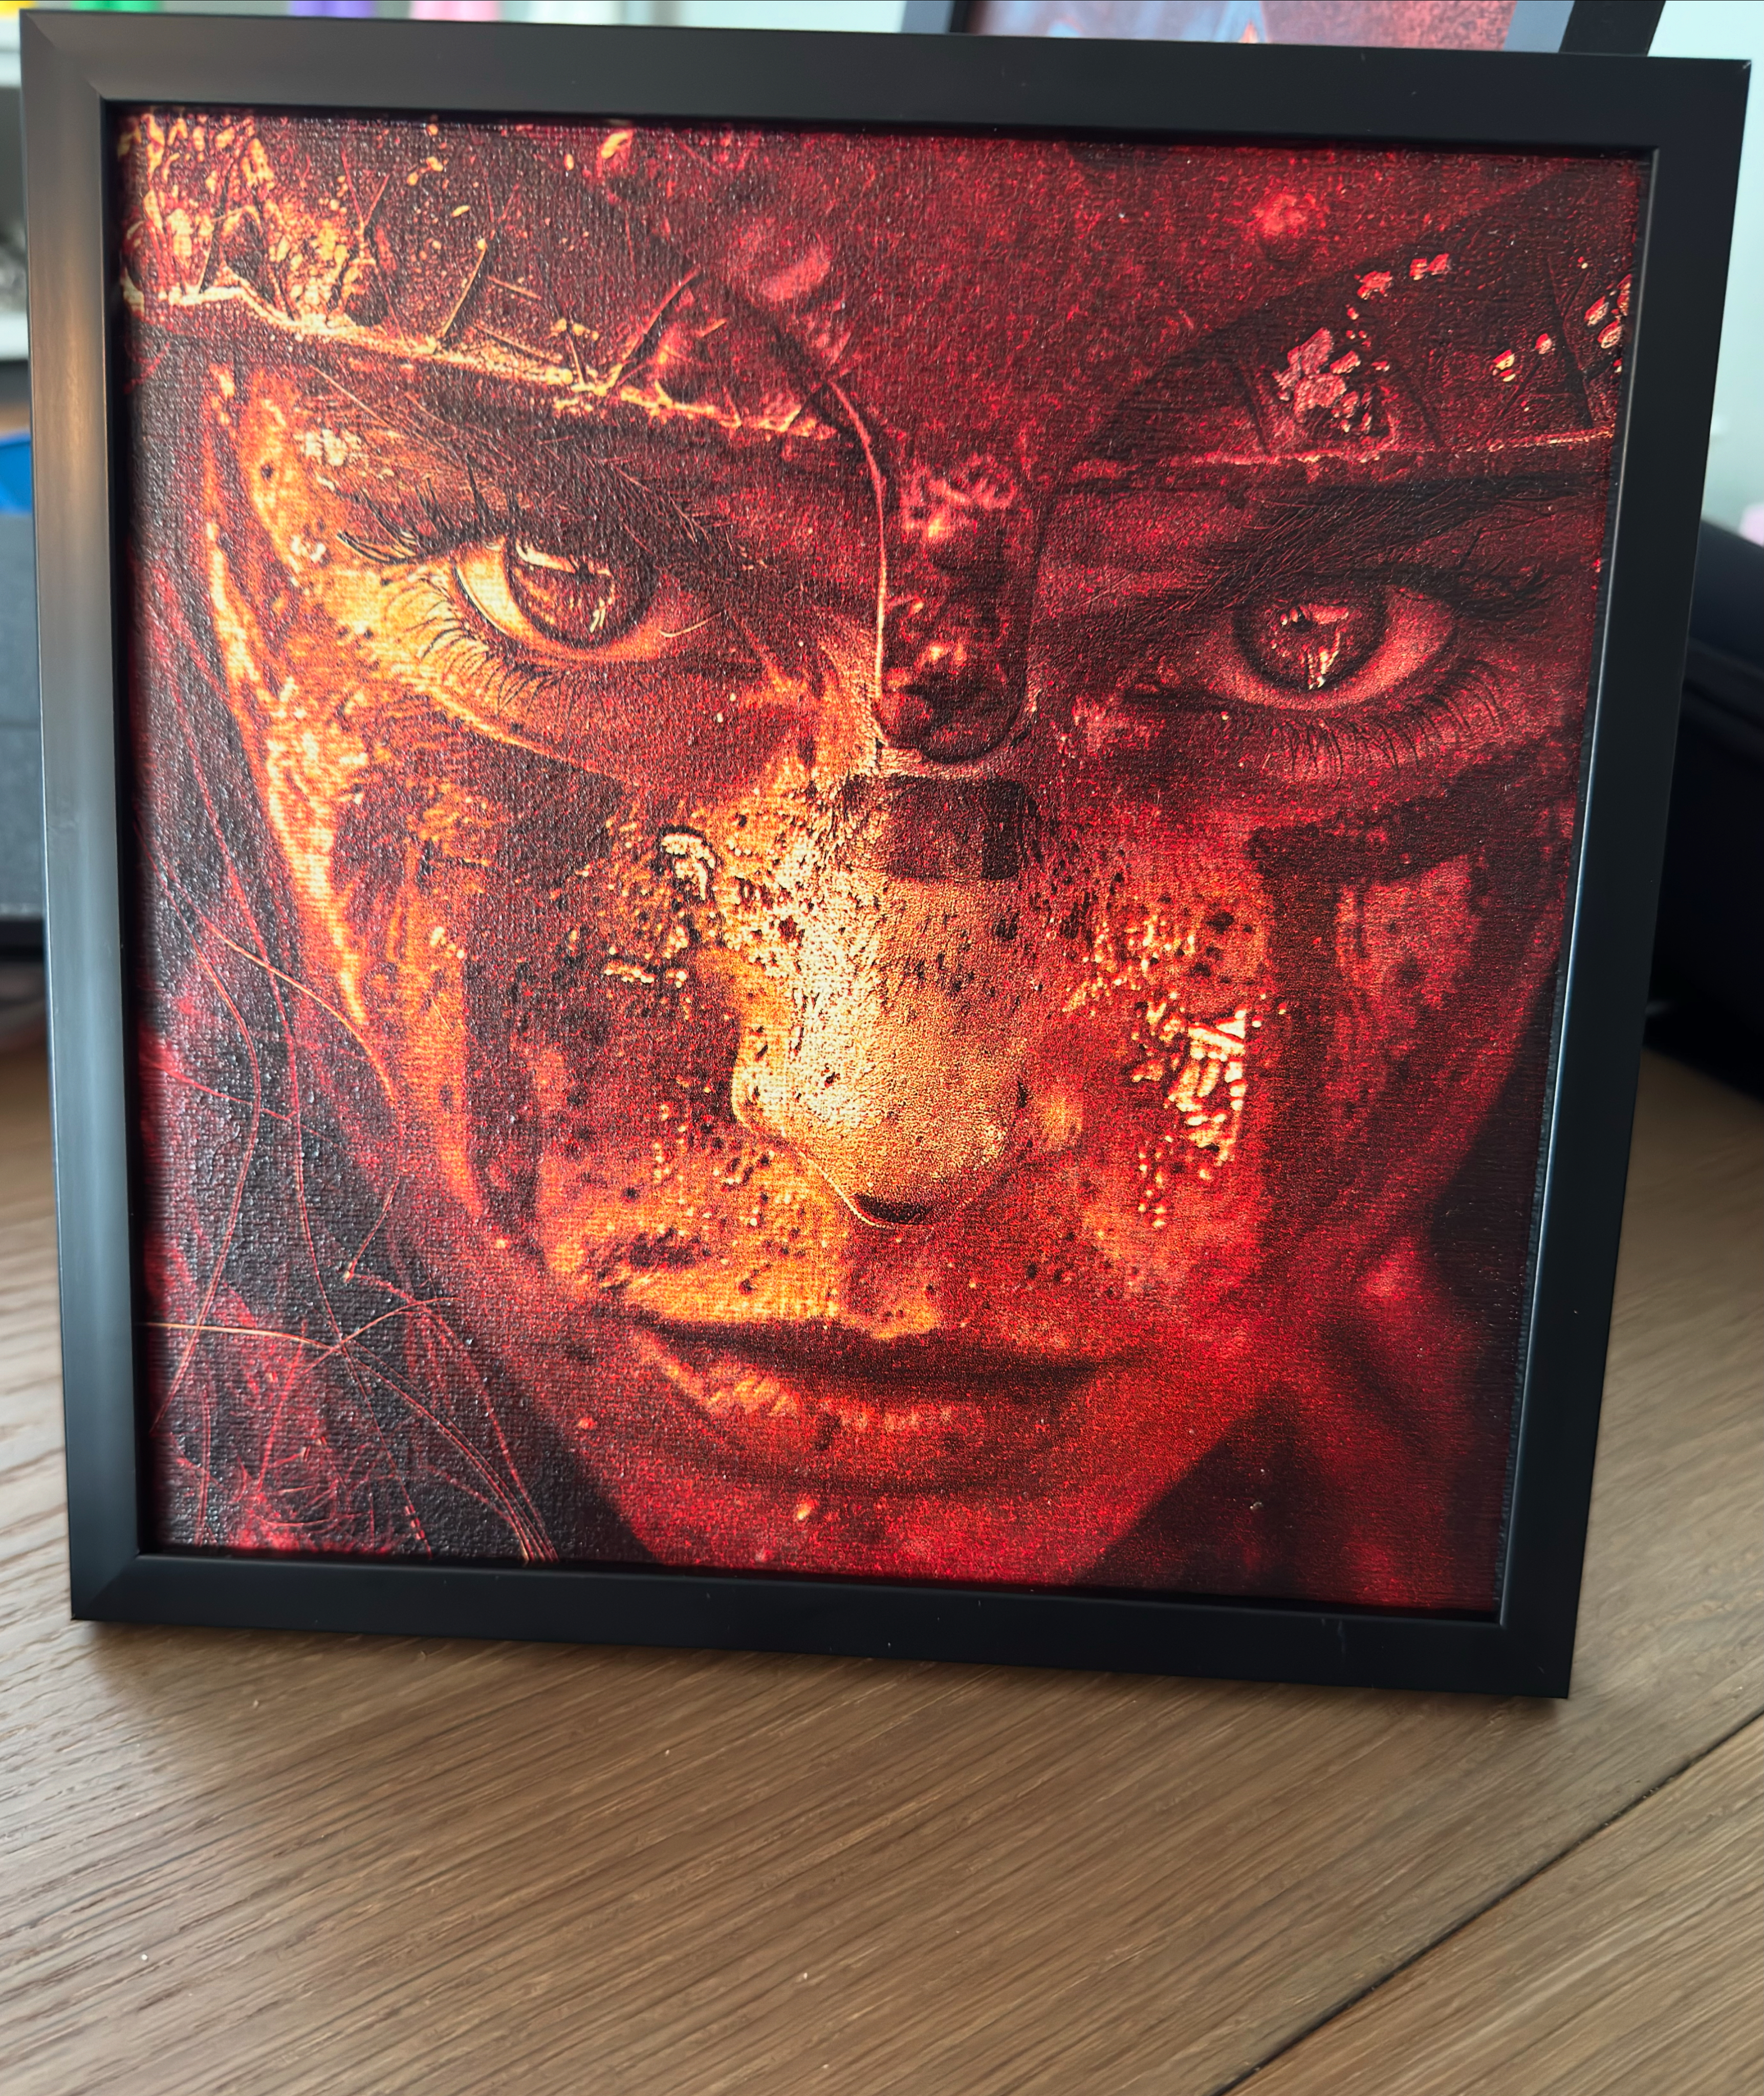
Framed Digital Artwork Print with Black Frame on Layer Painted Canvas


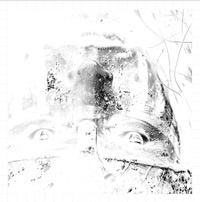
      In this tutorial I will learn you how to engrave different designs on layer painted canvas with the xTool F1 Ultra, but this method can be applied to different xTool machines.

This method will work with all kinds of designs; from baby-ultrasounds to wedding pictures, perfect for capturing all the beautiful moments.  #CherishedMomentsCraft

Required materials:
Canvas
Acrylic paint
Paint roller (sponge or microfiber type)
optional: Clear coat acrylic spray paint
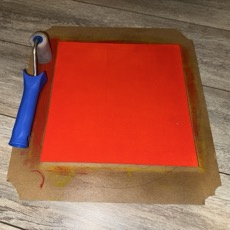
Paint the canvas
Keep the layers thin and smooth. I used a small paint roller sponge. Give it one layer for each color and let it dry before applying the next color. For this project I used a white pre-painted canvas and applied a yellow, red and black layer.
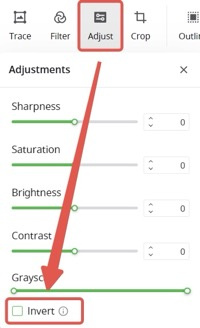
Adjust the image
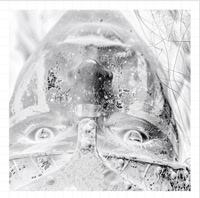
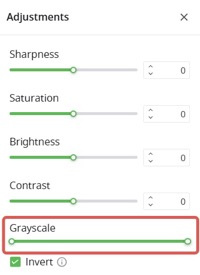
After the paint has all dried, position the canvas in the laser and invert the image in the laser software:
First layer:
Adjust the image and enhance the sharpness of the image.
Second layer:
To remove the colored layers without much affecting the black shading, I adjusted the grayscale of the image slightly to skip the already engraved shadings. This will only engrave and highlight the brighter spots.
I normally slide the left part to around 80. But this really depends on how the image looks like and the contrast of the image.
Depending on the image and the amount of colors and layers of paint on the canvas, you could repeat this step by adjusting the grayscale value to a higher value like 160 and let it pass a third time.
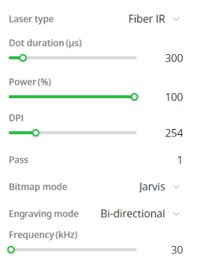
This step is different for every laser type. Also the type of paint, layers and thickness can determine which settings are right for you.
The settings I use are for the xTool F1 Ultra which has a 20W fiber laser and a 20W diode laser.
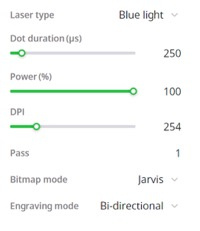
First layer will engrave all the black paint with the fiber laser, while the second layer (and third if needed) will create the highlights with the diode laser. (When I use only one colored layer between the white paint (bottom layer) and black paint (top layer), I reduce the blue laser to a dot duration 200µs and power to 90%.
For the bitmap/dithering style, it is up to you. Each style gives a different look. Some style s give more of a halftone look, while the other style gives a sharp and scrisp look.
After engraving, clean the canvas with a soft brush to get rid of all dust. Then you can apply a clear coat layer of acrylic spray paint.
You can use a matte or glossy finish, it is completely up to you.