Report
![[Laser cut and engrave] Taking Physical Object and turning Image into Vector Manually](https://image-res.xtool.com/resource/xtool/community/attachment/xtool-community/095c6318-1806-45e8-ae60-94bdda14ce63?x-oss-process=image/resize,w_1200,h_900,limit_0/interlace,1/format,webp/auto-orient,1)
Taking Physical Object and turning Image into Vector Manually
KL Circular Array Coaster Tuturial
.xcs
Application scenario
Laser (2min)
Machine & module
xTool S1
40WCompatibles · 13
Material used

1/8"(3mm) Basswood Plywood
23
859
Information
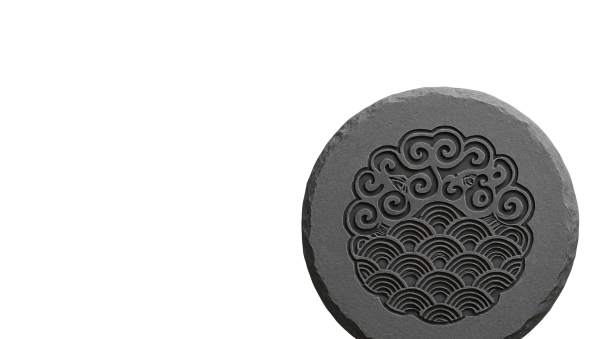
      In this tutorial I will go along the steps to take an object you have in hand, take a photo and convert that image into a vector using traditional drafting methods. No Auto-Trace used. Design file includes a breakdown of the process.

I will take 3 circles and turn the image into a usable vector.

Tools used in xcs-
Circle
Offset (Outline)
Circular Array
Combine Unite
Instruction
1
Step1: Getting started
Preview
- Upload your image into design space for reference.
- Determine your desired size and adjust your picture accordingly
- Here we have the picture added to the canvas
- Our Center Circle appears to be 3"/76.2mm /Red Layer
- The inner circle of the array appears to be ½"/.5"/12.7mm /Green Layer
- Let's take that circle and offset by 1/8"/.125"/3mm /Yellow Layer
- Now we have all the pieces we will need to build our shape!
- If we separate our circles by layer now we will save time later
2
Step2: Starting the Array
Preview
Preview
- With our 2 smaller circles selected let begin the circular array!
- You find the circular array in XCS 2.0 Beta by clicking the bottom tab on the toolbar located on the left of the canvas.
- We seem to have 16 sets of the outer circles.
- So we are going to enter 16 for copies
- To adjust the array, let's change the X value (I didn't touch Y at all)
- You can increase the value of X to make your array more spread out.
- You can decrease the value of X to make your array closer together.
- I usually just start with 10 and adjust the X value from there to avoid overlapping.
- Here a value of 10 sets them almost touching.
- To get the desired effect from the original part we are going to want a little overlap.
- To do this we will decrease the value of X until we get a perfect overlap.
- In this example 9.9 was perfect (you may be at 9.75 or 9.8/ Just adjust until you get your desired results.
3
Step3: Alignment of our Vectors
Preview
- Now that we have our array completed we essentially have all the pieces we need to complete our final design.
- The next step will be to select our array (it's still grouped/ this is important)
- While holding the shift key select the bigger circle.
- On the right side of the screen you will see the icon for alignment.
- With our array and circle selected we want to align to horizontal align center and vertical align center.
- This will get everything perfectly aligned with the desired overlaps.
4
Step4: Combine Operation/ Wait we Can't just yet
Preview
If we just select both objects - combine and unite we will get all of our inner circles of our array to disappear. We don't want this.
- So we are going to break apart the group
- Select all the outer Circles in the array/ You can do so by holding shift key and selecting individually if you didn't separate them by color/layer earlier. Group outer circles to one group and the inner circles to another.
- If you did separate by layer… this will be super easy!
- All you have to do is open the layers tab/ bottom left Hamburger icon
- Click the green layer, it will automatically select all the objects on that layer- now group them.
- Do the same for the yellow layer.
Advanced users- technically you could complete your operation here, but we would have had to duplicate a layer of our inner circles from the array. And lock them. Complete the combine unite, then unlock them.
5
Step5: Ok now we can Combine-Unite
Preview
Preview
Preview
Preview
- With the Yellow Layer selected
- Click the Combine Unite Tool
- This will delete all of our overlaps from our array
- Now let's clean up the inner part of the yellow layer and the inner circle.
- Select the Yellow and Red Layers
- Click the Combine Unite Tool again
That's it! We can now cut out our part!
6
Step6: Cutting it Out
Preview
Lets Get CUTTING!
Man that sure did come out nice.
I painted a 12x12 basswood sheet from xtool with an Acrylic Spray Paint.
Comments
