
![[Laser cut and engrave] Laser Cut Wooden Gear-Shaped Knobs with Threaded Inserts](https://image-res.atomm.com/resource/xtool/community/attachment/xtool-community/3f8eaa53-f316-45a3-ac0b-35d957ce08f6.jpeg?x-oss-process=image/resize,w_1200,h_900,limit_0/interlace,1/format,webp/auto-orient,1)
![[Laser cut and engrave] Laser Cut Wooden Gear-Shaped Knobs with Threaded Inserts](data:image/png;base64,iVBORw0KGgoAAAANSUhEUgAAAAoAAAAKCAYAAACNMs+9AAAAAXNSR0IArs4c6QAAABdJREFUKFNjZCASMBKpjmFUId6QIjp4AAppAAuXjCs4AAAAAElFTkSuQmCC)
![[Laser cut and engrave] Laser Cut Wooden Gear-Shaped Knobs with Threaded Inserts](https://image-res.atomm.com/resource/xtool/community/attachment/xtool-community/3f8eaa53-f316-45a3-ac0b-35d957ce08f6.jpeg?x-oss-process=image/resize,w_200,h_150,limit_0/interlace,1/format,webp/auto-orient,1)
![[Laser cut and engrave] Laser Cut Wooden Gear-Shaped Knobs with Threaded Inserts](https://image-res.atomm.com/resource/xtool/community/attachment/xtool-community/91f4221e-e98b-4c0c-a92c-d149ec1e910a.jpeg?x-oss-process=image/resize,w_200,h_150,limit_0/interlace,1/format,webp/auto-orient,1)
![[Laser cut and engrave] Laser Cut Wooden Gear-Shaped Knobs with Threaded Inserts](https://image-res.atomm.com/resource/xtool/community/attachment/xtool-community/e76e1717-2c3f-404b-8286-4d9270a20519.jpeg?x-oss-process=image/resize,w_200,h_150,limit_0/interlace,1/format,webp/auto-orient,1)
![[Laser cut and engrave] Laser Cut Wooden Gear-Shaped Knobs with Threaded Inserts](https://image-res.atomm.com/resource/xtool/community/attachment/xtool-community/f38f75e7-4d9e-4bd6-9036-b7598fab8ed4.jpeg?x-oss-process=image/resize,w_200,h_150,limit_0/interlace,1/format,webp/auto-orient,1)
![[Laser cut and engrave] Laser Cut Wooden Gear-Shaped Knobs with Threaded Inserts](https://image-res.atomm.com/resource/xtool/community/attachment/xtool-community/450794aa-e216-42f5-8748-83c9a7fd91a7.jpeg?x-oss-process=image/resize,w_200,h_150,limit_0/interlace,1/format,webp/auto-orient,1)
![[Laser cut and engrave] Laser Cut Wooden Gear-Shaped Knobs with Threaded Inserts](https://image-res.atomm.com/resource/xtool/community/attachment/xtool-community/5cdb778e-ba14-4c9a-ae7b-13f37f527d8c.jpeg?x-oss-process=image/resize,w_200,h_150,limit_0/interlace,1/format,webp/auto-orient,1)
带螺纹嵌件的激光切割硬木旋钮
 教程
教程
Knob 01 - 2.25 in Dia x 1.42 in Long
.xcs
应用场景
激光加工 (20min)
机器与模块

xTool S1
20W材料兼容的 xTool 机器
上新
M2
10W, 20WF2 Ultra UV
5WP3
80WF2 Ultra
40WF1 Ultra
20WM1
5W, 10WD1
5W, 10W, 20WD1 Pro
5W, 10W, 20W, 40WP2
55WF1
10WS1
10W, 40WM1 Ultra
10W, 20WP2S
55W使用的材料

6mm枫木胶合板

15
881
教程
1
步骤1: 所用硬件

预览
数量 1 - 三通螺母,1/4“-20,紧固件#1137964或等效
数量 2 - 5/16” 平垫
圈数量1 - 5/16“ - 18 六角螺母
数量1 - 5/16” - 18 六角螺栓
备注: 三通螺母将永久安装在旋钮上。 螺栓、垫圈和螺母用于将旋钮部件粘合在一起。
2
步骤2: 激光切割4.5毫米厚胶合板零件

预览

预览

预览
3
步骤3: 用硬件粘接旋钮部件(除T型螺母外)

预览

预览
用优质木工胶,在每个木面之间涂胶,然后按图示堆放组装好的零件。 牢牢拧紧螺母。 擦掉挤出来的多余胶水。 晾干2-4小时。 拆下螺母、螺栓和垫圈,只留下粘住的旋钮。
4
步骤4: 胶合埋的反孔钻孔夹具

预览

预览

预览
使用CA胶(或木工胶,或两者结合)组装了钻头反孔夹具的零件,如图所示。
5
步骤5: 在胶合旋钮顶部加一个3/4英寸的Dia凹槽

预览

预览

预览
2 More images
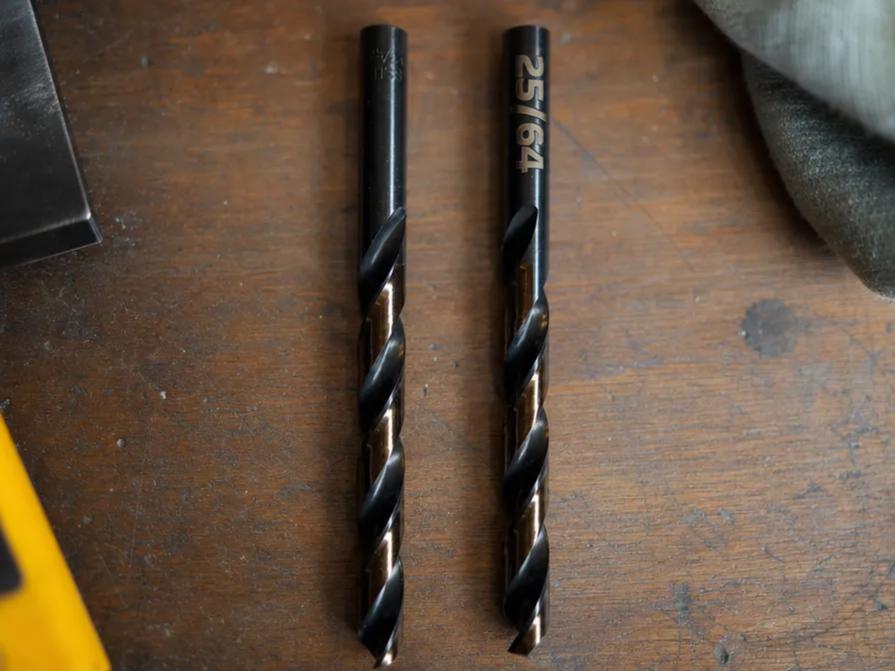
用钻床和直径3/4英寸的Forstner钻头夹紧并对齐夹具与钻床台面。 将胶合的旋钮插入夹具中。 在旋钮顶部钻一个直径3/4英寸的反孔,深度为1/16英寸。 将旋钮从夹具上取下。 如果你做多个旋钮,重复
此作。6
步骤6: 在柜孔的旋钮上加入螺纹内衬(三通螺母)

预览

预览

预览
在有埋头孔的末端放一个1/4英寸-20螺纹内衬(也叫T型螺母)。 用锤子敲击带螺纹的内衬,直到与旋钮顶部齐平。 涂上3层透明丙烯酸涂层。 完成 !完成了!
评论
二创



您可能也喜欢
![[How To]Laser Cut Carbon Steel Wrench](https://image-res.atomm.com/resource/xtool/community/attachment/xtool-community/e1540f07-a089-4349-a341-1f67d43b2527.jpeg?x-oss-process=image/resize,m_fill,w_640,h_480,limit_0/interlace,1/format,webp/auto-orient,1)
[作方法]激光切割碳钢扳手

3
5

磁性木瓶开瓶器 圣帕特里克节酒吧礼物

9
35

激光切割木制针针规格,带有我爱编织雕刻

0
6

帆船装饰

0
1

激光雕刻 xTool Studio 快捷键参考表

0
12

Festool Granat 激光切割设计工具

1
5

木制卡钳

144
522

黑色工具箱盖上的激光雕刻公牛头骨花卉图案
1
19

带有29号消防车救援文字的激光雕刻金属门楔
2
4

F1Ultra的滤网盒
21
82
![[How To]Laser Cut 6mm Stainless Steel Wrench](https://image-res.atomm.com/resource/xtool/community/attachment/xtool-community/127bd3c0-c15b-4c1e-b7b0-69014201f3d9.jpeg?x-oss-process=image/resize,m_fill,w_640,h_480,limit_0/interlace,1/format,webp/auto-orient,1)
[作方法]激光切割6毫米不锈钢扳手
4
10

环氧树脂扩张工具

13
51

激光雕刻磁性竹木开瓶器,带有可乐瓶图案和开瓶器

9
42

手柄 S1 10W
7
43

我喜欢编织的激光雕刻木质针针密度
0
1

斯托伊克青蛙开瓶器——激光雕刻极简两栖动物设计

2
15

编织针规工具猫形状
0
2

神秘森林马开瓶器——优雅的激光雕刻野生动物设计
4
37