
![[Laser cut and engrave] Pumpkin ornaments](https://image-res.atomm.com/resource/xtool/community/attachment/xtool-community/9ae7512c-e734-4e6d-8bb3-34832a55ed49?x-oss-process=image/resize,m_fill,w_1280,h_960,limit_0/interlace,1/format,webp/auto-orient,1)
Pumpkin ornaments
 Instruction


Information
Instruction
Step1: Design

The one design of pumkpin can be resized to meet all your needs. The sizes in the picture start at 21cm across down to 12cm across.
To start, copy and paste the designs and resize to your needs. You can fit multiple sizes onto one material sheet.
Once you are happy with the sizing, ensure that the setting is set to cut the material you are using.
Process the design
Step2: Decorate

Once the design has cut, carefully remove the cut. Be careful as the ‘top’ of the pumpkin is very fragile and you don't want this to break.
Once it is removed you need to glue the back of the pumpkin, place the tissure paper on top and pant another layer of glue over the top. Let this dry. This can take at least 2 hours.
With a file, file around the edges of the pumpkin so that the tissue paper has a nice even finish around the outside edge.
Step3: Assemble

Carefully glue the back of the front of the pumpkin into place and wait until this is dry.
Repeat with all the cut pumpkins and then arrange in the formation you's like.
Step4: Formation


Finished!
Remixes



You may also like

Layered Wooden Pumpkin Tabletop Sign for Fall Decor


Multi layered pumpkin with flowers


Swirl Pattern Pumpkin Tabletop Sign for Autumn Decor

Laser Cut Wooden Pumpkin Floral Seasonal Decor


Layered Wooden Pumpkin Wall Hanging for Fall Home Decor

Pumpkin and Autumn Leaf Wall Hanging

Wooden Pumpkin Wall Hanging with Floral Accents

Halloween Pumpkin Figurines Set of 3 – Wooden Jack-o’-Lantern Decor


Laser Cut Wooden Halloween Pumpkin Decorations with Jack-o'-Lantern Faces


Wooden Pumpkin Tabletop Sign for Autumn Home Decor

Wooden Pumpkin Tabletop Sign with Leaf Accents

Layered Wooden Pumpkin Wall Art for Fall Home Decor

Wooden pumpkin carriage tabletop sign for autumn harvest decor

Swirl Design Pumpkin Cutout for Fall Tabletop Display

Wooden Pumpkin Wall Hanging for Fall Home Decor

Pumpkin shape halloween lightbox svg cut


Mustache Pumpkin Fall Tabletop Sign – Laser Cut Design

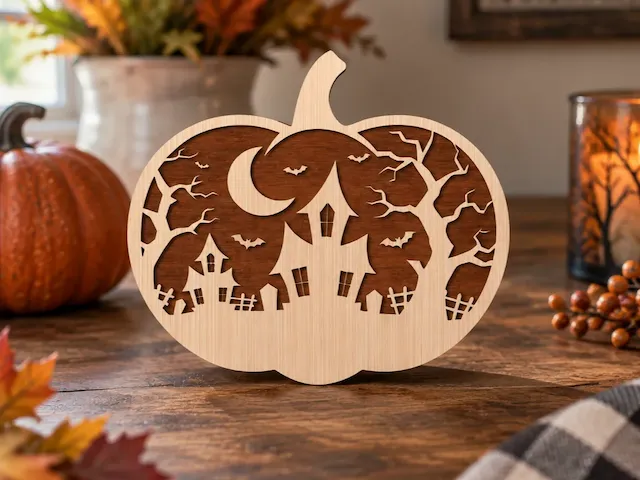
Halloween Pumpkin Tabletop Sign with Haunted House and Moon Silhouette – Laser Cut Design