



Custom Keycap Maker
Design custom keycaps with your photos and themes. Mix individual keys, spread one image across your keyboard, and preview in 3D.

Описание
Custom Keycap Maker: Step-by-Step Guide
Create custom keycap artwork from your photos and favorite themes. Use a continuous image, decorate selected keys, or try a heart or star arrangement, then inspect the result in flat and 3D views.
1. Choose your keyboard layout
Open Keyboard and choose Full size, Mac, Numpad, or Split. Start with the layout closest to your keyboard. Check the exported dimensions against your actual keycaps before printing.
2. Add a theme or your own image
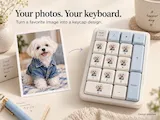
Open Themes to select a starter design, or open Import to upload a PNG, JPG, or WebP file. For artwork without a rectangular background, use an image that already has transparency, such as a transparent PNG. Uploading a photo does not automatically remove its background.
3. Choose how your image covers the keys
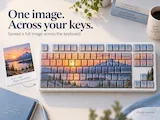
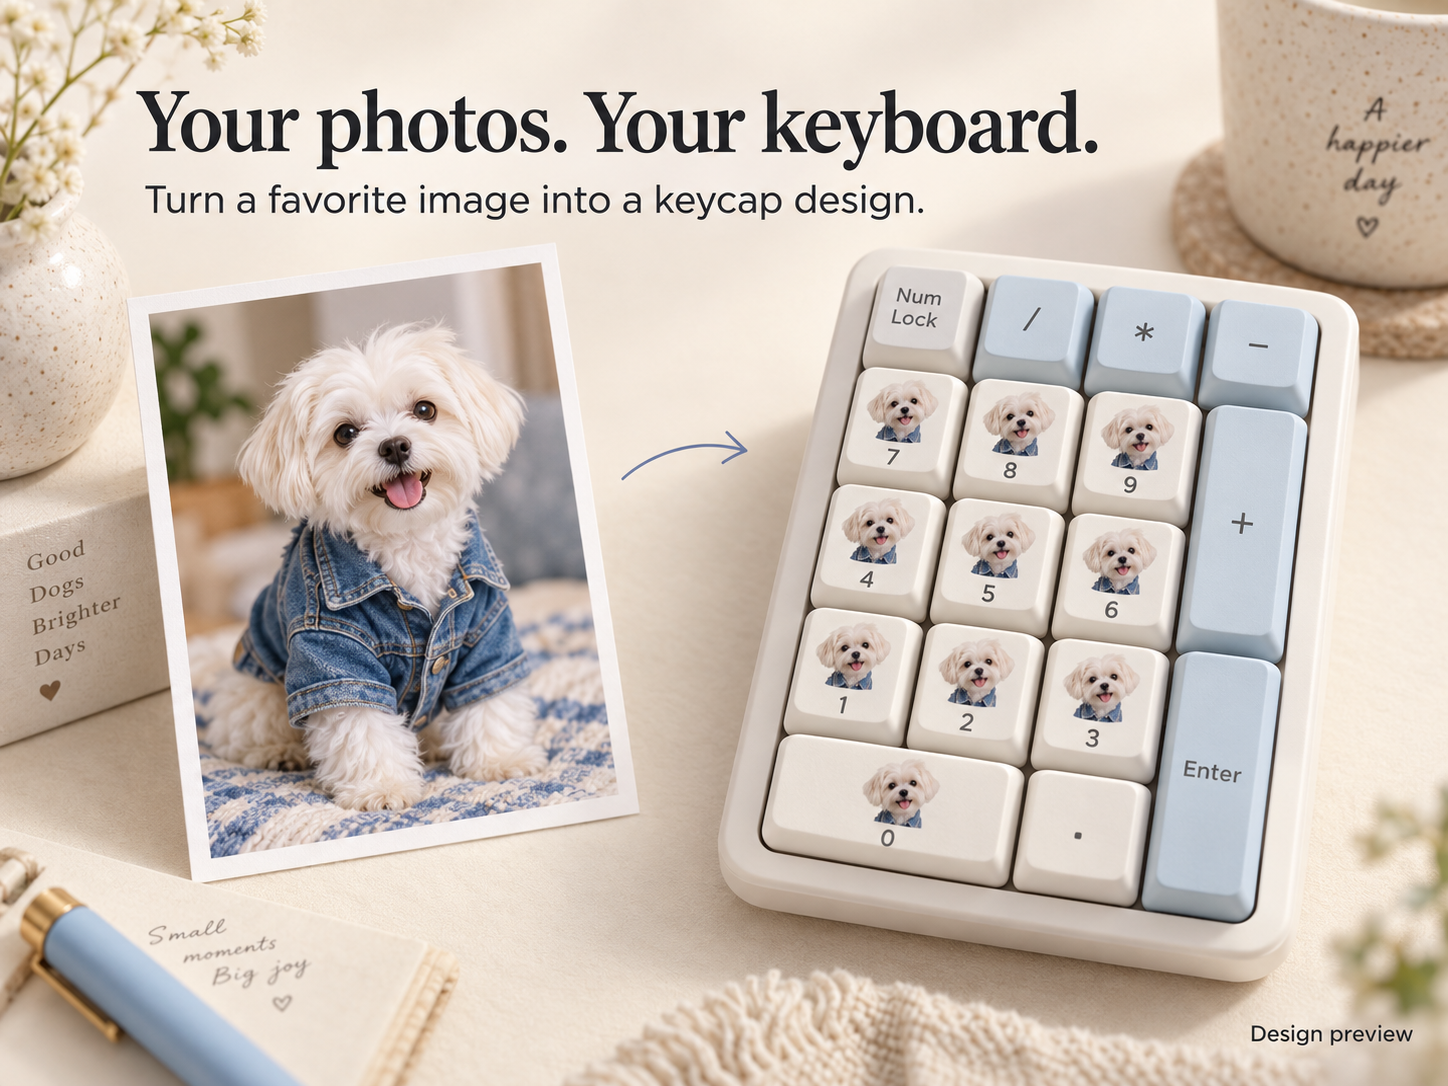
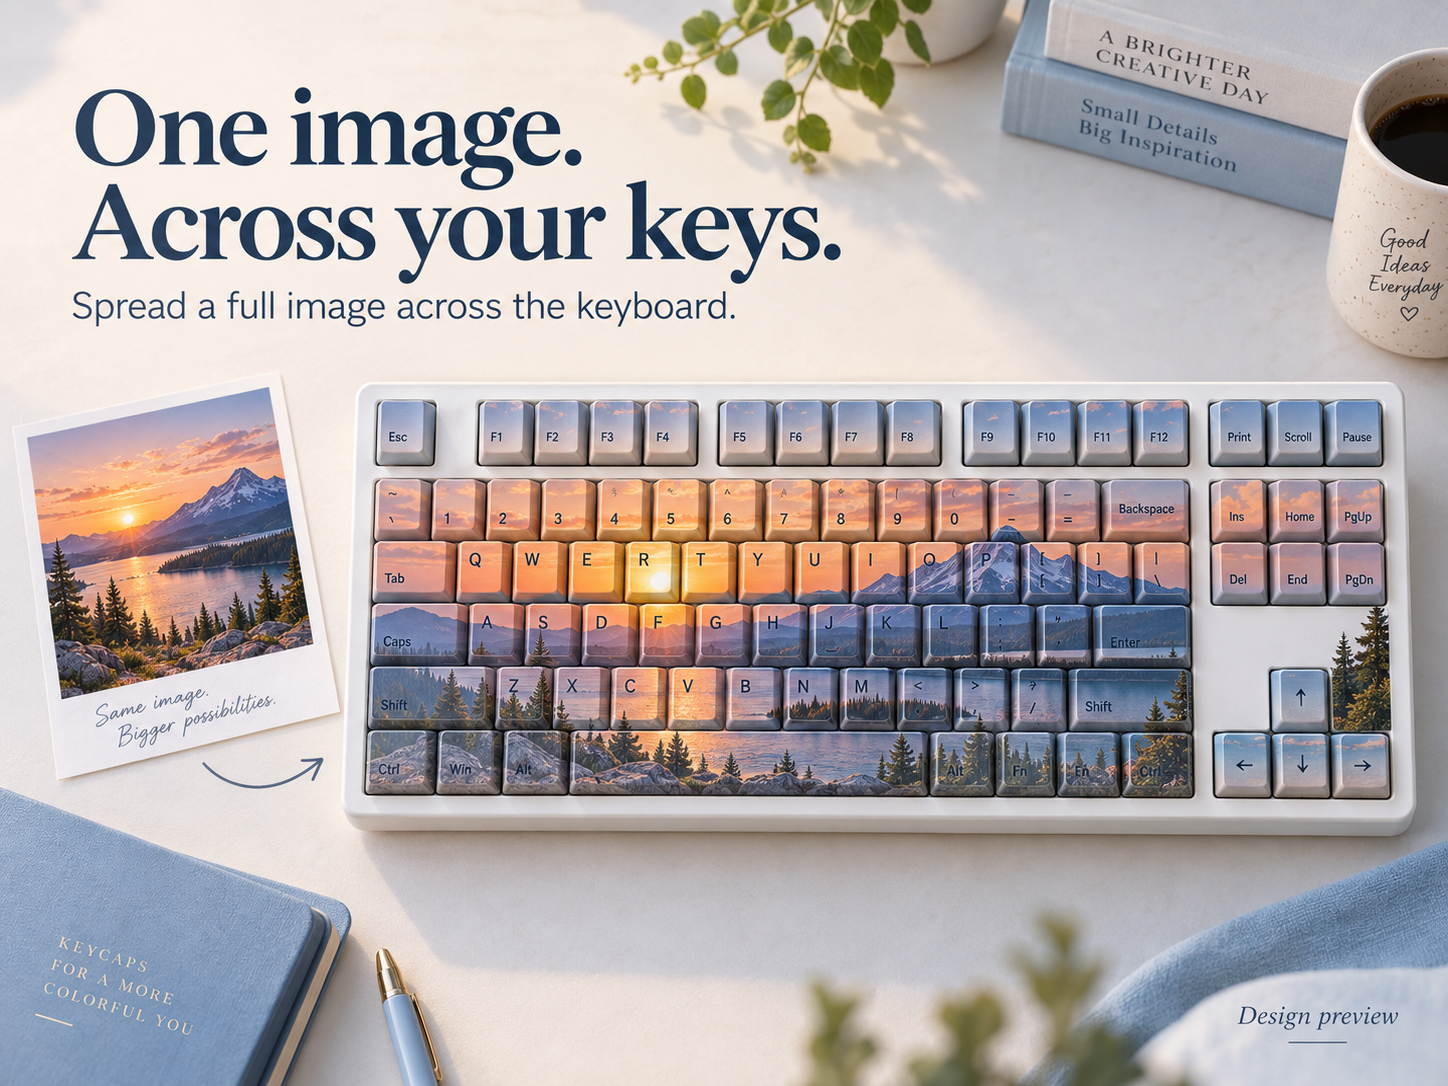
In Artwork mapping, choose All keys to spread one image continuously across the keyboard. Each key receives the part of the image at its position. Choose Selected to apply a complete uploaded image to individual selected keys.
4. Try a shape arrangement
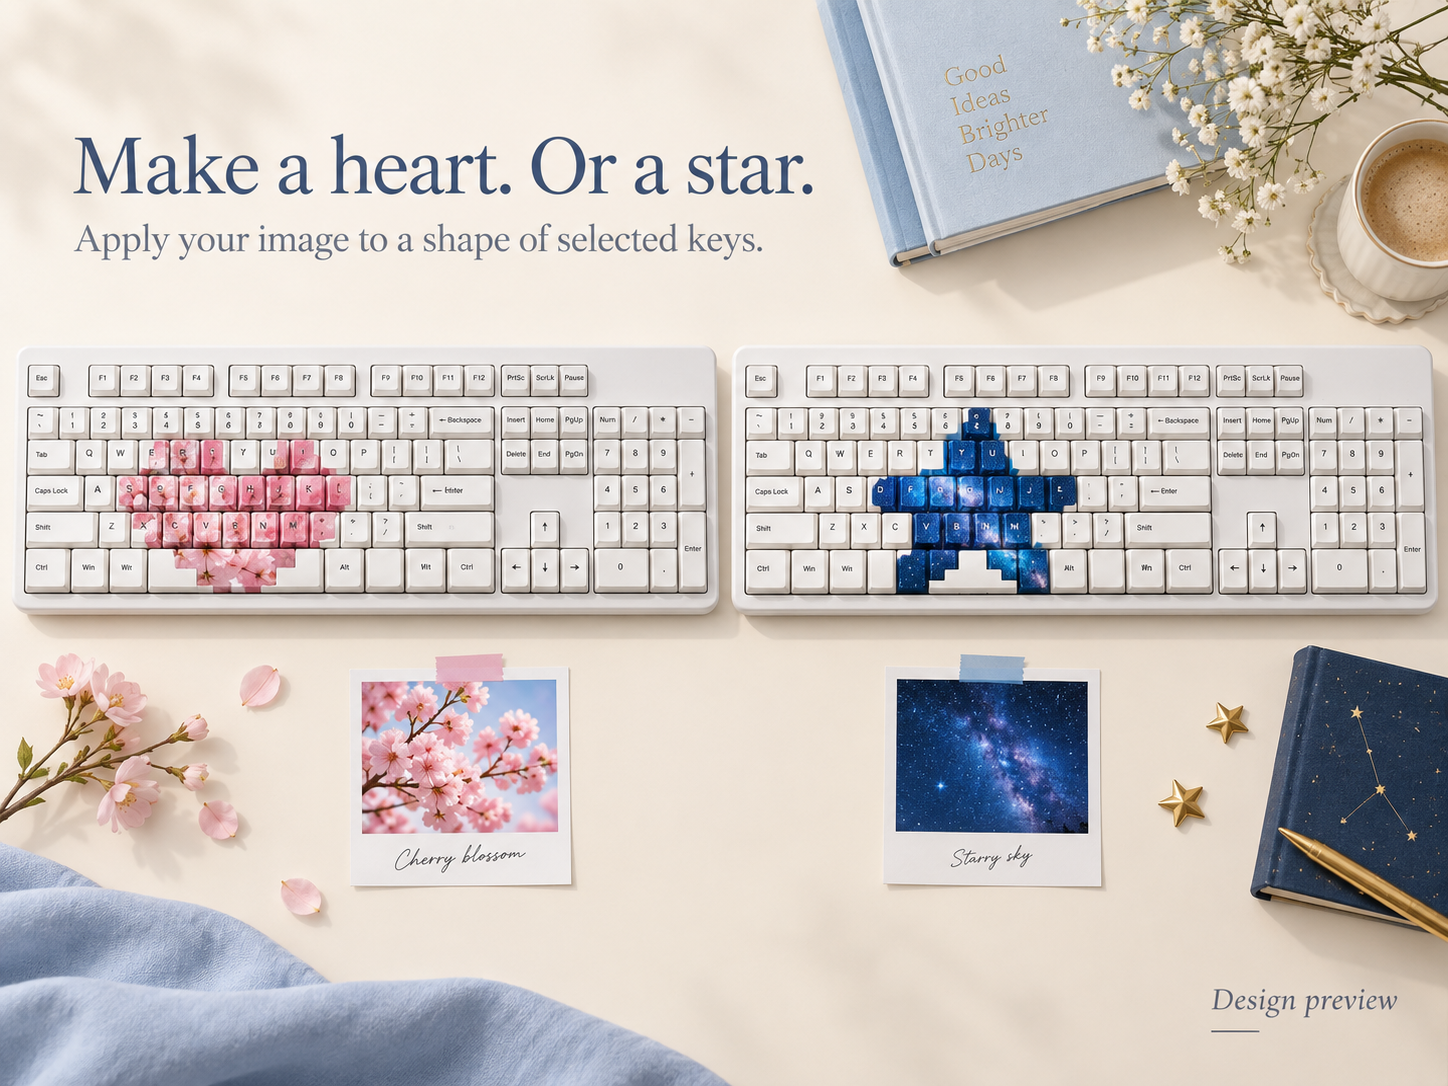
Choose Shape in Artwork mapping, then pick Heart, Star, Smile, Diagonal, Checker, or Border. Your artwork appears only on the keys included in that arrangement. The result depends on the keyboard layout.
5. Mix starter themes on selected keys
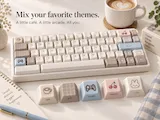
For a mixed theme design, choose Selected, select the keys you want to change, and choose a starter theme. Repeat with another selection and theme. Keys outside your current selection keep their existing theme.
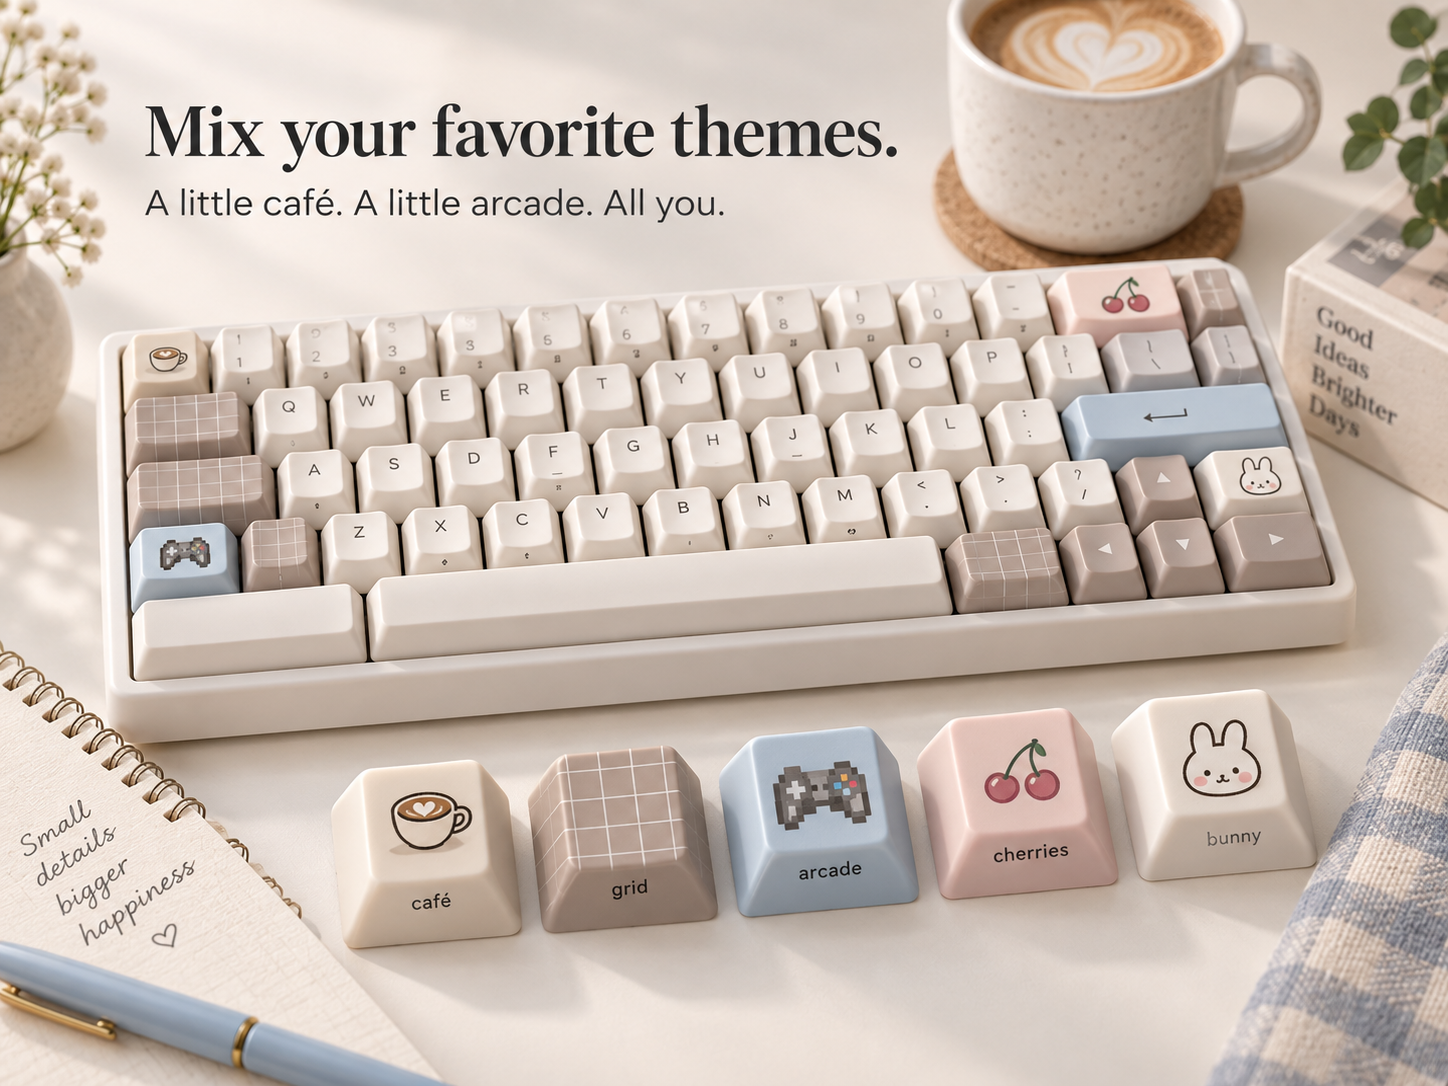
6. Preview the finish and check the labels
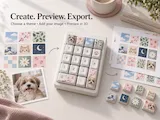
Switch between Flat and 3D to inspect your design. Drag in 3D to rotate and use the zoom controls to look closer. Under Preview finish, explore Black, White, Clear, or Metal. Turn Show letters & numbers on to include key labels, or off for artwork only.
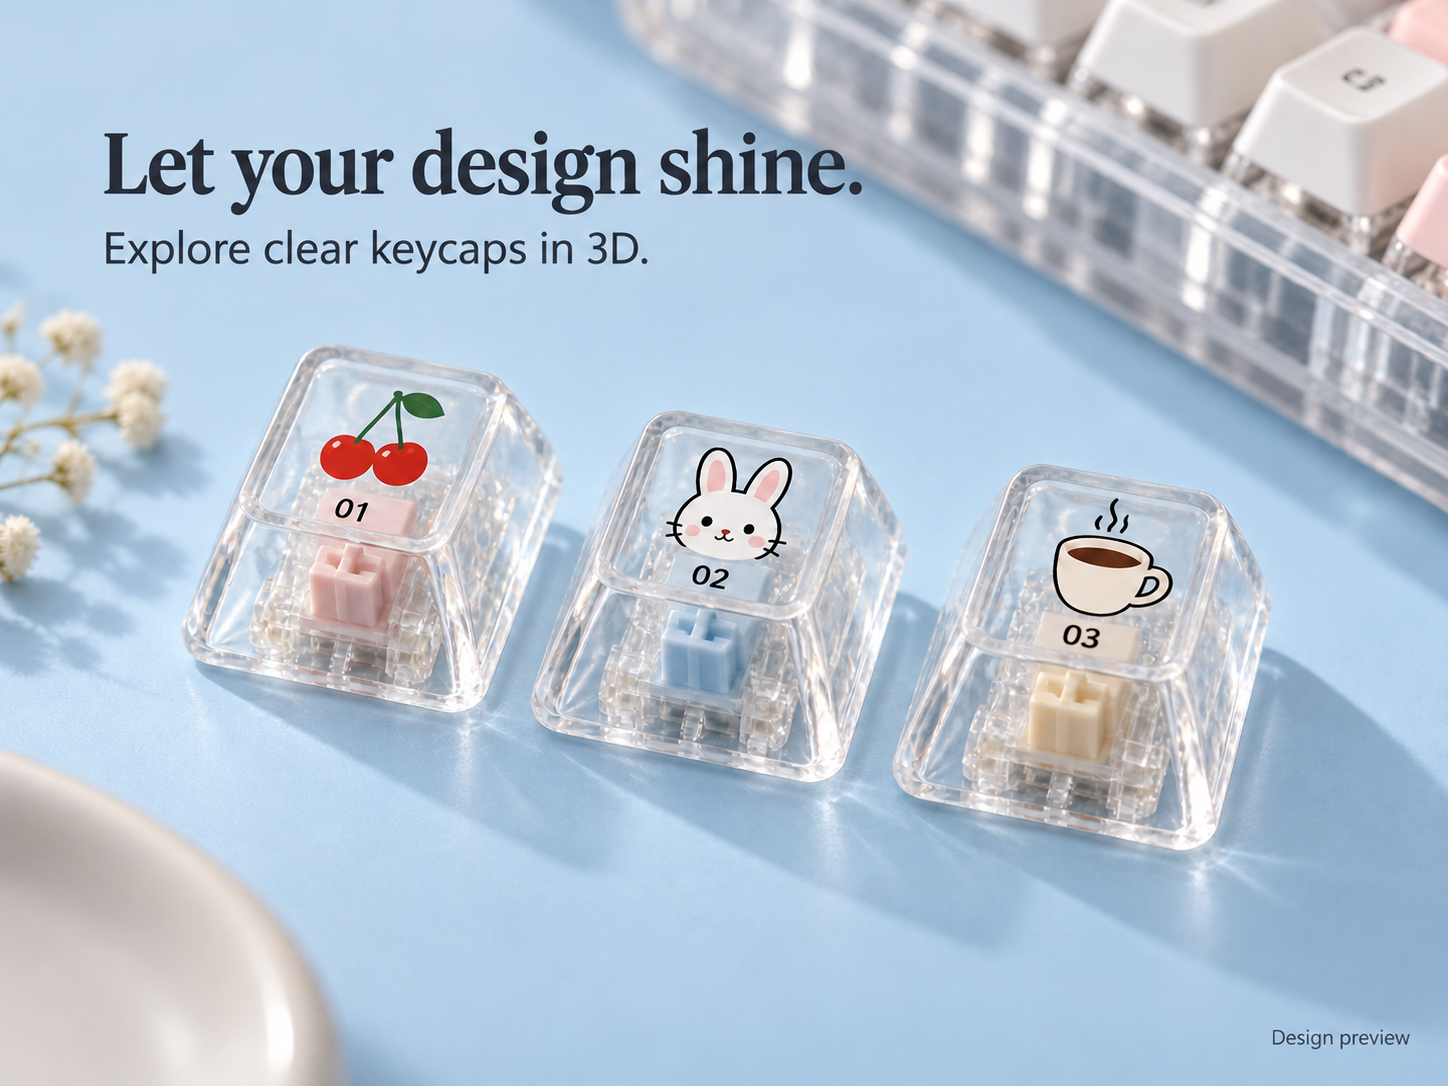
7. Choose print faces and export
Select a keycap, then use Print faces to include or exclude Top, Front, Back, Left, and Right. For a top-only design, leave only Top enabled. Choose 300 or 600 DPI and use Export. The download contains individual key-face PNGs, an SVG outline sheet, a size manifest, and flat and 3D previews. Check the PNGs and dimensions before production.
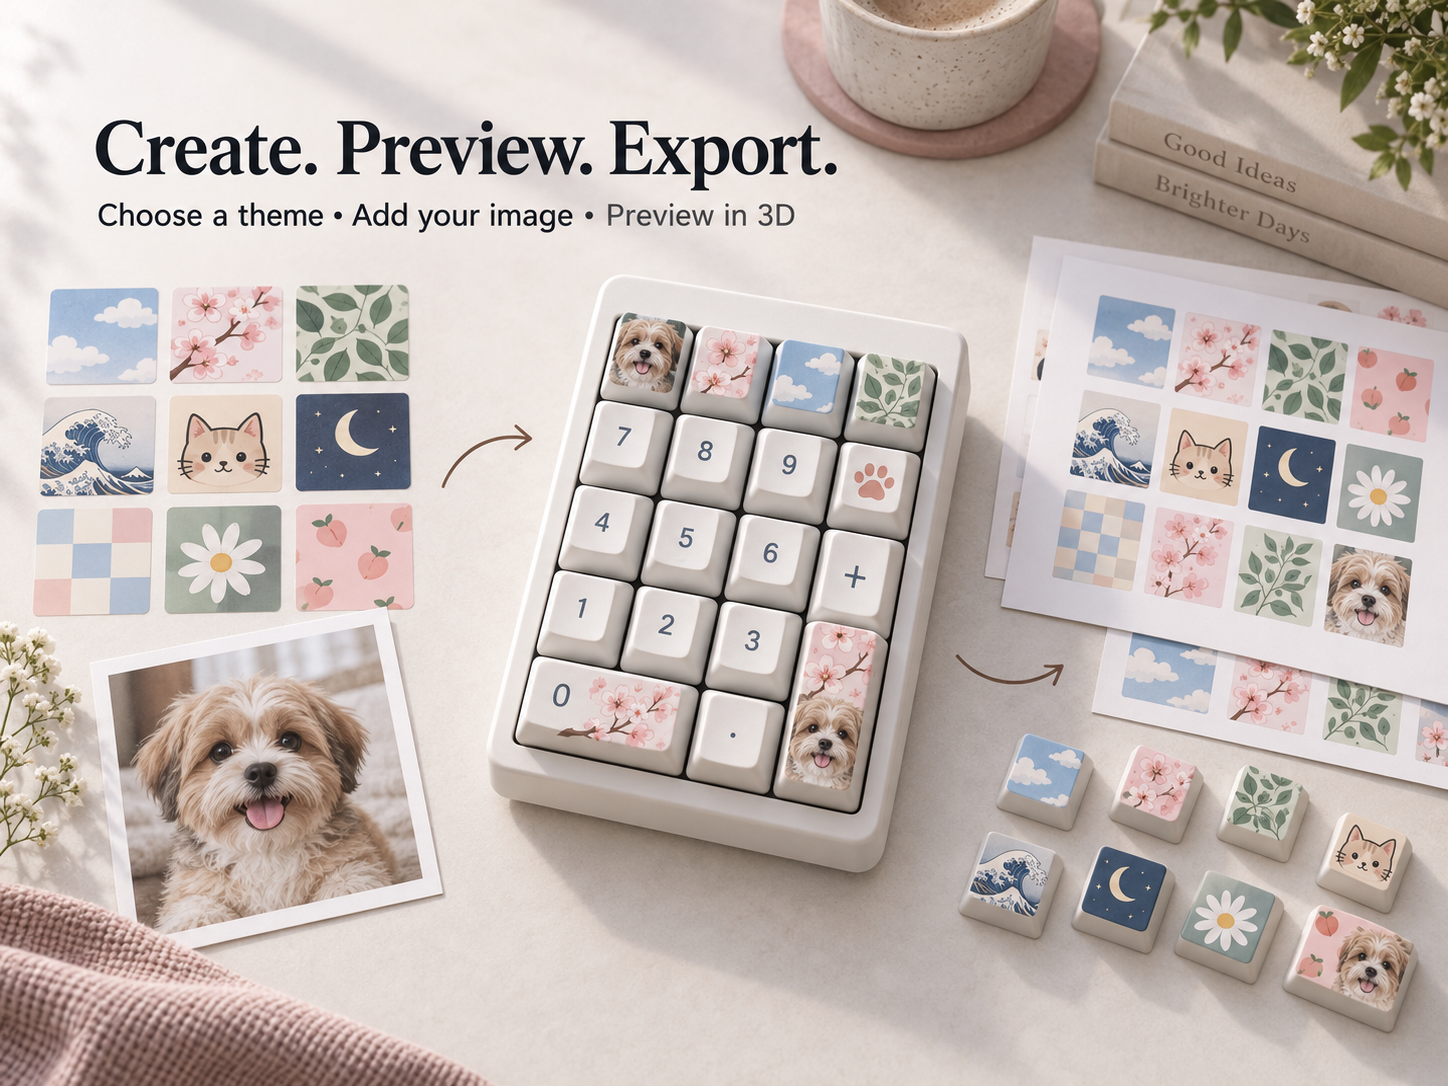
This tool creates artwork and design previews, not 3D-printable keycap models. Check keycap dimensions, material compatibility, and your printing process before production. Images in this guide are illustrative design concepts, not screenshots or actual exported samples.