
Denunciar

Leather Alberta patch
ID 22902
 Instrução
Arquivos

Arquivos originais
AutorF1 · Black to Silver Laserable PU Bookmarks
1

Adicionar Perfil de Fabricação
Mesmo design, máquina, material ou qualquer melhoria diferente · Ganhe 100 Créditos
Dicas para criar um ótimo Perfil de Fabricação →
118
2016
Informação
This is a custom patch design I made They are iron on patches with the adhesive backing already on the Faux leather that work best on hats and beanies but also work well on other clothing.
Instrução
1
Etapa1: Making Patch

Pré-visualização

Pré-visualização
- only screw in the L-Shaped bracket one thread so it is attached but very loose.
- use the gap between the bracket and the build plate to hold down your leather and tighten (tightening is optional so long as the leather wont move)
- hit start.
- the design is made so that the last “Purple” cut makes the cut off piece a perfect square so you can easily reset and make another patch.
- if scorching occurs adjust the cut speed and intensity to account for the different thickness of material.
2
Etapa2: Washing the Patch
- gently rub the patch with COLD!!! water as warm or hot water will activate the adhesive and cause it to stick to itself.
- you can use soap but I don't as flowing water is usually enough
- if scorching occurs a magic eraser and a bit of Vinegar is a great method to clean up the marks.
Comentários



Você também pode gostar

Leather laser engraved hat patch

56
311

Elk With Mountains

1
20


Leather patch Vancouver Wa

0
1


Girl Dad Hat Patch SVG | Leatherette Laser Engraving Design | Father Daughter Badge

2
45

Leather Patch with Running Horses Western Scene
1
5

Kožená nášivka s motivem zlatokopa a nápisem Jsem z hor - Zlatých hor

0
3

Bear Head Silhouette with Pine Forest Landscape

2
9

Wolf and Moon
1
12

My first perfect leatherette patch

0
2

Custom leather patch

0
2

Support Your Local Laser Workshop Leather Patch

2
5

Embrace the Journey Mountain and Pine Forest Wooden Wall Sign

1
11
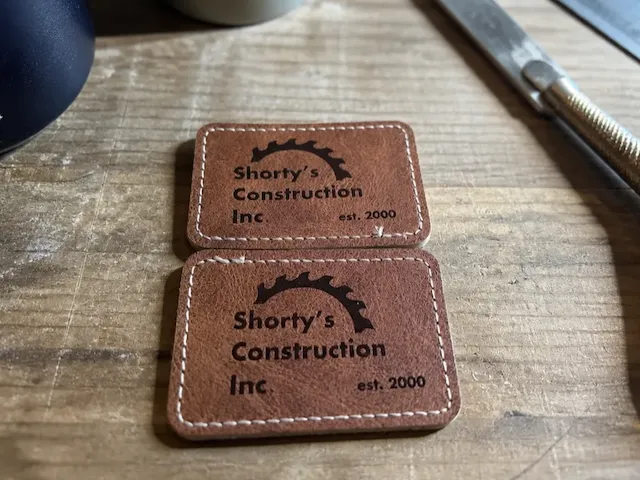
Shorty's Construction Inc. Rectangular Faux Leather Patch

0
1

Wooden Wall Art Featuring a Bear Silhouette with Mountain Cabin Landscape

3
11

Leather patch jig round, square and squoval

21
80

Mama Bear Leather Patch Hat

16
97

Grizzly Bear and Pine Forest Landscape on Round Wood Slice
5
40

3D Led wall art nature scene lightbox laser cut. Wooden led light lamp. Forest led sign svg. Illuminated wall home decor. 1 Design

98
598