![[Laser cut and engrave] Laser Engraved Black Watch Band with Dragon Design](https://storage-us.atomm.com/resource/xtool/community/attachment/xtool-community/87a1c9da-bdad-40fb-b663-b0020e324799.jpg?x-oss-process=image/resize,w_1200,h_900,limit_0/interlace,1/format,webp/auto-orient,1)
![[Laser cut and engrave] Laser Engraved Black Watch Band with Dragon Design](data:image/png;base64,iVBORw0KGgoAAAANSUhEUgAAAAoAAAAKCAYAAACNMs+9AAAAAXNSR0IArs4c6QAAABdJREFUKFNjZCASMBKpjmFUId6QIjp4AAppAAuXjCs4AAAAAElFTkSuQmCC)
![[Laser cut and engrave] Laser Engraved Black Watch Band with Dragon Design](https://storage-us.atomm.com/resource/xtool/community/attachment/xtool-community/87a1c9da-bdad-40fb-b663-b0020e324799.jpg?x-oss-process=image/resize,w_200,h_150,limit_0/interlace,1/format,webp/auto-orient,1)
![[Laser cut and engrave] Laser Engraved Black Watch Band with Dragon Design](https://storage-us.atomm.com/resource/xtool/community/attachment/xtool-community/4df82f05-f251-4244-85a1-24dfcf753b88.jpg?x-oss-process=image/resize,w_200,h_150,limit_0/interlace,1/format,webp/auto-orient,1)
![[Laser cut and engrave] Laser Engraved Black Watch Band with Dragon Design](https://storage-us.atomm.com/resource/xtool/community/attachment/xtool-community/92cdf9b1-c44a-434e-af15-d32ad22170a4.jpg?x-oss-process=image/resize,w_200,h_150,limit_0/interlace,1/format,webp/auto-orient,1)
![[Laser cut and engrave] Laser Engraved Black Watch Band with Dragon Design](https://storage-us.atomm.com/resource/xtool/community/attachment/xtool-community/26e74af3-ee22-4ee3-977a-0e11e94113b3.jpg?x-oss-process=image/resize,w_200,h_150,limit_0/interlace,1/format,webp/auto-orient,1)
![[Laser cut and engrave] Laser Engraved Black Watch Band with Dragon Design](https://storage-us.atomm.com/resource/xtool/community/attachment/xtool-community/02cee87c-2208-4098-9b41-46887136408f.jpg?x-oss-process=image/resize,w_200,h_150,limit_0/interlace,1/format,webp/auto-orient,1)
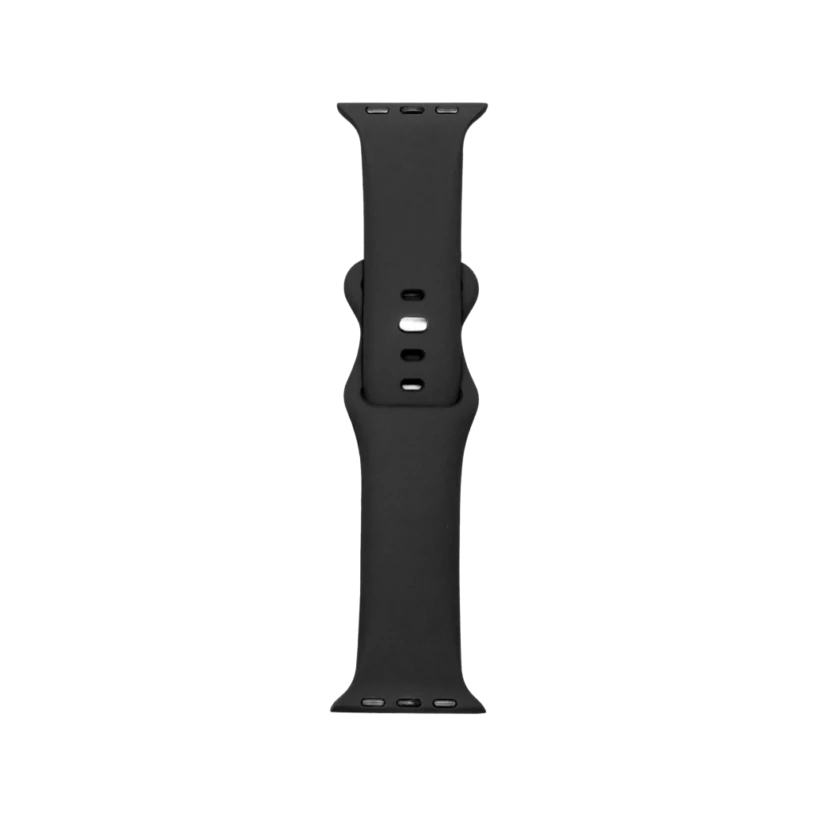
Laser Engraved Black Watch Band with Dragon Design
 Instruction
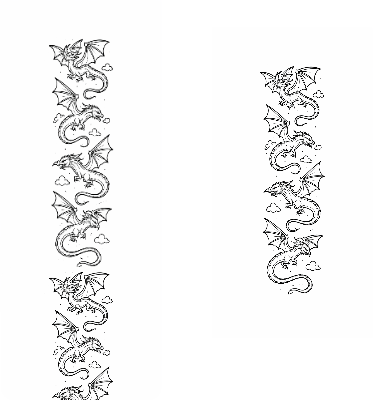

Information
      This watchband came with my generic Android smartwatch. All I know about it is that it's a 22 mm quick-release silicone watchband that fits any watch that uses 22 mm quick release bands. I didn't wear it other than for swimming because it was boring black. I love dragons, so I decided to ask Chat GPT to generate a continuous pattern of dragons for me using the 22 mm x 80 mm proportions. I engraved the resulting image upon the watchband after adjusting the size (the holes half of the watchband is longer, so I had to clip a second copy of the image to fill it with dragons).

I engraved each half of the watchband separately. I was pleasantly surprised that the engraving came out white.  When fastened, the dragons continue around my wrist in a continuous pattern. If I engrave a second one, I think I'll invert the buckle half of the watchband so that the dragons are right side up on both sides of the watchband.
Instruction
Step1: Engrave the holes half of the watchband

Remove the silicone watchband from your smartwatch. Measure the half of your watchband with holes and create a rectangle that matches its dimensions. Mine is 22 mm x 120 mm. Turn off “output” for the smaller dragon image so you will be processing only the longer one. Ensure that the image is sized so that the dragons all fit within the dimensions of the half of the watchband you're working with. Place the watchband on the honeycomb with the quick release furthest from you and ensure it's straight by aligning it against the metal clips. Use Auto-Measure to set the processing distance for the material, then mark the processing area as a rectangle that fits within the watchband. I estimated just shy of 1 mm inside of the full width for processing rectangle. Process the watchband.
Step2: Engrave the clasp half of the watchband

Set the output to “off” for the longer image and set the output to “on” for the shorter one. Measure the clasp half of your watchband (excluding the clasp since you won't be engraving it) and resize the image as needed. Decide whether you wish to have the dragon images continuous or always right side up. Continuous will require you to place the watchband with the clasp furthest from you (that's what I did). Always right side up will require you to place the watchband with the quick release pin furthest from you. Repeat the auto-measure and processing area marking as you did for the first half of the watchband.
Step3: Attach to your smartwatch and enjoy

Above is video of the watchband processing. Once it's done, you may have to brush off a small amount of silicone dust, but the watchband is ready for use as soon as it has been completed. Unless you purchase a silicone watchband that specifically states what colors are on the inside, you will be getting a surprise as to what color the engraving will turn out to be.