




















![[Laser cut and engrave] Laser Engraved Wood Slice Happy Thanksgiving Decor](data:image/png;base64,iVBORw0KGgoAAAANSUhEUgAAAAoAAAAKCAYAAACNMs+9AAAAAXNSR0IArs4c6QAAABdJREFUKFNjZCASMBKpjmFUId6QIjp4AAppAAuXjCs4AAAAAElFTkSuQmCC)
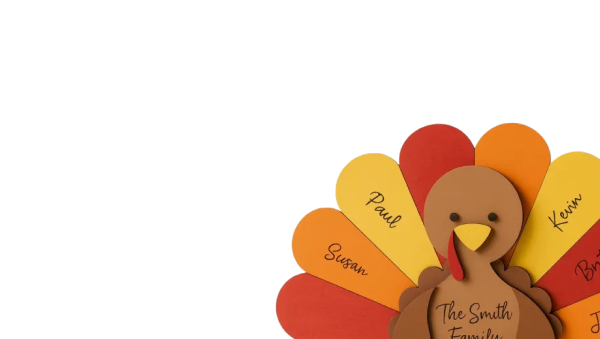
Happy Thanksgiving decor- pumpkin and leaf for branch slices and easel /stand
 Instruction


Information
Thanksgiving decor that comes with an easel. Engrave one or both sides depending on what image you like,
Instruction
Step1: Engraving one side


Place the wooden tree branch slice on the baseplate. Set the auto measure (A with ruler icon on top right). Next set the processing area (the flag that looks like a golf flag upper right area to the left of auto measure). I used the circle.
Pick which image you want to print. Make sure that they are set to engrave and the other image to ignore. Place the image and size it so it fits within the processing area you set.
check the processing area by pressing framing. This also helps you double check that the other image is on ignore.
Process.
Flip the wood and repeat with the other image (if double-sided is desired).
Step2: Easel / Stand


Place basswood piece onto the baseplate. Set the auto measure (A with ruler icon on top right). Next set the processing area (the flag that looks like a golf flag upper right area to the left of auto measure).
Process,
Get glue and put glue on the rectangle ends. Slide into the thin slots and let dry.
You can spray the wood with polyurethane for protection.
Enjoy!