![[Laser cut and engrave] Ocean Scene With Dolphin](https://image-res.atomm.com/resource/xtool/community/attachment/xtool-community/a811a9dd-3488-4bcd-8c1e-09130f16c16a?x-oss-process=image/resize,m_fill,w_1280,h_960,limit_0/interlace,1/format,webp/auto-orient,1)
![[Laser cut and engrave] Ocean Scene With Dolphin](data:image/png;base64,iVBORw0KGgoAAAANSUhEUgAAAAoAAAAKCAYAAACNMs+9AAAAAXNSR0IArs4c6QAAABdJREFUKFNjZCASMBKpjmFUId6QIjp4AAppAAuXjCs4AAAAAElFTkSuQmCC)
![[Laser cut and engrave] Ocean Scene With Dolphin](https://image-res.atomm.com/resource/xtool/community/attachment/xtool-community/a811a9dd-3488-4bcd-8c1e-09130f16c16a?x-oss-process=image/resize,m_fill,w_160,h_120,limit_0/interlace,1/format,webp/auto-orient,1)
![[Laser cut and engrave] Ocean Scene With Dolphin](https://image-res.atomm.com/resource/xtool/community/attachment/xtool-community/a7a01f1f-821f-4d76-9a0a-c3e963410765_PXL_20240203_165821462.jpg?x-oss-process=image/resize,m_fill,w_160,h_120,limit_0/interlace,1/format,webp/auto-orient,1)
Ocean Scene With Dolphin
 Instruction

.png?x-oss-process=image/resize,m_lfit,w_32,h_32,limit_0/interlace,1/format,webp/auto-orient,1)


Instruction
Step1: Design Stage 1


This project starts with a rectangle from the insert button, once this was placed on the canvas the Vector feature was used to create the inside border. This has 28 points that go around the outer edges at different points to create not only the border but the waves in the water along the bottom. These points are first placed by clicking the mouse button every time you want a new point. they are rough in nature at first but are rounded off afterwards.This is edited by double clicking on a point, it can then move the point or the option of curving the position is given by 2 round circles that are on each side of the point.
Step2: Design Stage 2


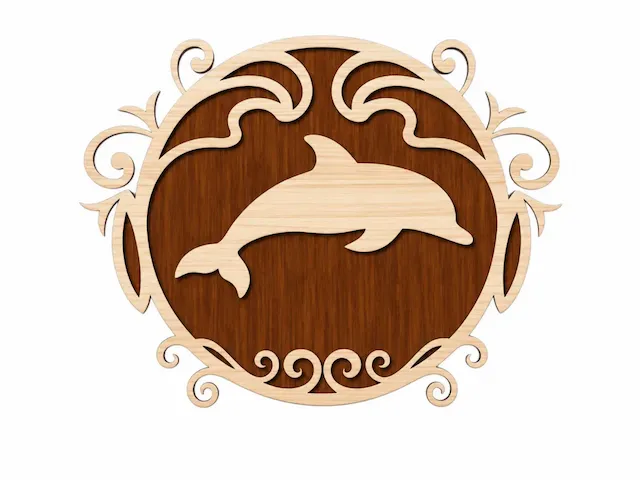
Step 2) Now that the outside and inside are looking good a Dolphin from the shapes list is brought on to the canvas. This dolphin is in 2 parts but I only want it to be one piece, so the small lower fin is moved to the main body and is then united using the combine feature. This makes the dolphin all one piece. The dolphin is facing the wrong was so this is changed with the use of the reflect button. That will reverse the dolphin so it faces the opposite way. Now the dolphin can be placed within the newly created border. It is set to engrave so the dolphin can be seen easily but will not be engraved.
Step3: Backer Needed.

Step 3) Now a backer is needed, I made this from walnut wood. This is the same size as the original rectangle created earlier so it was a copy and paste. The can be placed on a different canvas if needed as it is the only item being used for walnut.
Step4: Adding the Sun


Step 4) This is the time to create a Sun and it's rays, this will be placed in the right corner so a pie shape is selected from the shapes list. Once this is positioned small very narrow ovals are made from the insert button 5 of these will make up the rays. All of this is cut from yellow painted acrylic so once again a new canvas can be used for this step if needed.
Step5: Laser Machine and Assembly


Step 5) Along with the walnut, yellow acrylic and the blue painted acrylic is the dolphin itself, earlier it was set to engrave but it is in fact cut from grey painted acrylic just like the blue and yellow pieces. Once everything was cut the blue acrylic was adhered to the walnut following the outline of the walnut. then the sun and rays were placed in the top right corner. The dolphin can be placed anywhere near the water bottom. All of these were glued to the walnut using 2 sided tape.
Step6: Display


Here is the ocean scene ready to display all designed with the vector options with the help of the shapes list.
Remixes



You may also like

Ocean Wave Dolphin One-Line Engraving


Wooden wall hanging in the shape of dolphins with name personalization


Laser Cut Wooden Penguin Wall Art with Sun and Iceberg Design


Round Wooden Coaster Featuring an Intricate Dolphin Motif


Dolphin Jumping in the Waves Statuette for Marine Decoration


'/%3e%3cpath%20d='M15.9997%2019.3335L11.833%2014.3335H14.333L15.9997%2017.6668L17.6663%2014.3335H20.1663L15.9997%2019.3335Z'%20fill='white'/%3e%3c/g%3e%3cdefs%3e%3clinearGradient%20id='paint0_linear_1412_57140'%20x1='16'%20y1='7.6665'%20x2='16'%20y2='24.3332'%20gradientUnits='userSpaceOnUse'%3e%3cstop%20stop-color='%23FFA15F'/%3e%3cstop%20offset='1'%20stop-color='%23E37C32'/%3e%3c/linearGradient%3e%3c/defs%3e%3c/svg%3e)
Dolphin Tribal Tropical Beach Scene


Geometric Dolphin Jumping Through Ocean Waves Wall Art


Wooden pen holder with dolphin jumping in the waves motif

InteriorDecorationインテリア小物


Shadow Box in a Box


🐬 Freedom of the Seas – Dolphins in the Wave Dance


Wooden phone holder of a dolphin and a seabed


Dolphin Themed Wooden Desk Organizer and Wall Art Set


Dolphin Silhouette Christmas Ornament with Scoring

Dolphin Silhouette Wall Plaque with Ornate Scrollwork Frame

Laser Cut Black Dolphin Wall Art Decor


MARINA TURTLE


Wooden phone holder with dolphin pattern