
![[Laser cut and engrave] Lesezeichen aus Holz mit Frosch und Pilz Motiv personalisiert mit Namen](https://storage-public.atomm.com/xtool/community/attachment/xtool-community/0e9f9bf3-77dd-4f7e-8546-094f238f1976.jpeg?x-oss-process=image/resize,m_fill,w_1280,h_960,limit_0/interlace,1/format,webp/auto-orient,1)
Personalized Enchanted Forest Bookmark – Custom Name
 Instruction


Information
A charming enchanted forest bookmark featuring a frog, mushrooms, and woodland details. Personalize it with any name to create a unique gift for book lovers.
Instruction
Step1: Change the Name

Select the Name object and replace it with the desired name.
Step2: Position the Name

Move and scale the name so it fits nicely inside the designated box. For the best result, position it so the name slightly touches the left and right sides of the box.
You can also change the font if desired.
Step3: Subtract the Name

Select the “Combine - Subtract” group and apply the Subtract operation.
Step4: Open the Back-Side Group (optional - backside engraving)
For double-sided engraving, open the “Mirror - Subtract” group.
Step5: Customize the Back Side (optional - backside engraving)
Change the name and position it just like on the front side.
Step6: Choose the Name Orientation (optional - backside engraving)

The back-side design is already mirrored. Choose how you want the name to appear:
- Leave the name as it is if you want it to visually continue from the front side.
- Mirror only the name if you want it to be readable normally when viewing the back side. (reflect horizontally)
Step7: Subtract the Back-Side Name (optional - backside engraving)
Select the “Mirror - Subtract” group and apply the Subtract operation again.
Step8: Check the Alignment (optional - backside engraving)

Make sure the front and back designs are perfectly aligned before starting.
Step9: Engrave and Cut the Front


Enable Output only for the “Combine - Subtract” group and the object named “cut”.
The engraving and cutting can then be completed in a single job.
Recommended settings for a 20W diode laser:
Engraving
- Power: 25%
- Speed: 300 mm/s
Cutting
- Power: 90%
- Speed: 20 mm/s
Make sure the engraving is assigned to the “Combine - Subtract” group and the cutting settings are assigned to the “cut” object before starting.
Step10: Remove the Cut-Out Pieces
Carefully (if you want to engrave the backside) remove the bookmark and all inner offcuts without moving the outer frame.
Step11: Flip the Bookmark (optional - backside engraving)
Flip the bookmark over and place it back into the outer cut-out frame. This keeps it aligned for the back-side engraving.
Step12: Engrave the Back Side
Enable Output only for the “Mirror - Subtract” group.
Use the same engraving settings as on the front:
Engraving
- Power: 25%
- Speed: 300 mm/s
Make sure the “cut” object is disabled, as the bookmark has already been cut out. Then start the back-side engraving.
Remixes
License



You may also like

Mushroom Bookmark


Floral Pattern Wooden Bookmarks with Leather Tassels


Birthday Themed Wooden Bookmarks


Set of Four Decorative Wooden Bookmarks with Celestial, Tree, Feather, and Filigree Motifs


Bulbasaur wooden bookmark with floral motif


Gloom Pokemon Themed Wooden Bookmark with Mushroom and Floral Motifs

Wooden bookmark with intricate botanical leaf and berry cutout pattern


Floral Pattern Wooden Bookmarks with Botanical Cutout Designs

'/%3e%3cpath%20d='M15.9997%2019.3335L11.833%2014.3335H14.333L15.9997%2017.6668L17.6663%2014.3335H20.1663L15.9997%2019.3335Z'%20fill='white'/%3e%3c/g%3e%3cdefs%3e%3clinearGradient%20id='paint0_linear_1412_57140'%20x1='16'%20y1='7.6665'%20x2='16'%20y2='24.3332'%20gradientUnits='userSpaceOnUse'%3e%3cstop%20stop-color='%23FFA15F'/%3e%3cstop%20offset='1'%20stop-color='%23E37C32'/%3e%3c/linearGradient%3e%3c/defs%3e%3c/svg%3e)
Wooden bookmark with snail, moon and flower motif


Mushrooms


Floral Arch Wooden Bookmarks with Cutout Flower Motifs


Cottagecore Frog and Mushroom Bookmark

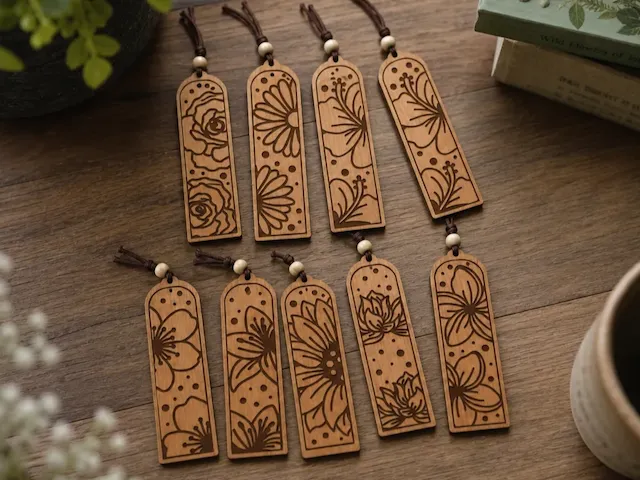
Floral Pattern Wooden Bookmarks with Tassels


Floral Bookmarks Laser Cut Bundle


Floral Pattern Wooden Bookmark with Cutout Detail

Set of Five Wooden Bookmarks with Intricate Floral and Geometric Patterns

Floral Pattern Wooden Bookmarks with Tassels

Wooden bookmarks with geometric animal motifs
