
![[Laser cut and engrave] Variable‑Driven Classroom Name Badges (Batch Template for xTool Studio)](https://storage-public.atomm.com/xtool/community/attachment/xtool-community/4d3ad2f9-beed-4cd3-b51e-d6fdc9e156ba.png?x-oss-process=image/resize,m_fill,w_1280,h_960,limit_0/interlace,1/format,webp/auto-orient,1)
![[Laser cut and engrave] Variable‑Driven Classroom Name Badges (Batch Template for xTool Studio)](data:image/png;base64,iVBORw0KGgoAAAANSUhEUgAAAAoAAAAKCAYAAACNMs+9AAAAAXNSR0IArs4c6QAAABdJREFUKFNjZCASMBKpjmFUId6QIjp4AAppAAuXjCs4AAAAAElFTkSuQmCC)
![[Laser cut and engrave] Variable‑Driven Classroom Name Badges (Batch Template for xTool Studio)](https://storage-public.atomm.com/xtool/community/attachment/xtool-community/4d3ad2f9-beed-4cd3-b51e-d6fdc9e156ba.png?x-oss-process=image/resize,m_fill,w_160,h_120,limit_0/interlace,1/format,webp/auto-orient,1)
![[Laser cut and engrave] Variable‑Driven Classroom Name Badges (Batch Template for xTool Studio)](https://storage-public.atomm.com/xtool/community/attachment/xtool-community/cda20625-9f23-4c6c-8a97-2c0997b2c91c.png?x-oss-process=image/resize,m_fill,w_160,h_120,limit_0/interlace,1/format,webp/auto-orient,1)
![[Laser cut and engrave] Variable‑Driven Classroom Name Badges (Batch Template for xTool Studio)](https://storage-public.atomm.com/xtool/community/attachment/xtool-community/4491a14e-8c4b-443f-8b02-af58b605b2d0.png?x-oss-process=image/resize,m_fill,w_160,h_120,limit_0/interlace,1/format,webp/auto-orient,1)
Variable‑Driven Classroom Name Badges (Batch Template for xTool Studio)
 Instruction


Information
      This project is a fully‑built variable‑based batch template designed in xTool Studio for creating personalized classroom name badges. Each badge includes a student name, unique QR code, and static school text, all arranged inside a clean, laser‑ready layout with a lanyard slot and rounded corners. The template uses xTool Studio’s Set Variable feature to automatically populate names and QR codes across a grid of badges, making it perfect for teachers, schools, or anyone producing large sets of similar items.

The project supports:

Dynamic text fields (student names)

Dynamic QR codes (student ID, asset tag, etc.)

Static text (e.g., “Independence Elementary”)

Grid array duplication for batch output

Excel import for large batches

Automatic scaling for long names

Clean, consistent formatting across all badges

This Atomm project is ideal for classrooms, events, makers selling personalized items, or any workflow where you need fast, repeatable customization. Just load your name/QR list, preview the batch, and send it to your xTool las
Instruction
Step1: Create the base template of the badge
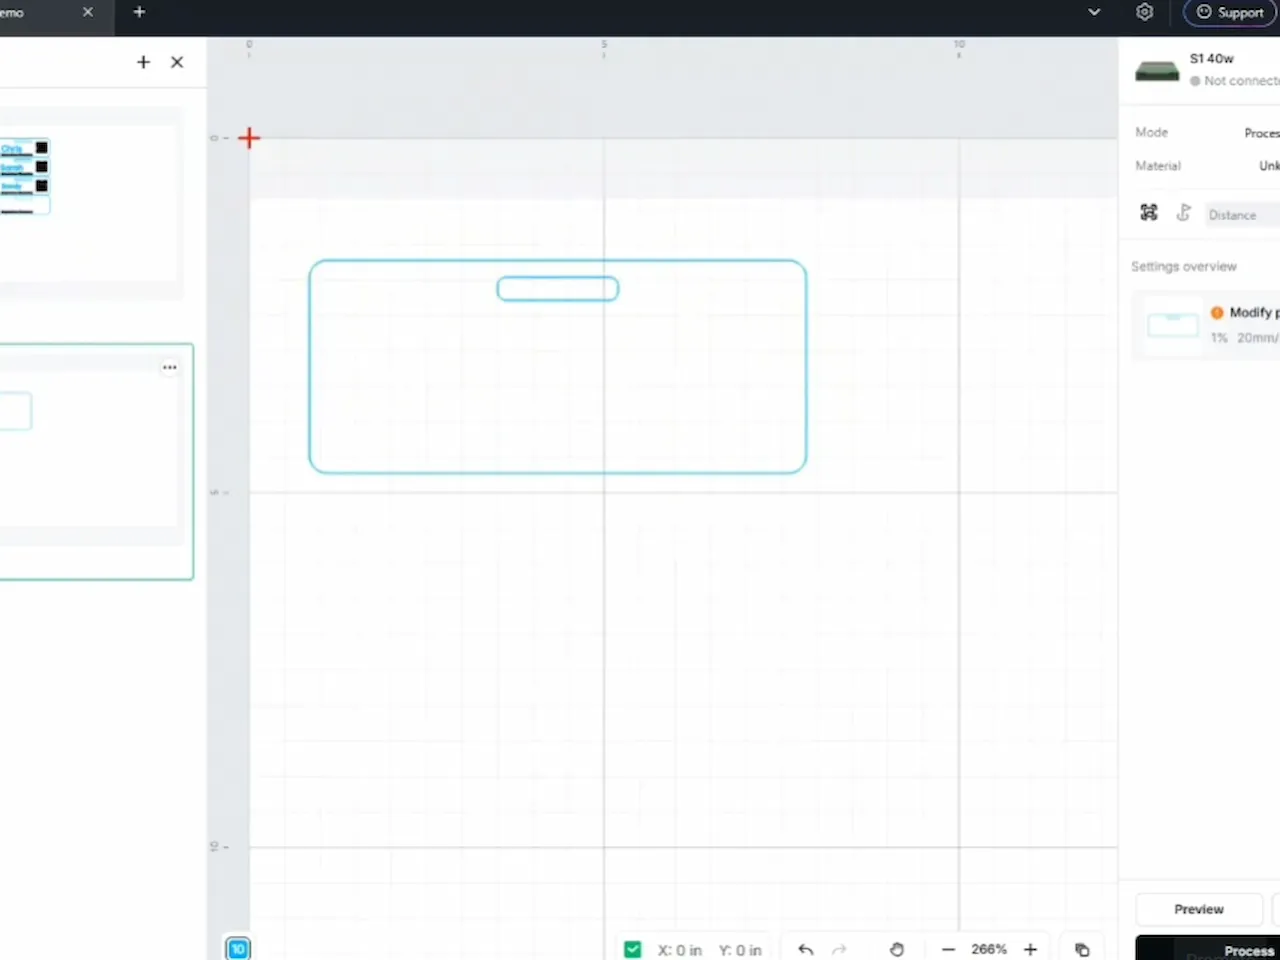
The first step is create the template for the badge. For this project I am using a rectangular badge with rounded corners and a slot cut out for a lanyard. To round the corners use the radius property and enter .25
I have included a video tutorial for this project if you want to follow step-by-step.
Step2: Add Textbox for Names
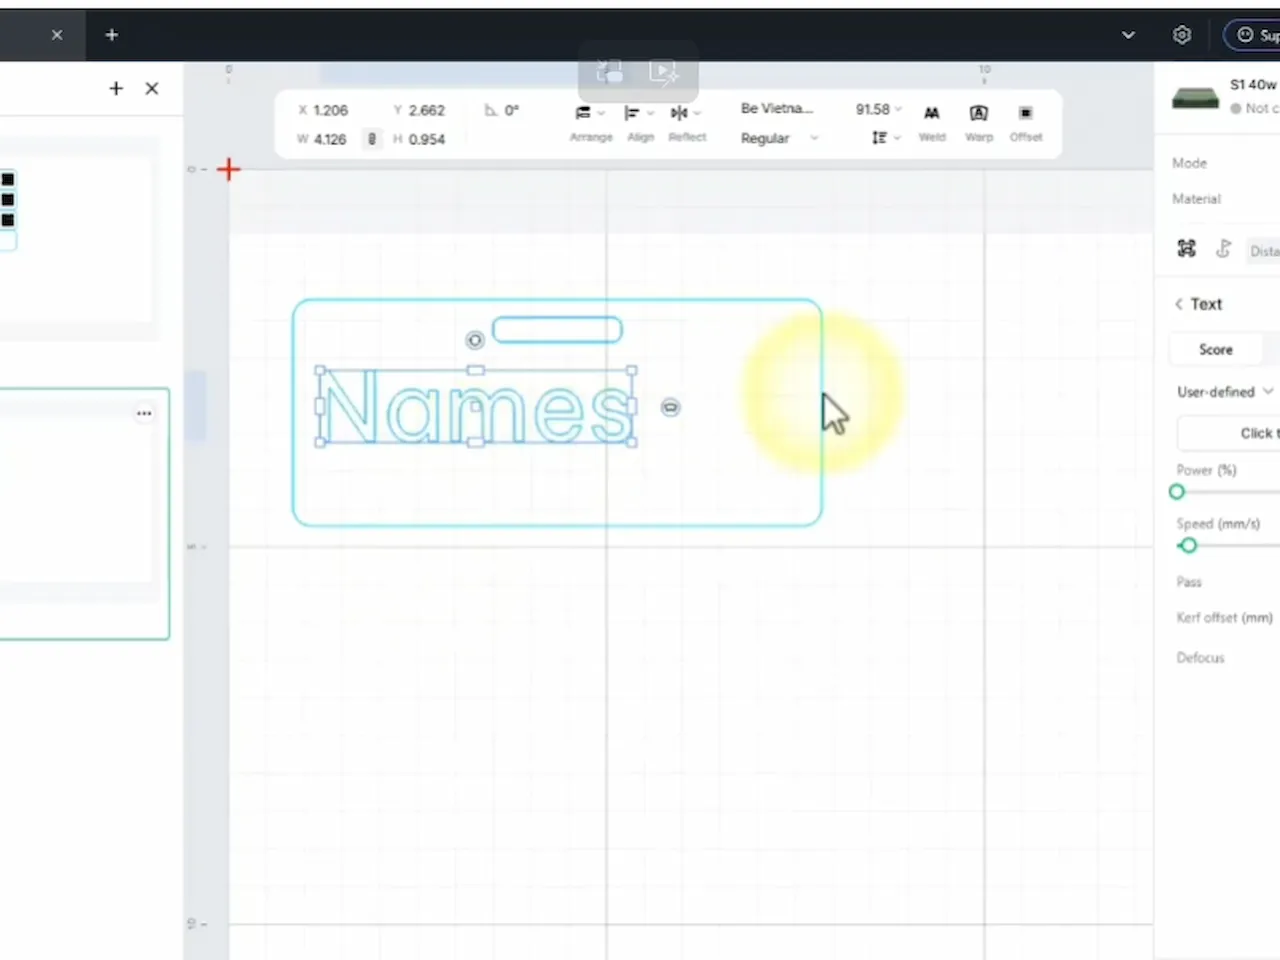
Next, add in a textbox, selecting the font and size you want the names to be on your badges. You will want to plan for the longest name in the data set. Keep in mind the software will scale the name to fit, so a longer name will be smaller text size. Once you have the textbox sized and styled to your preference, right click on the object and click “set variable”
Step3: Enter data into the table

Next enter the data you want output to all the badges. You can also create other objects that will be variables. I added a QR code for this project.
Step4: Create a grid of templates

Next, use the grid array tool to create copies of the template.
Step5: Process
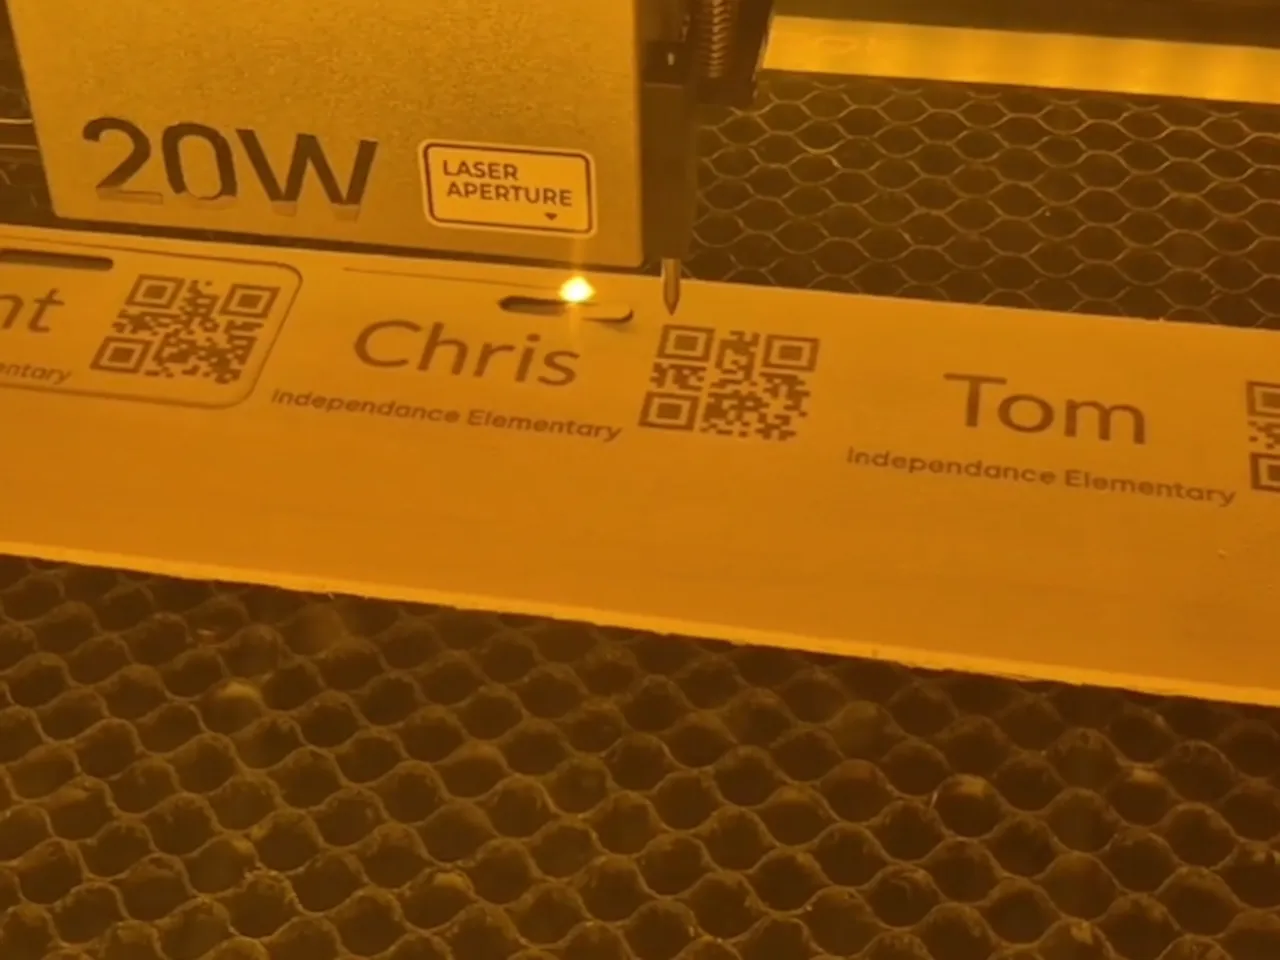
Now add material to your laser and process
YouTube link:
Facebook Post:
https://www.facebook.com/groups/3512978005676322/?multi_permalinks=3980386205602164
X Post:
https://x.com/Thrasher114/status/2091221471070687437
Remixes



You may also like

Wooden business card with geometric pattern


Wooden Instagram QR Code Social Media Display Sign


'/%3e%3cpath%20d='M15.9997%2019.3335L11.833%2014.3335H14.333L15.9997%2017.6668L17.6663%2014.3335H20.1663L15.9997%2019.3335Z'%20fill='white'/%3e%3c/g%3e%3cdefs%3e%3clinearGradient%20id='paint0_linear_1412_57140'%20x1='16'%20y1='7.6665'%20x2='16'%20y2='24.3332'%20gradientUnits='userSpaceOnUse'%3e%3cstop%20stop-color='%23FFA15F'/%3e%3cstop%20offset='1'%20stop-color='%23E37C32'/%3e%3c/linearGradient%3e%3c/defs%3e%3c/svg%3e)
Branding Social Media QR Code Display Stand (customizable)


Art Organization Name Badges


Engraved Badges Hello My Name Is Michael Wooden Desk Name


QR code engrave


Gravure planchette bois


3D Badges with name window bundle laser cut. Wooden name tag. Professional engraved name pin. 10 Designs


Wooden Name Plate w/title and company logo


Luggage and Name Tags


'/%3e%3c/g%3e%3cdefs%3e%3clinearGradient%20id='paint0_linear_1737_57170'%20x1='16.5097'%20y1='8.87061'%20x2='16.5097'%20y2='23.3945'%20gradientUnits='userSpaceOnUse'%3e%3cstop%20stop-color='%232E9AFF'/%3e%3cstop%20offset='1'%20stop-color='%233378FF'/%3e%3c/linearGradient%3e%3c/defs%3e%3c/svg%3e)
Set of Round Wooden School Themed Tokens/Magnets with Classroom Icons


Teacher Hall Passes


durchsichtige Plastikfolie mit QR Code

Look What I Made Magnet


Kanika's Print Shop social media QR code display sign

Start Your Day With Coffee - Wooden magnet


Laser Cut Wooden Gift Tags With Thank You Messages


Counter display with QR codes and social media