


Jig for pens
 Instruction


Information
      This mount enables exact positioning of pens in the laser engraver. The holder can be easily made from 3 mm plywood panels, some wood glue and two M3x8mm screws and two M3 nuts. There are four precisely placed reference points that ensure repeatable alignment. In the middle there is a recess that can be used for various pens and gives a secure and non-slip hold. Here there is the possibility to use different inserts for different pens. With two small M3 screws, the inserts can be exchanged and adapted to the pin shape and pin diameter.

The recording ensures clean engraving results, protects the pen during processing and saves time when setting up the laser.

Special features:
- Four reference points for precise positioning
- Secure fixation of the pin without damage
- Repeatable engraving results
- Ideal for entrepreneurs and laser users
- Easy integration into the "Modular base plate", which can also be found here
Instruction
Step1

In the first step, the pictured parts are prepared for recording.
Attention: There are two more inserts in the file. I have not explicitly shown them to simplify the instructions.
Step2


In the second step, the two panels shown are connected with wood glue. Please pay attention to the recesses so that they are on top of each other.
It is important to pay attention to the flushness, otherwise a complete assembly is not possible.
Step3


In the third step, the two smaller plates shown are connected to the plate glued in the second step.
Please pay attention to the recesses so that they are on top of each other.
It is important to pay attention to the flushness, otherwise a complete assembly is not possible.
Step4


In the fourth step, the wooden parts shown in the picture are glued to the large plate with wood glue.
Please assemble the smaller wooden part first and then the larger one.
Both parts must be mounted flush as shown in the picture.
Step5


In the fifth step, the insert is glued.
Important: There are two more inserts in the file, these are glued in the same way.
The two individual parts are connected with wood glue as shown.
Attention: Please do not carry out the next step until the wood glue has completely dried.
Step6


In the last step, the insert is screwed into the mount.
To do this,
insert the M3 nuts into the recesses provided on the underside of the receptacle and place the insert in the recess from above and fasten it with the two M3x8 mm screws.
Attention: Please do not tighten the screws too tightly.
Step7

The universal holder for engraving various pens is ready.
I hope you enjoy it!
Remixes



You may also like


Wooden pen box with roll closure for desk


box porta penne e oggetti


Personalisierbare Holz-Stiftebox


Gift box case for pen, sliding lid, laser cut design. Holder pen, cut model, vector template. Greeting boxes, office accessory, table decor.


Wooden sliding storage box for fountain pens


Wooden Business Card Holder Stand for Desk Organization


Wooden box with pen and personalised USB stick


Gift Holder 3 Pens Laser Cut Template, Desk Organizer Office, Laser Cutting Design

Feather Pen Stand Laser Cut Bundle


Jewelry Gift Box SVG Bundle 3mm | Wooden Laser Cut Storage Box | Heart Keepsake Box | Sliding Lid Box Files

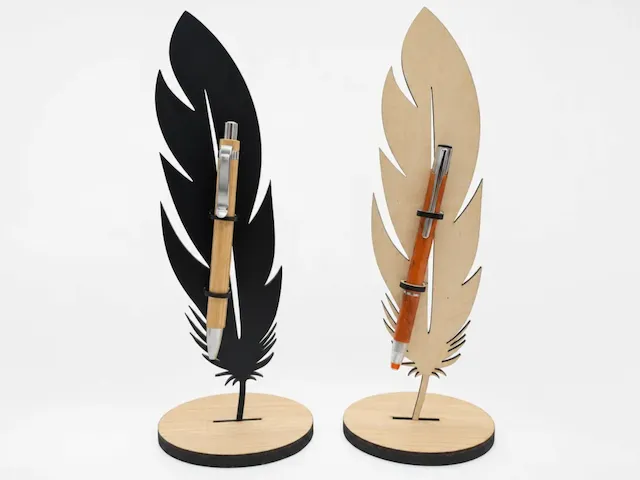
Nib-shaped pen holder with base


Pen & Pencil Engraving Template


Pen Holder SVG | Wooden Desk Organizer 12x9x9 cm | 4mm Plywood Pen Stand

Stand holder for 3 pens, design laser cut. Drawing for laser cutting machines, holder pencils, stand pencils. Desk organizer.

Jewelry Gift Box SVG Bundle 3mm | Laser Cut Wooden Box Set | Decorative Keepsake Boxes | Sliding Lid Gift Box Files

Business Card Holder SVG | Office Desk Accessory 3mm

Personalized Wooden Name Pen Holder Stand


8 Pen display Holder for Your Pens Large and Small
